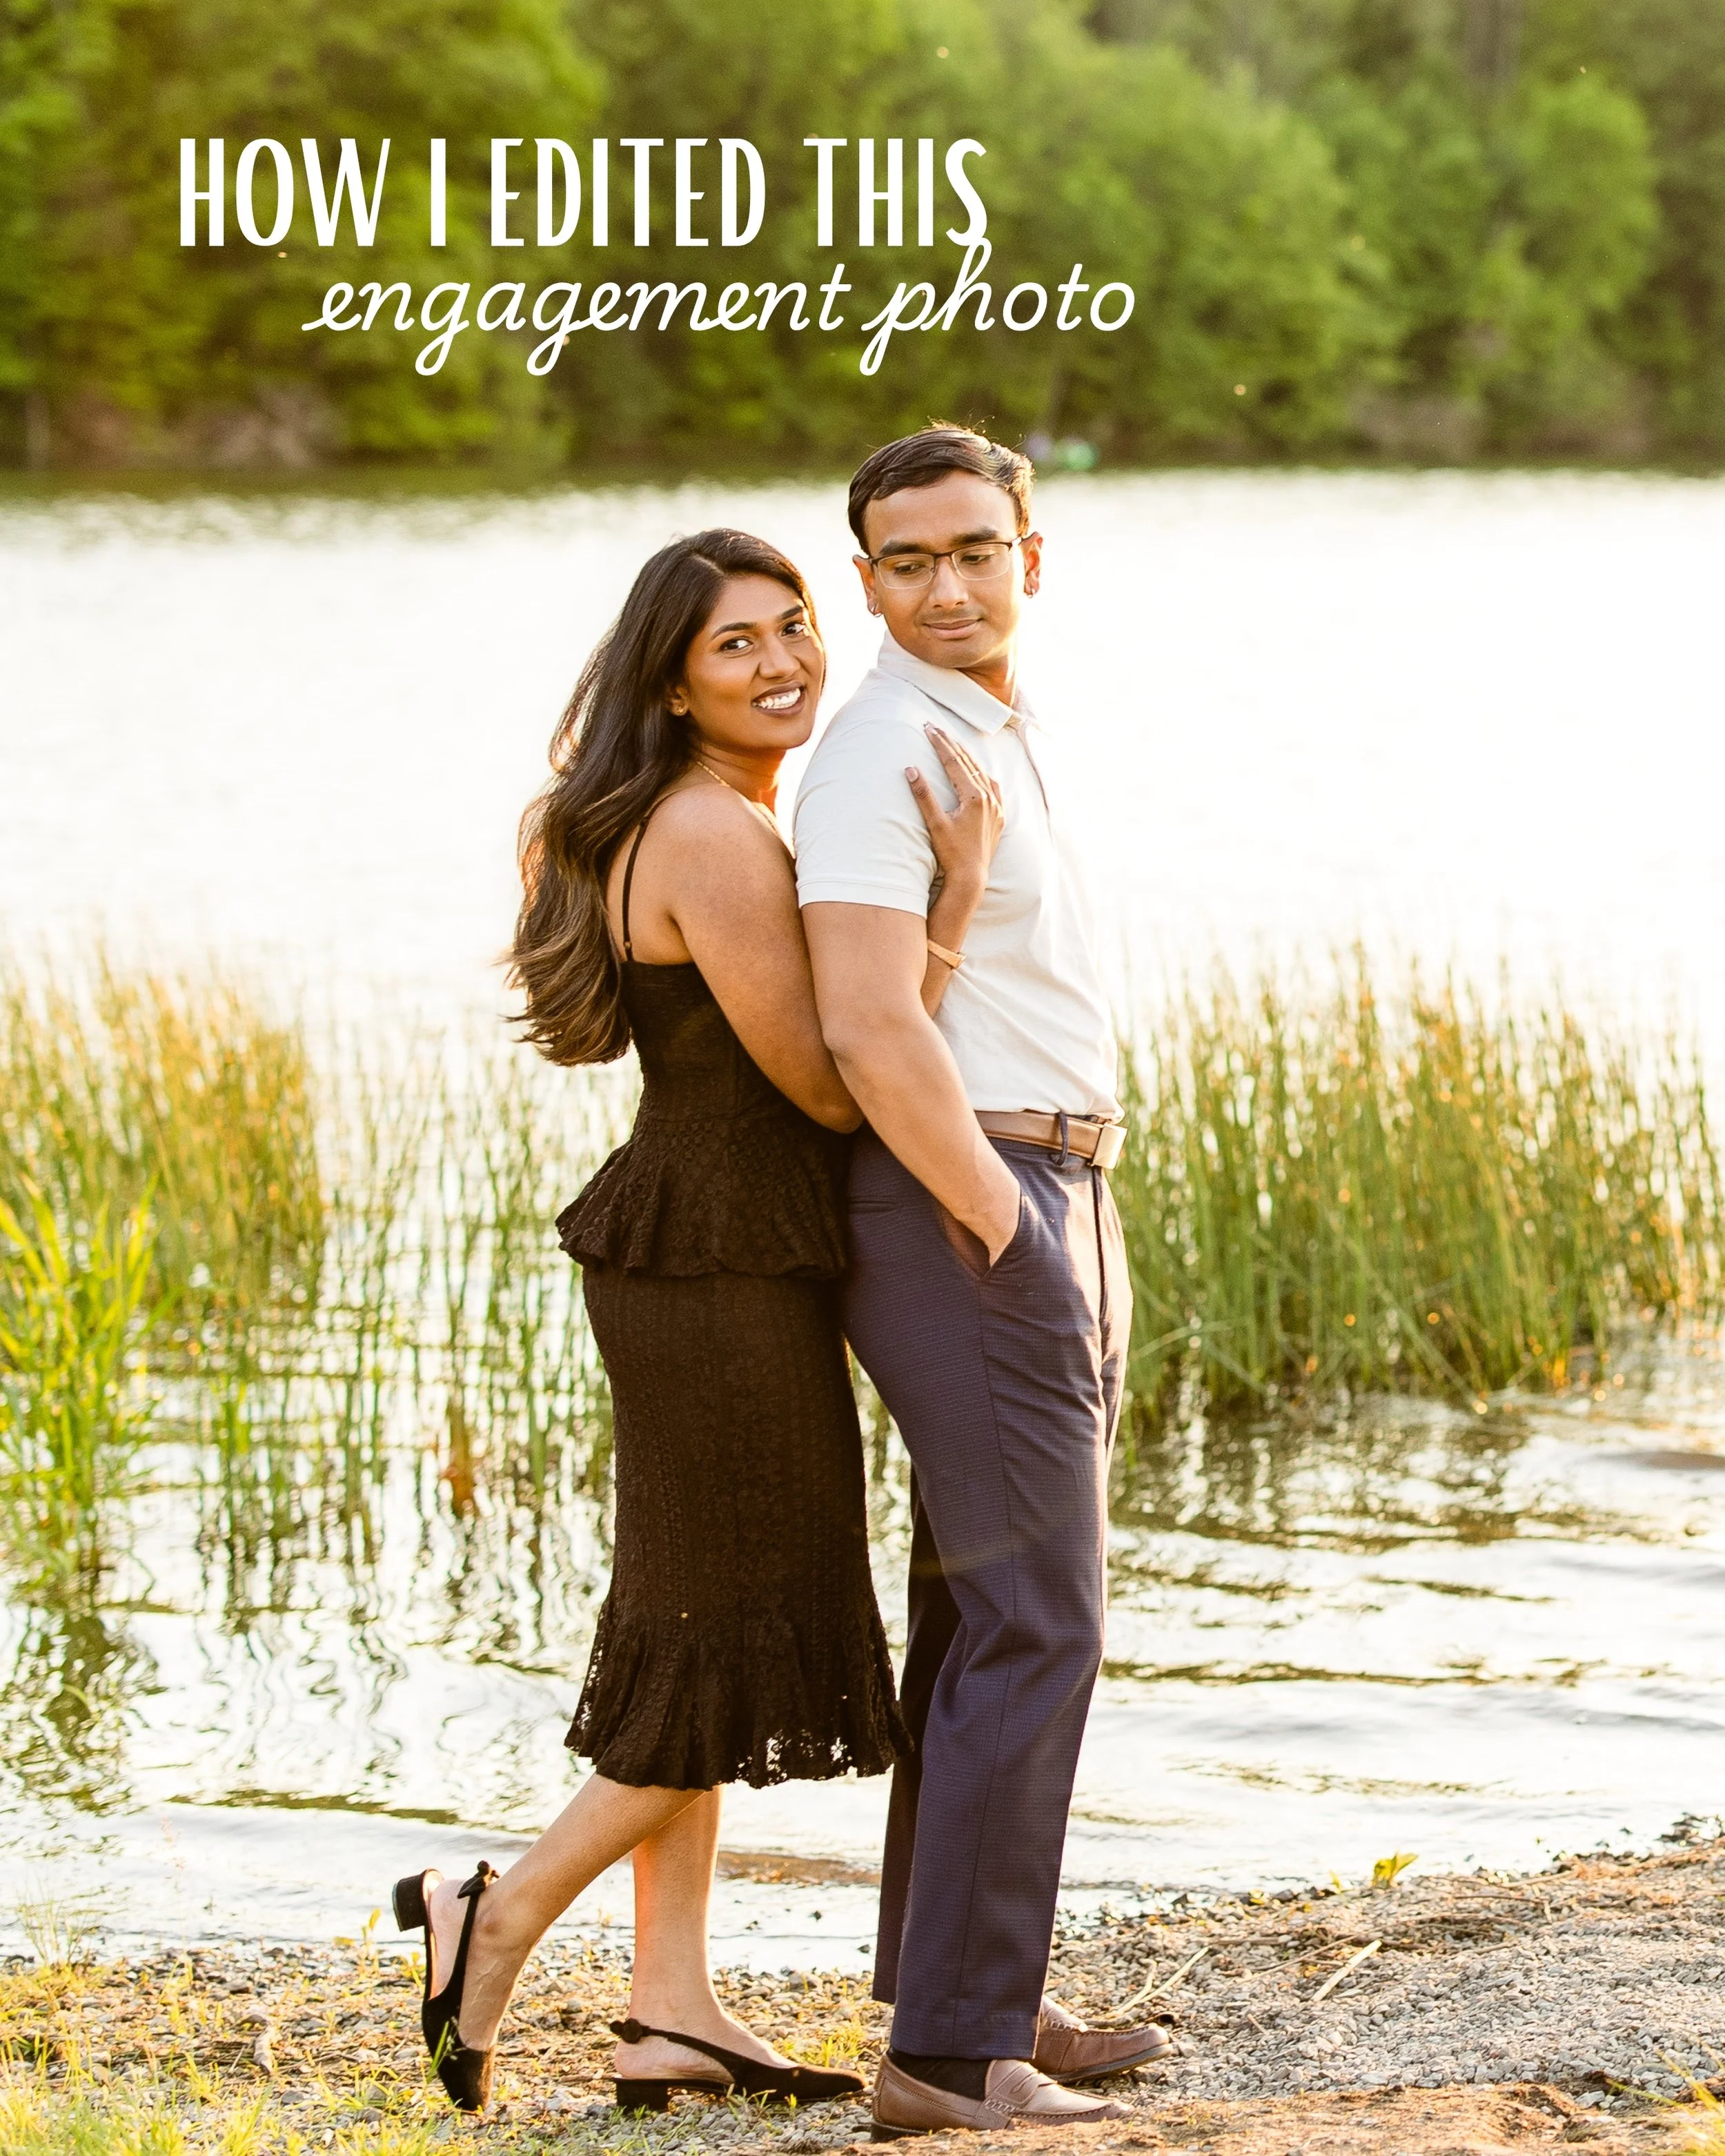
As a Pittsburgh engagement photographer, one of my favorite things to share is a behind-the-scenes look at my photo editing process.
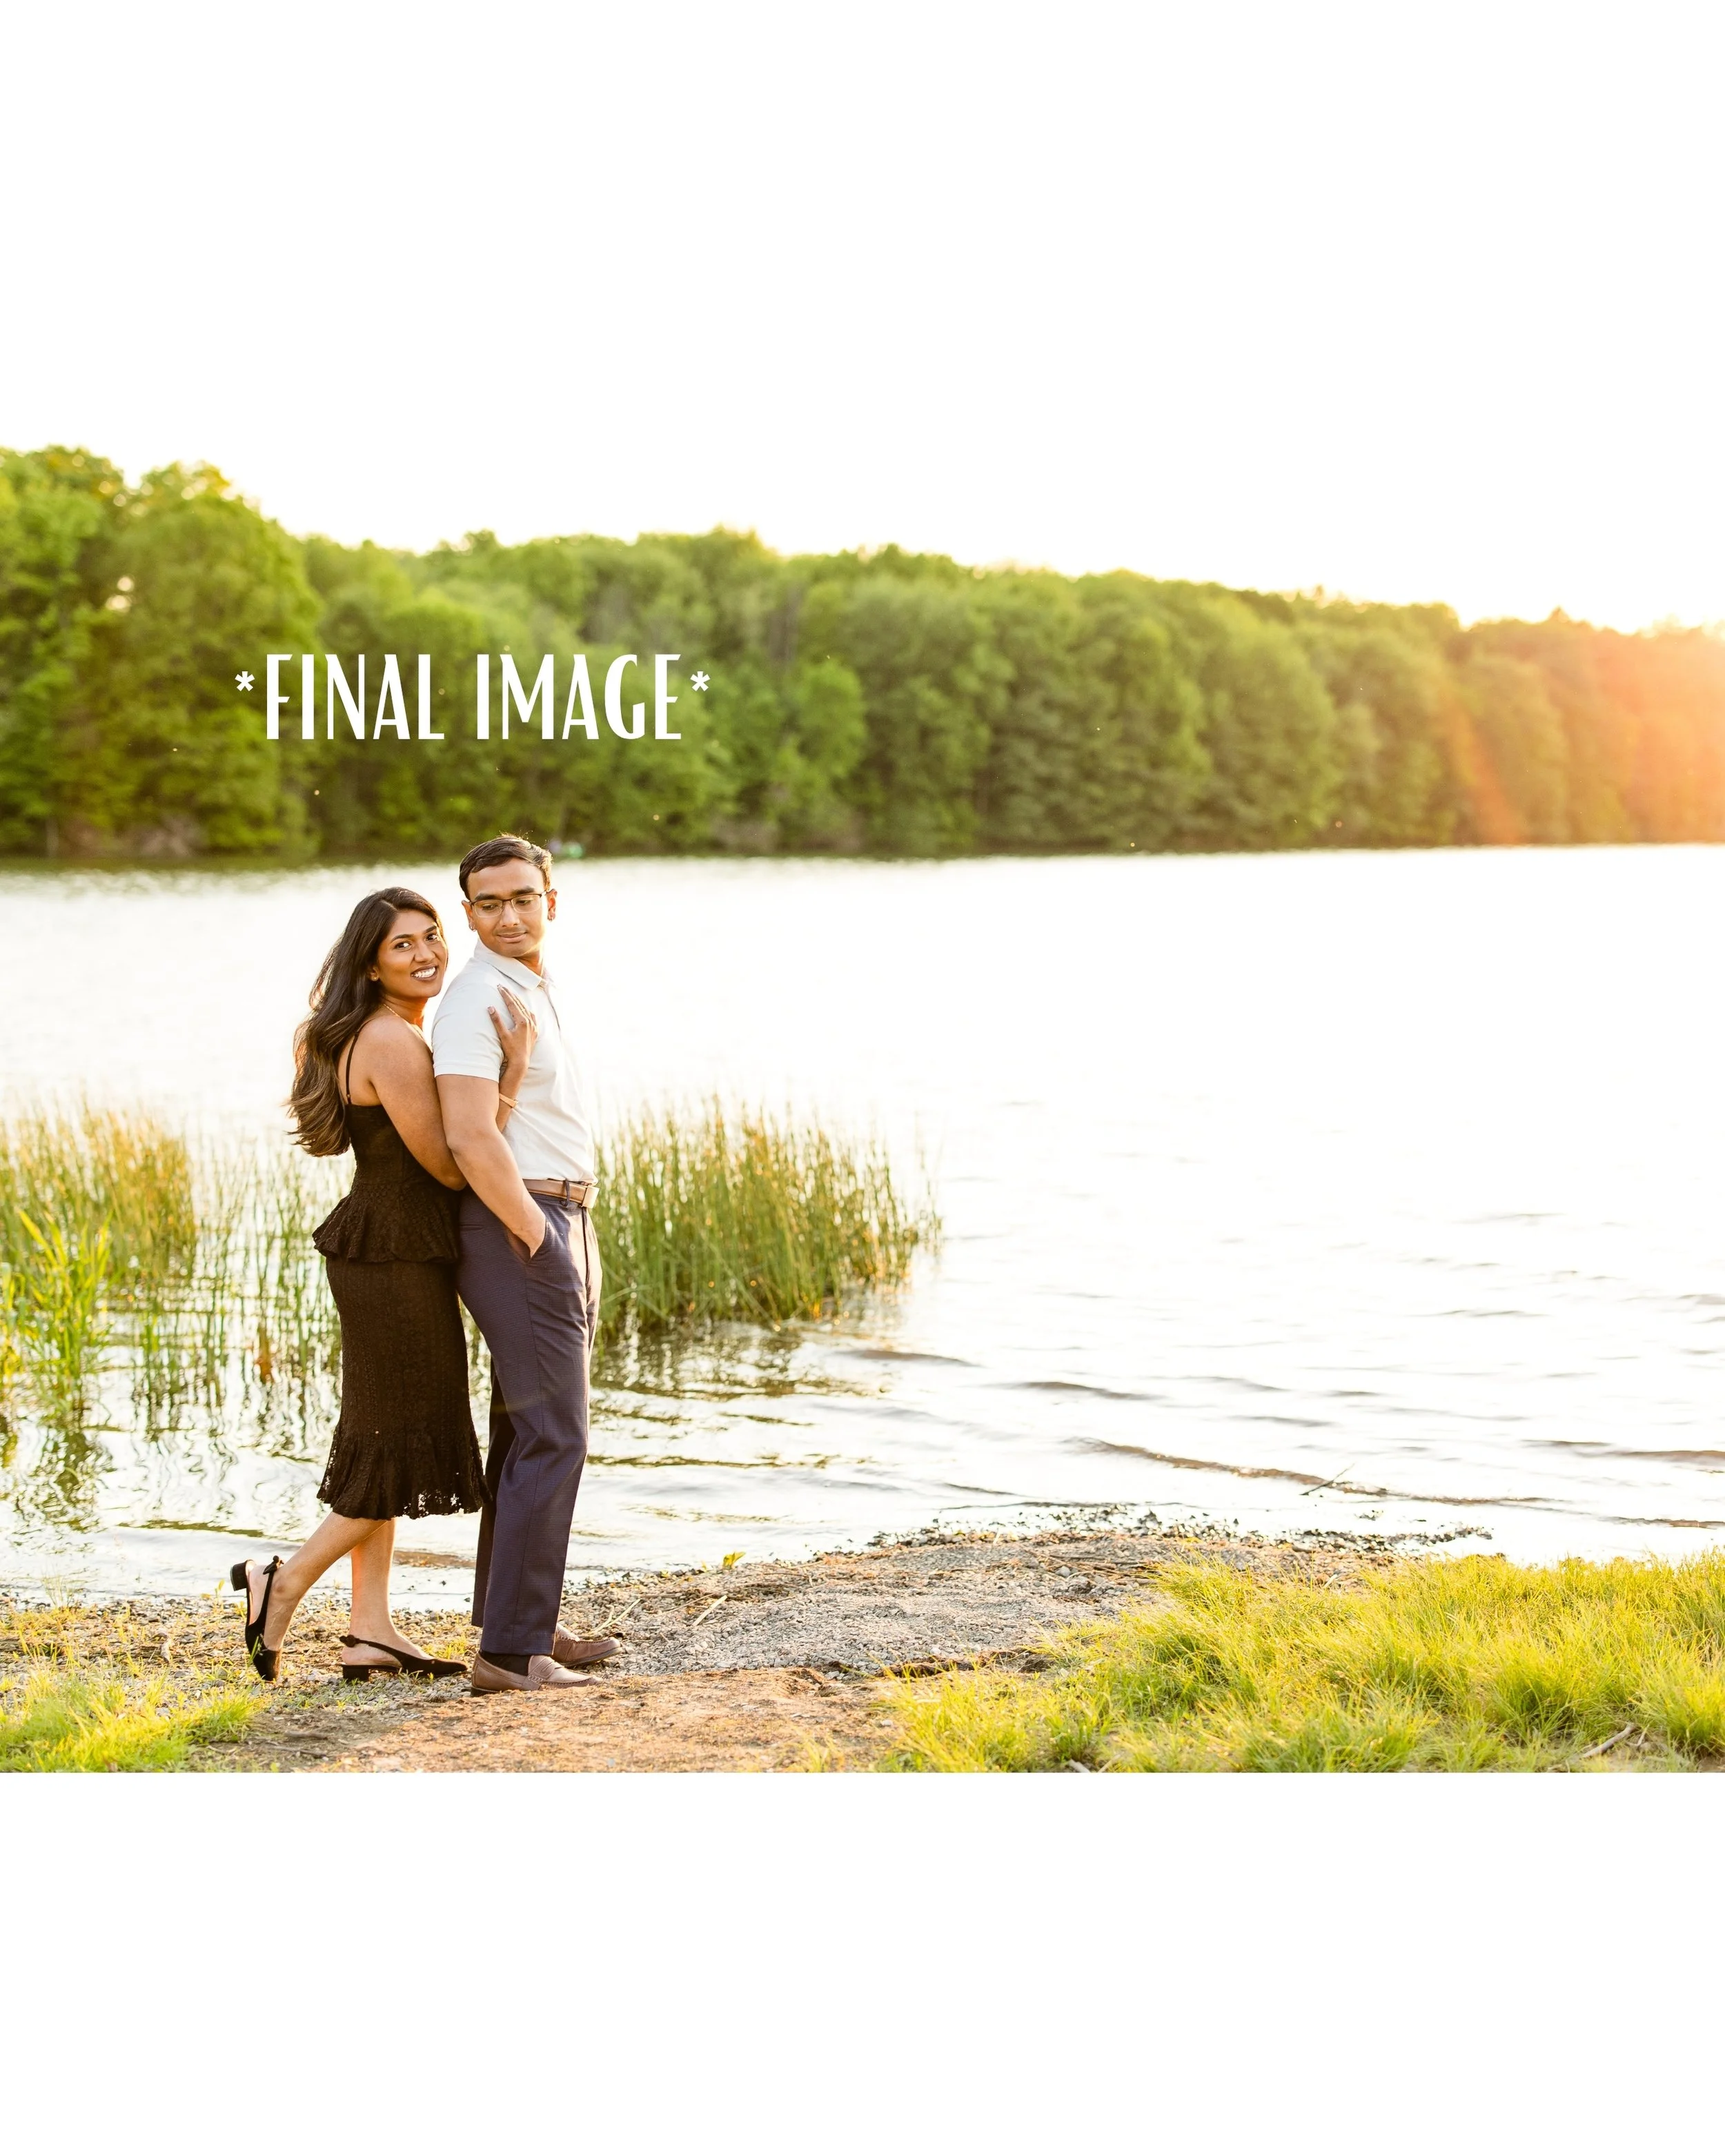
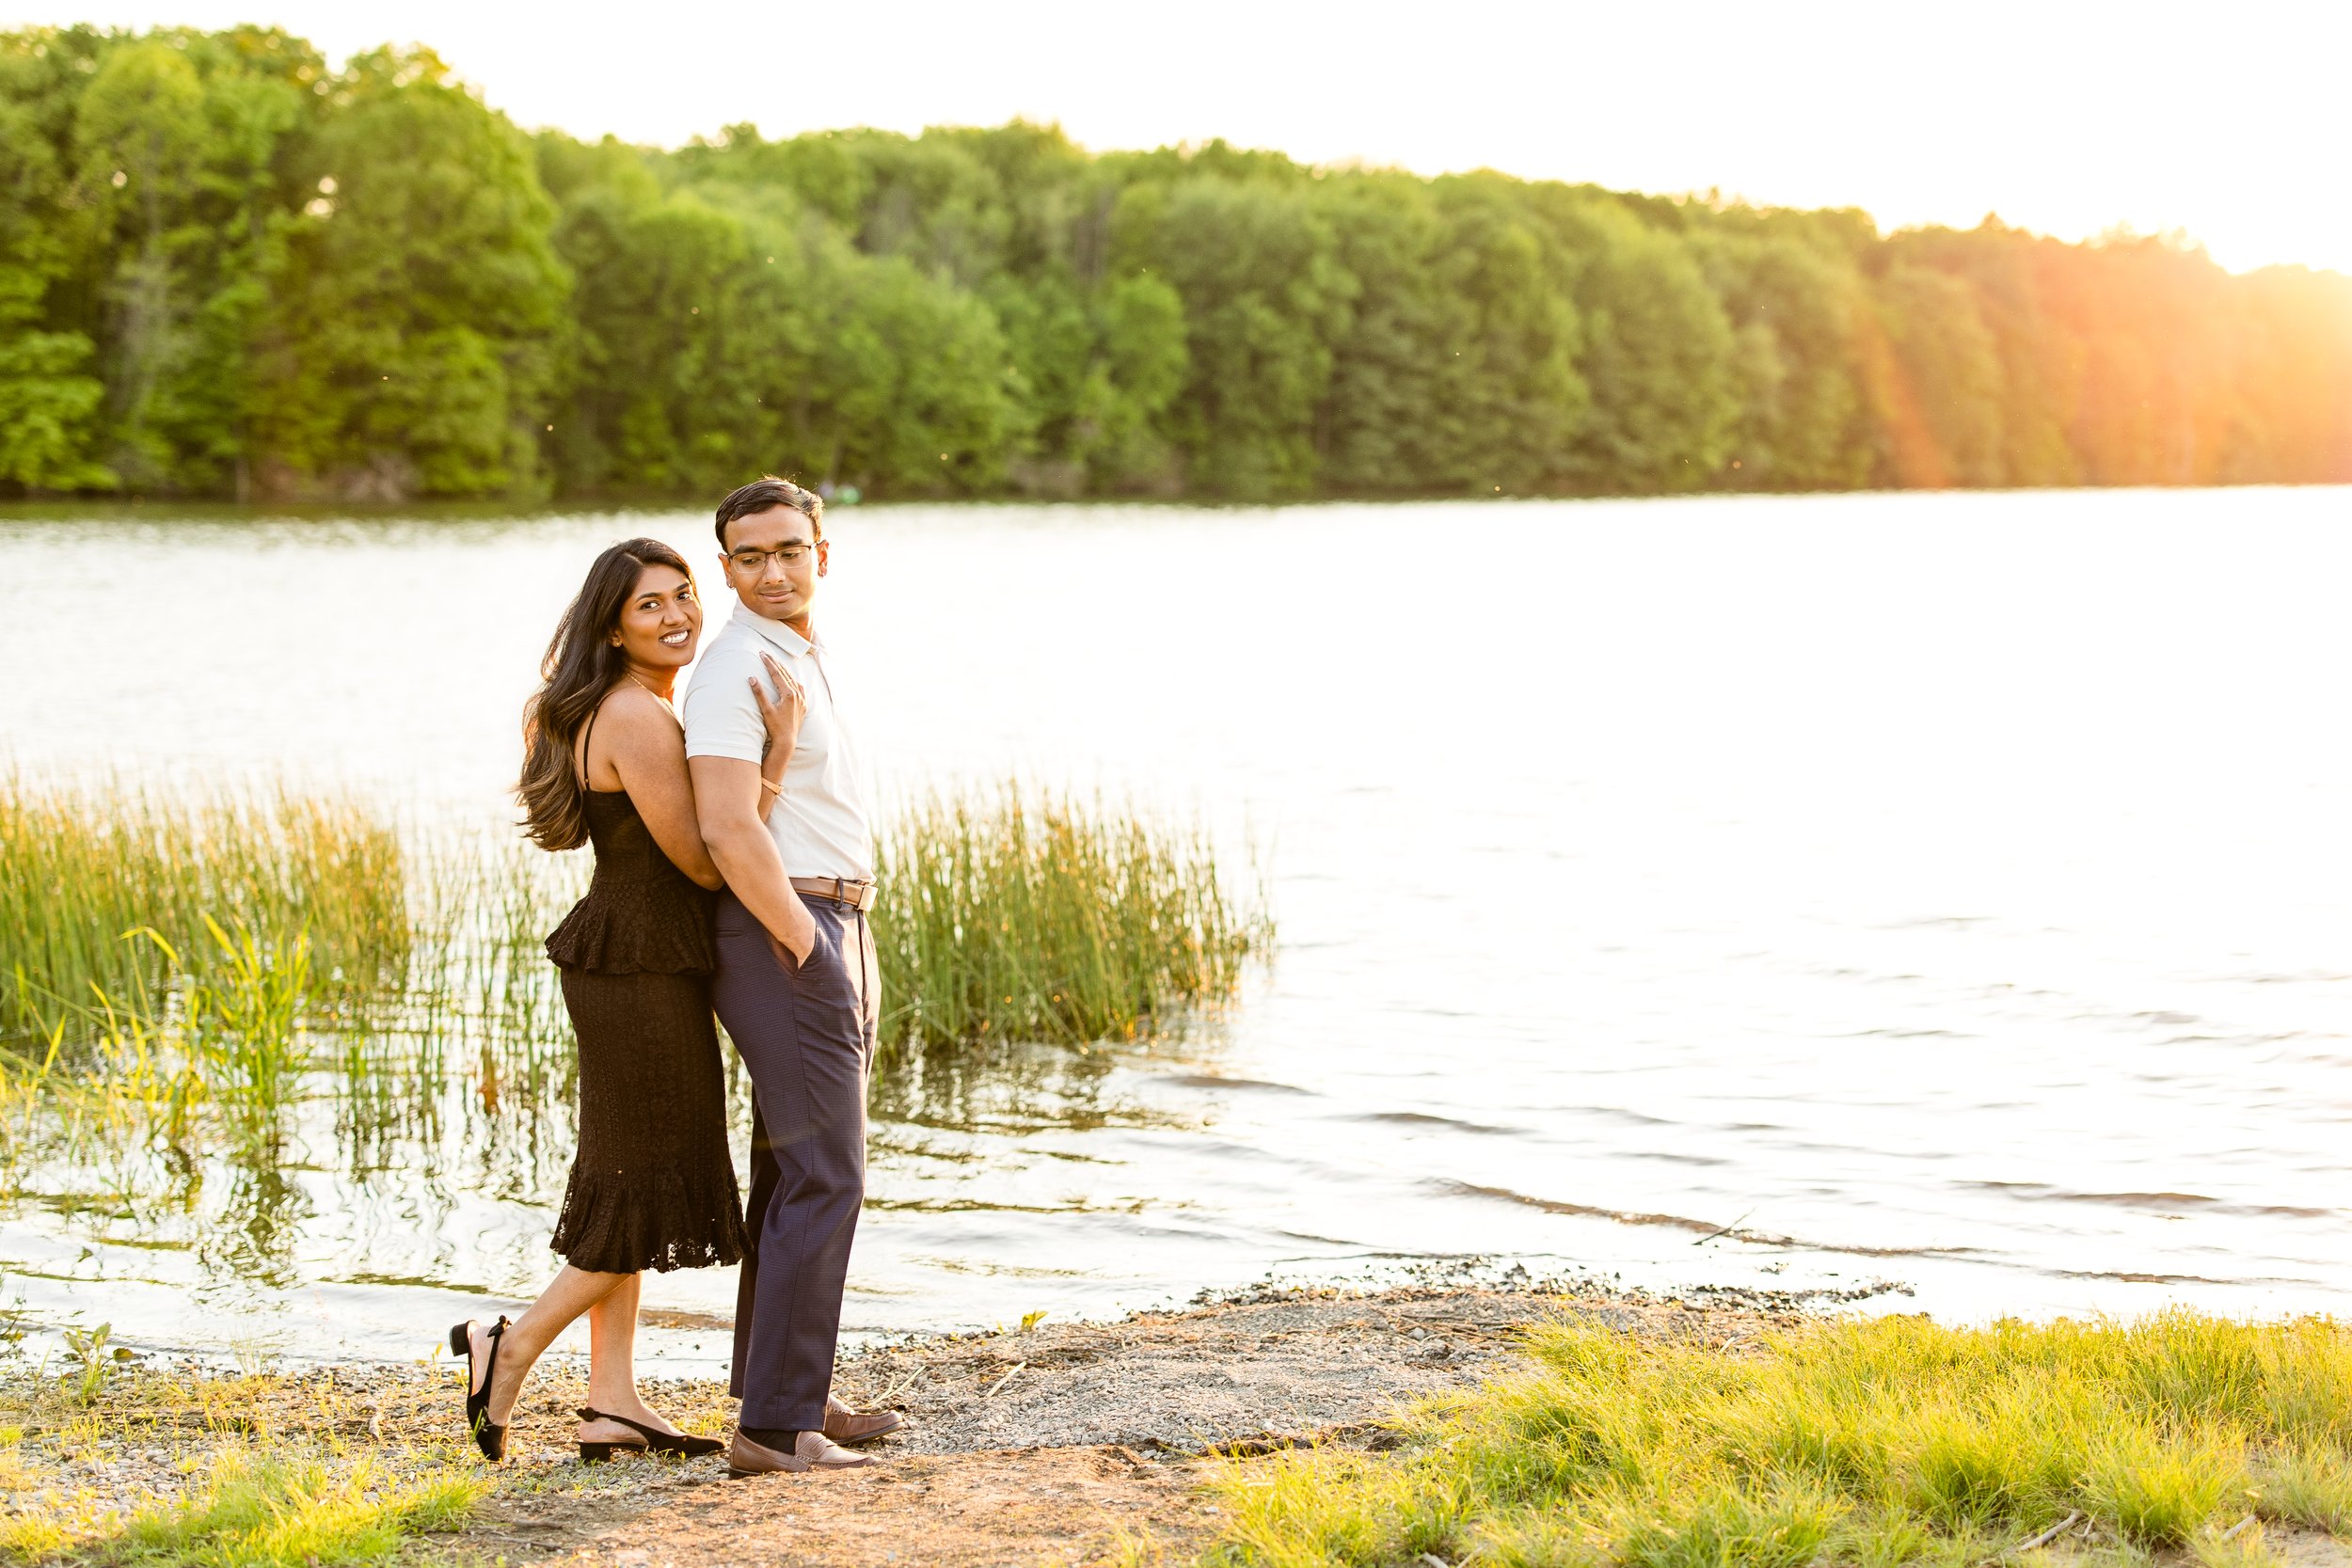
Recently, I shared an Instagram post breaking down exactly how I edited this engagement photo from start to finish. I walked through the adjustments I made in Adobe Lightroom, explaining how I refined the colors, balanced the exposure, enhanced skin tones, and created the final polished image.
Why do I enjoy sharing this kind of content?
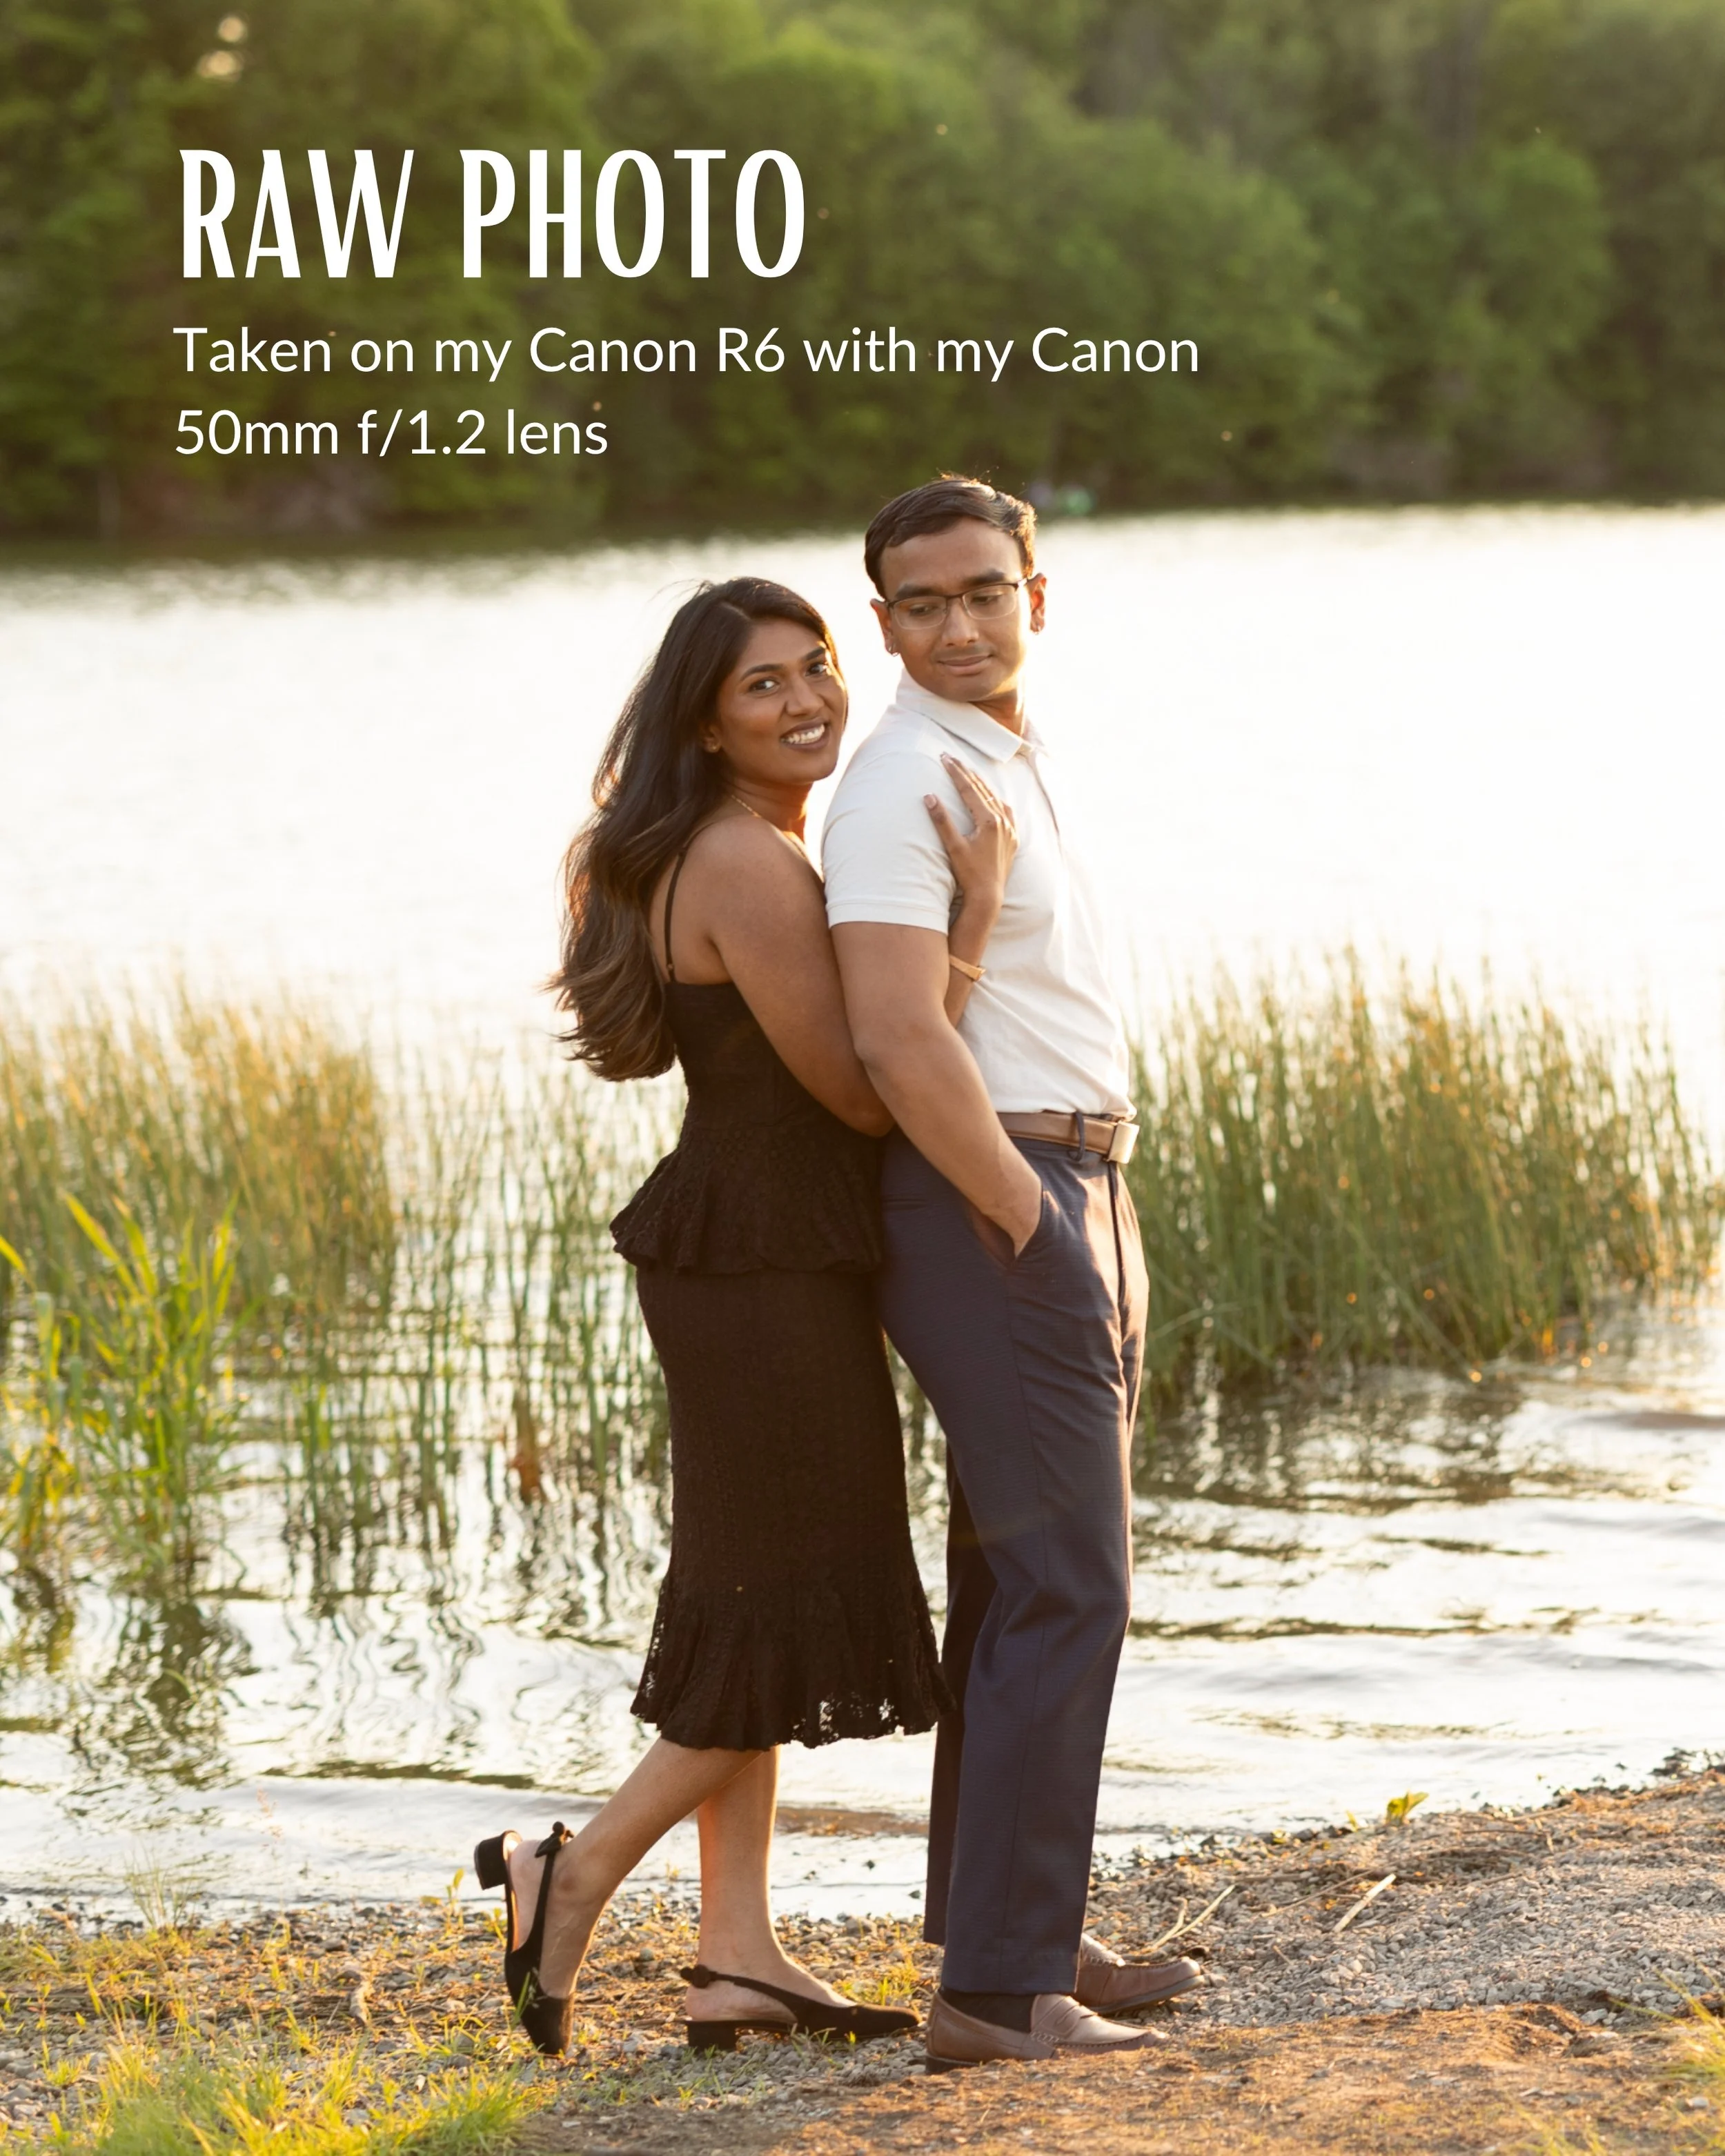
Because when I was learning photography and photo editing, I was always curious about what happened after a photo was taken. I wanted to understand how photographers transformed a RAW image into the final image their clients see. I was fascinated by editing workflows, color grading techniques, and the small adjustments that can make a photo feel more polished and cohesive.
Photo editing plays a huge role in creating a consistent photography style. While every photographer approaches editing differently, it's often the finishing touches that help bring an image to life and create the overall look and feel of a gallery.
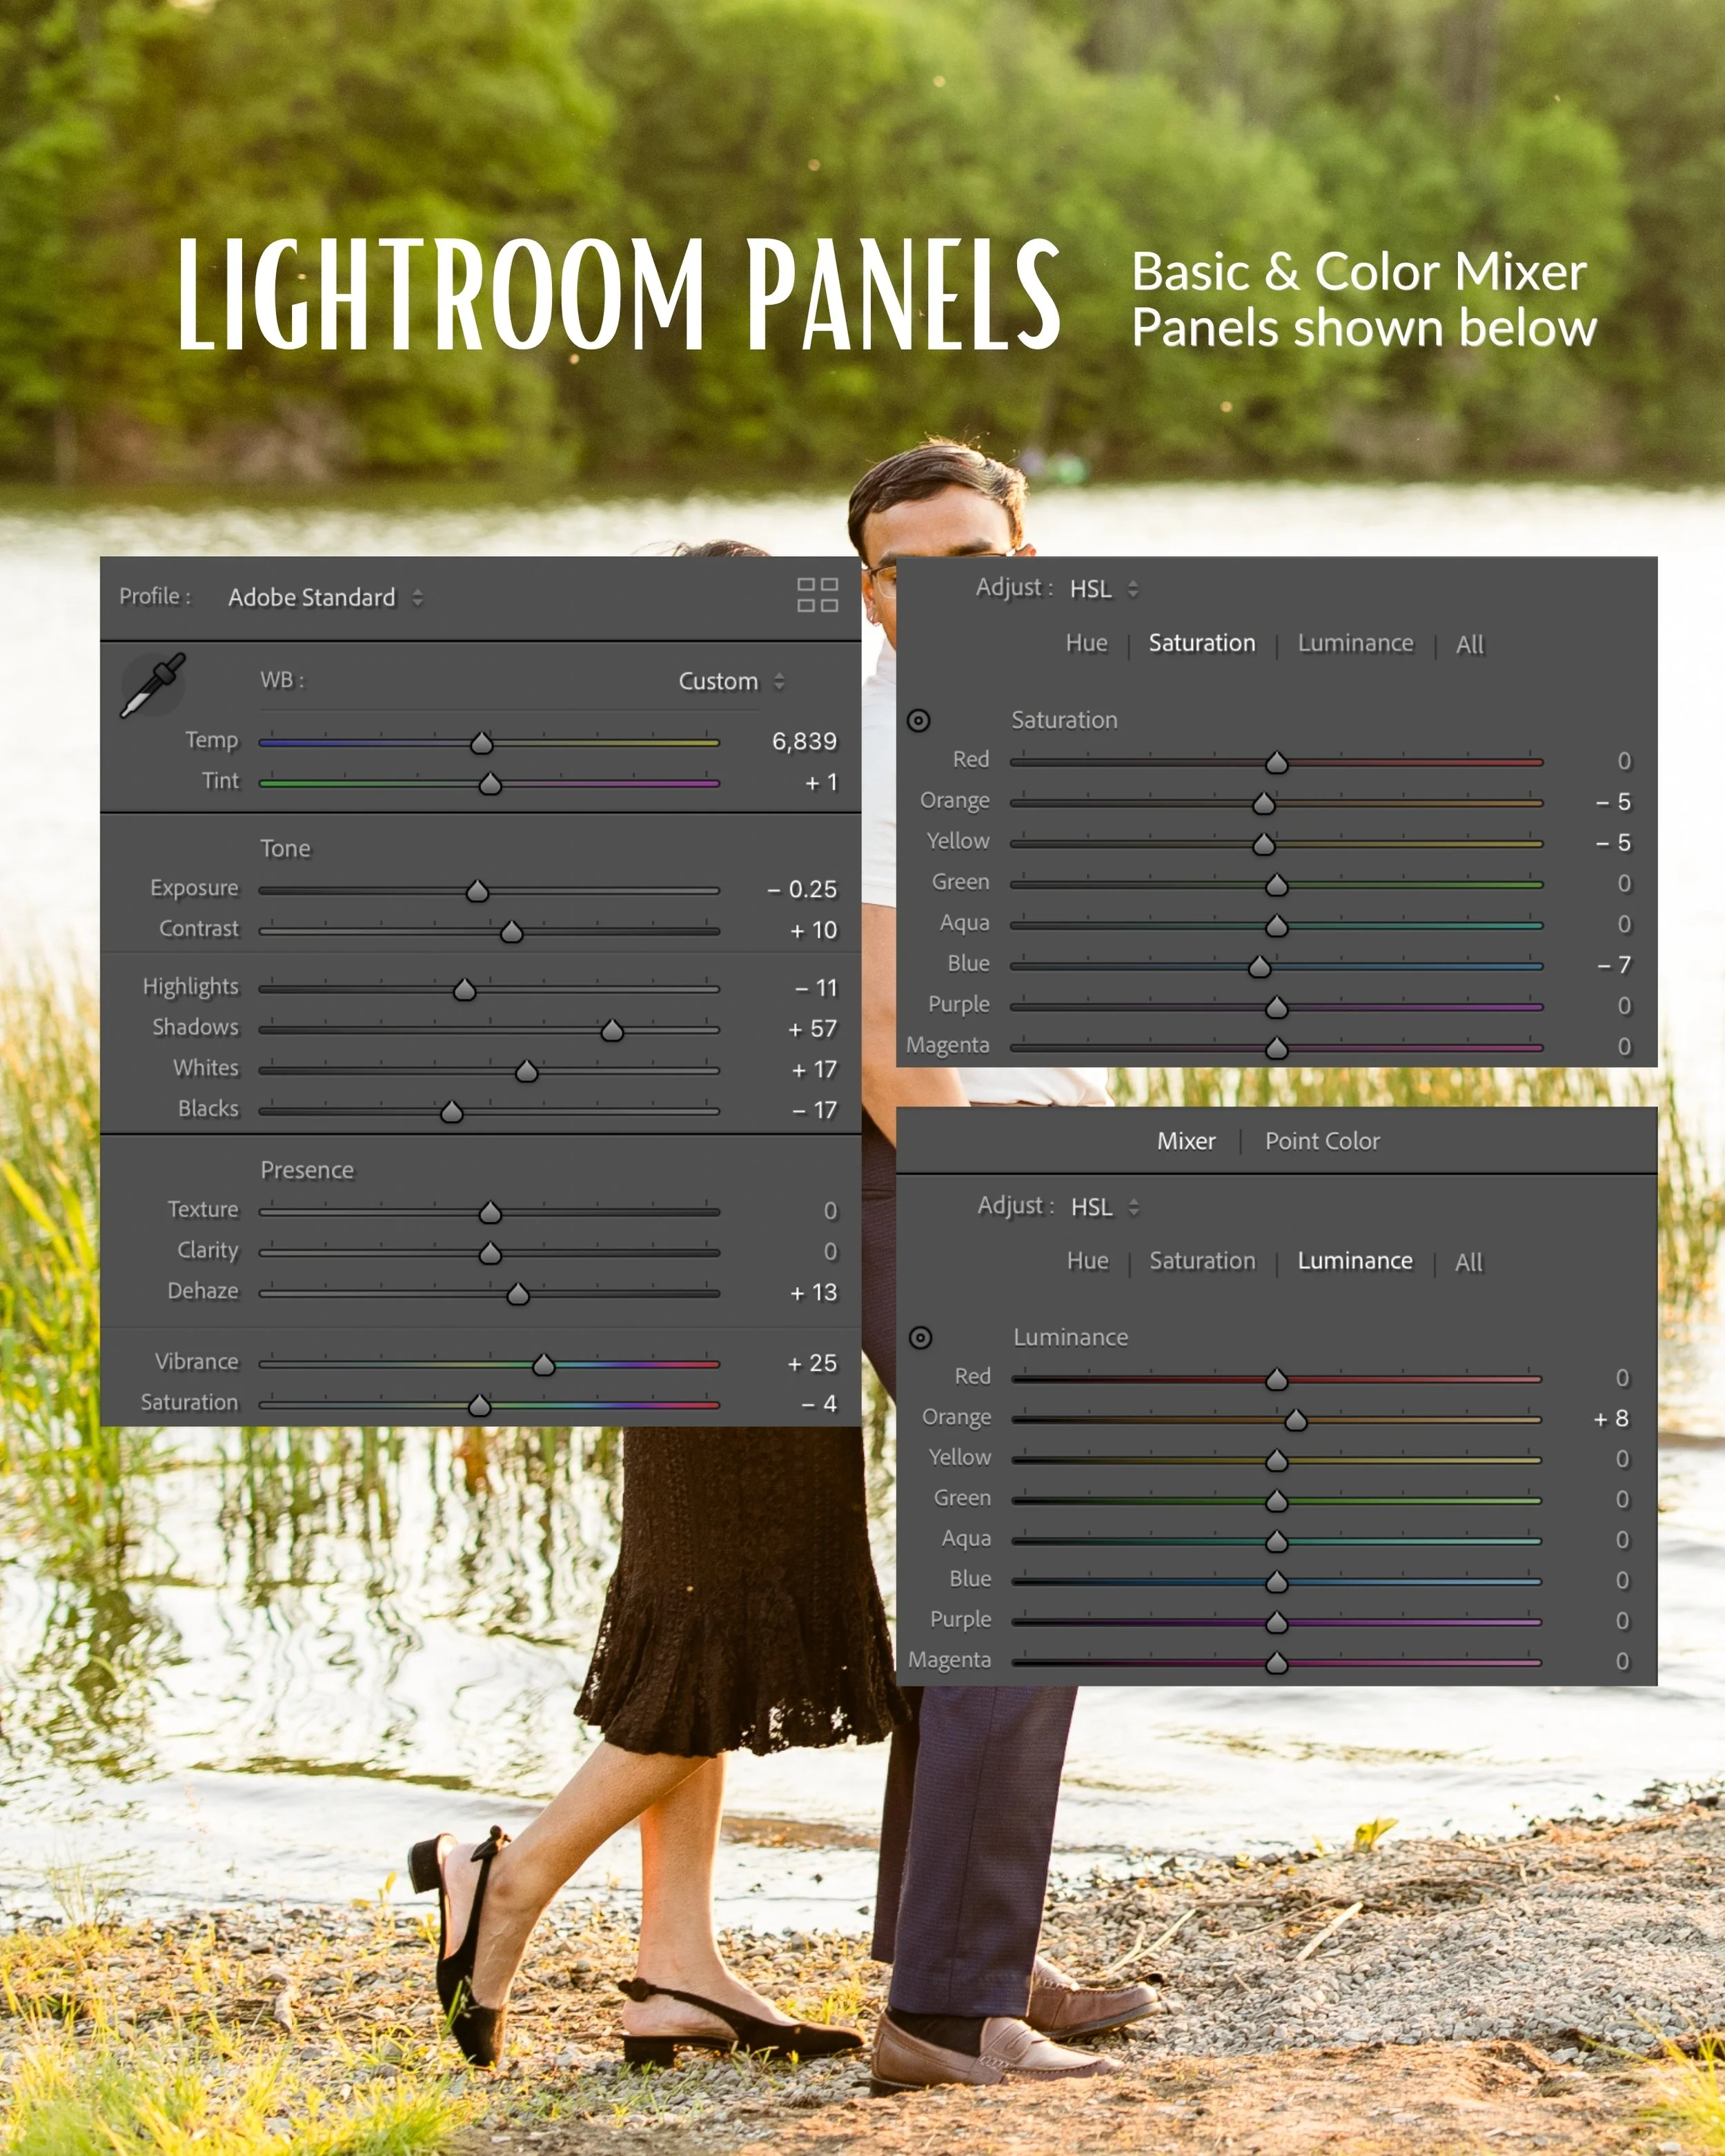
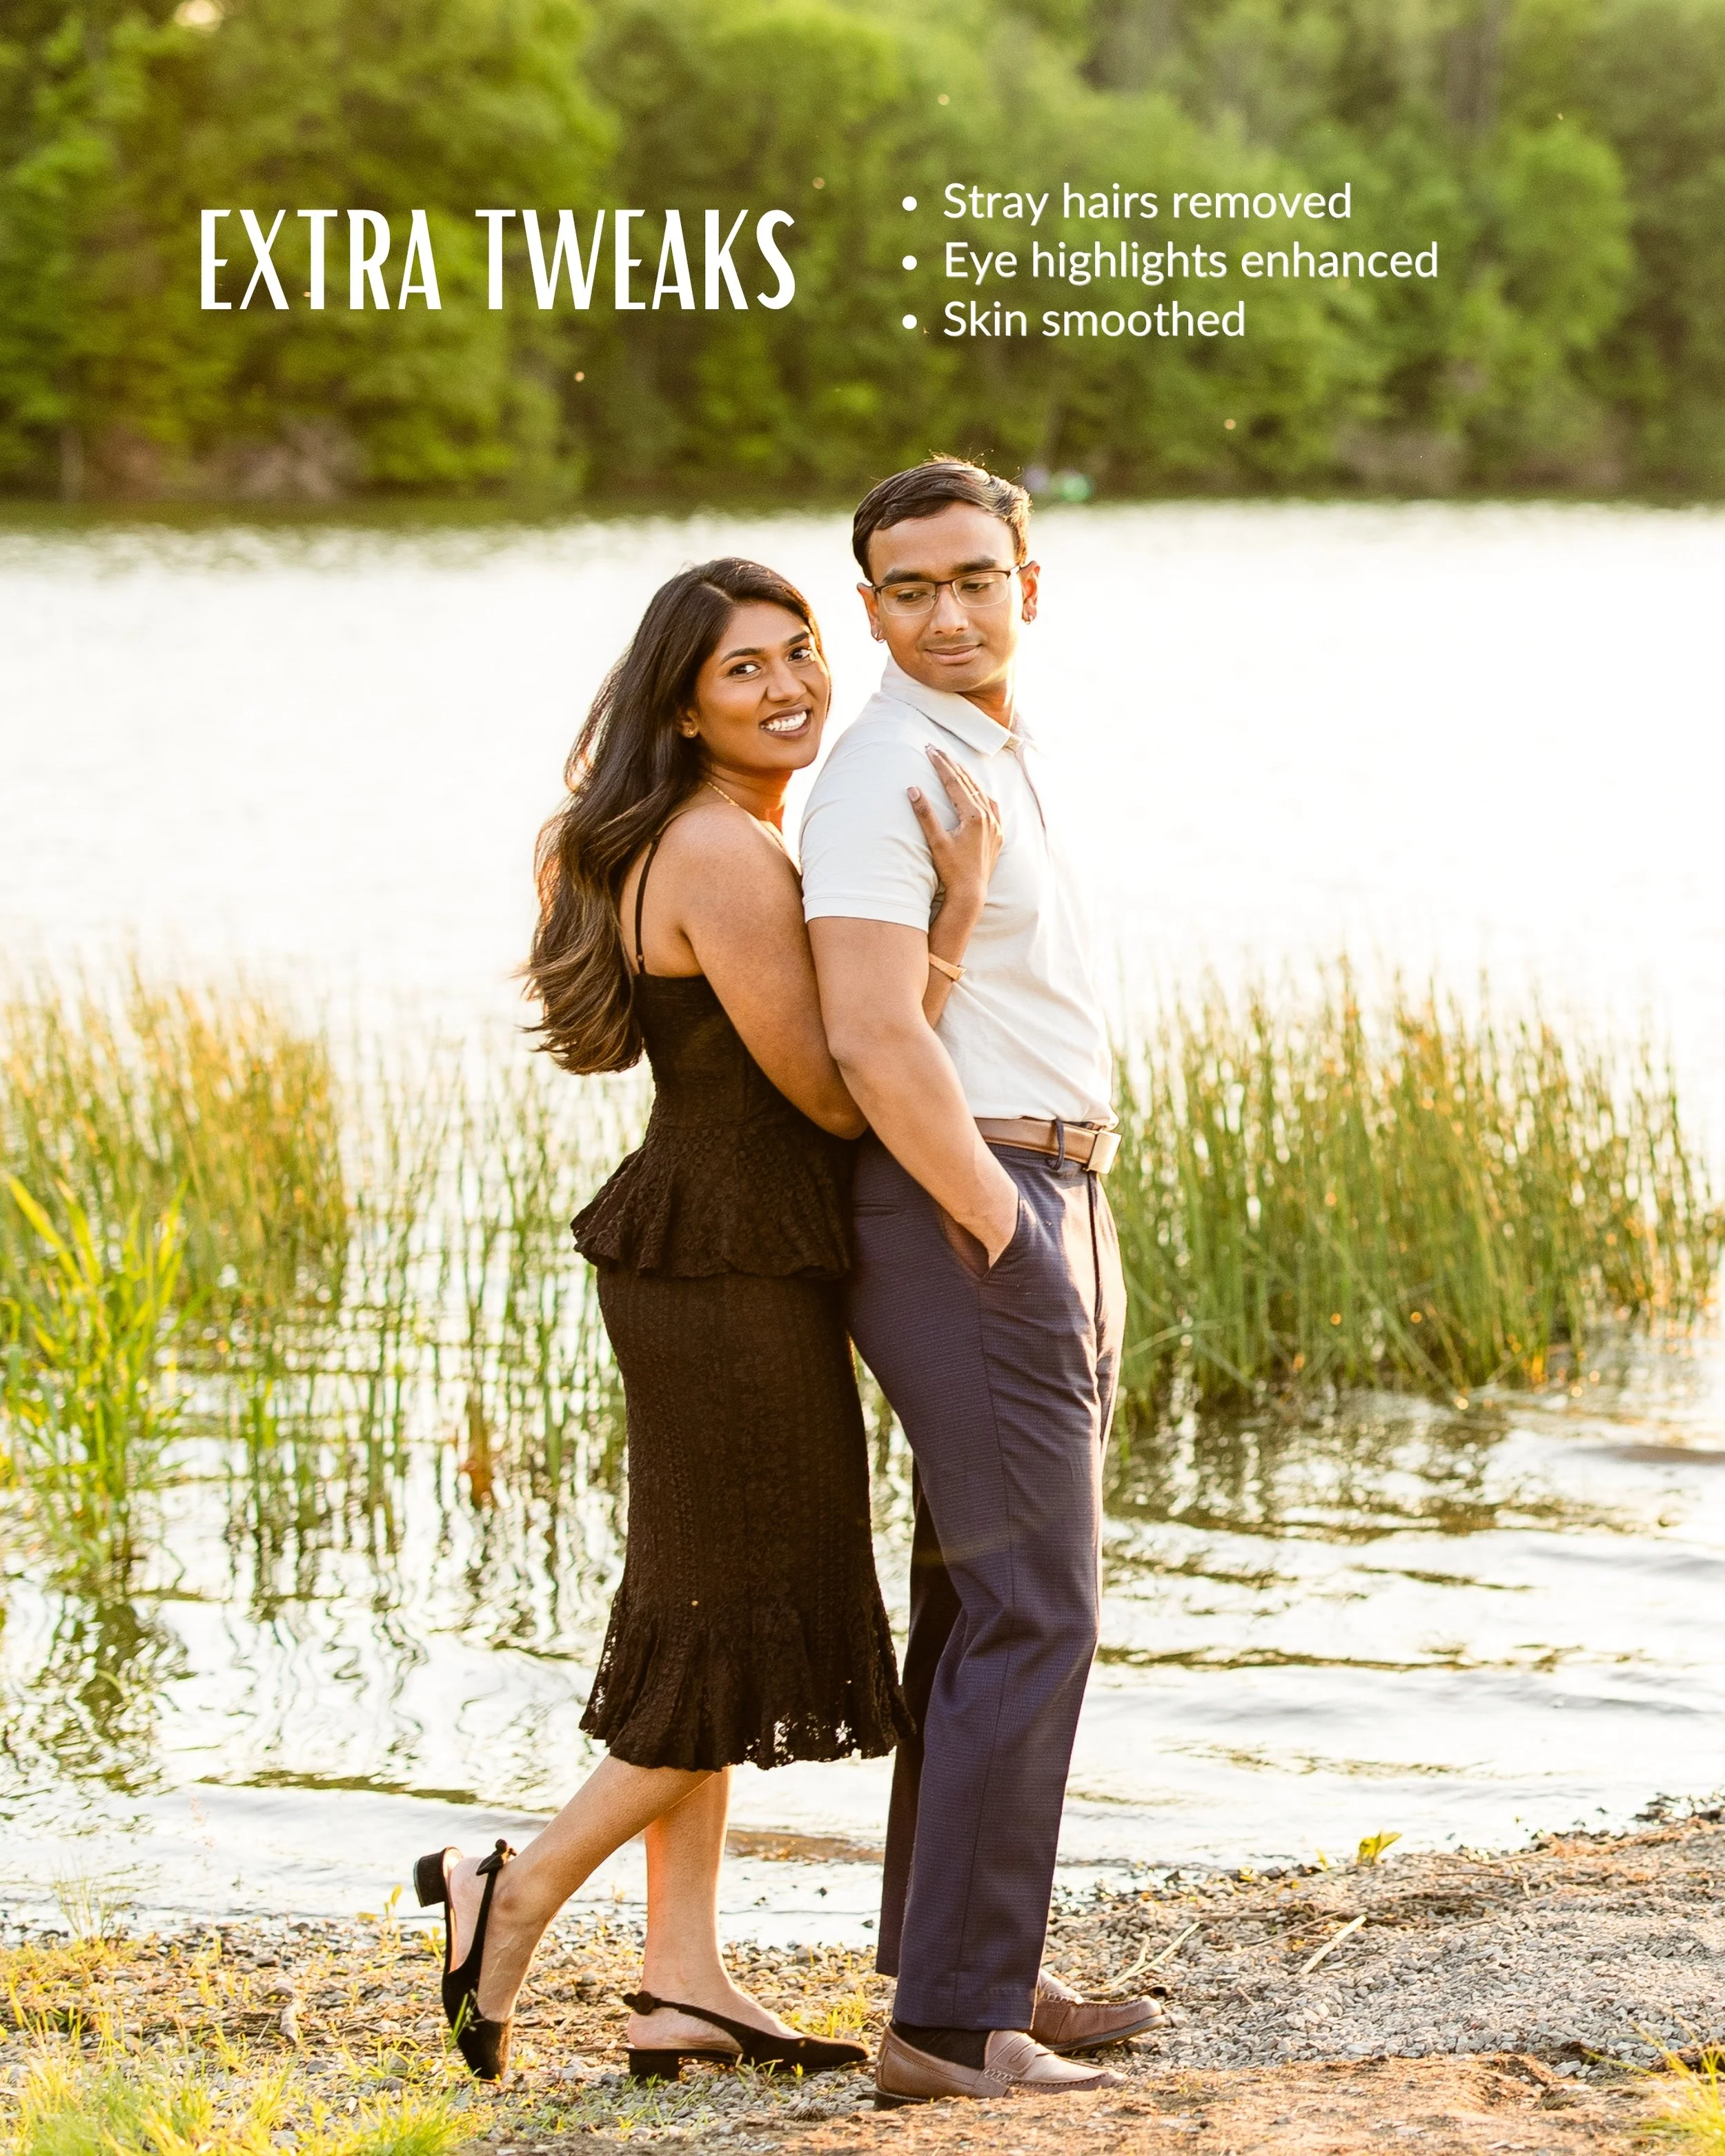
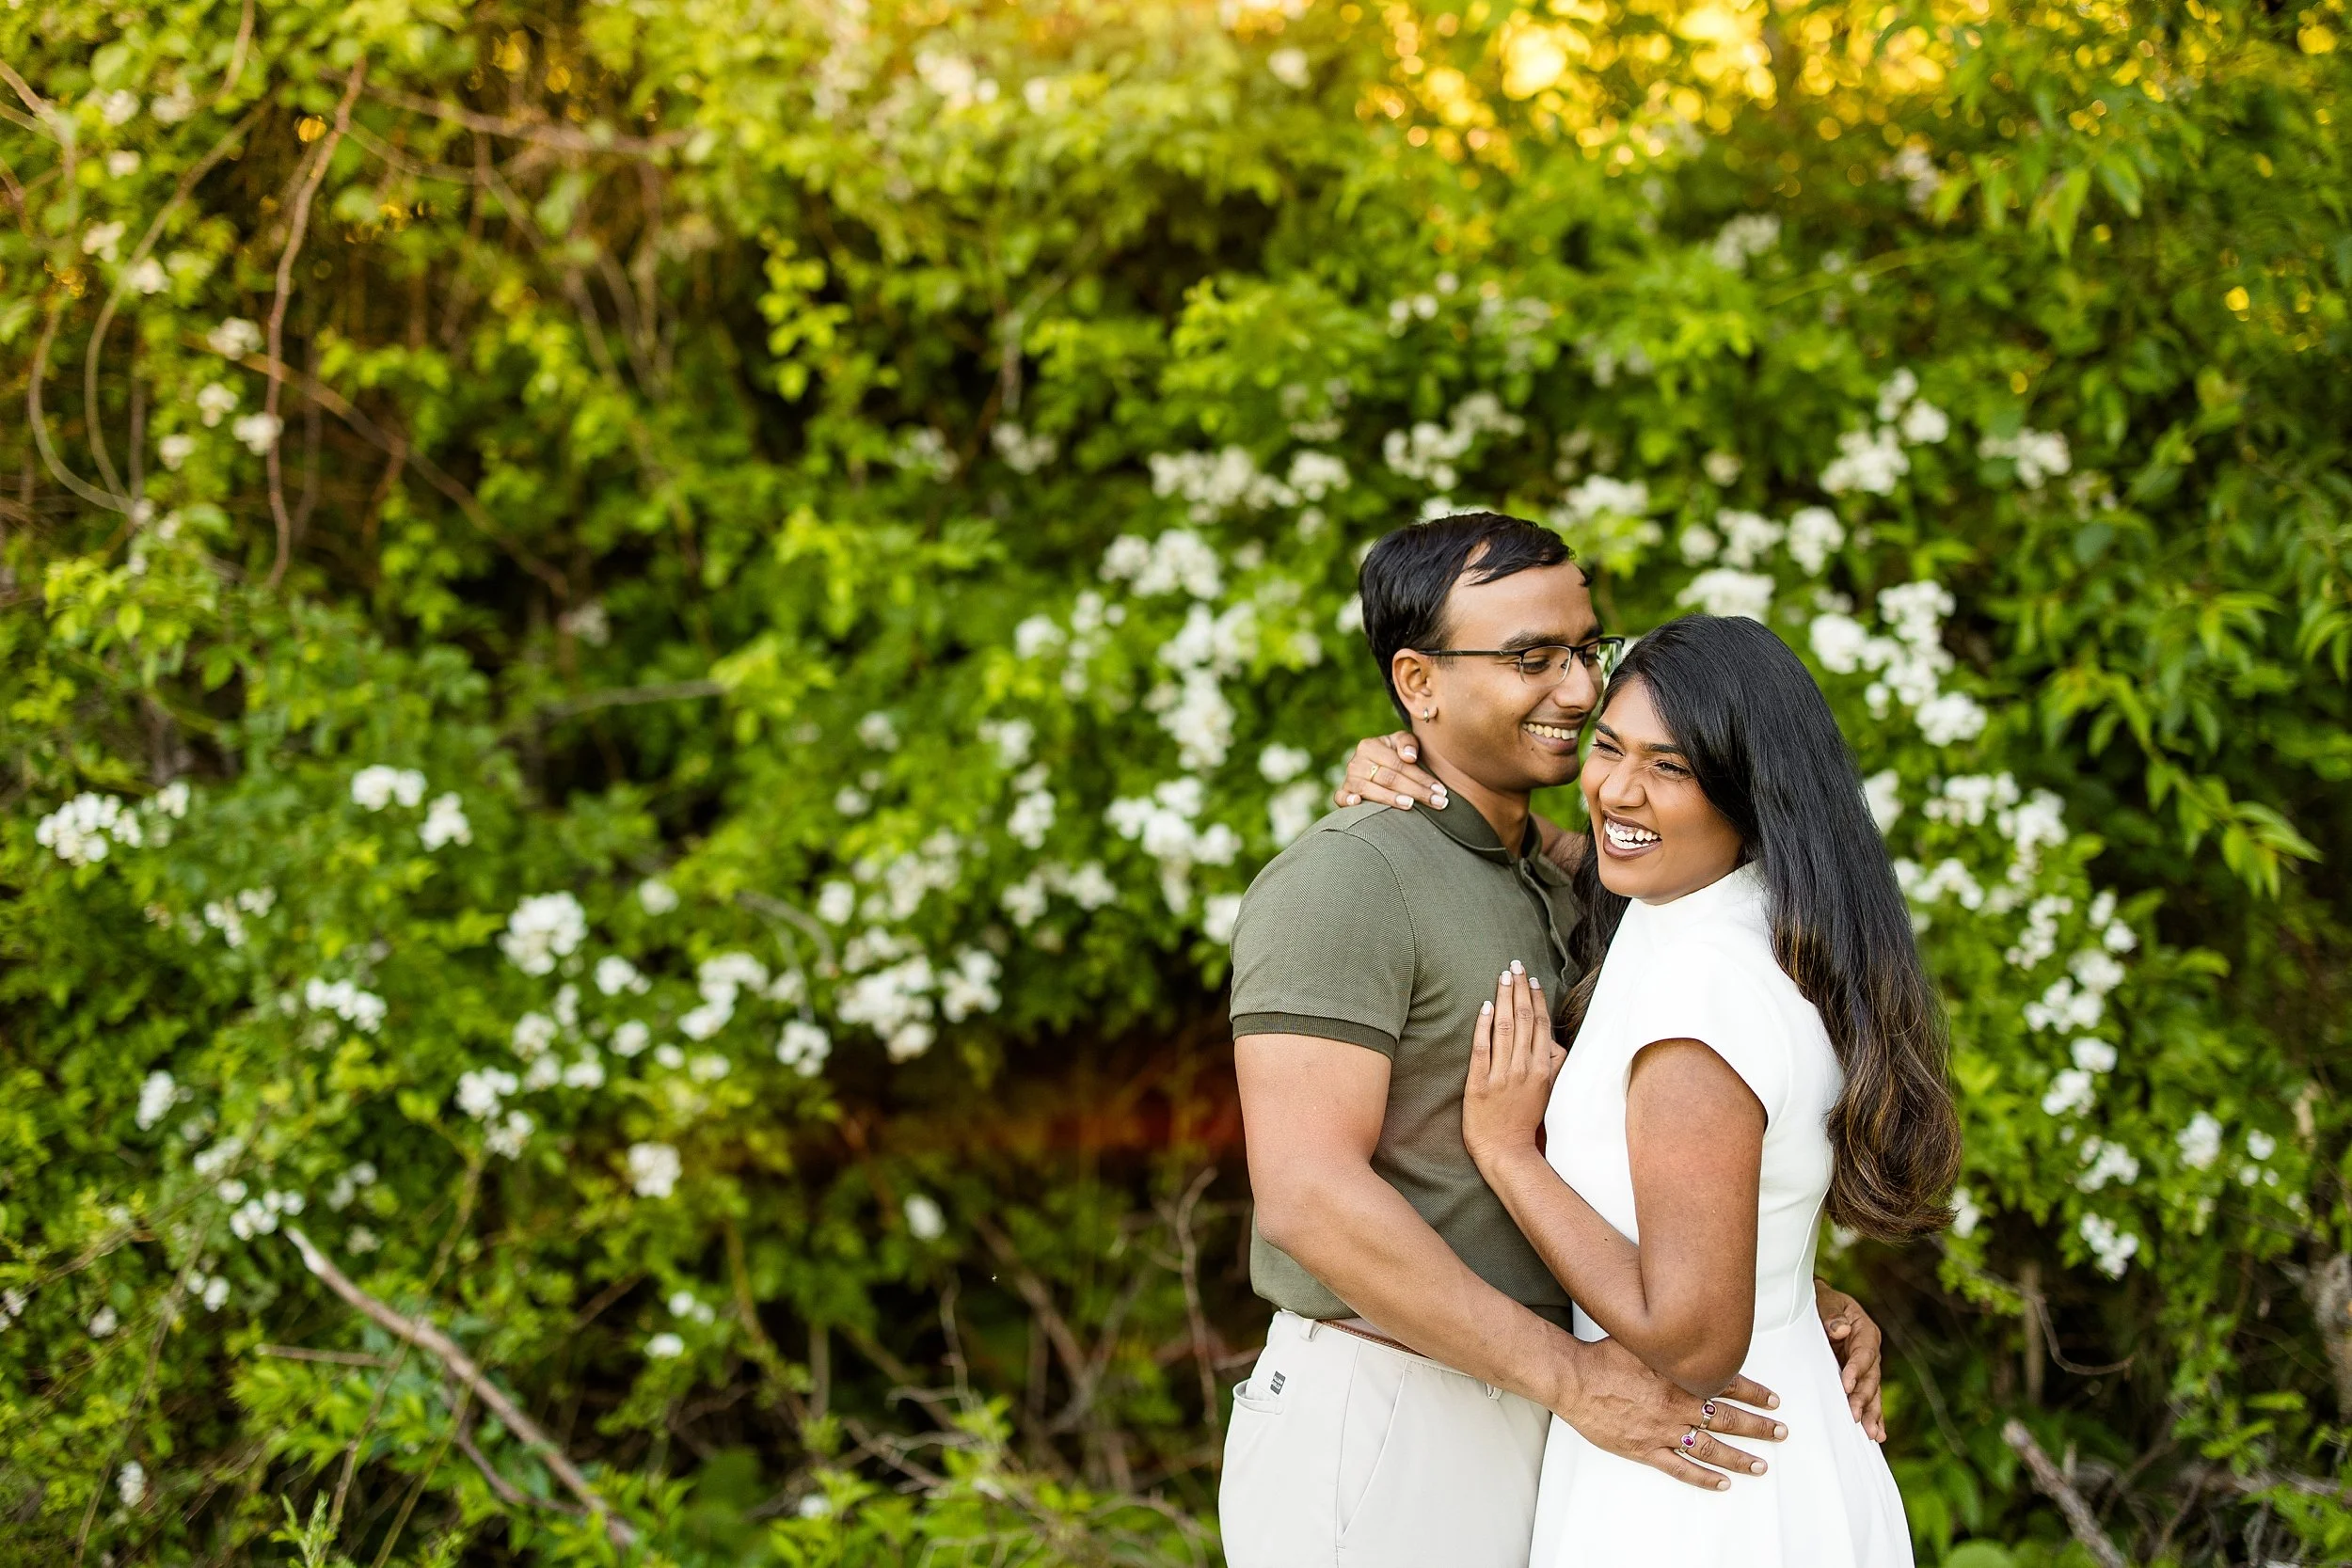
For this engagement photo, I focused on creating a clean, timeless edit while maintaining natural skin tones and true-to-life colors. Throughout the editing process, I used Adobe Lightroom to make targeted adjustments to color, contrast, white balance, and overall tone, helping the final image feel bright, polished, and authentic.
I love sharing editing breakdowns because they provide insight into a part of photography that often happens behind the scenes. Whether you're a photographer looking to improve your Lightroom workflow, learn new editing techniques, or simply see how a professional image comes together, I hope these posts offer something valuable.
Photography doesn't end when the shutter clicks. The editing process is where many photographers refine their vision and create a consistent experience for their clients.
Enjoy this behind-the-scenes look at how I edited one of my favorite engagement photos!