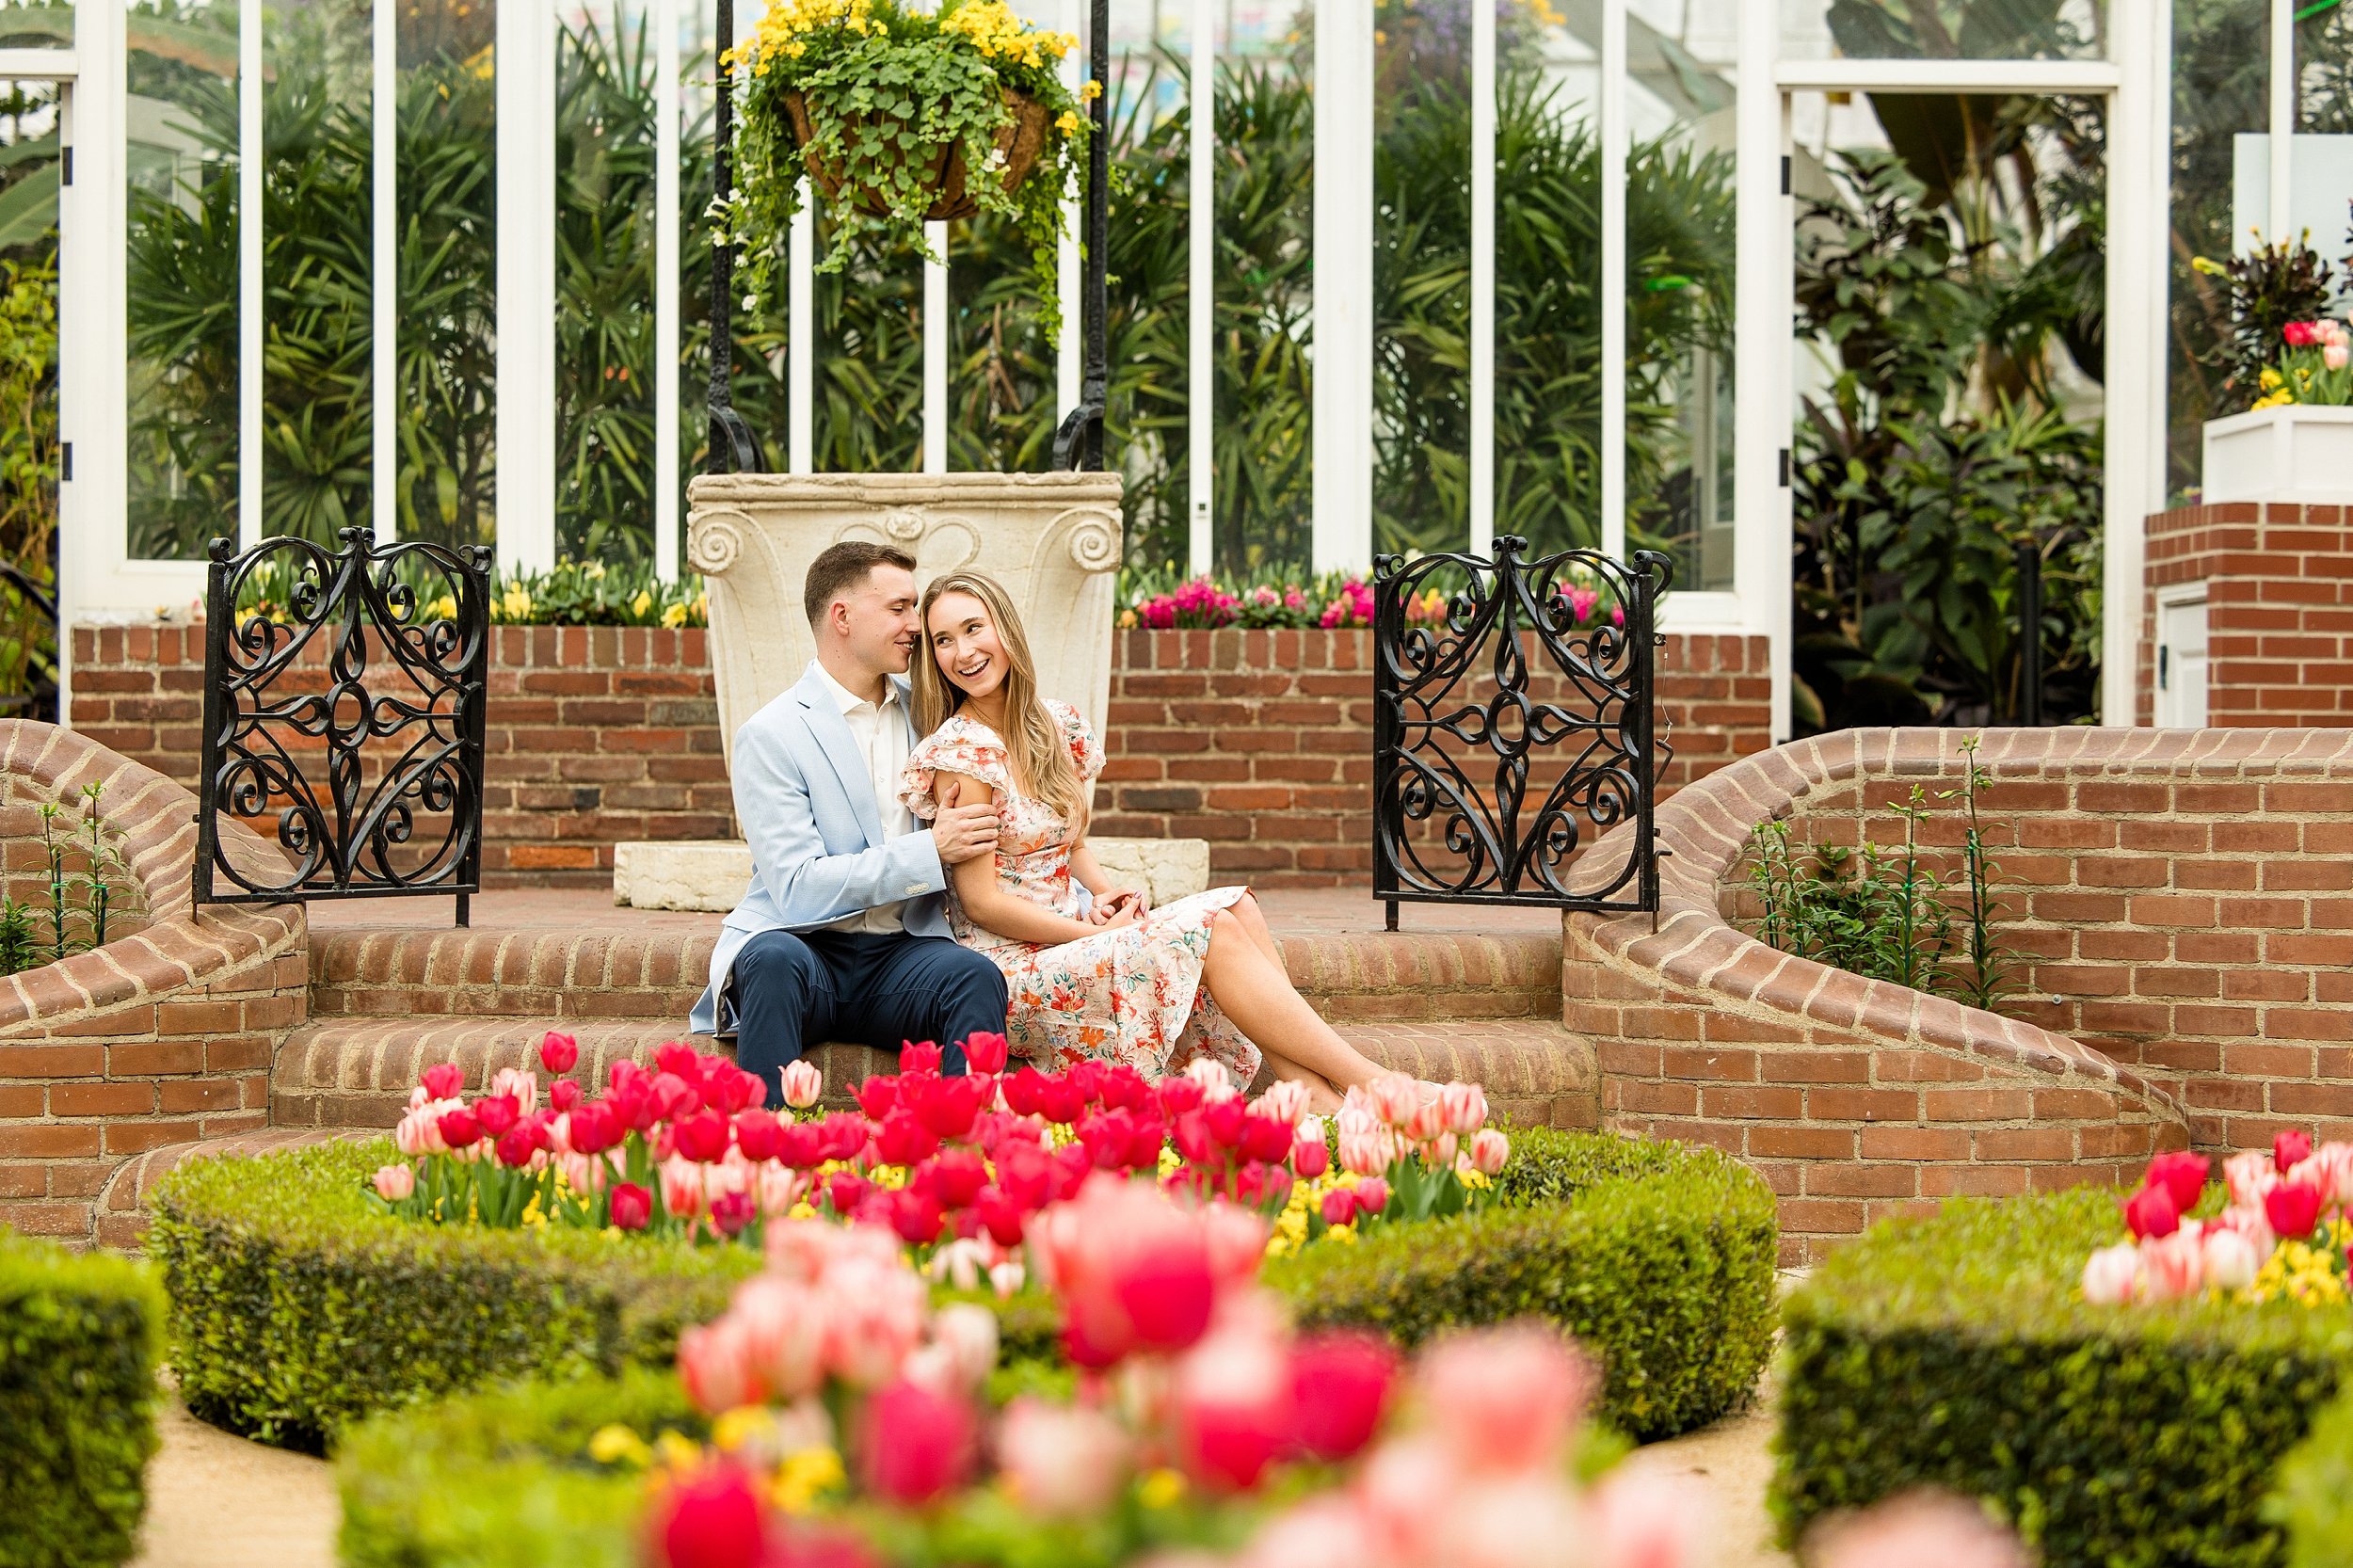
Well… besides a camera and a few lenses, that is. 😉
My personality lends itself to becoming bit “obsessed” with things – typically, I’ll become obsessed with a certain type of food. For example, my most recent obsession is fried eggs. I literally eat them ALL of the time. For breakfast. For lunch, when I work from home. For dinner, if I can sneak one into the meal somehow (try sneaking a fried egg into an Italian dish – not easy!). But every once in a while, I get obsessed with something that sticks... and the obsession never goes away.
ARTIFICIAL REFLECTORS
When I first started taking portraits of people as a senior in high school (class of 2011, if you can believe it!), I kept looking at my photos, compared them to others, and wondered why mine were falling flat. The skin tone wasn’t creamy – it was flat. The eyes weren’t lit up – they were dark, without light – but no matter what I did with my camera and my subject, I couldn’t create consistency within my portrait work.
Then, one day, someone told me about a reflector. And it blew. My. Mind. And completely the changed my portrait work for the better! If you’ve never used a reflector, I’d personally equate it to a little slice of heaven, and most definitely one of my longest standing obsessions. You see, a reflector bounces light onto your subject to do things like:
1. Pop the eyes.
2. Create creamy, dreamy skin tones.
3. Fill in unwanted shadows.
4. And lighten deep set eyes.
MY FAVORITE REFLECTOR
Here’s the reflector that I use. It’s a 5-in-one collapsible piece of amazingness that I kind of have a hard time living without! This lovely piece of equipment has 5 sides and 5 uses:
1. The White Side softly pops light into the eyes. This side is great to use on a bright day when you want to give your subject’s eyes a little more light!
2. The Silver Side: in contrast to the white side, the silver side of the reflector has a bit more “pop.” It’s best to use the silver side on a rainy or overcast day for some extra light!
3. The Gold Side was created to reflect gold light. For example, if you’re shooting portraits during golden hour or sunset, the gold side of the reflector will match the gold light in the sky.
4. The Black Side of the reflector, in contrast to the rest of the sides, creates shadow and detracts light, or limits any stray and unwanted light.
5. The Diffuser is what the other sides “zip” over. The diffuser is great for, you guessed it, diffusing light. For example, if I want to put someone outside in an area with harsh, direct light, but want soft light, I just take out my handy dandy diffuser and hold it over them, effectively casting a shadow over my subject, resulting in even light.
DIY REFLECTORS
If you don’t want to wait for your reflector to come in the mail, or if you’re curious to see the affect before you invest, I’d suggest buying a simple piece of white poster-board. In fact, when I first started out… I didn’t even have a real reflector. I just carried around two pieces of poster-board: one white, and one covered in foil (if I needed a stronger reflector!).
NATURAL REFLECTORS
If you don’t have a reflector, or if you find yourself in a situation without one, you can also utilize natural reflectors. But you might be wondering… what exactly is a natural reflector? Didn’t I just tell you to consider buying this other “artificial” reflector from Amazon?
While an artificial reflector can be folded down and carried around with me anywhere, ready to for me to use whenever I need it, natural reflectors are reflective surfaces found on location (and not at every location!). For example, one of my favorite examples of a natural reflector is a cement sidewalk. But why does this make such a great natural reflector? A cement sidewalk is usually a creamy ivory color, which reflects onto the skin, making it luminescent, and making the eyes pop - much like the white side of an artificial reflector. Snow is also an excellent natural reflector (but, of course, is every seasonal...), and pavement can be used as a natural reflector as well, because it is a neutral color.
Using a neutral colored natural reflector is of the utmost importance. If you have your subject standing on, for example, grass, in the mid-day sunlight, that green grass will reflect a green color cast onto your subject… which typically isn’t very flattering. In fact, it usually looks a bit sickly!
Don’t be afraid to get creative about your natural reflectors, too. I once used a whole building painted white as a natural reflector. I used to have a white car that I would use from time to time. And sometimes, in a bridal suite on wedding days when I’m in a pinch, I’ll use a white pillow! It doesn’t matter what you use or how ridiculous you look - as long as the color is neutral and it reflects, it’s fair game!
So if you’re looking for a way to flatter the appearance of your subject and enhance the quality of your work – I would highly suggest either buying a reflector, making your own reflector, or simply scouting out a location in advance to find some natural reflectors that you can utilize! Even if you have to use a car, pillow, or building - it’s worth it!
Happy reflecting!


