Payton A: Seneca Valley High School Senior Photos at Mellon Park

Comment

Payton A: Seneca Valley High School Senior Photos at Mellon Park

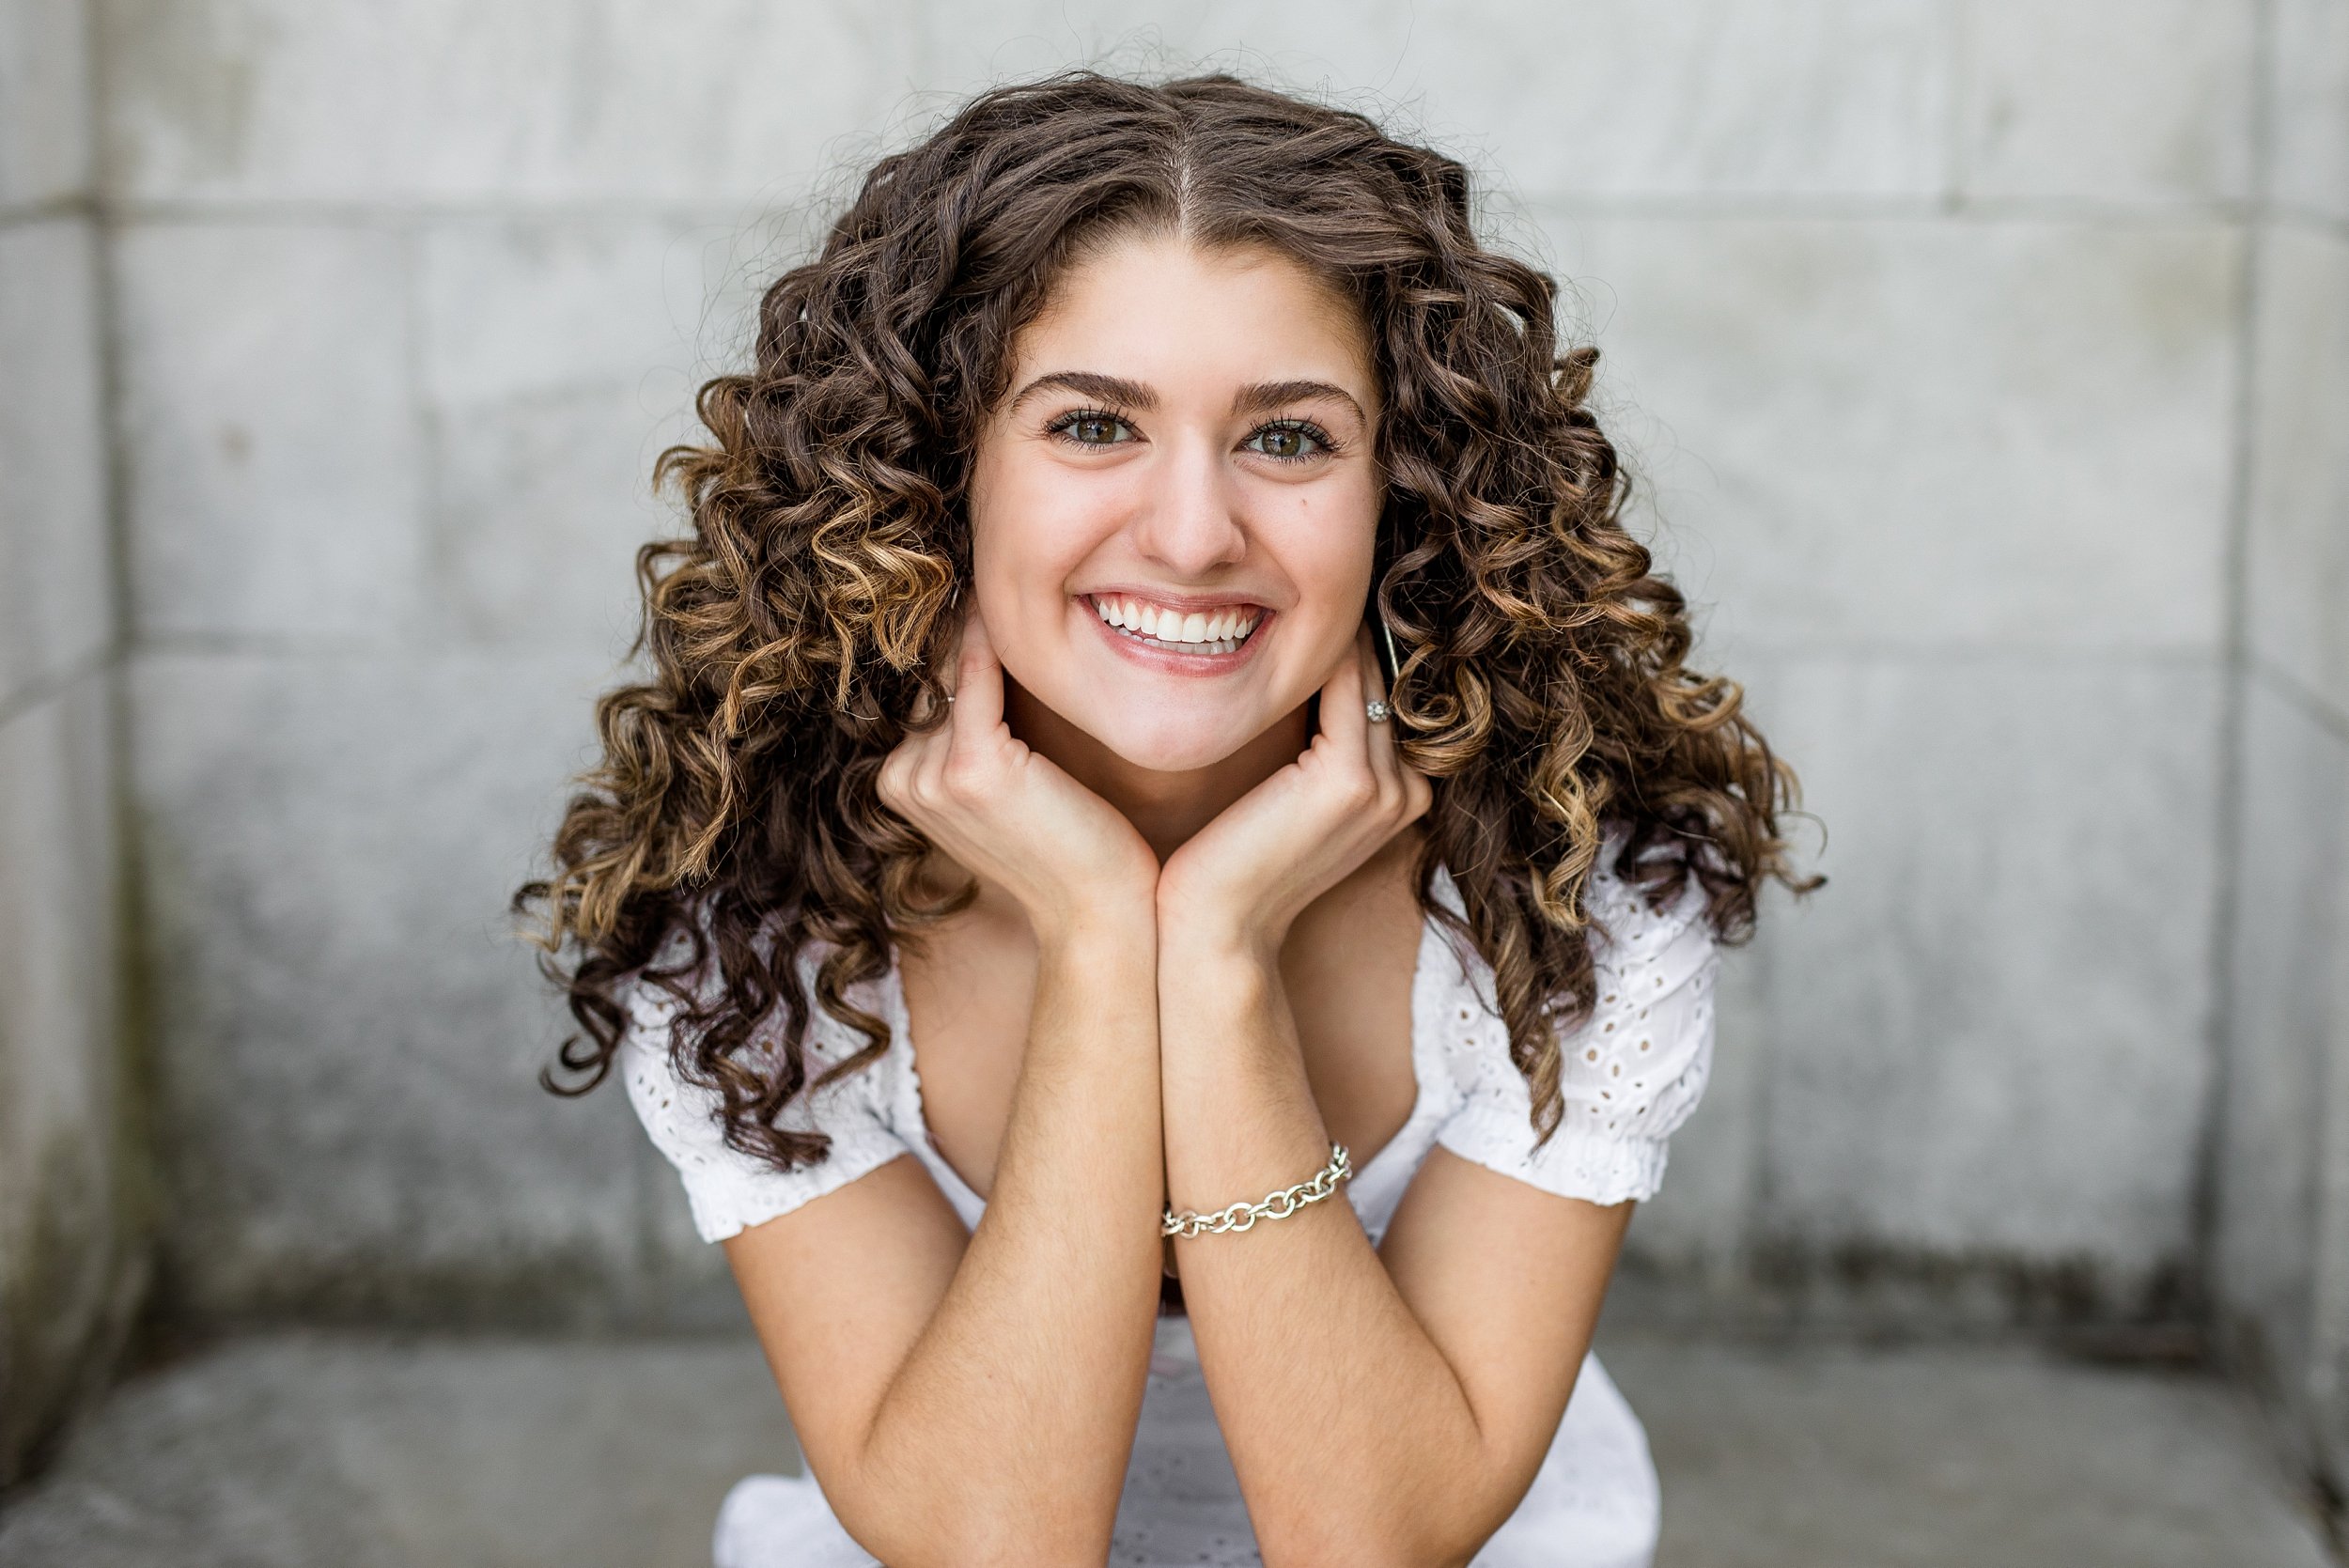
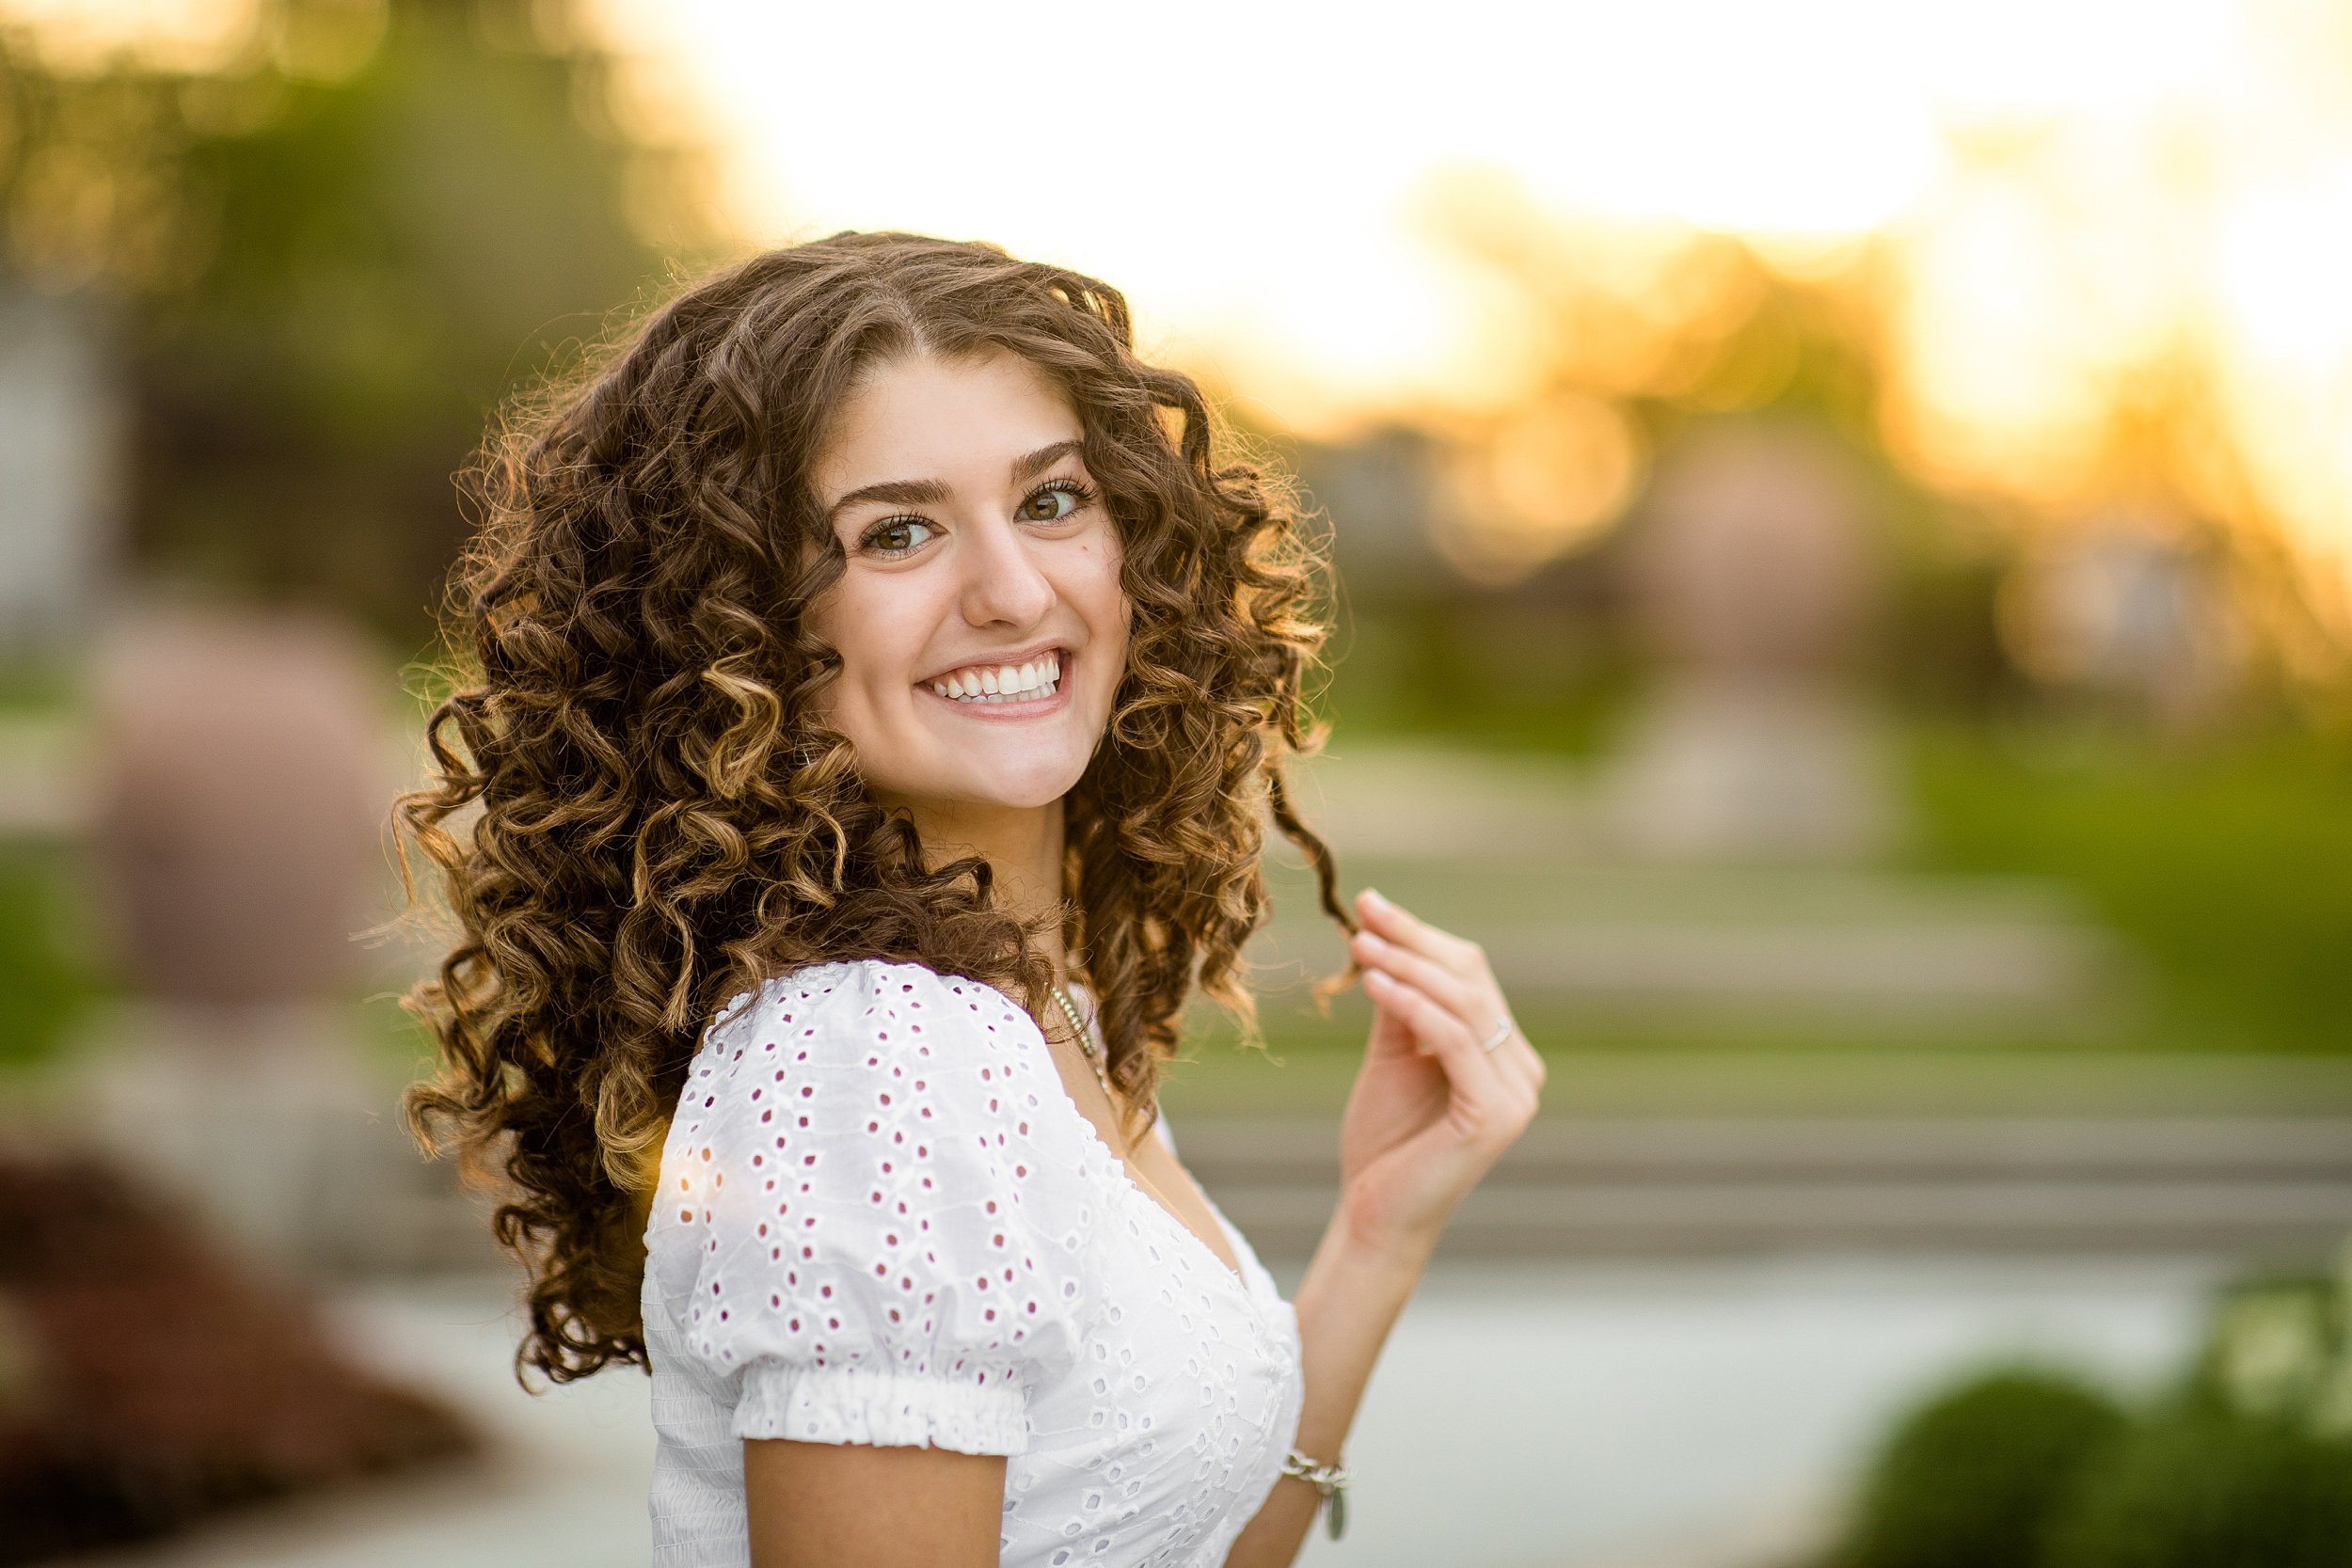
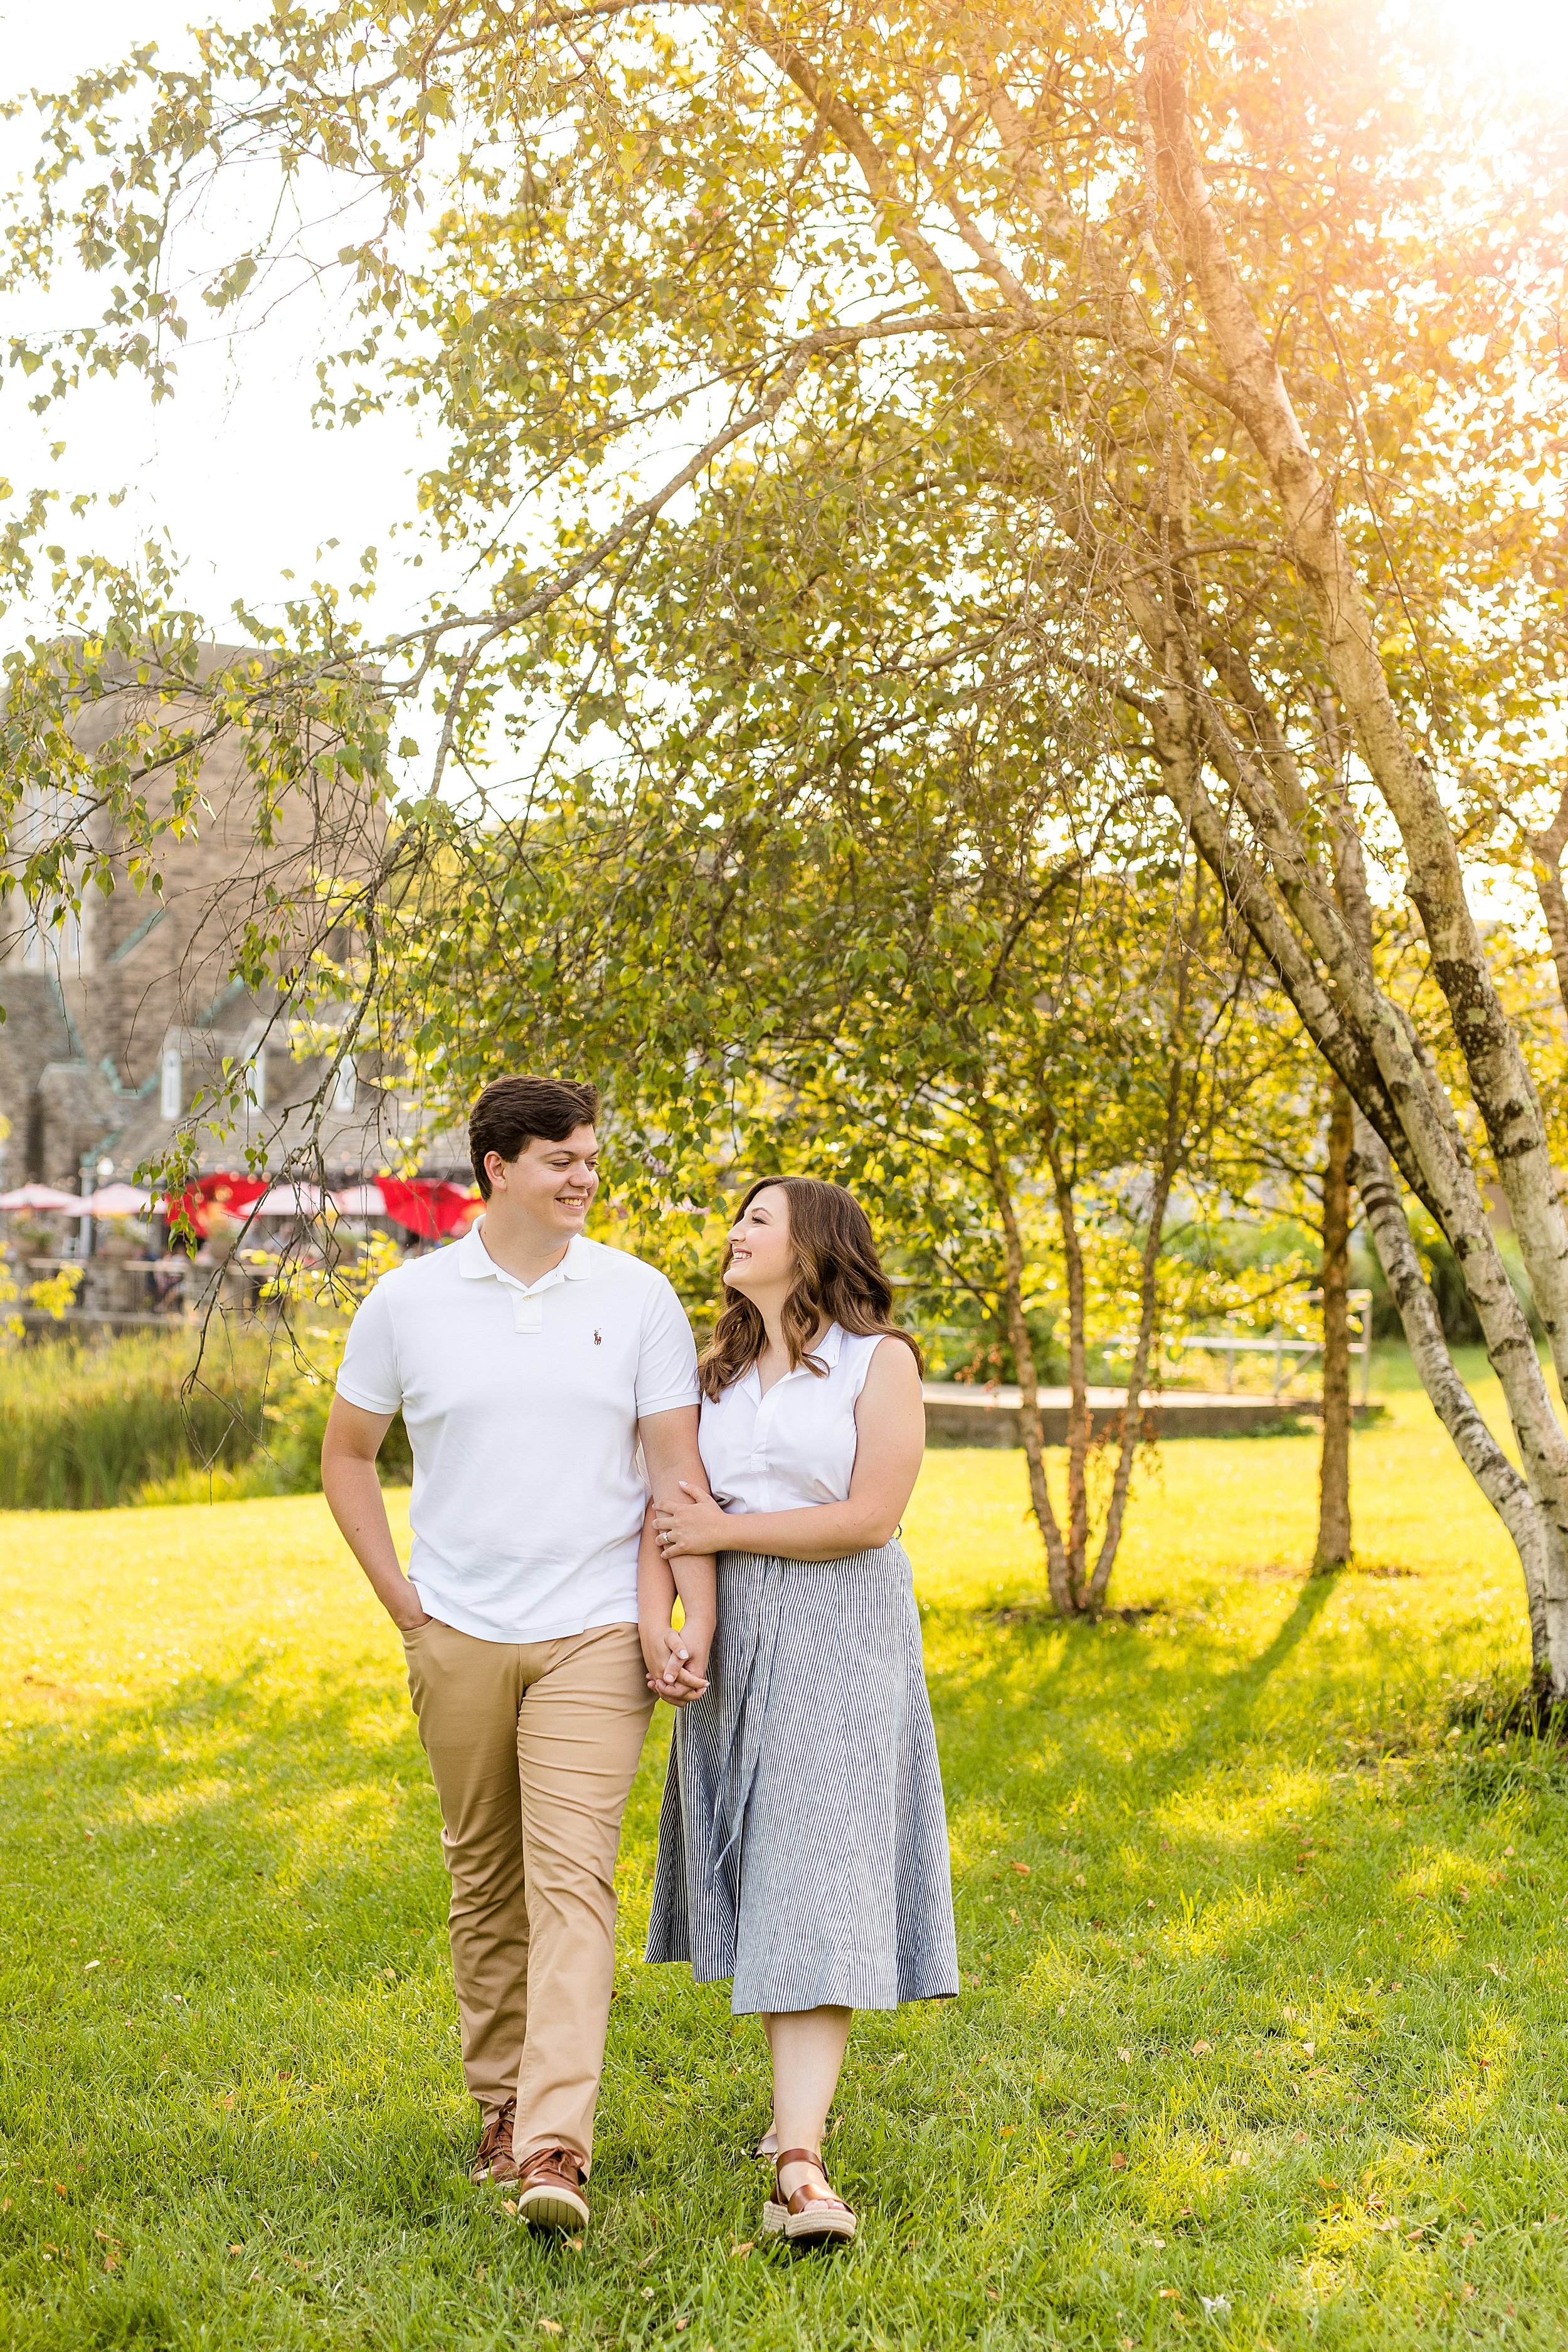
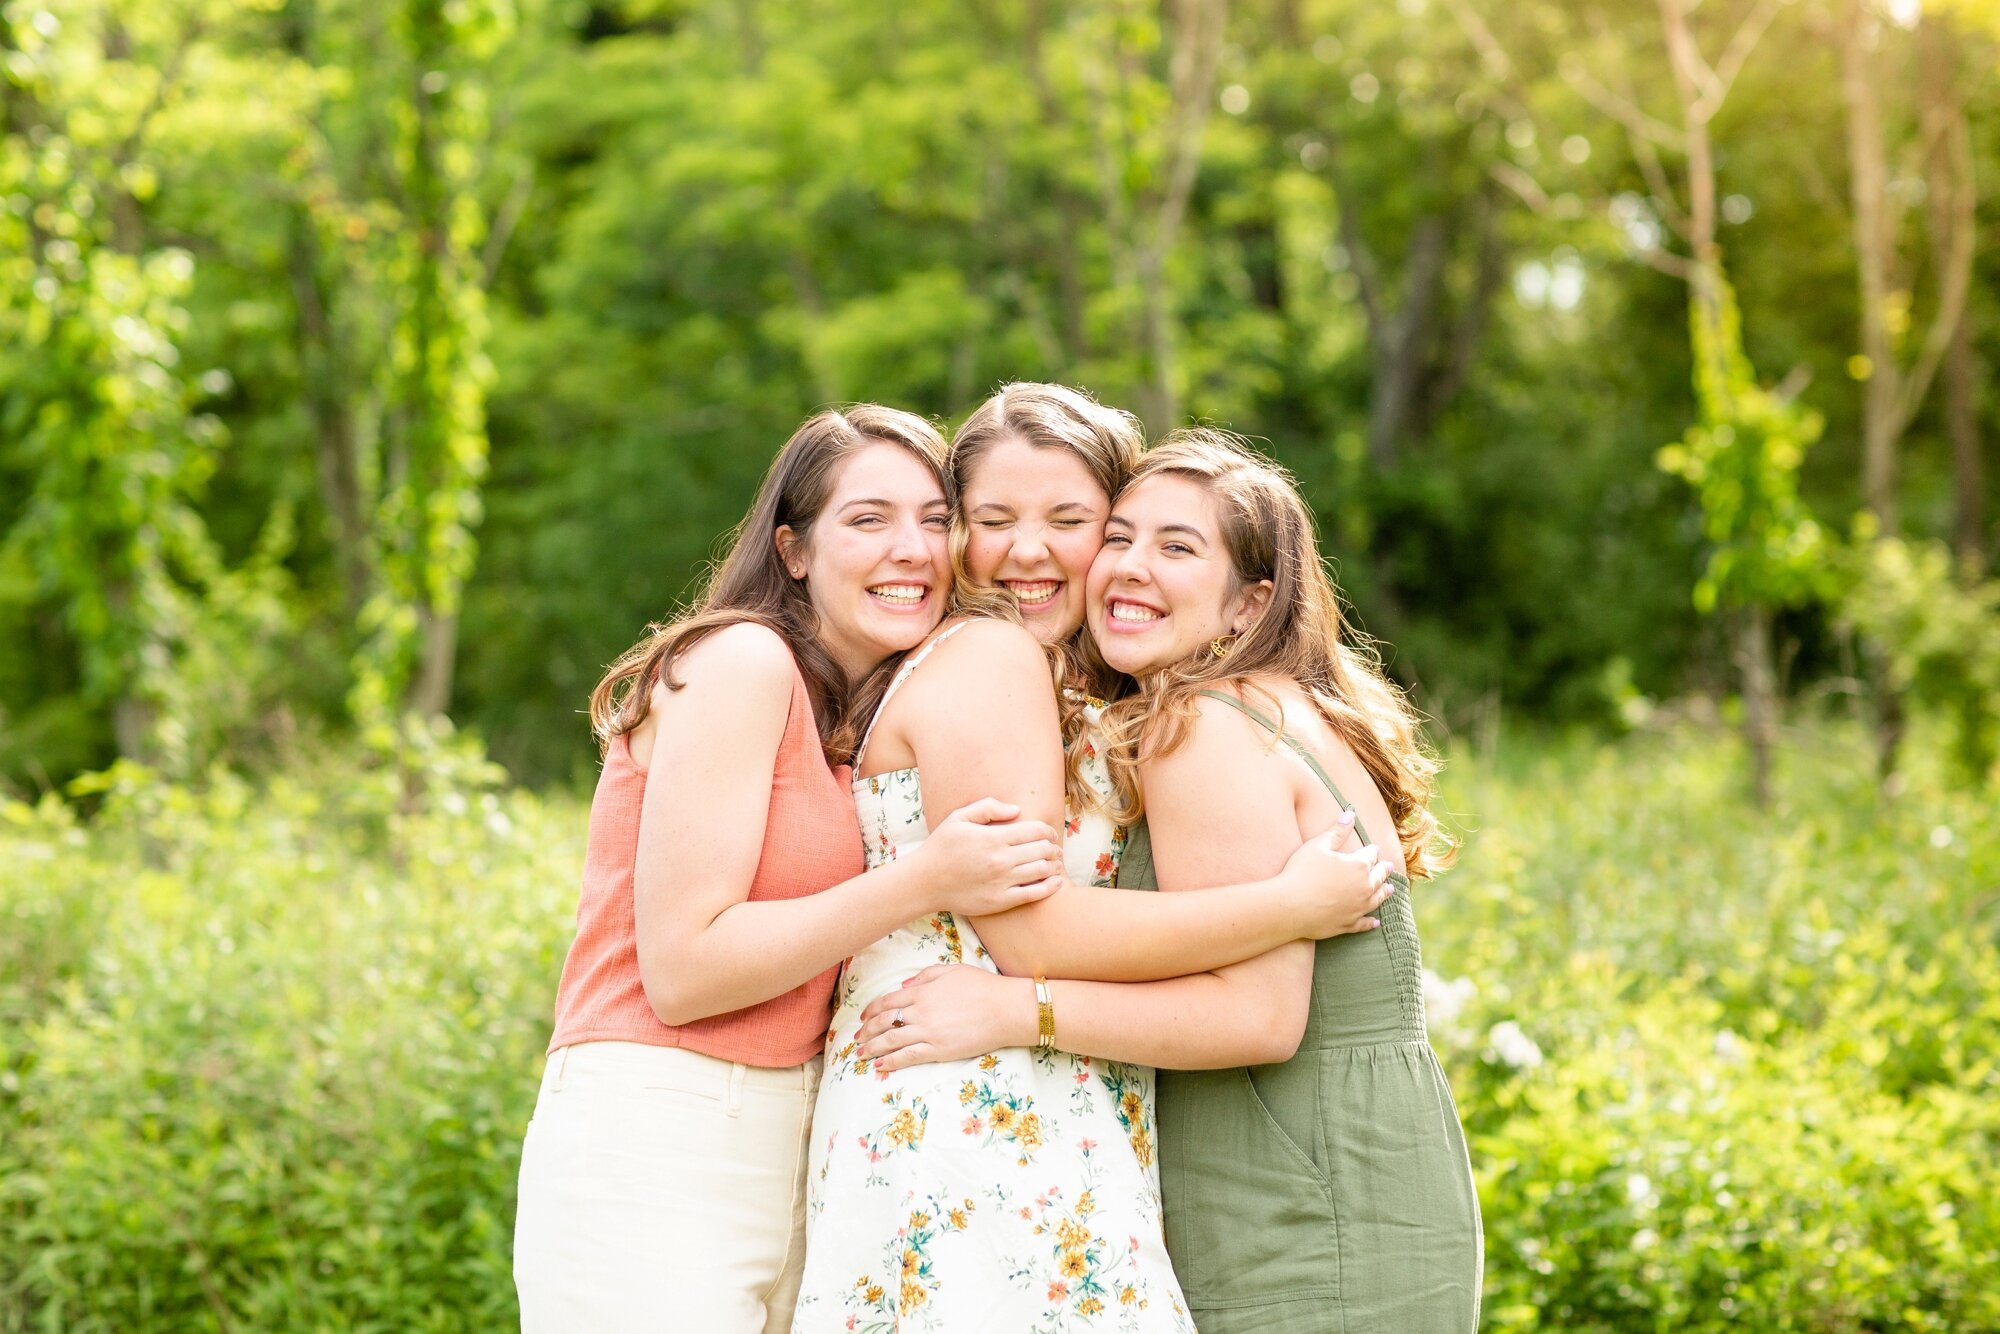
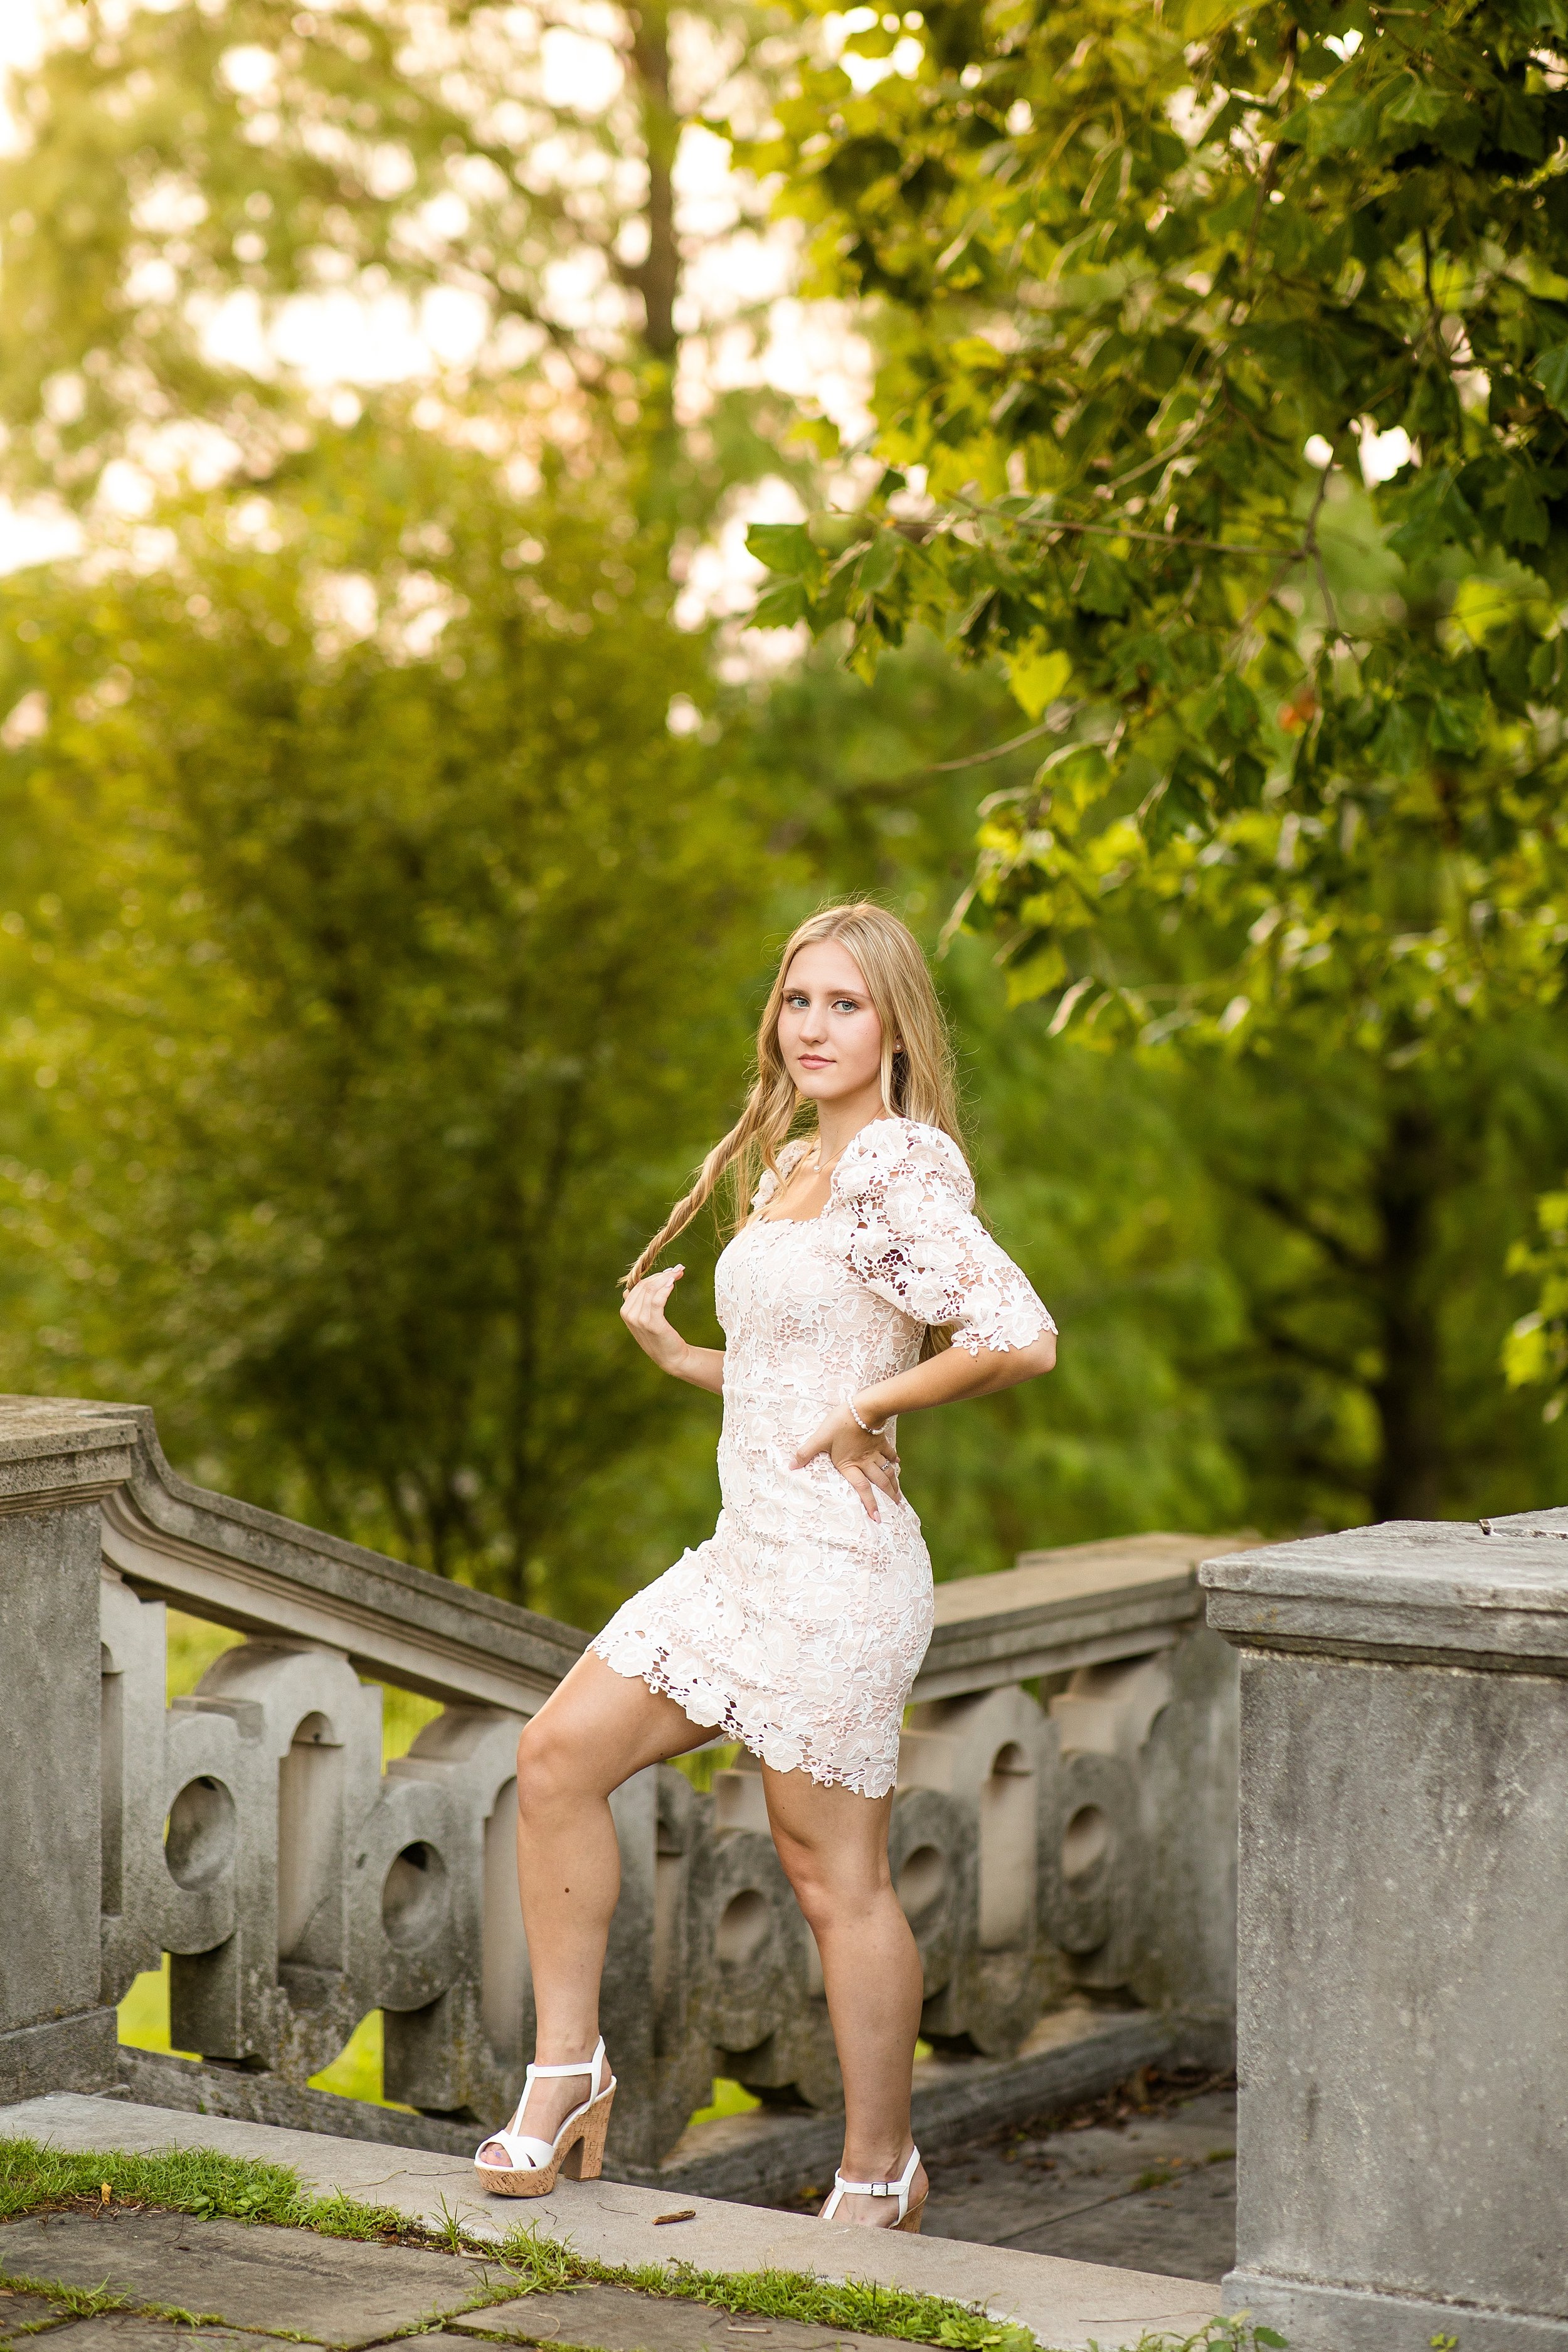
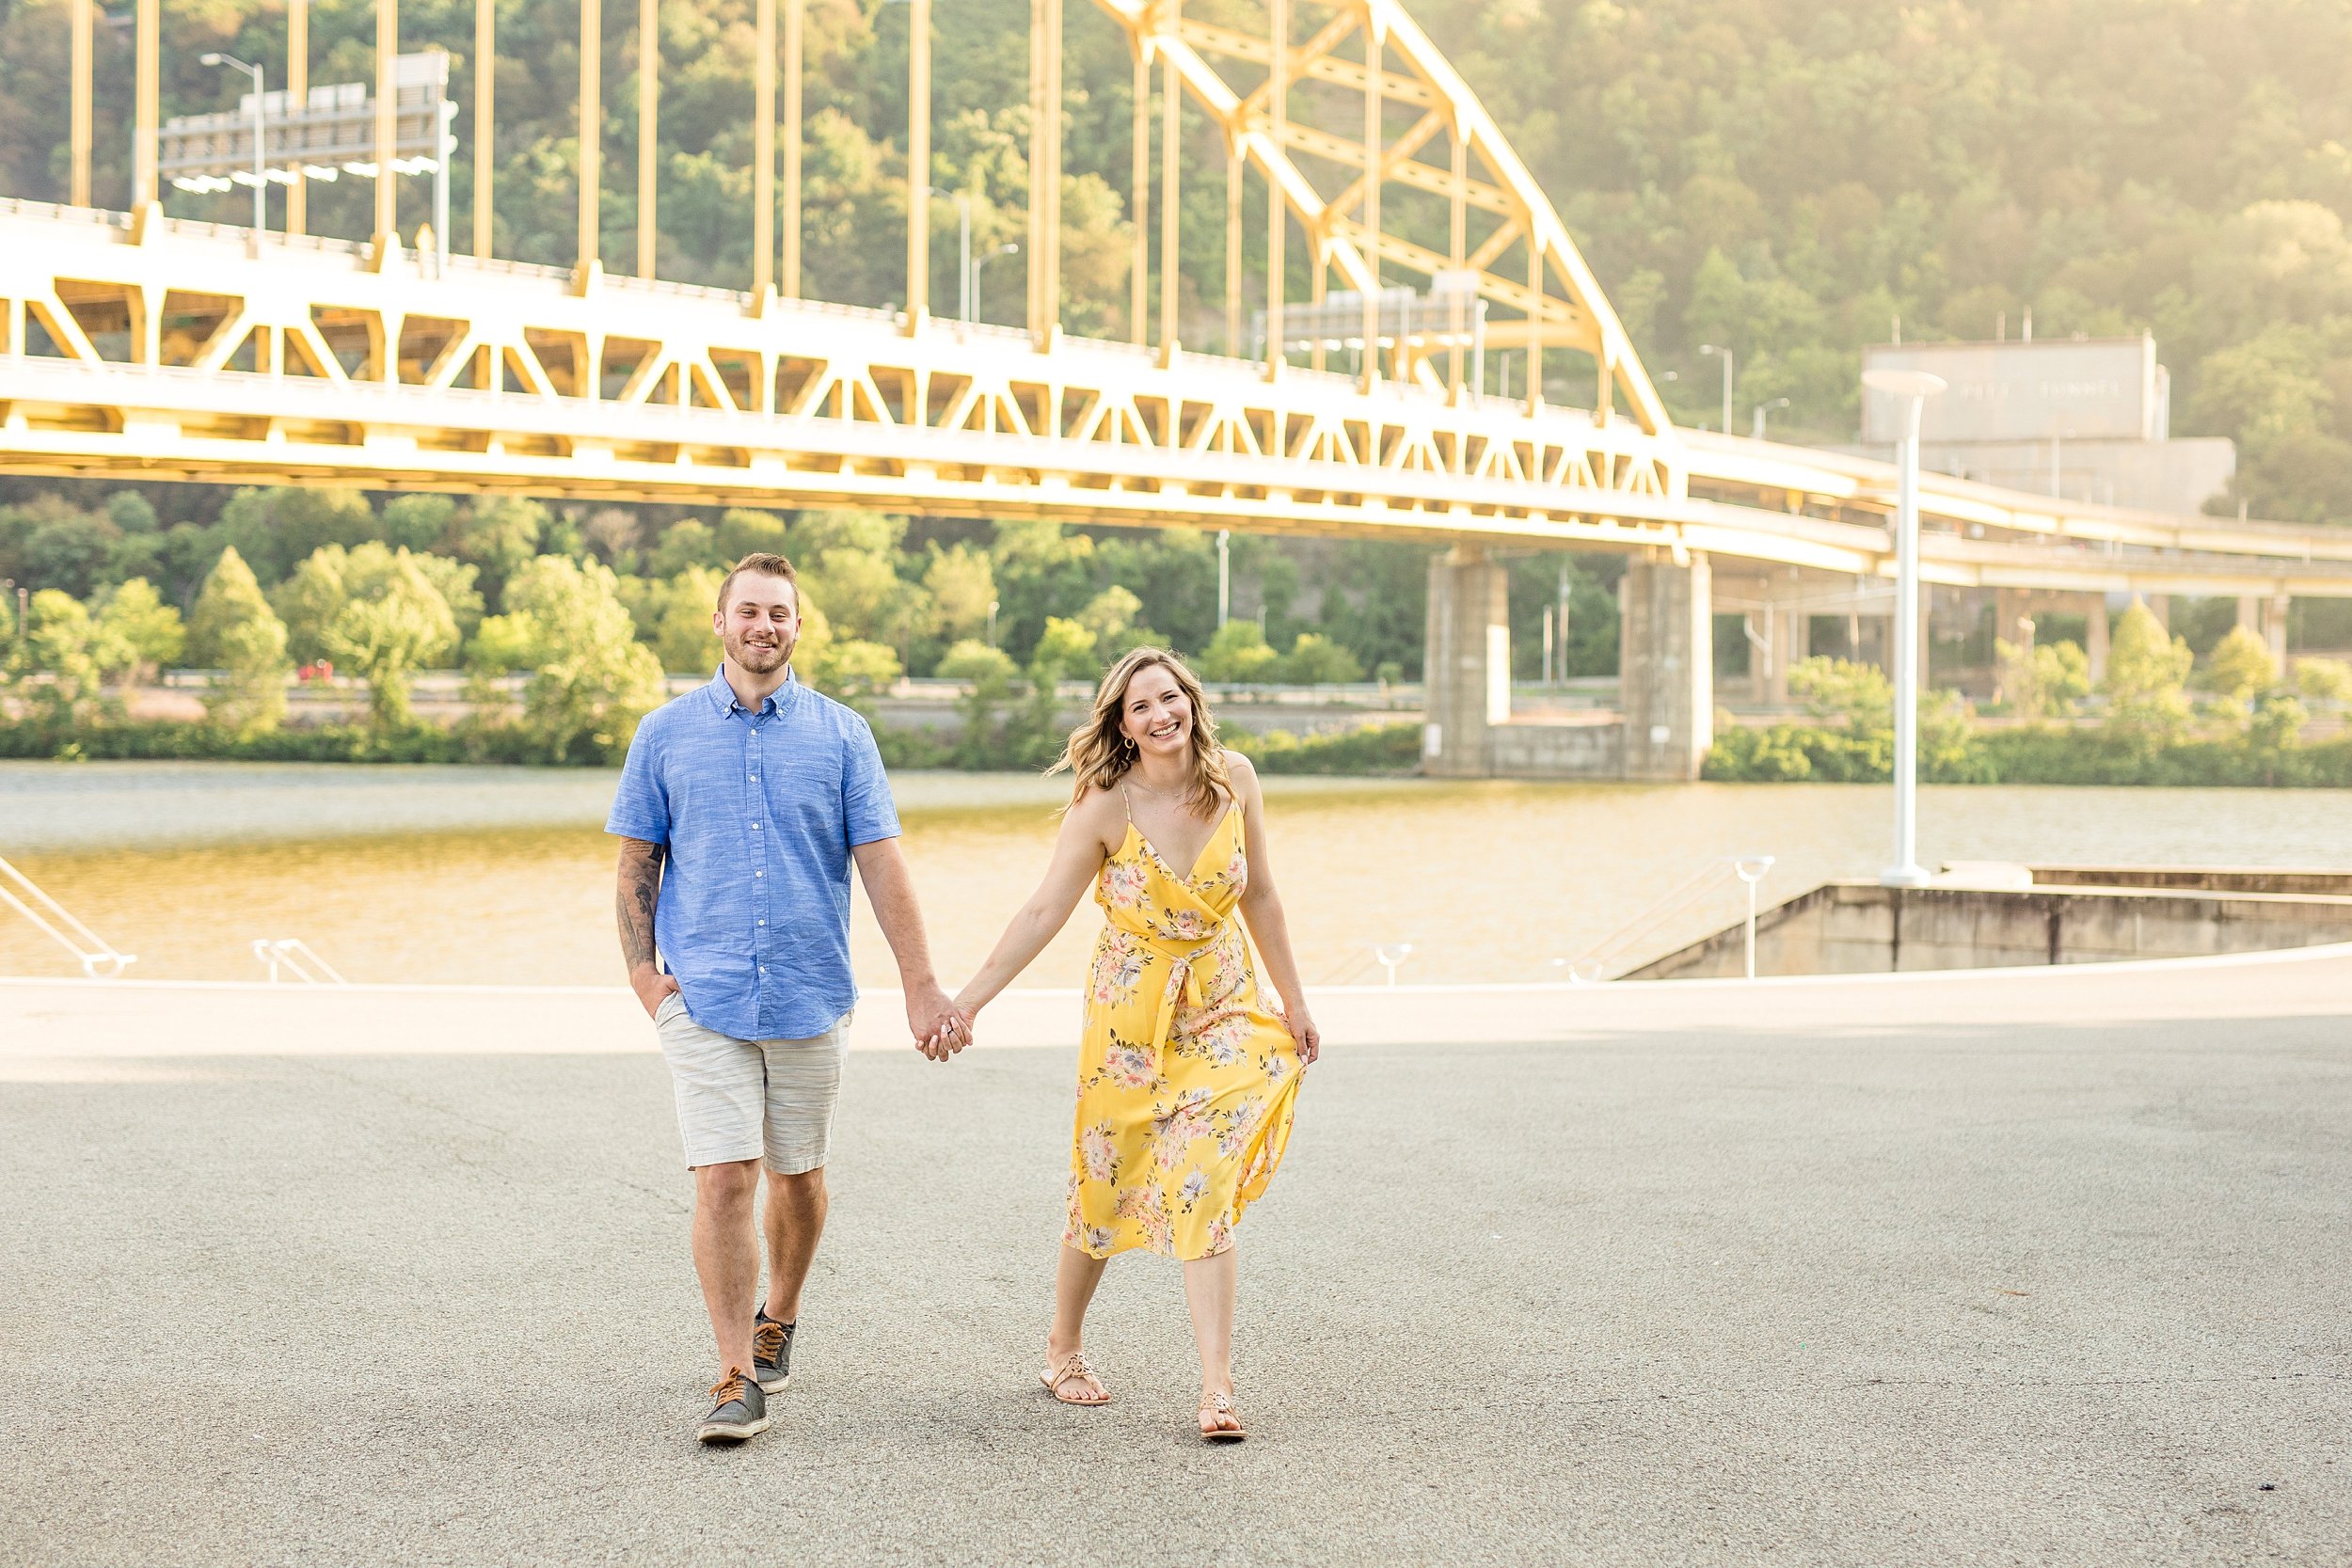
As you might be able to tell from just the header image, we had THE most beautiful day for Payton’s senior photos at Mellon Park!

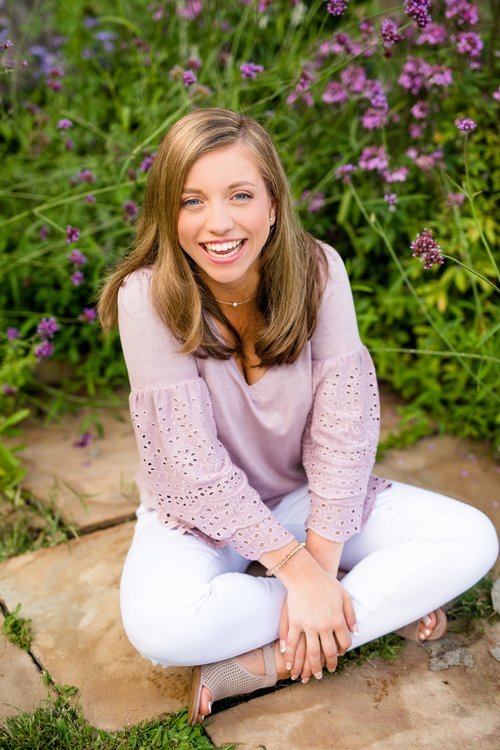
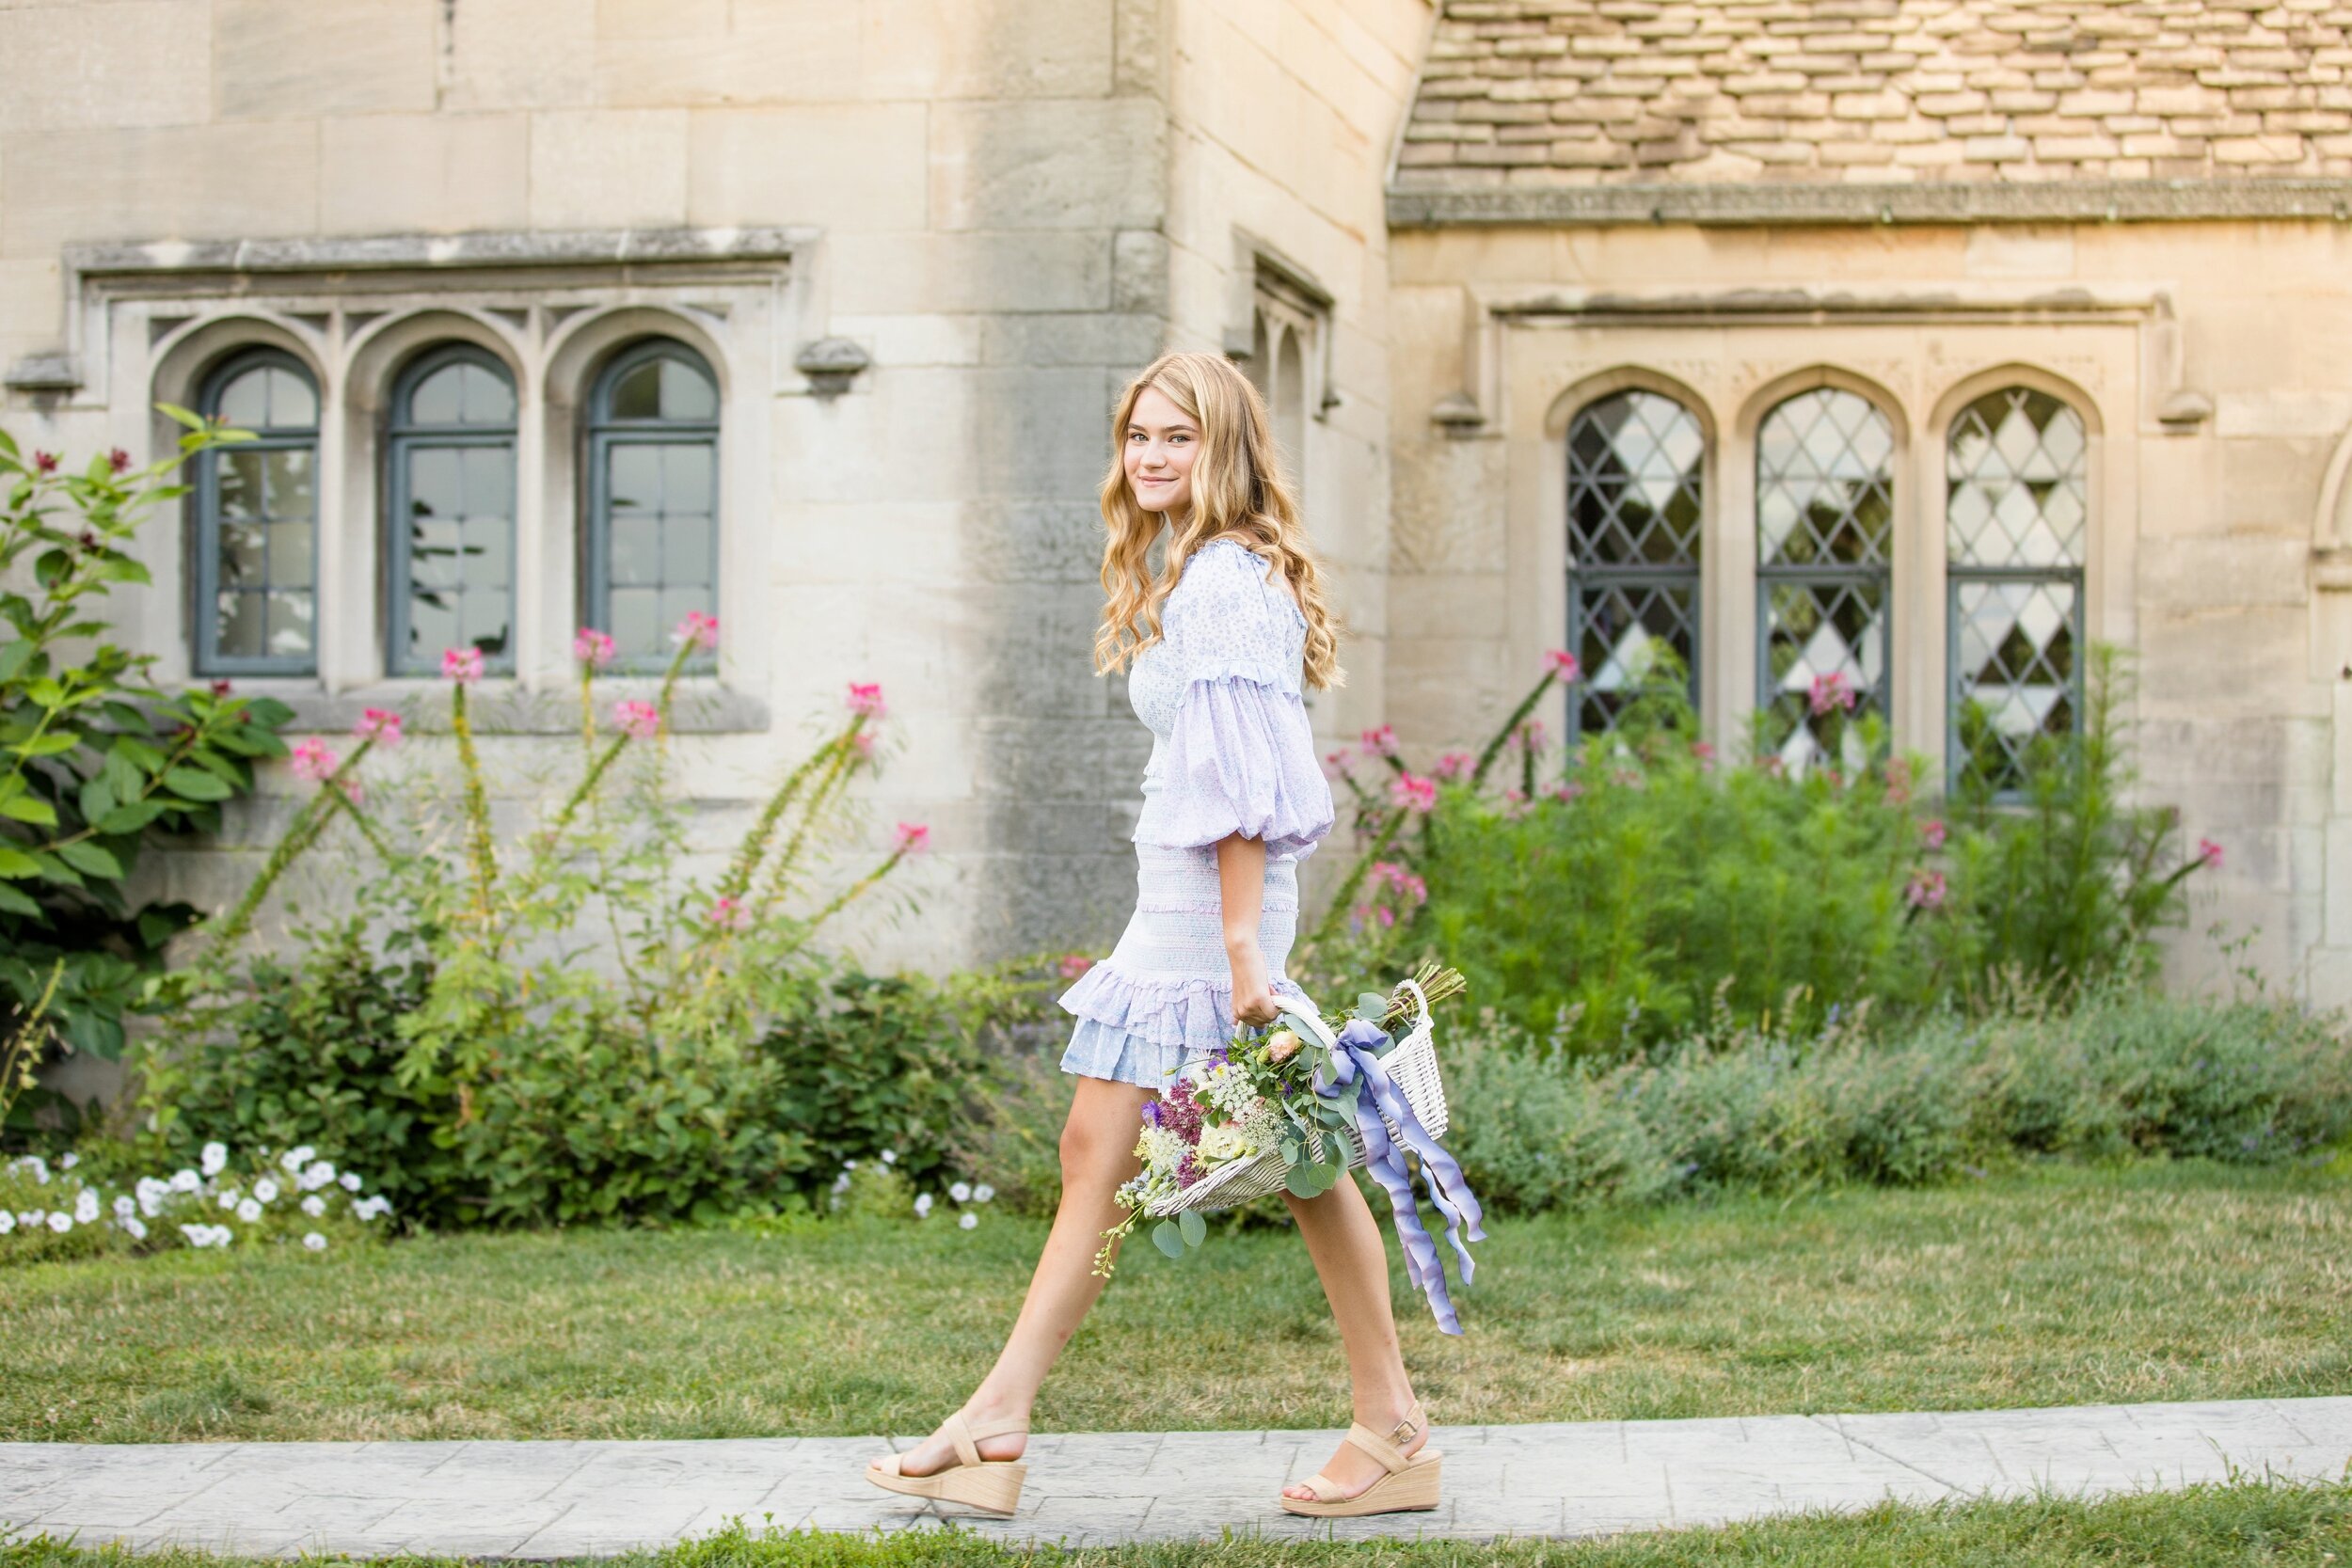
Payton is a sweet, bubbly senior who is graduating from Seneca Valley High School as a part of the Class of 2022! She is heading to the University of Tennessee in the fall (hence the orange baseball hat we incorporated into some of her photos!). She wanted lots of florals and some architecture in here photos, so Mellon Park was a lovely choice!

We started off our time together by hitting alllll of the pink blooming trees - which perfectly complimented her first dress (which I absolutely adored!) For her second outfit, she chose a white eyelet dress, which had the perfect amount of texture to add some visual interest to her photos.

Congratulations on your senior year, Payton! ❤️ Thank you for the honor of taking these images for you to celebrate!

As a note: for those looking to have beautiful spring blooms in their photos, the last few days of April and the first week of May is the ideal time to book (of course, this can vary slightly year to year depending on early Spring weather)!

Comment

Spring Mini Sessions 2022 Recap

Comment

Spring Mini Sessions 2022 Recap

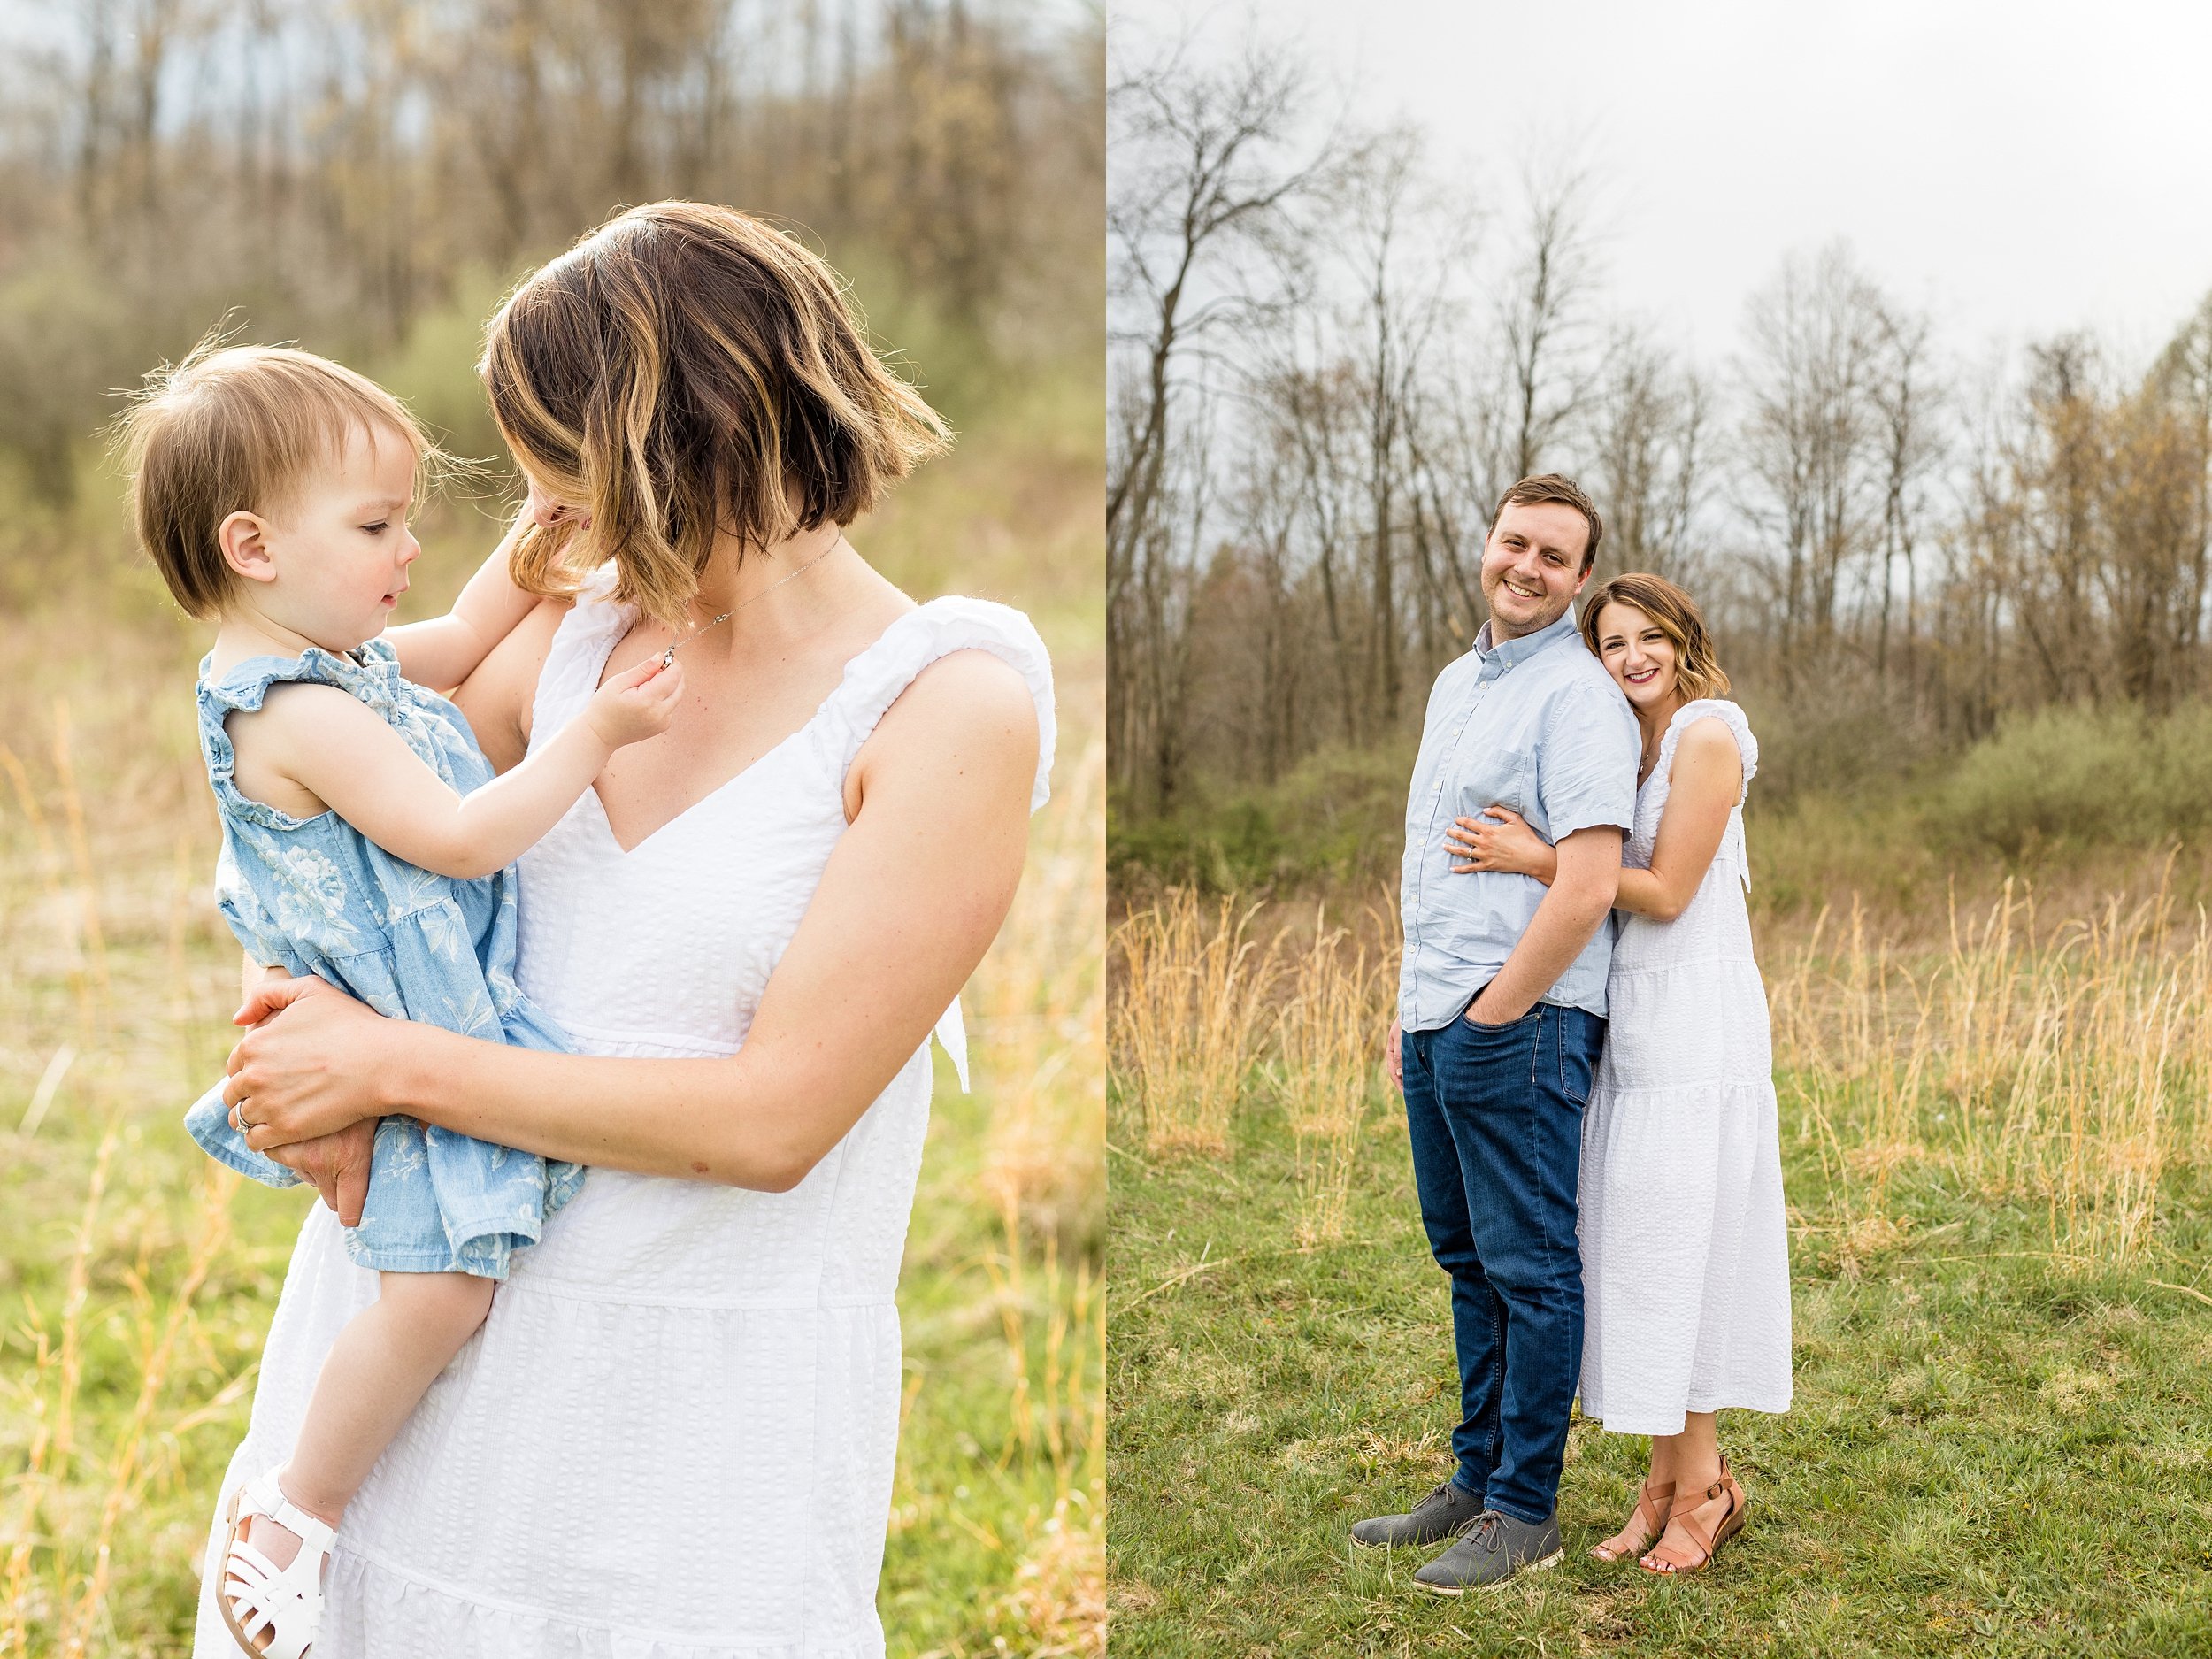
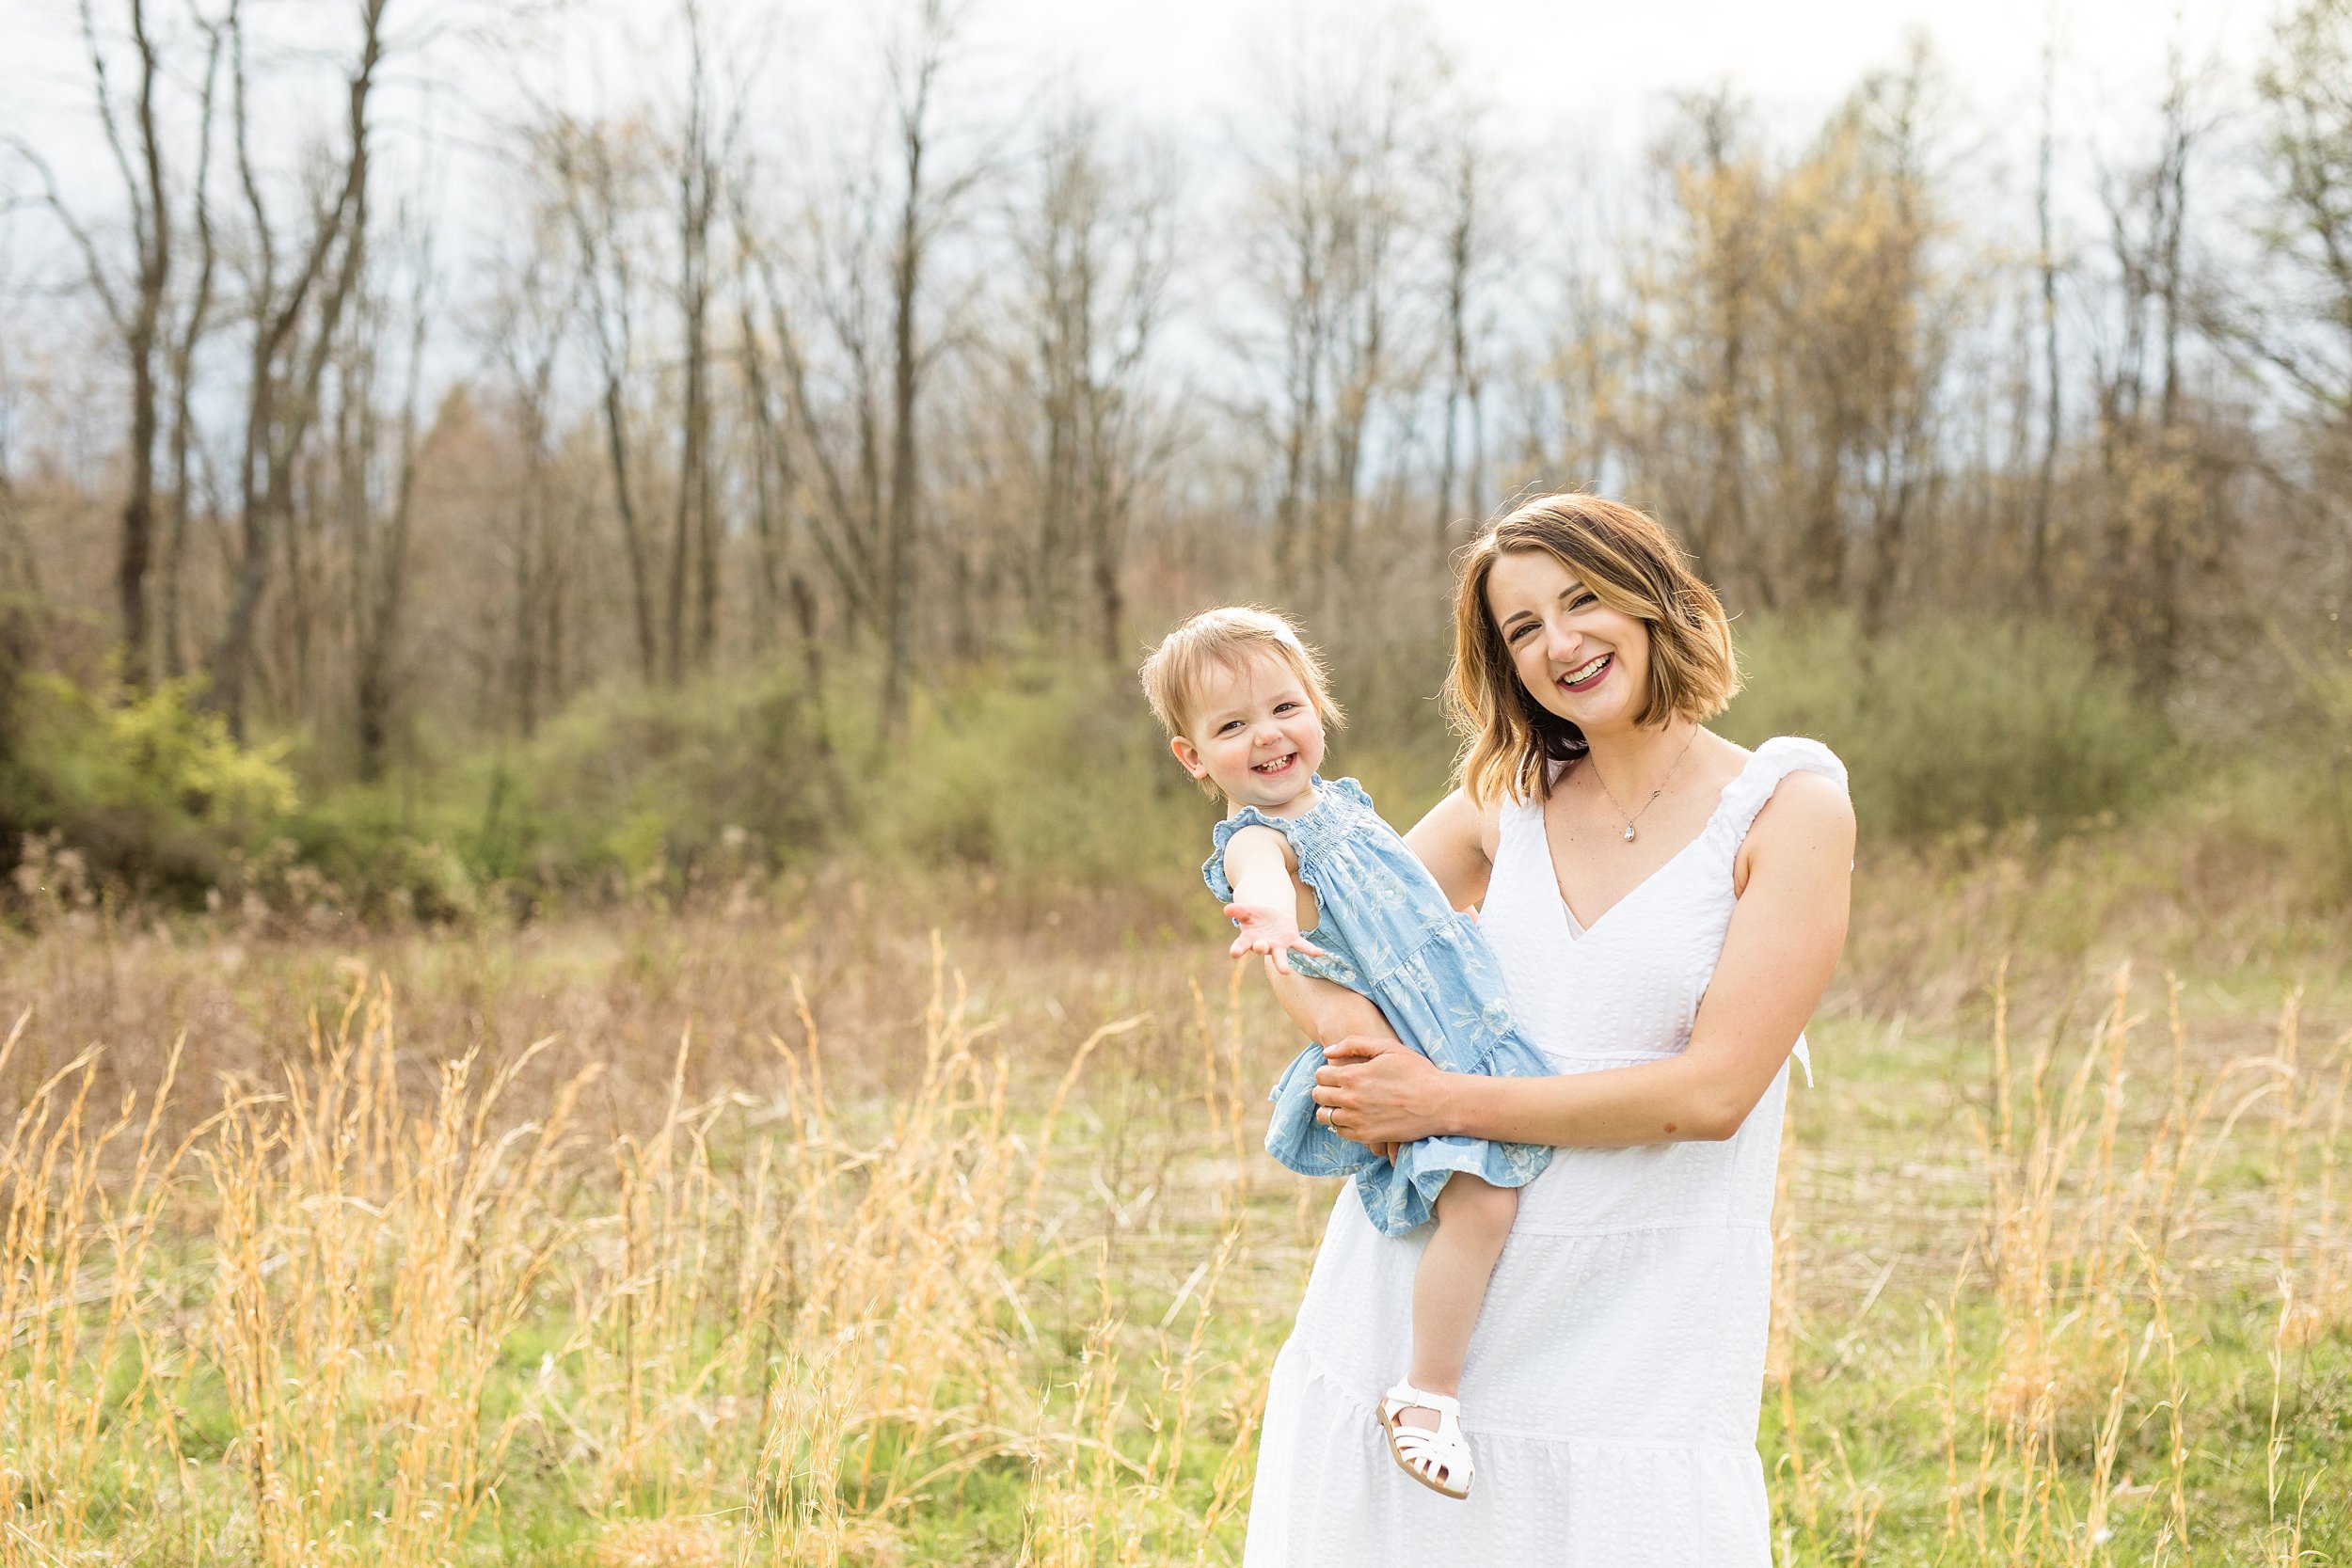
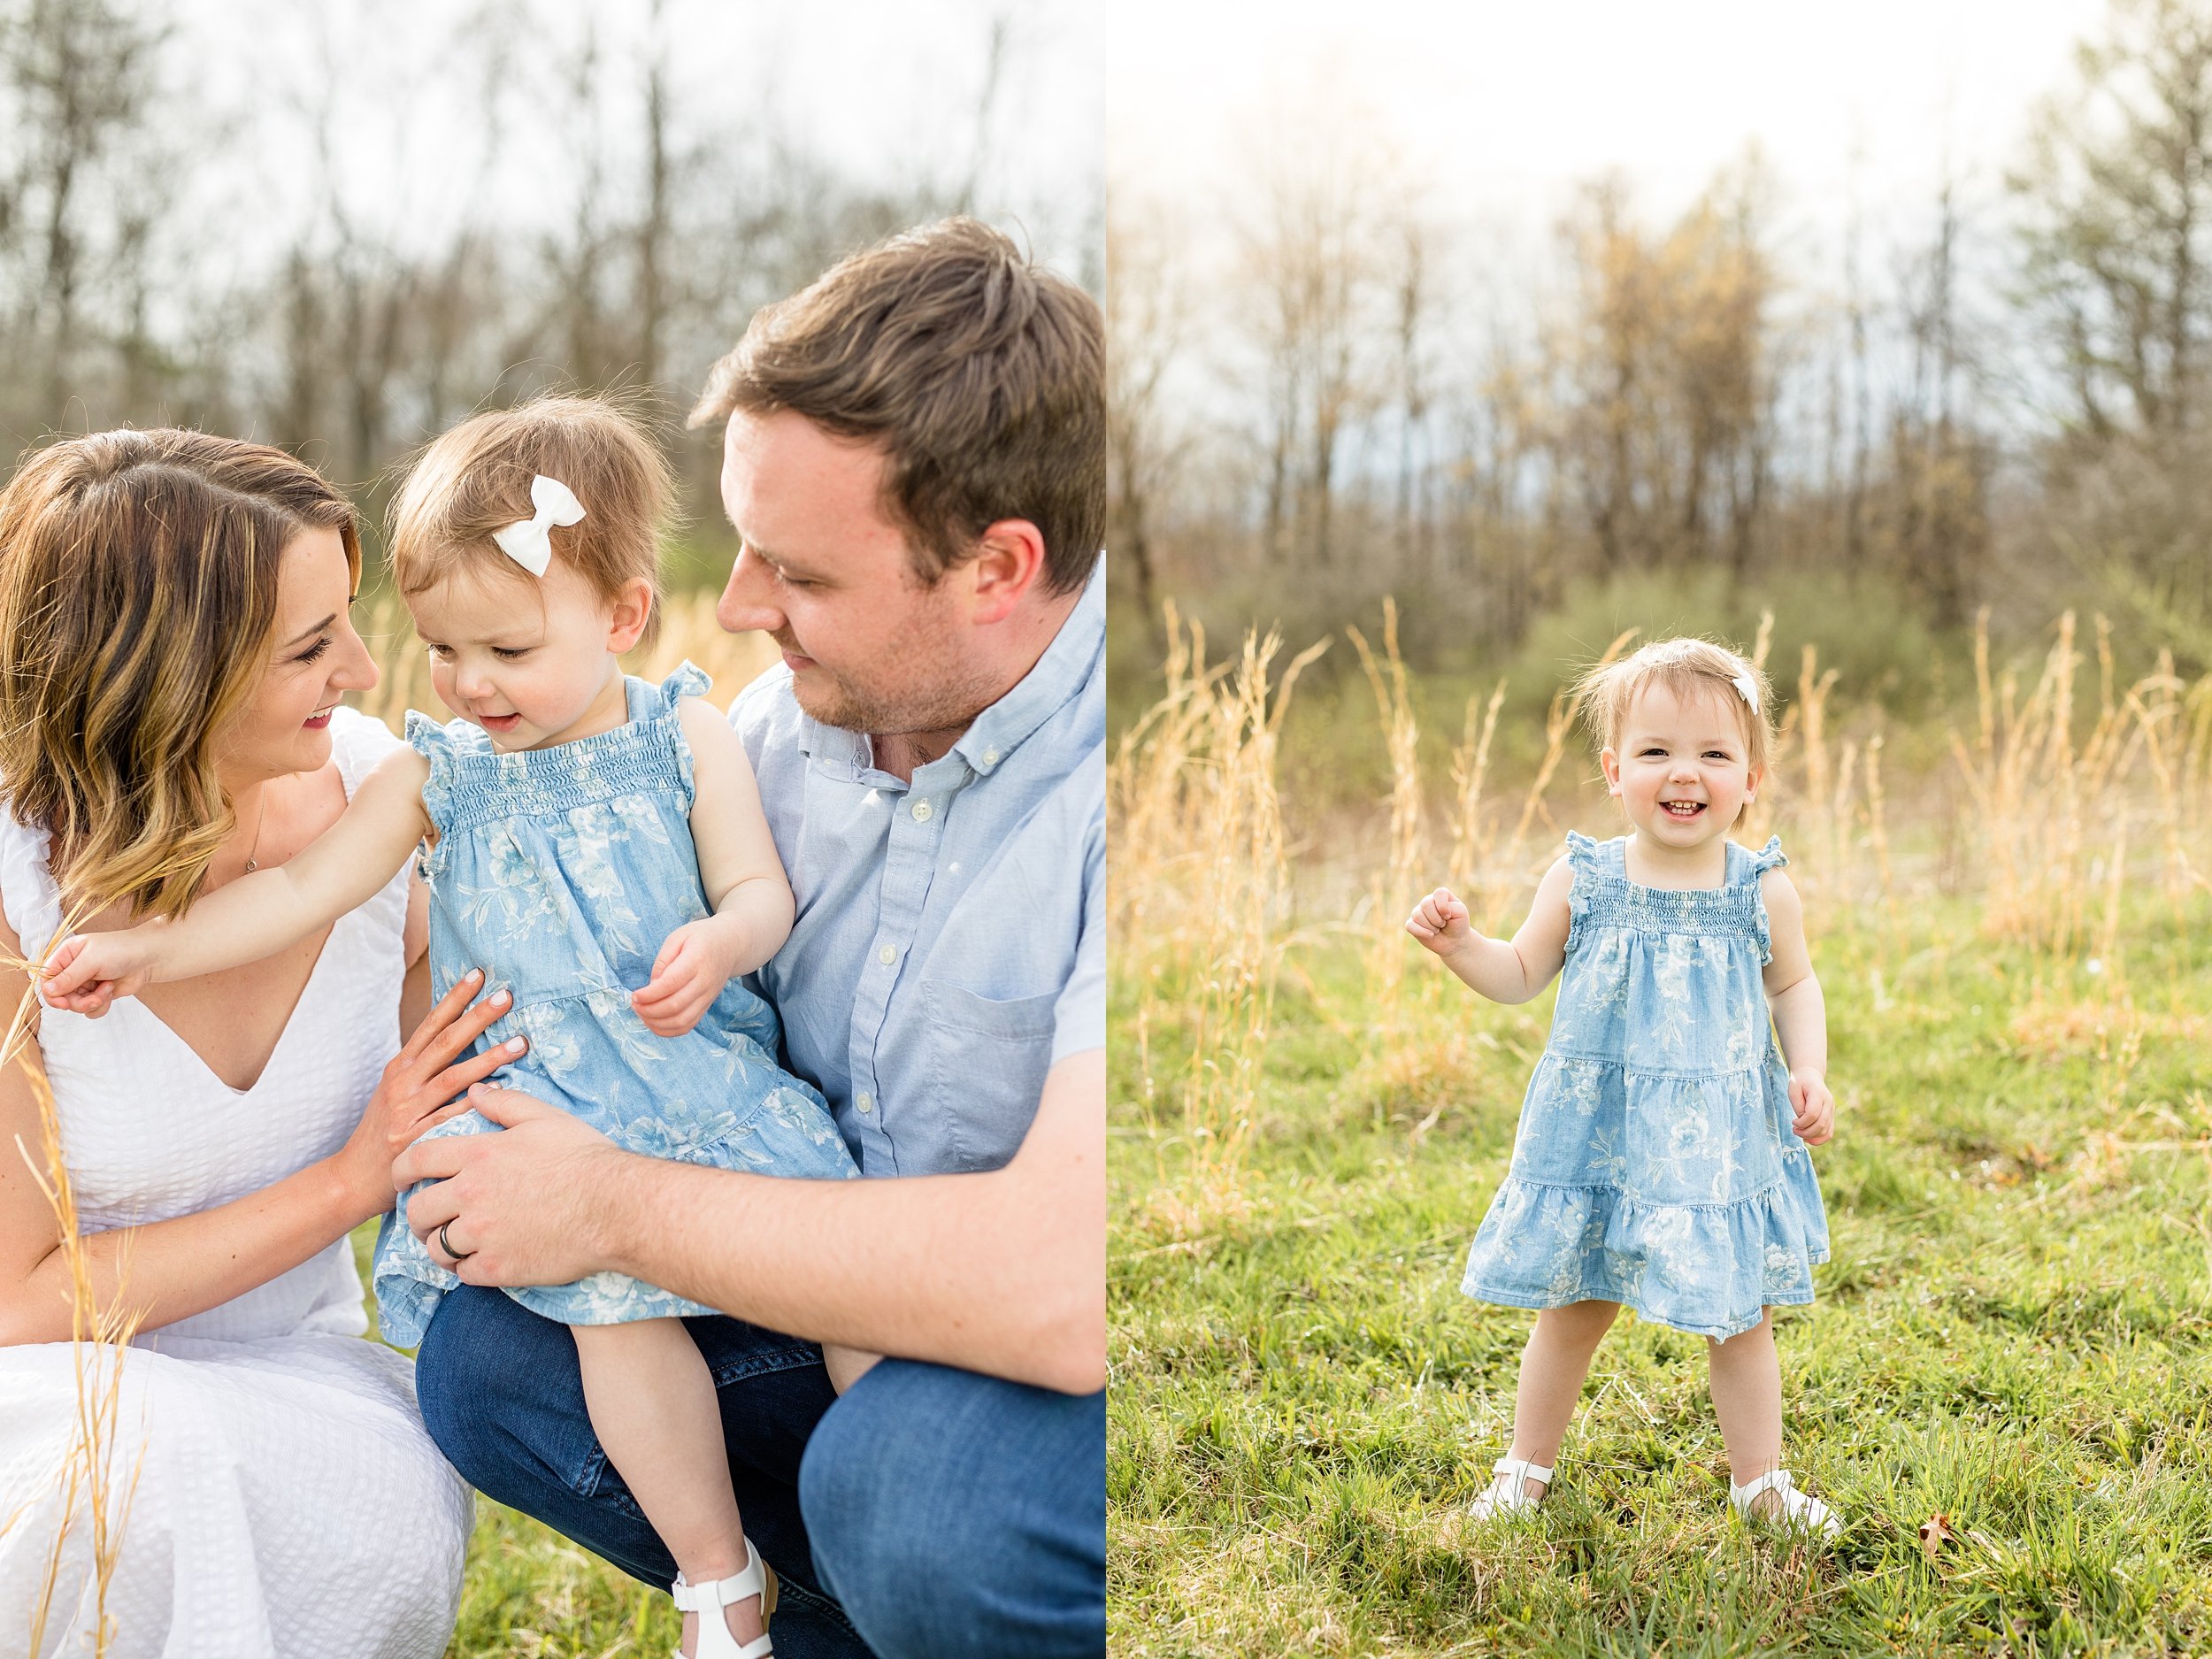
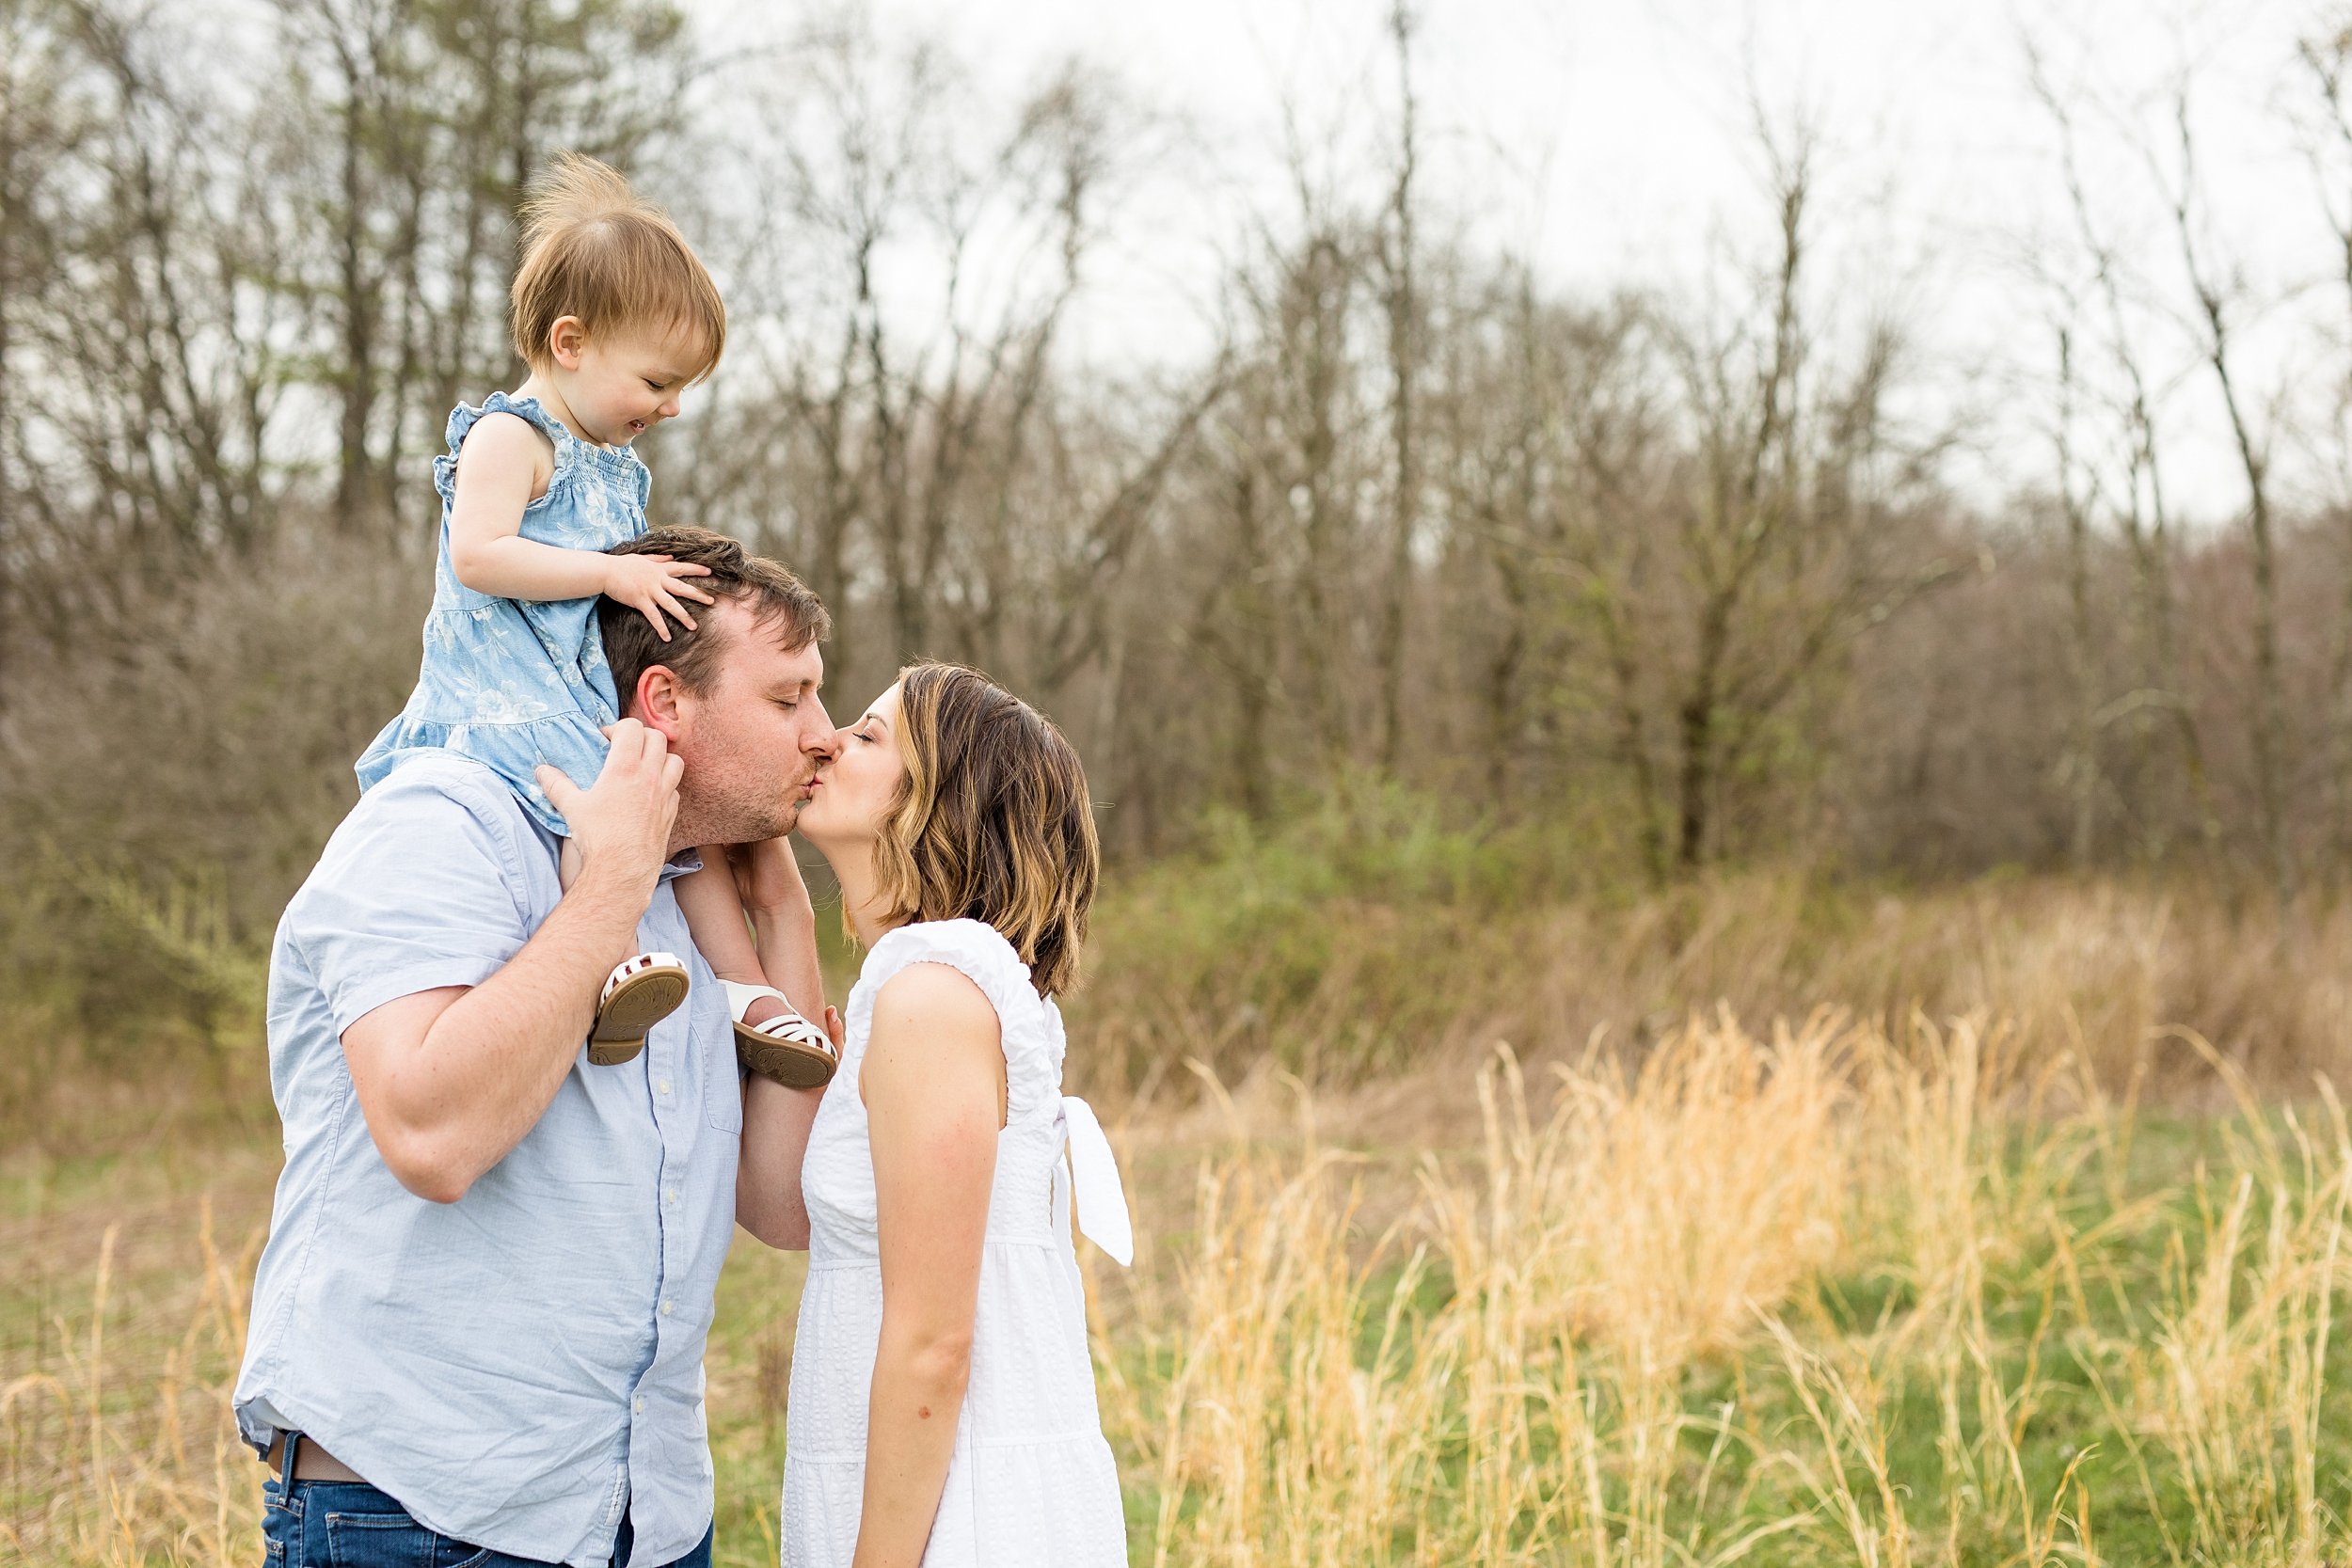
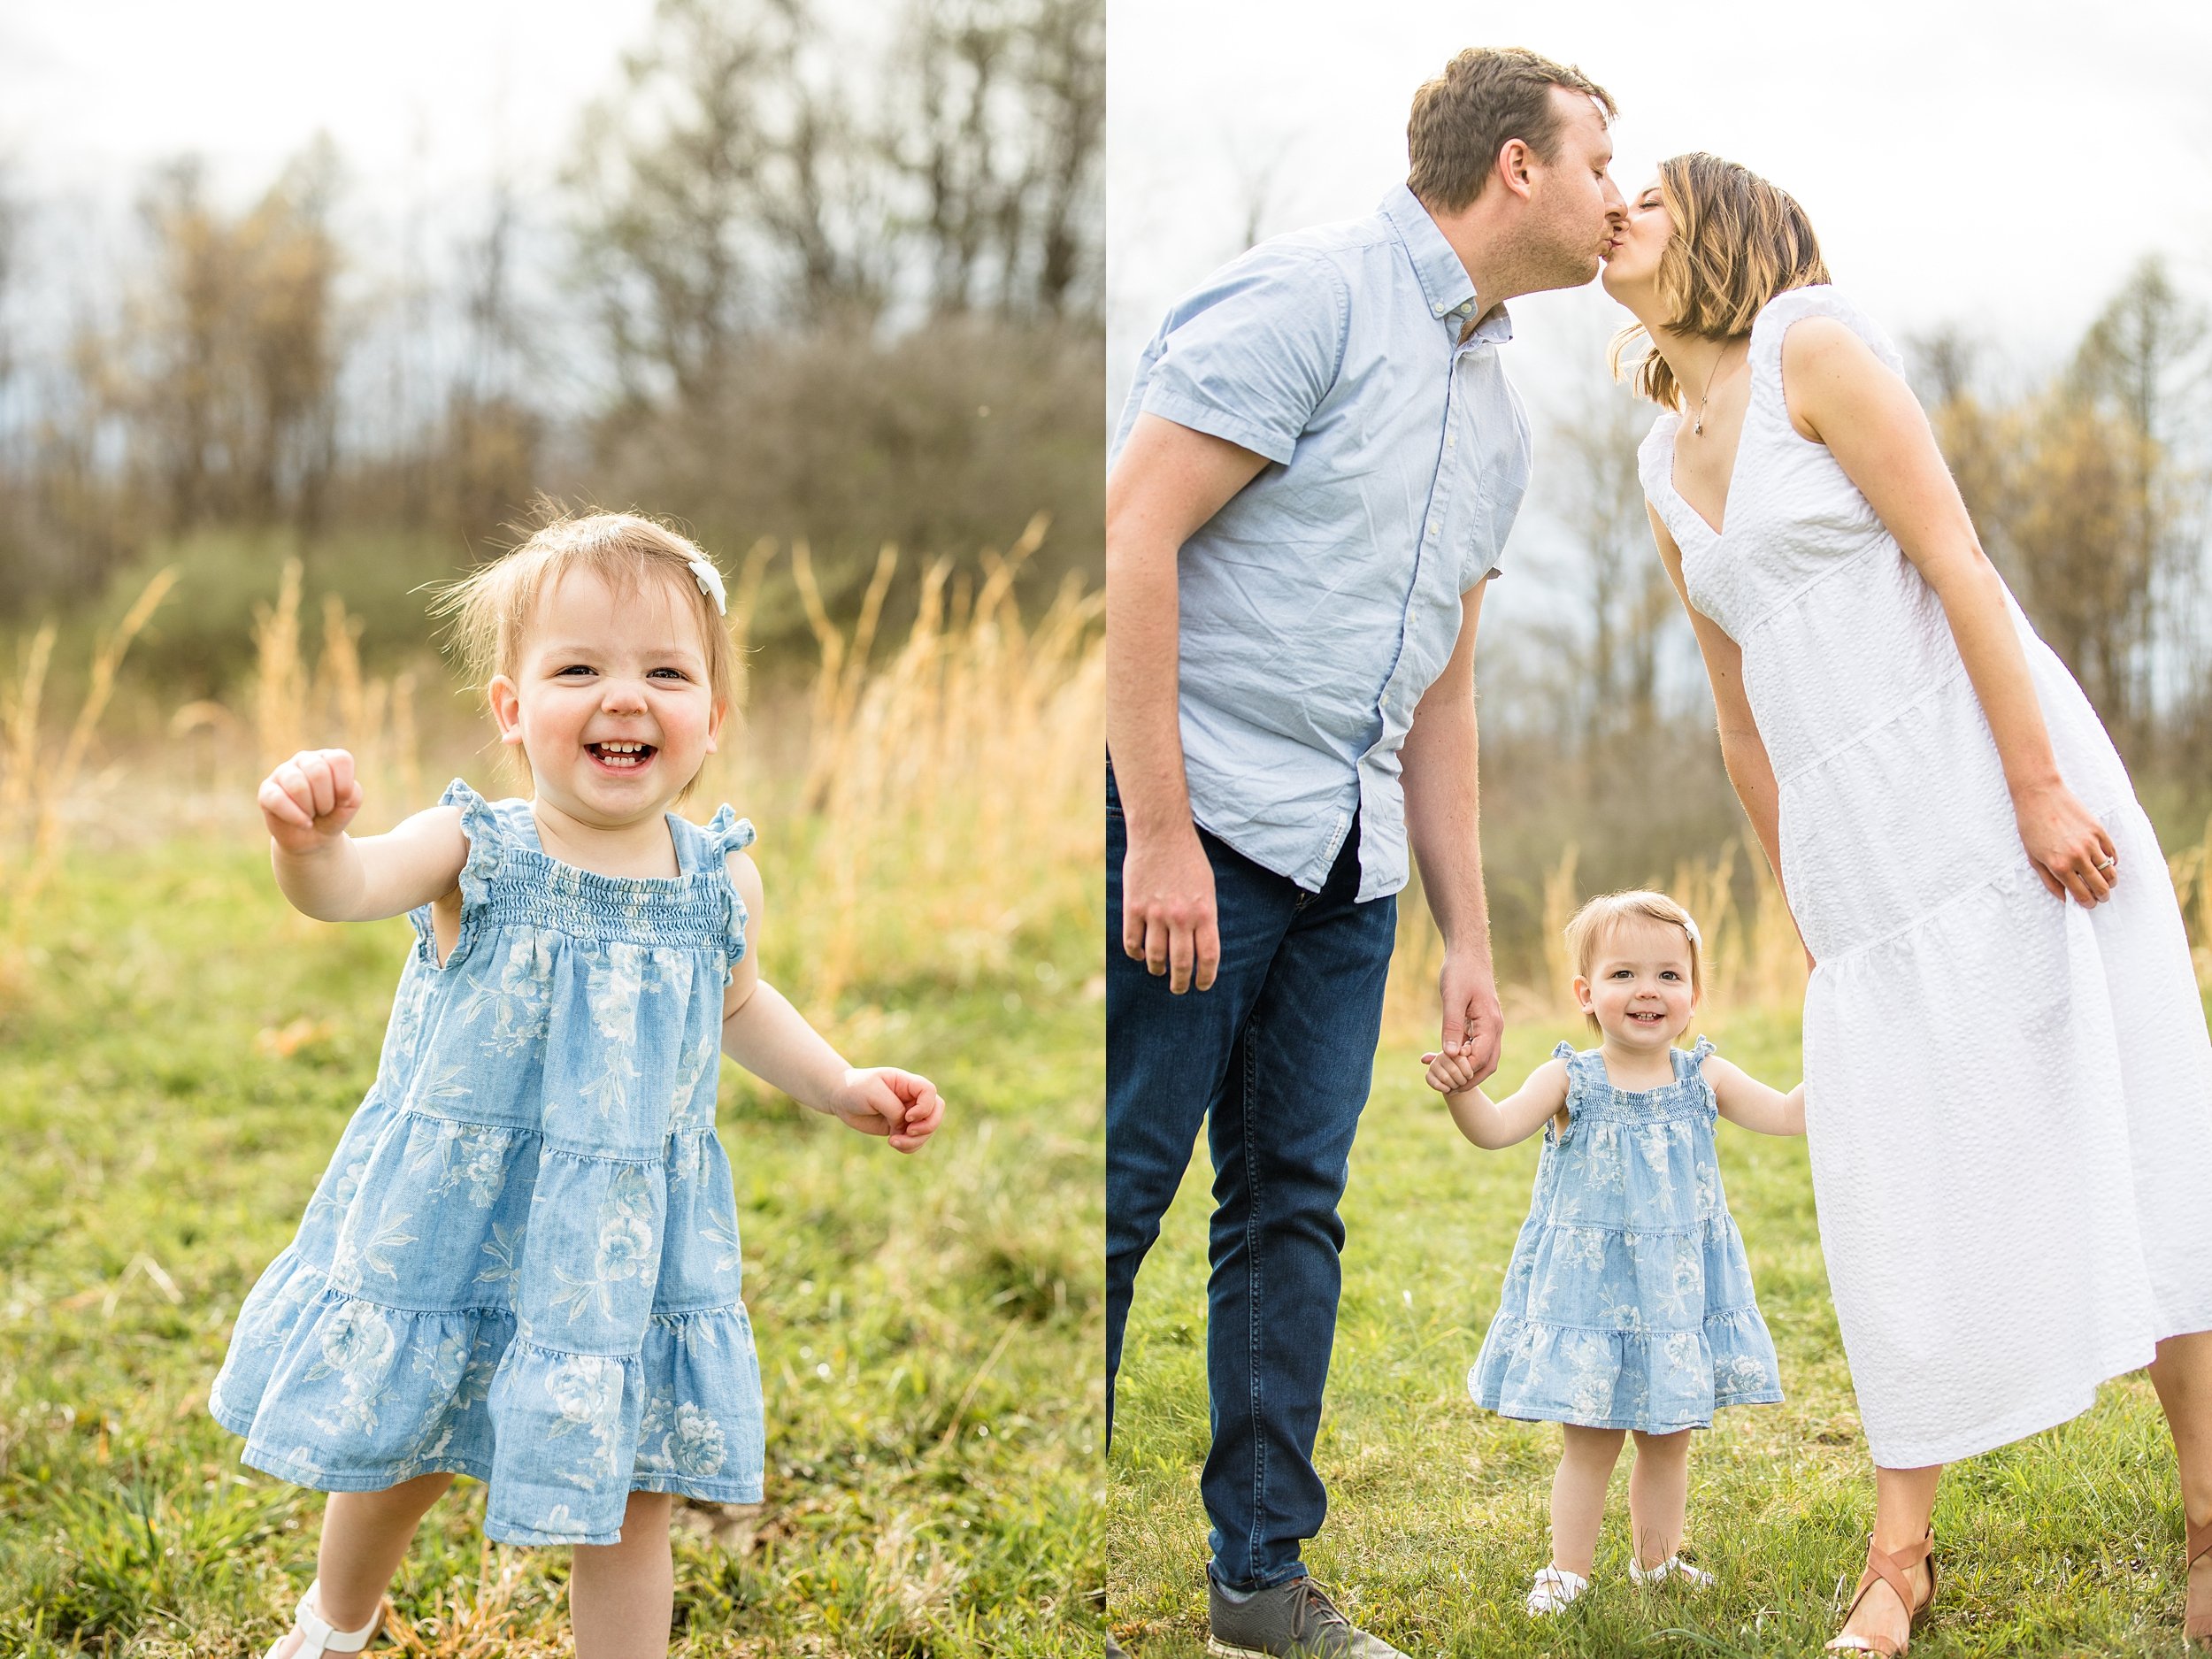
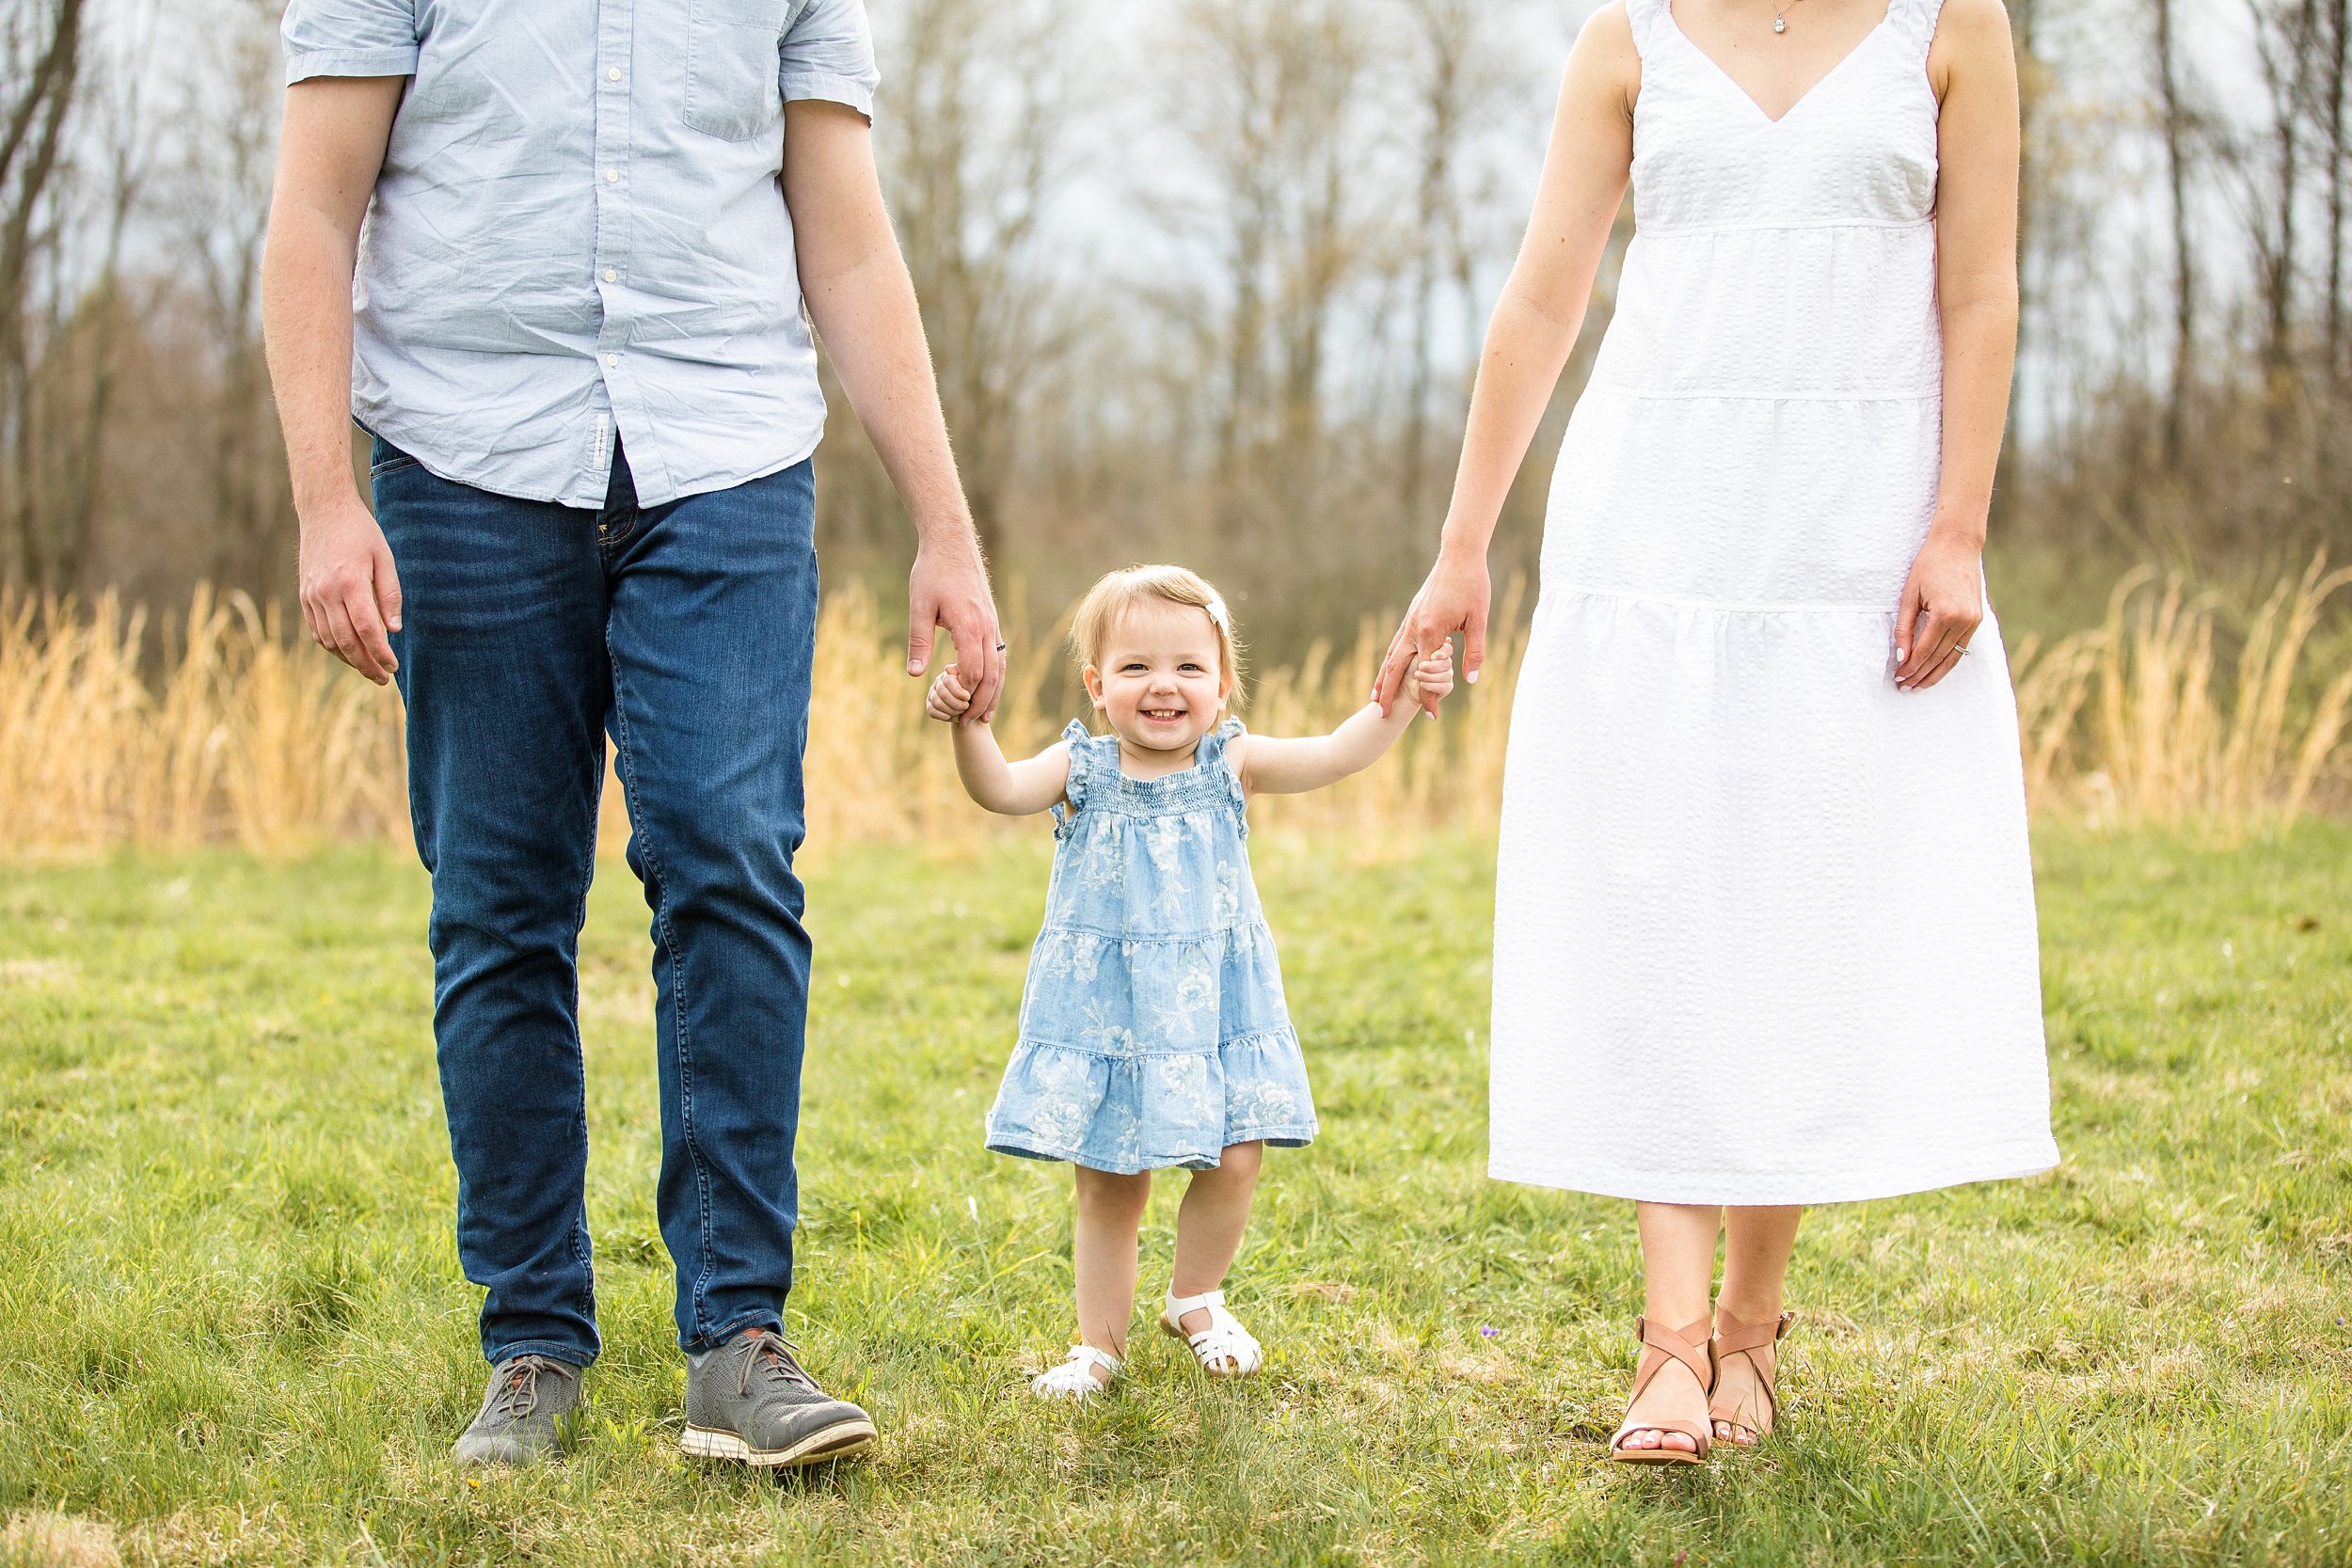
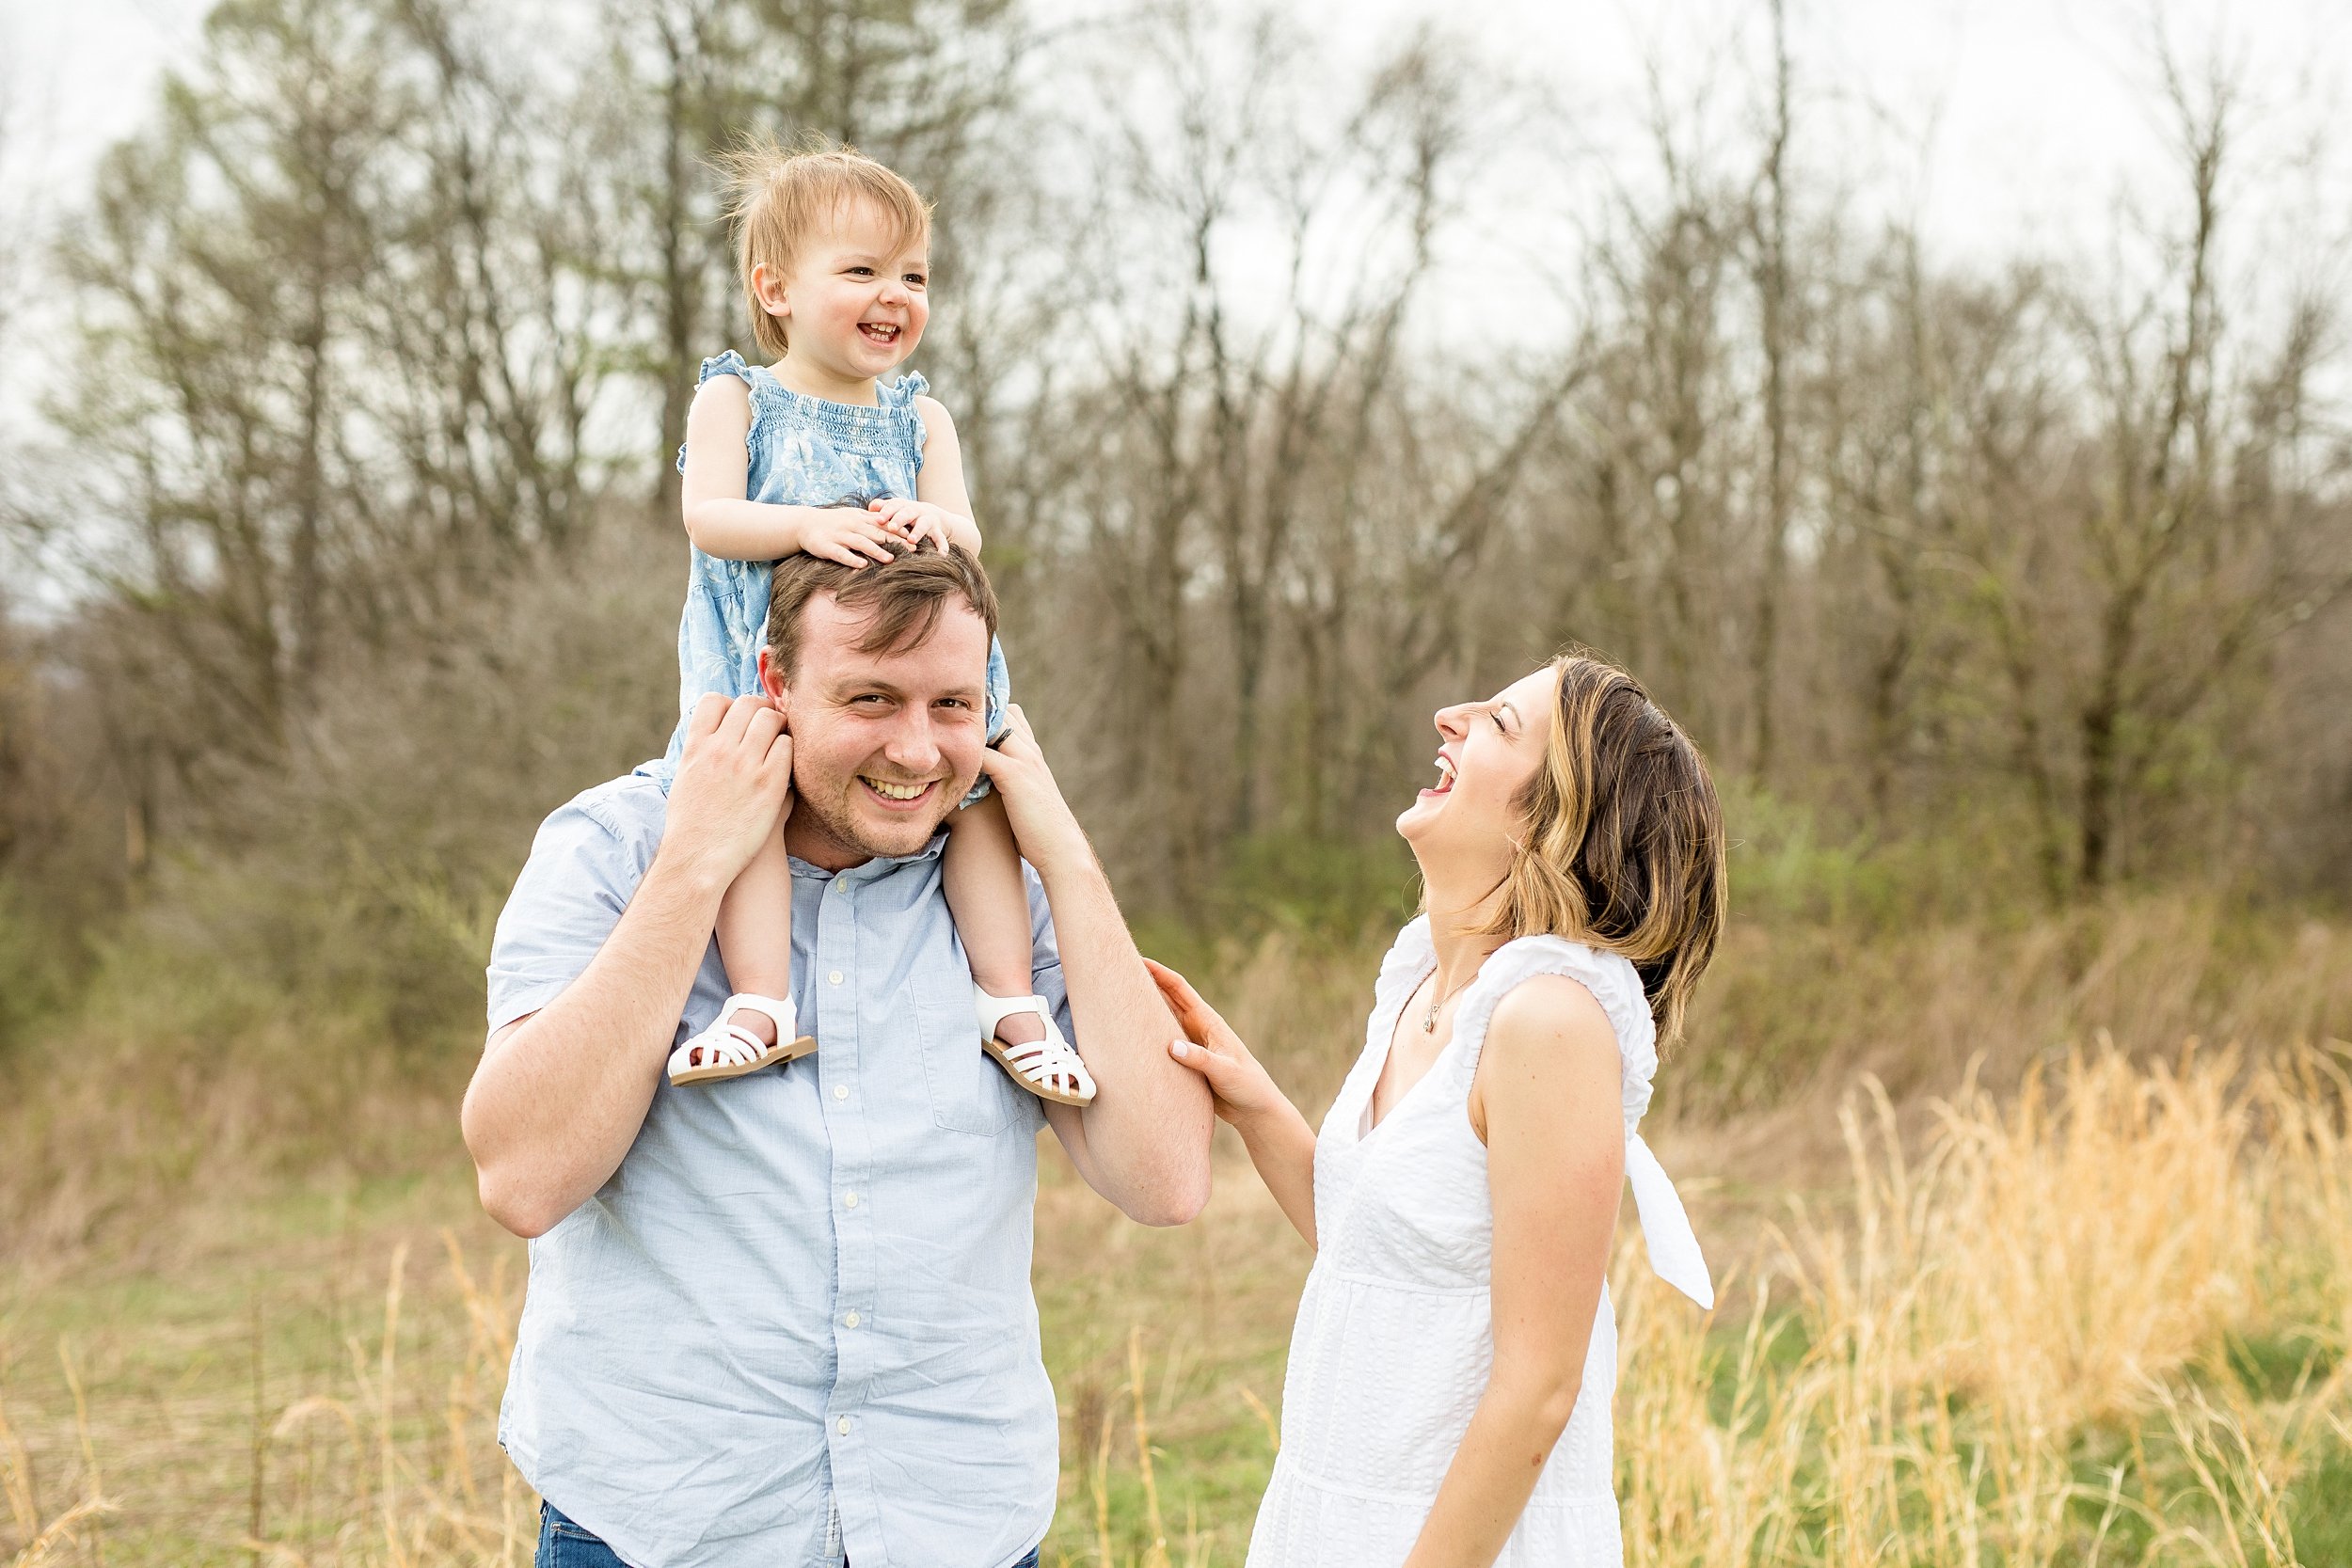
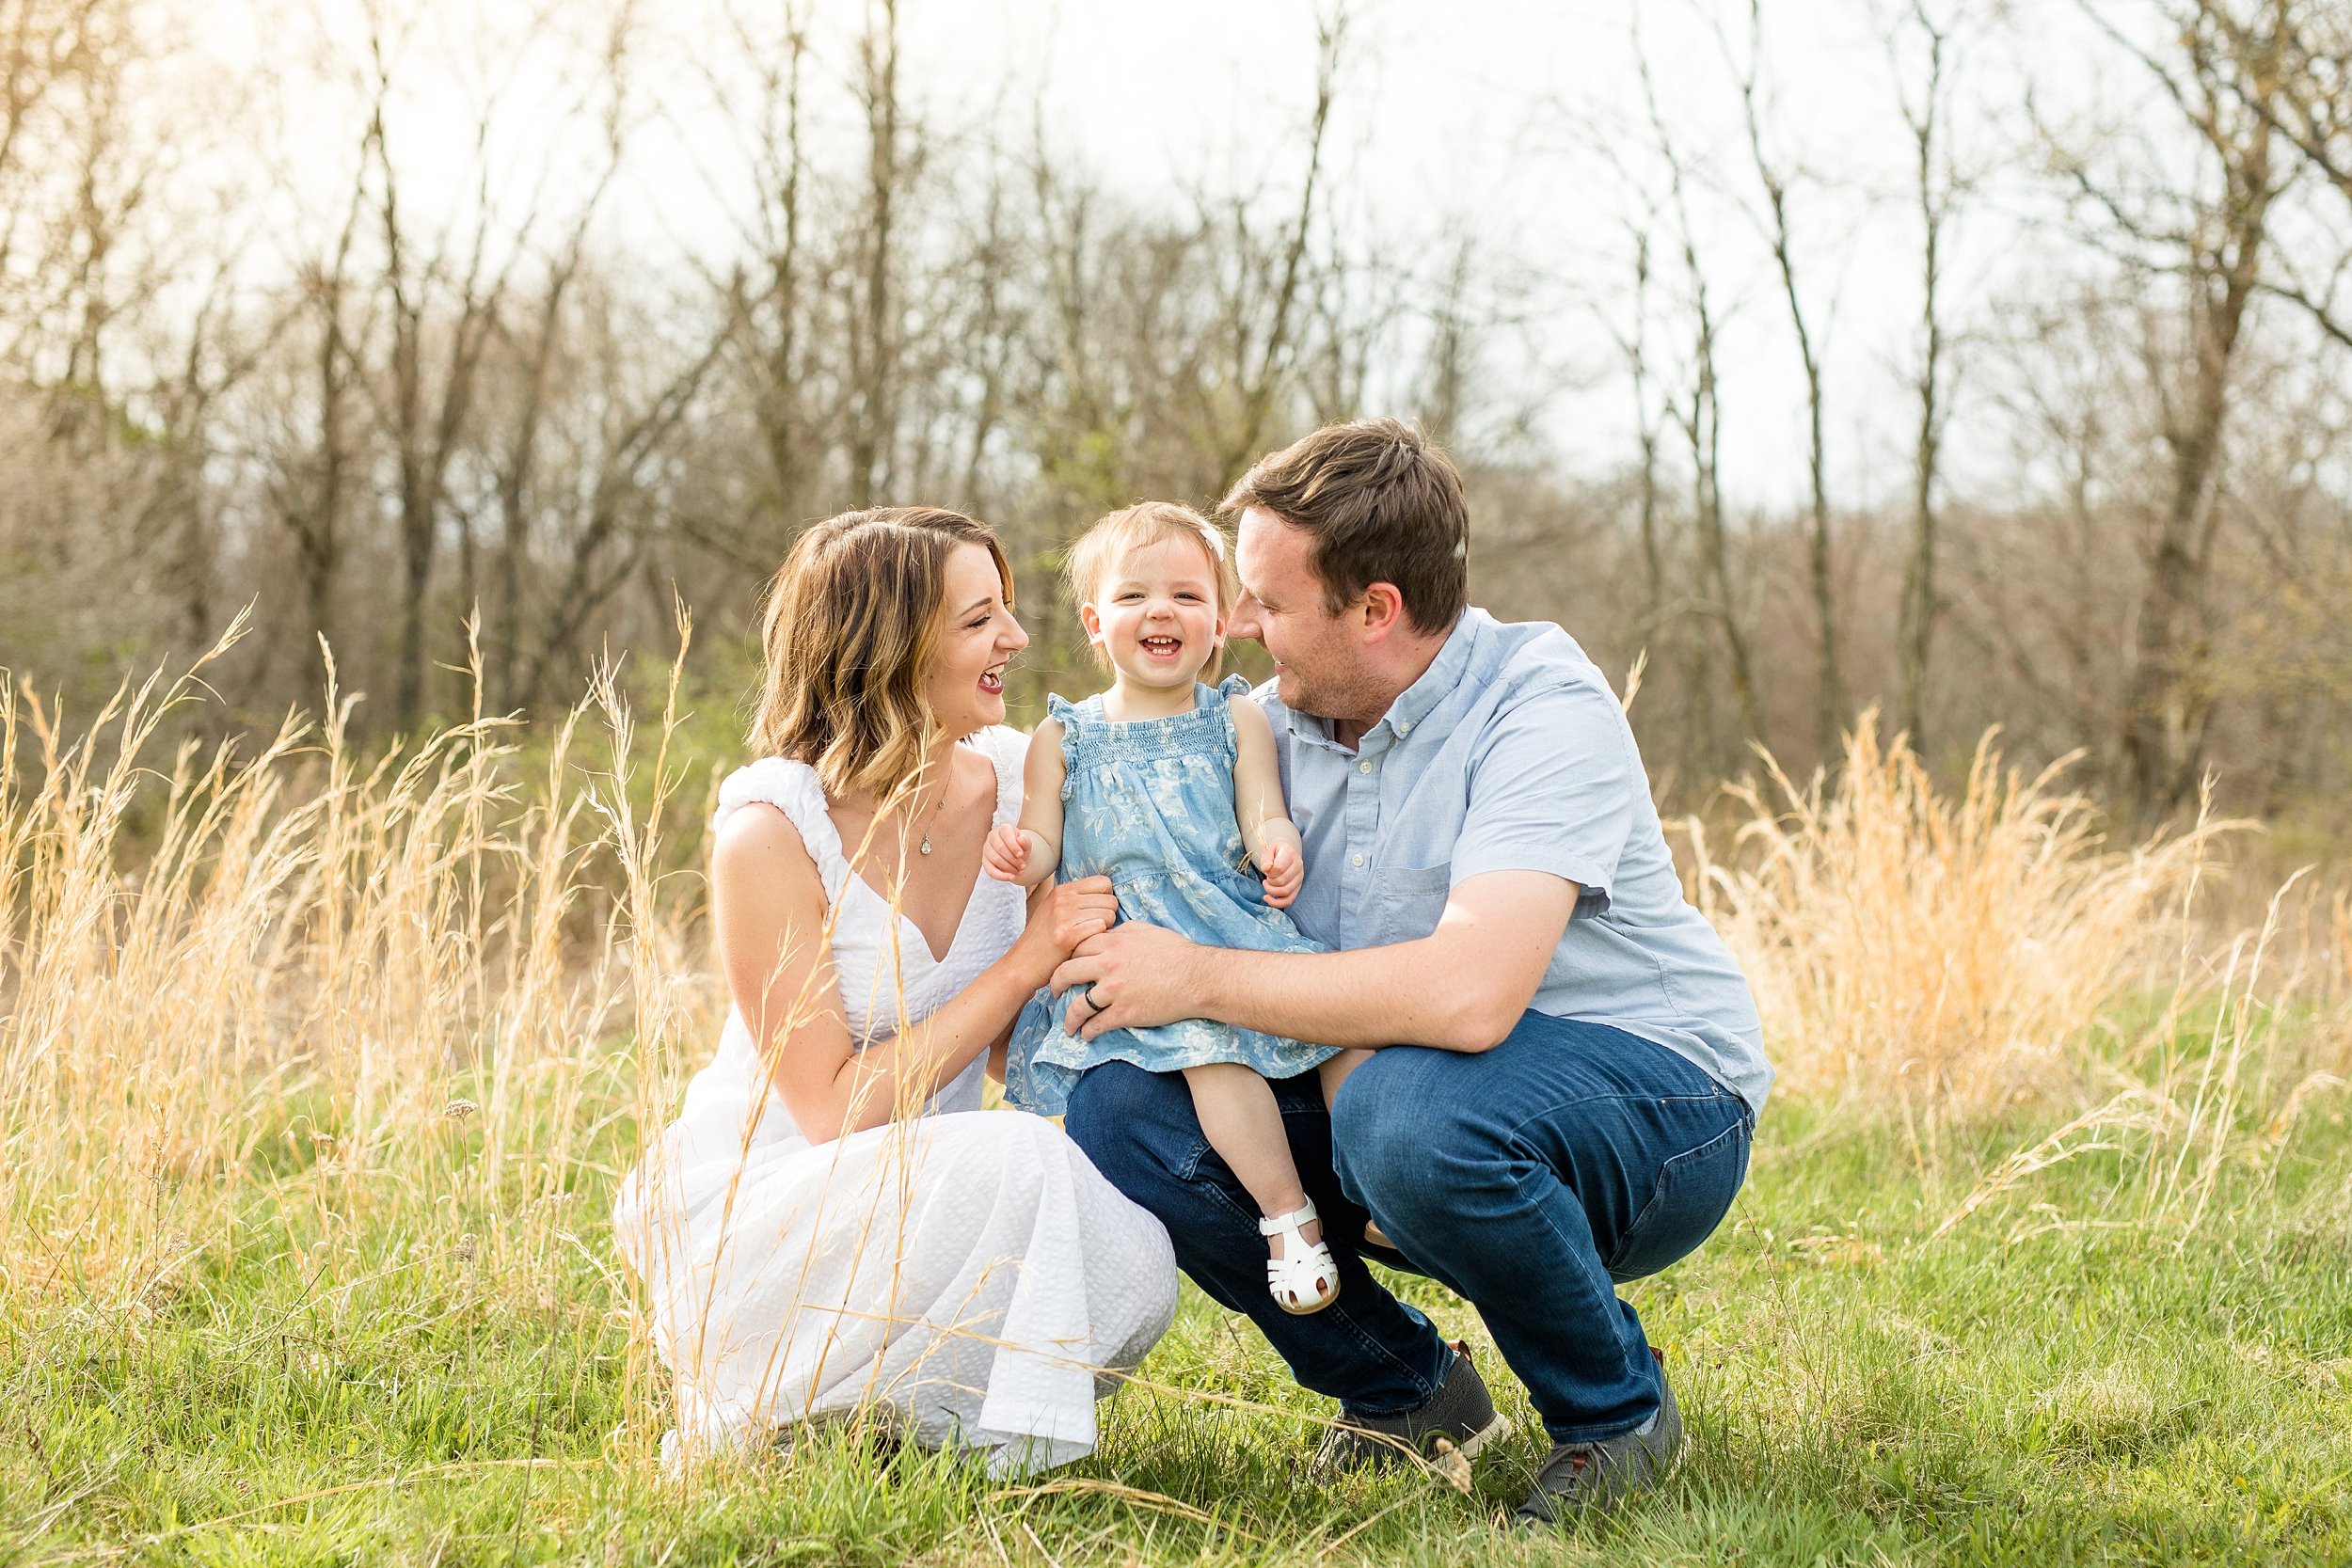
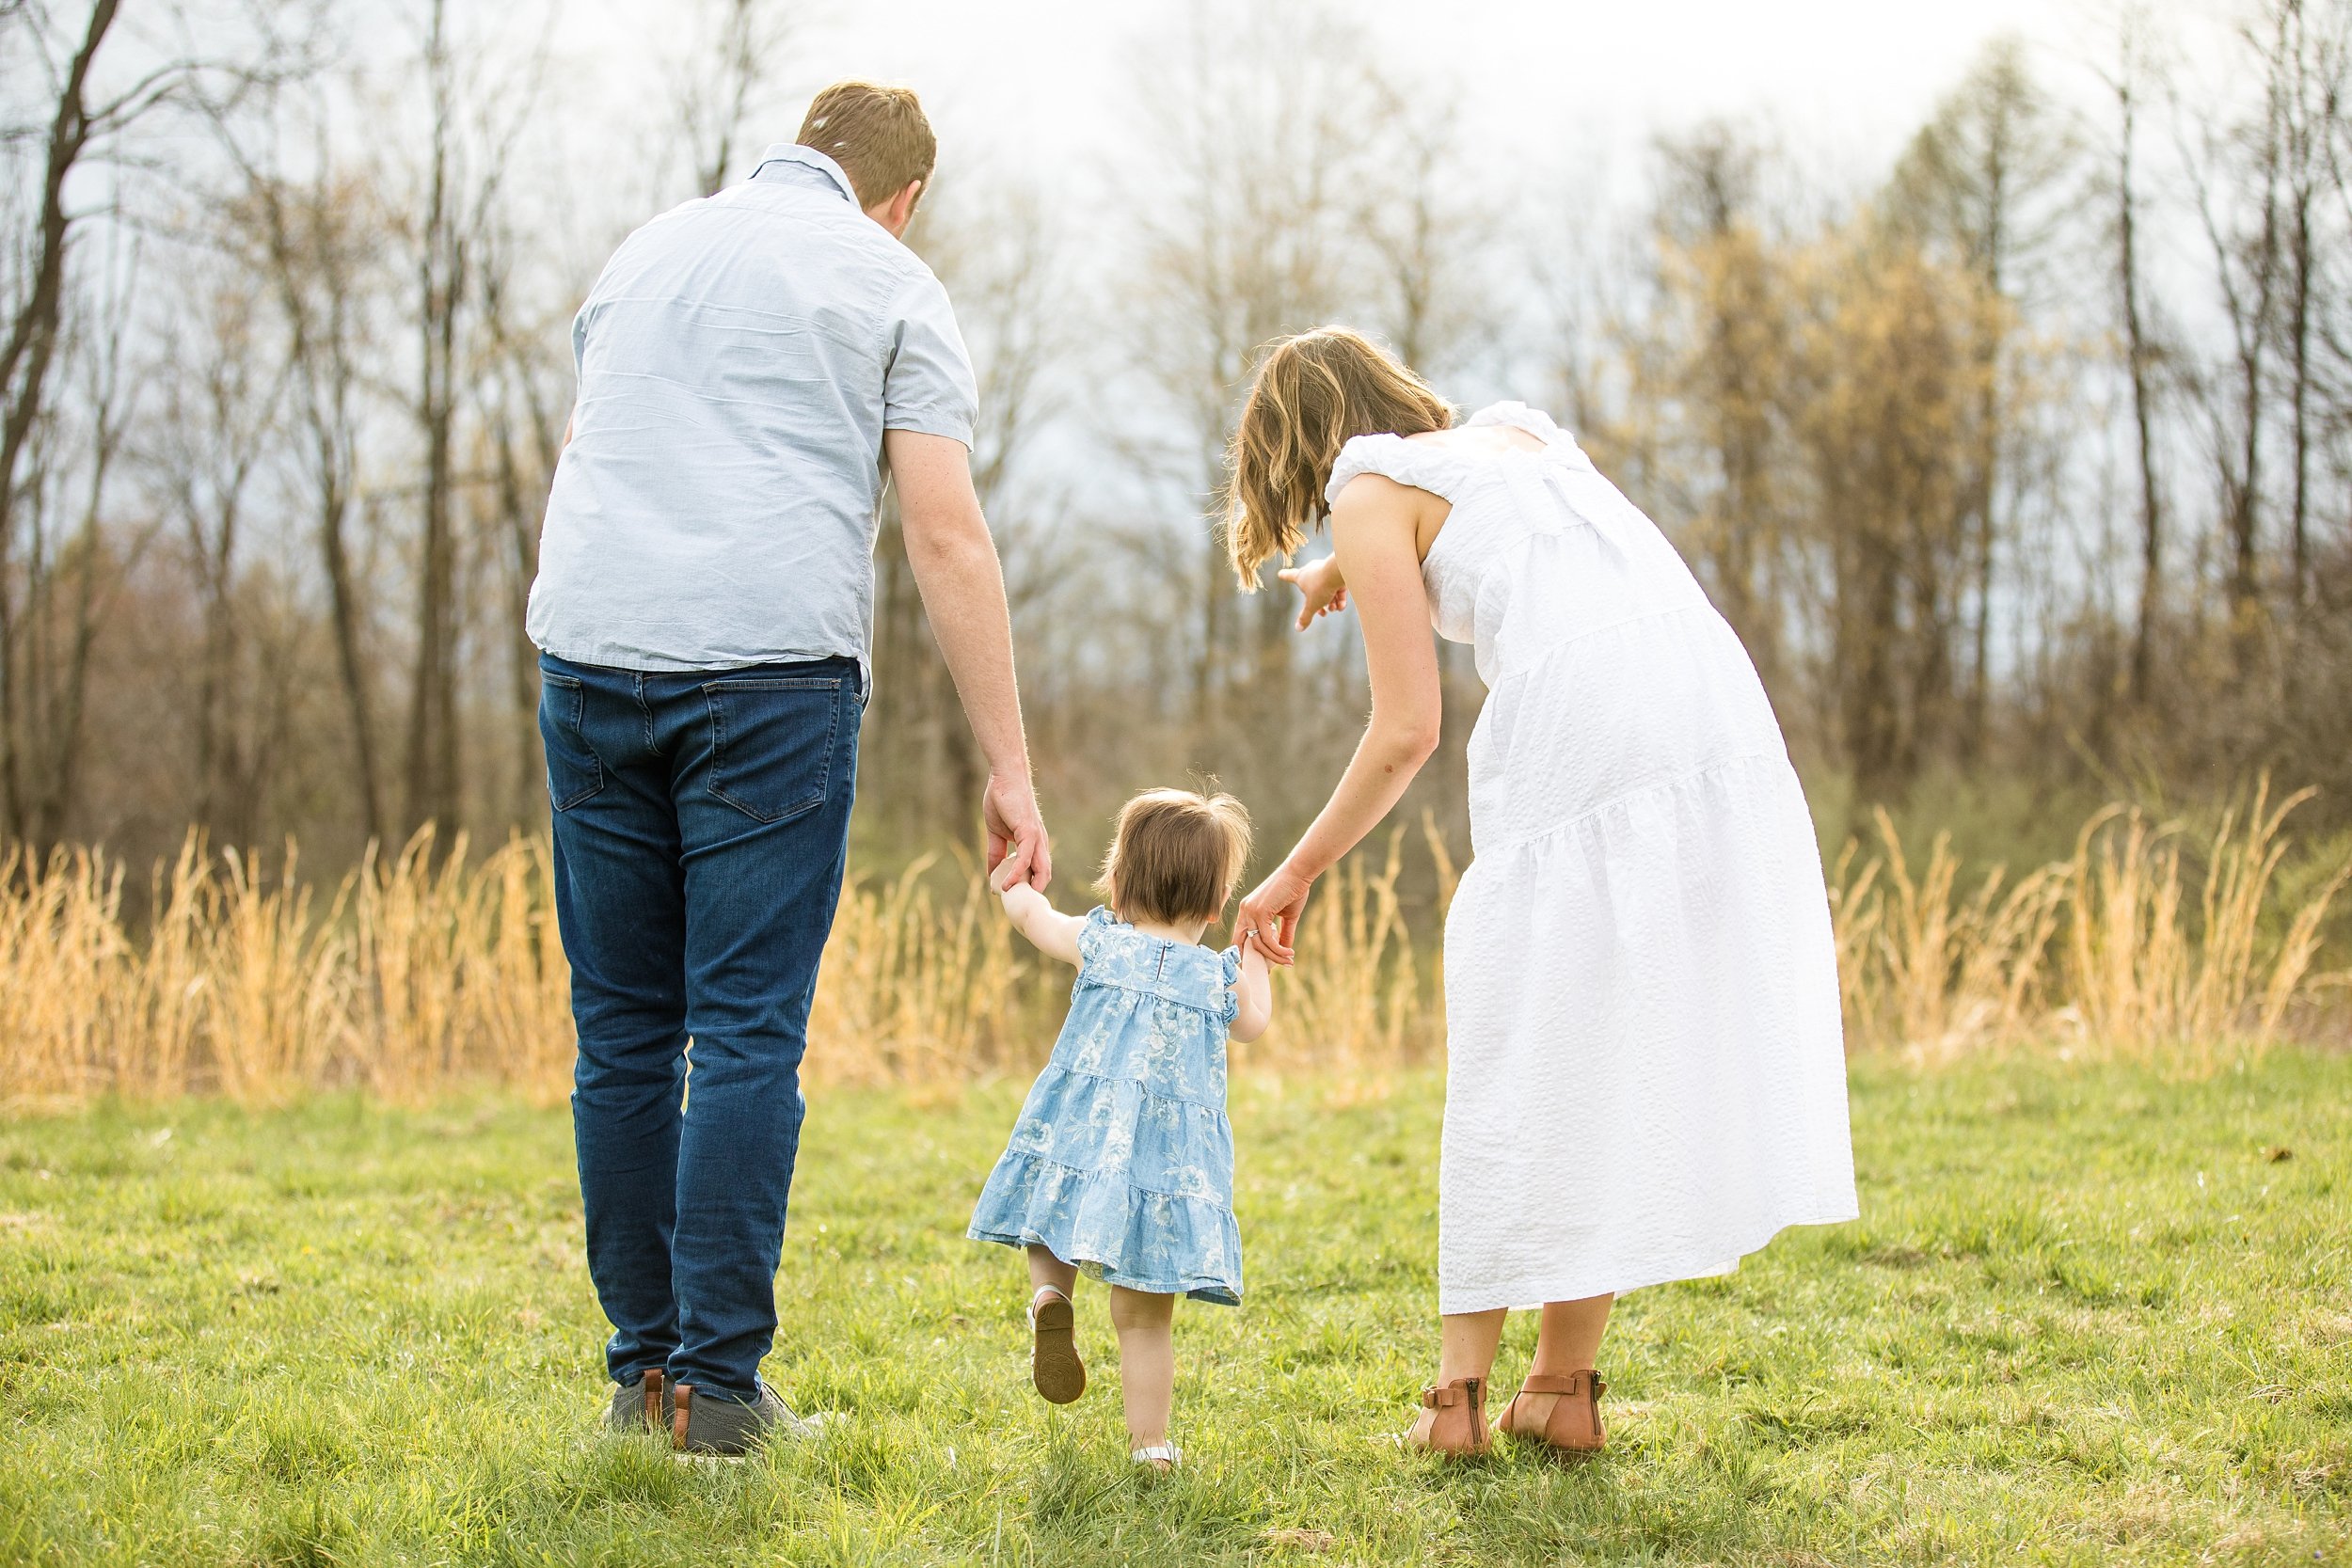
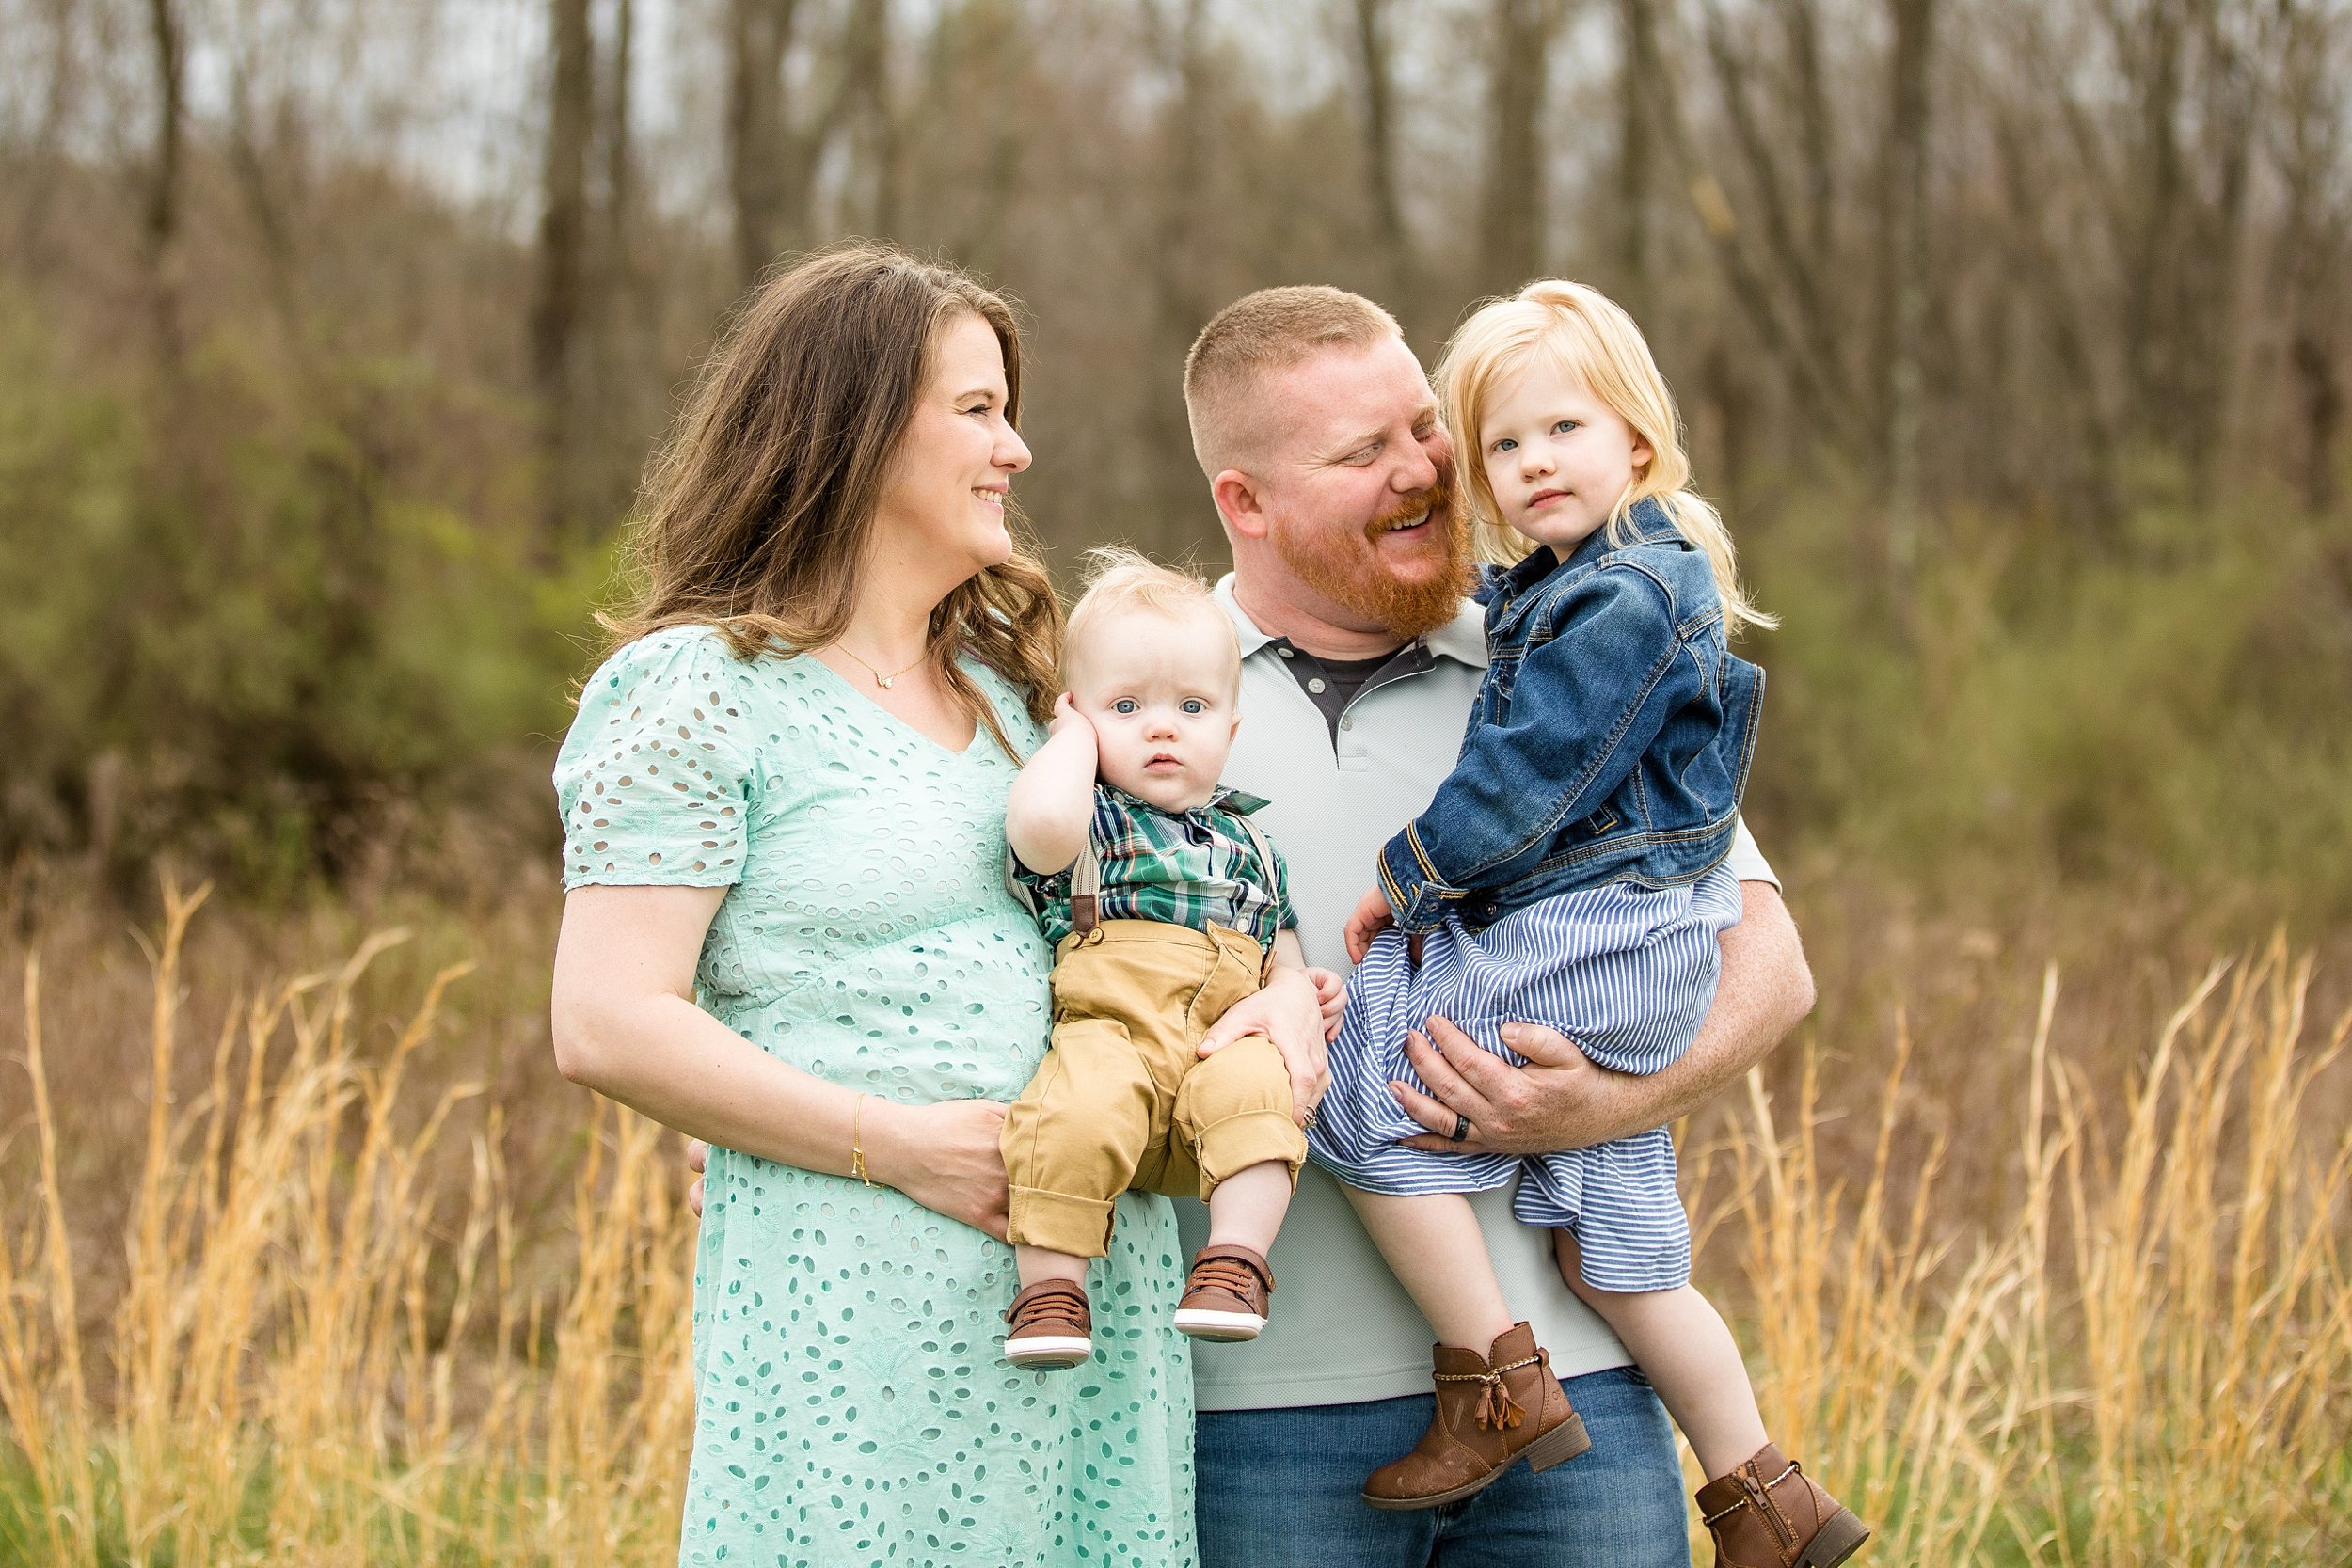
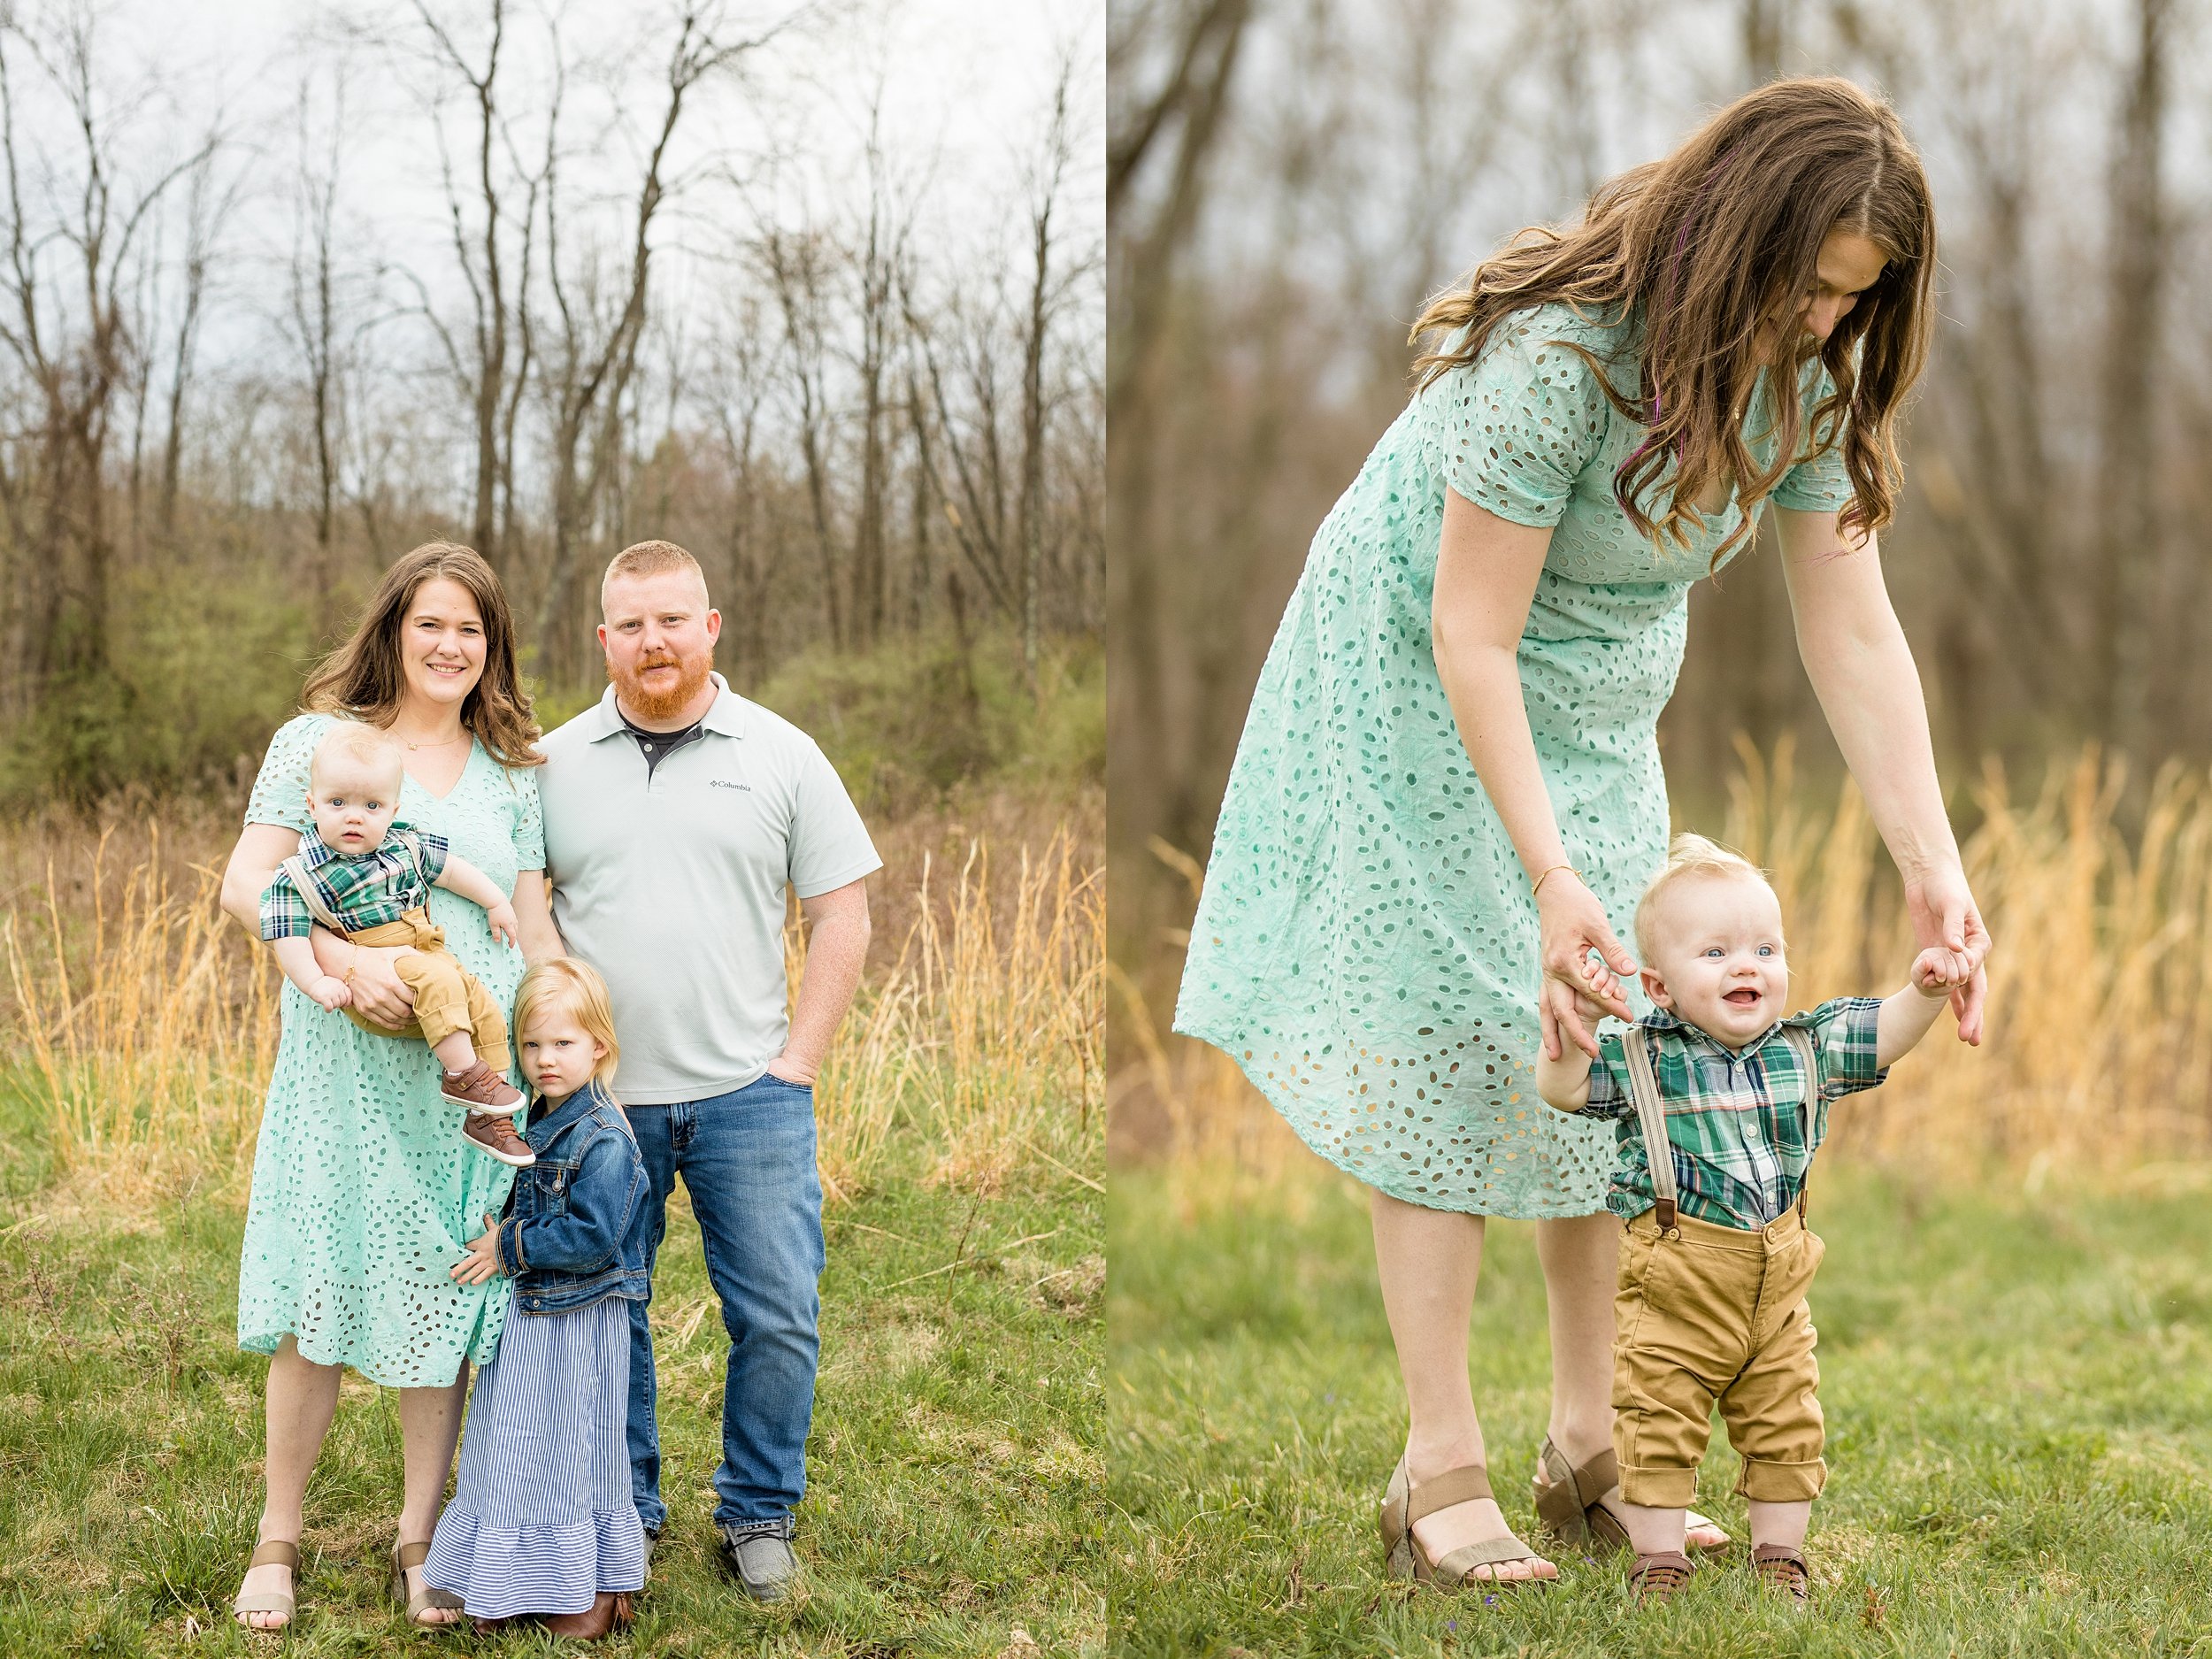
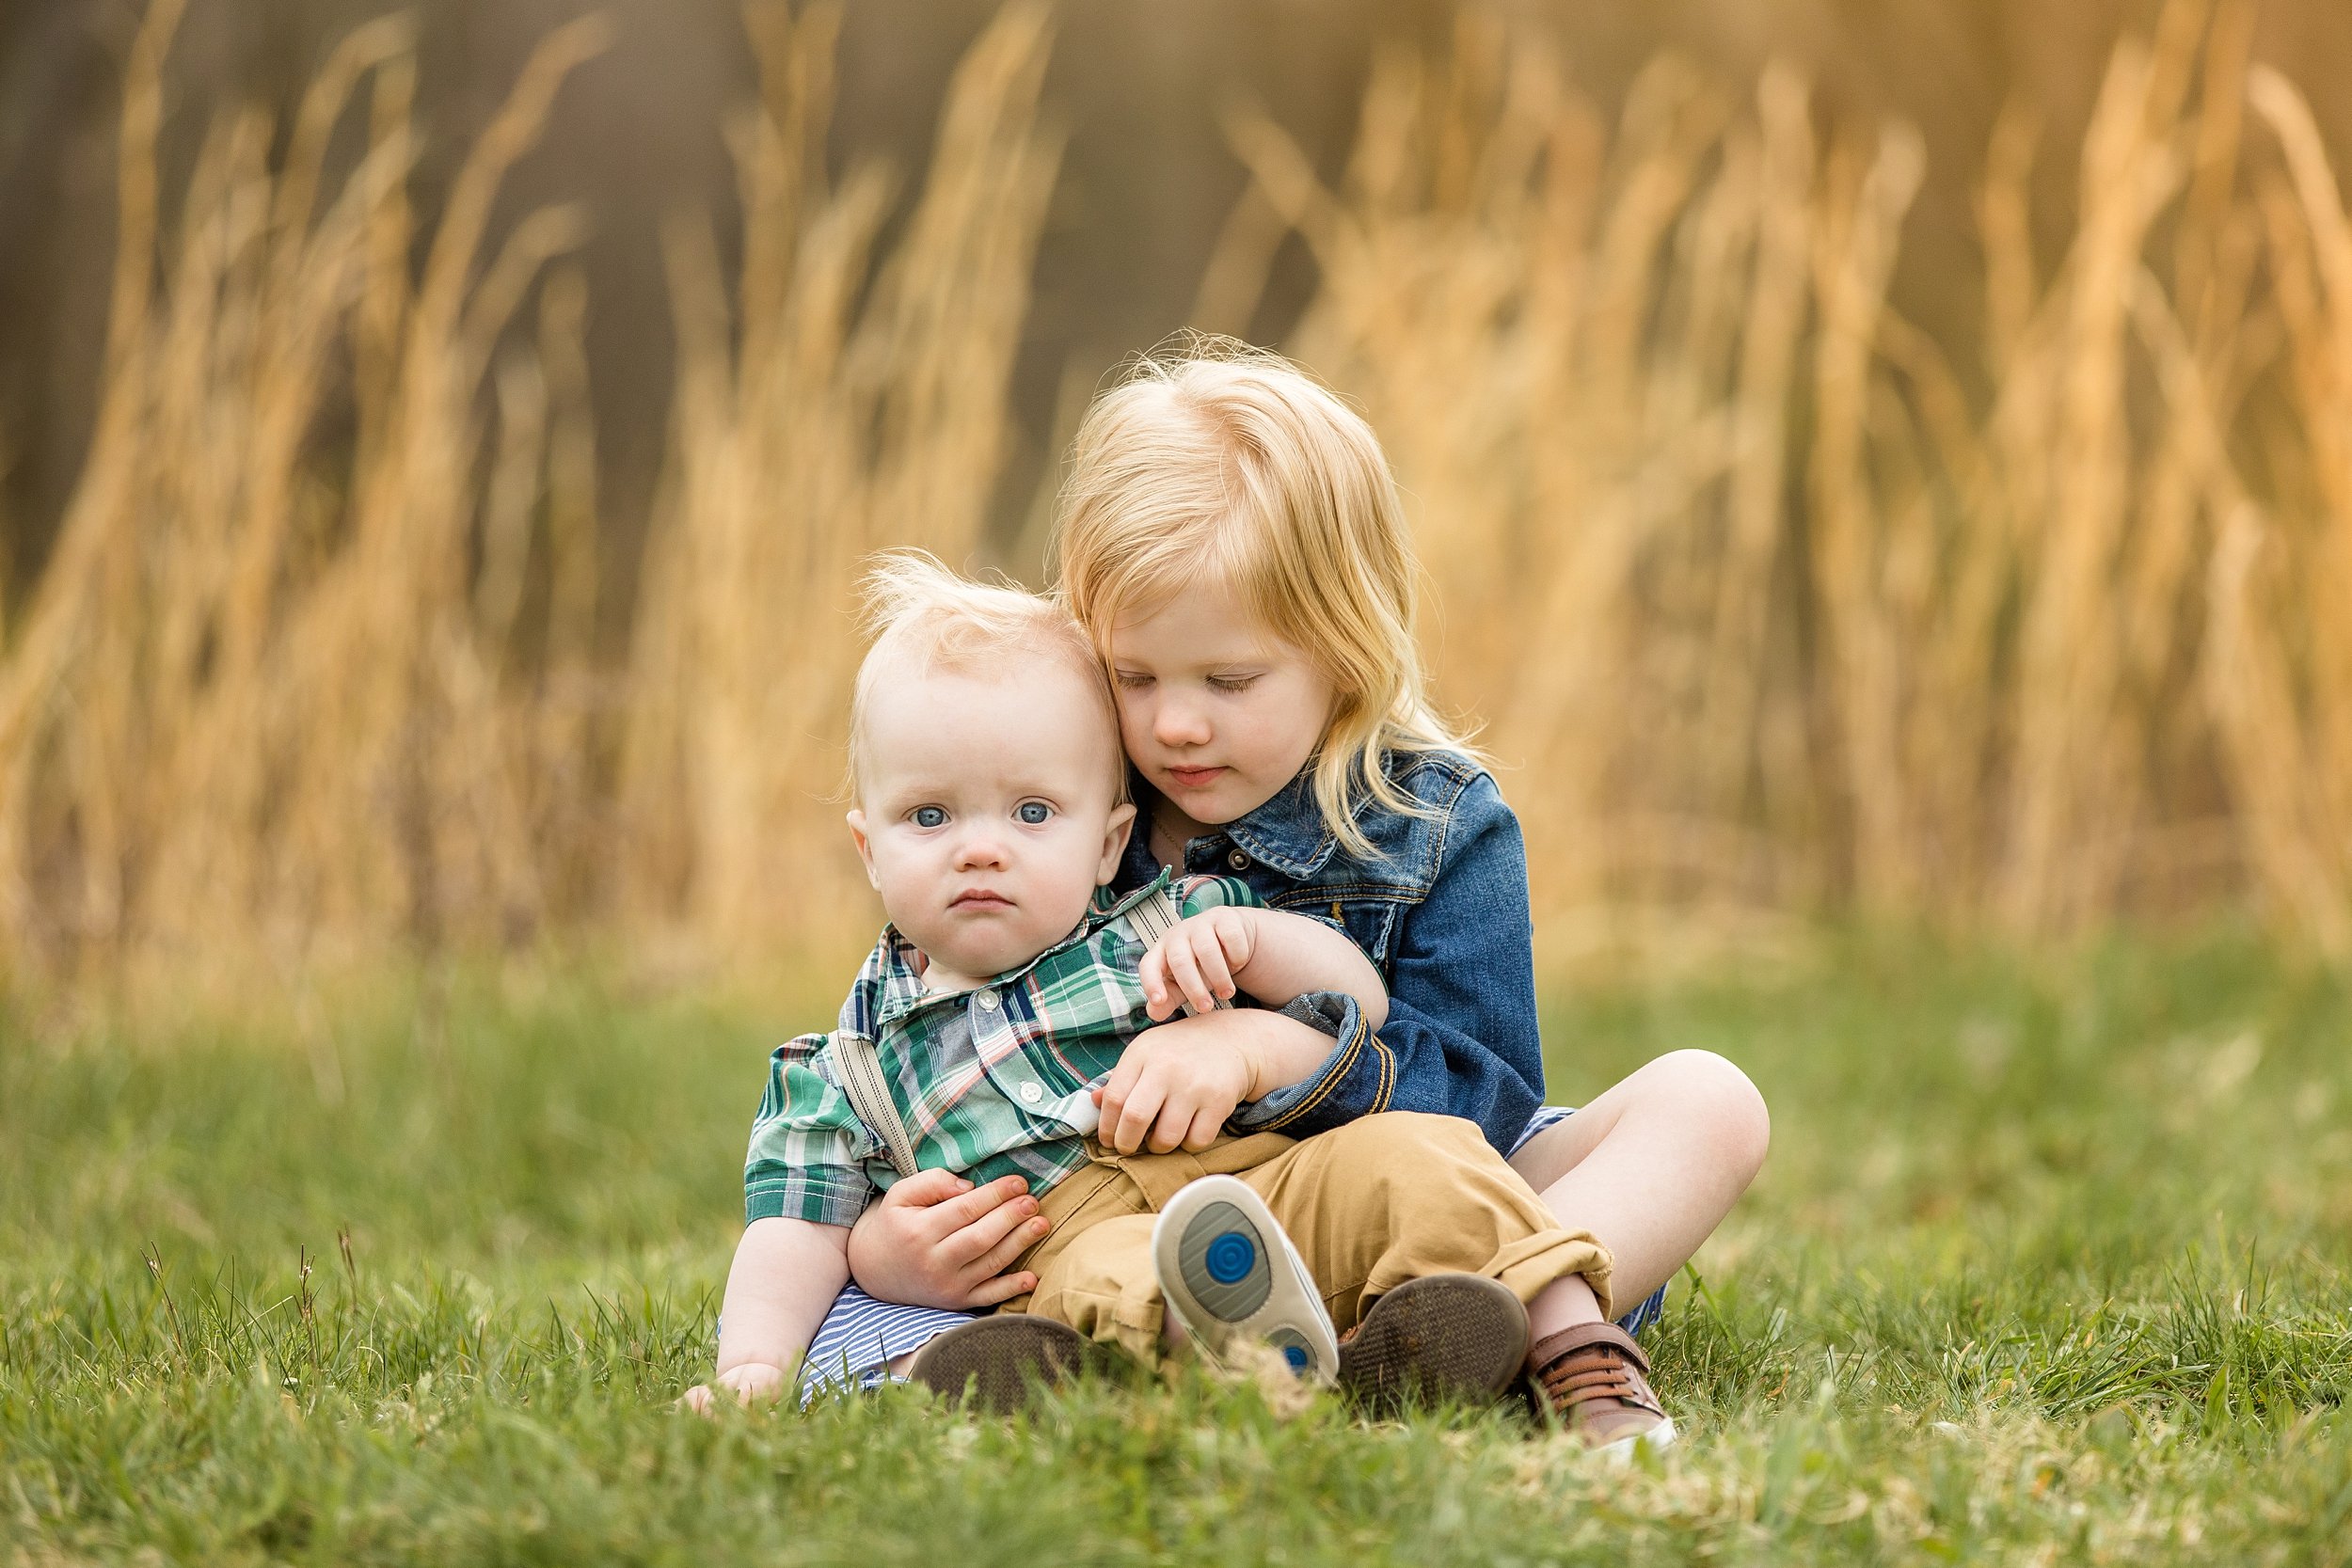
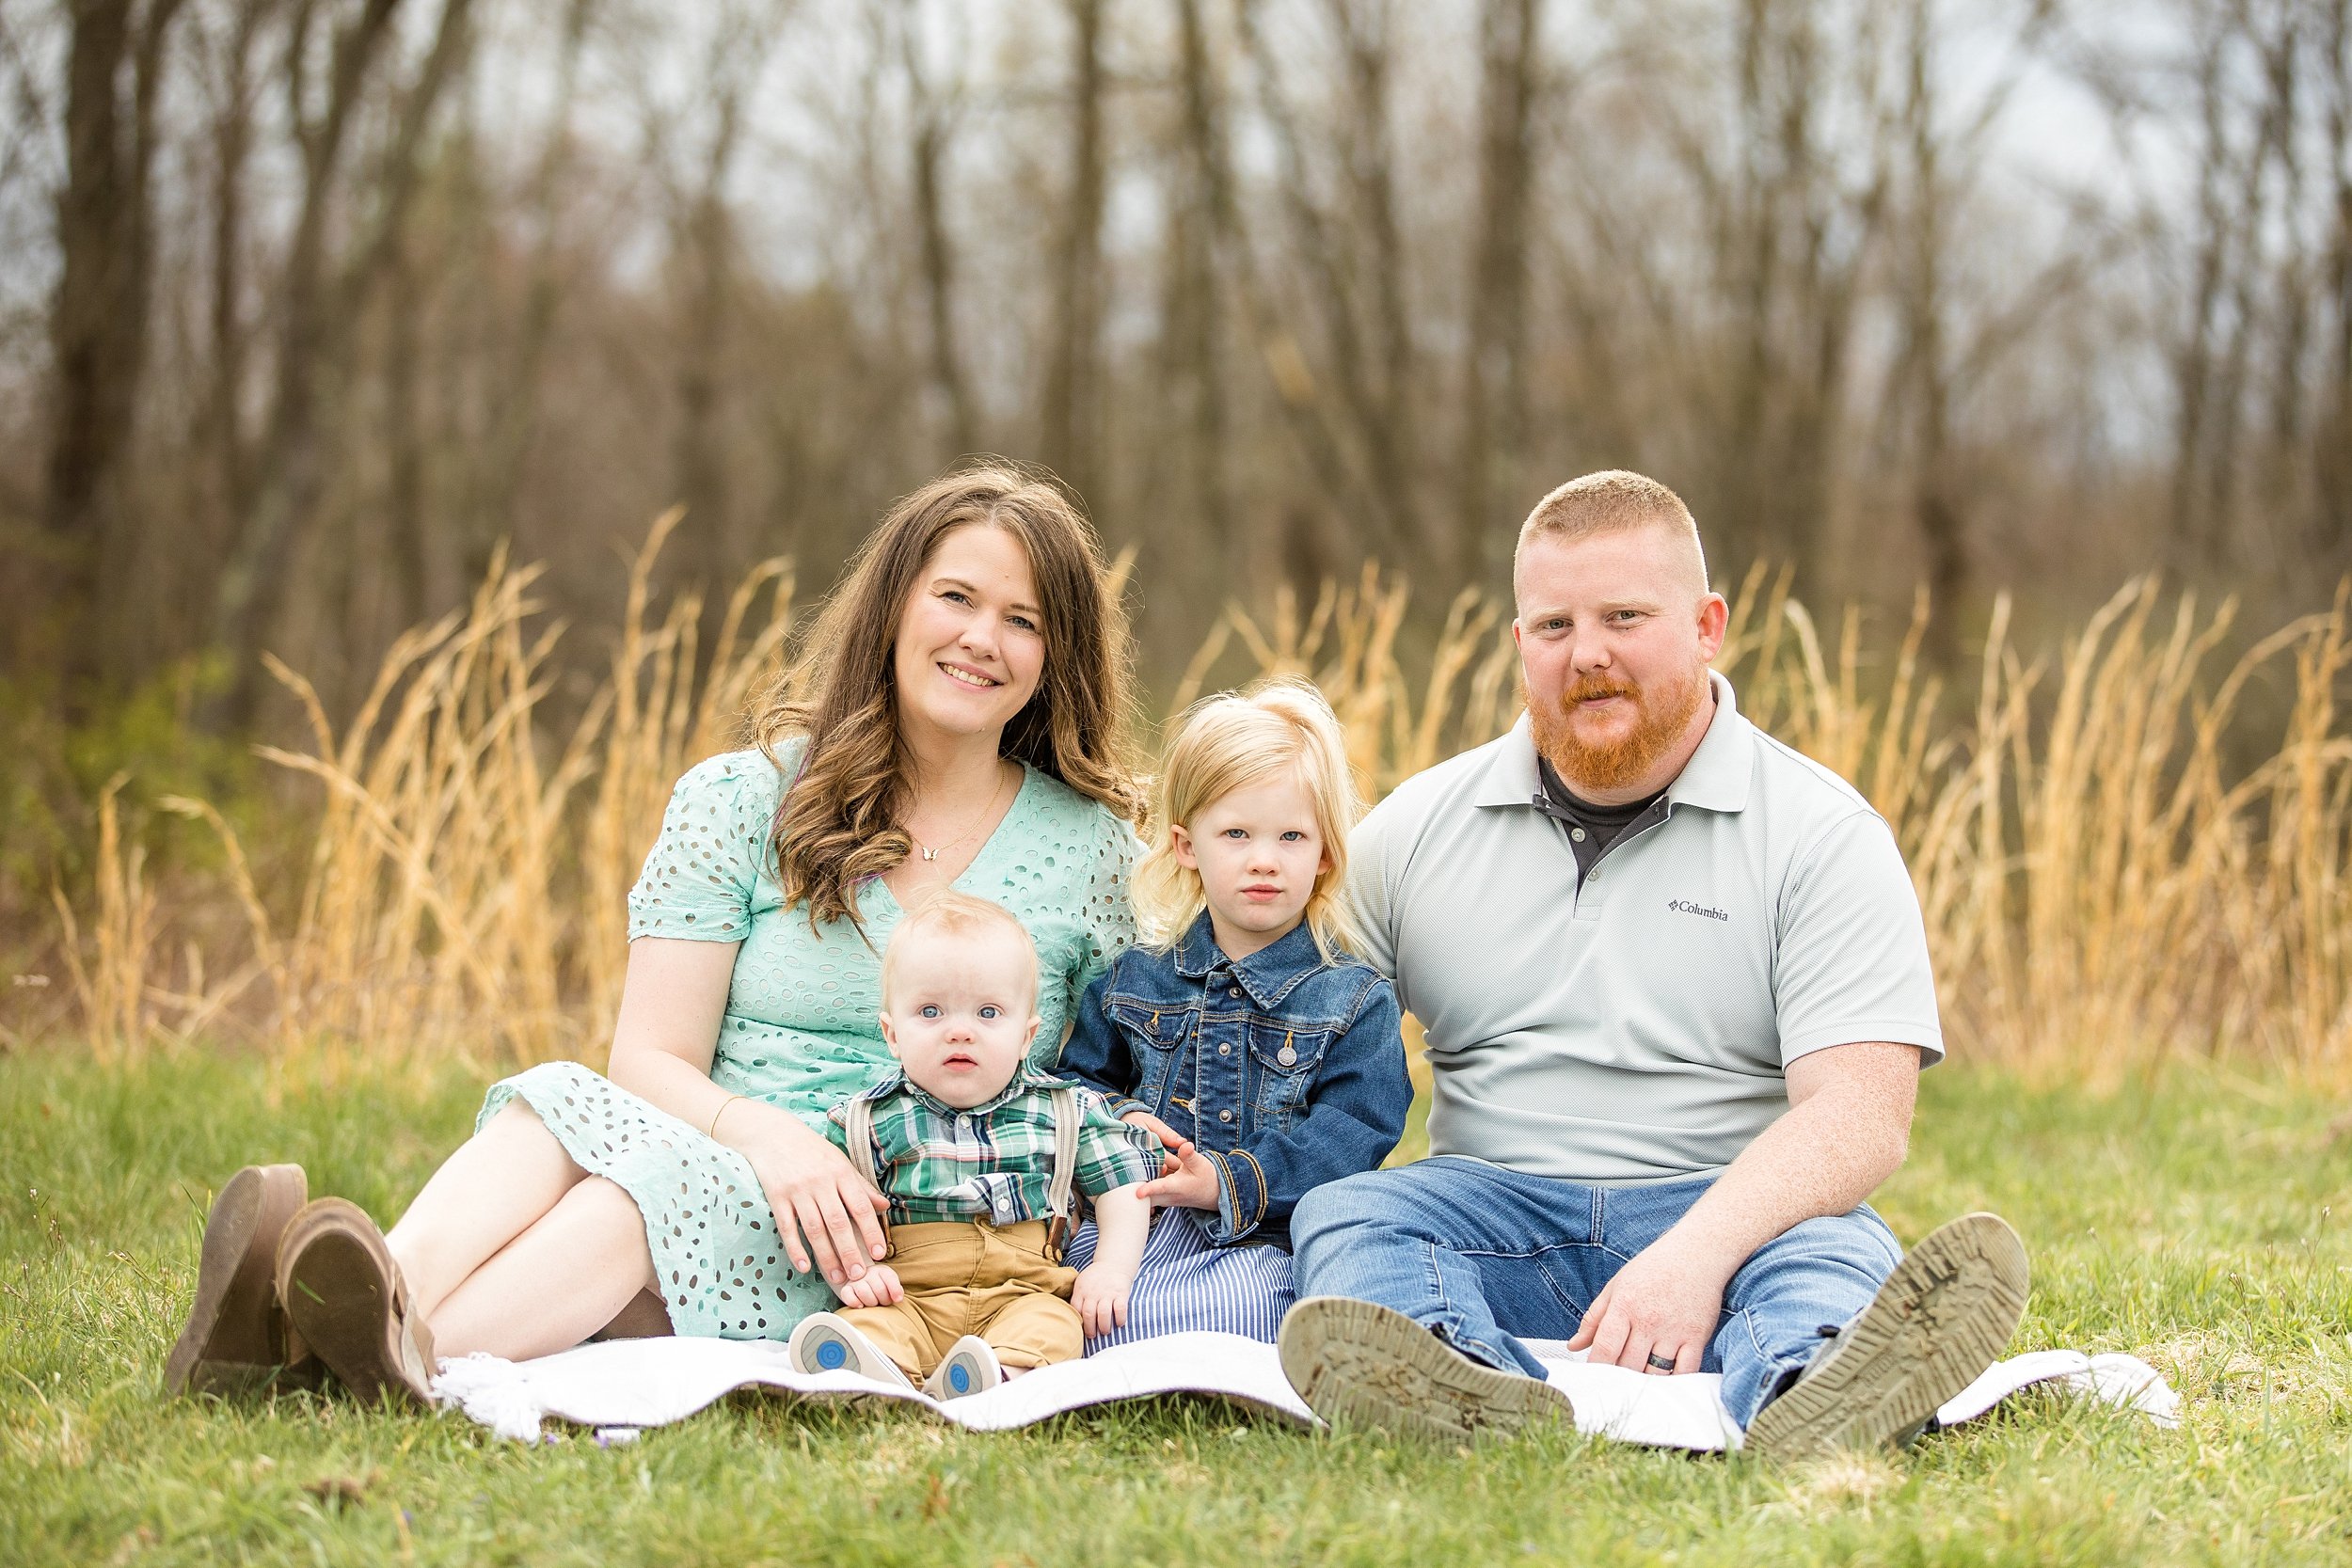
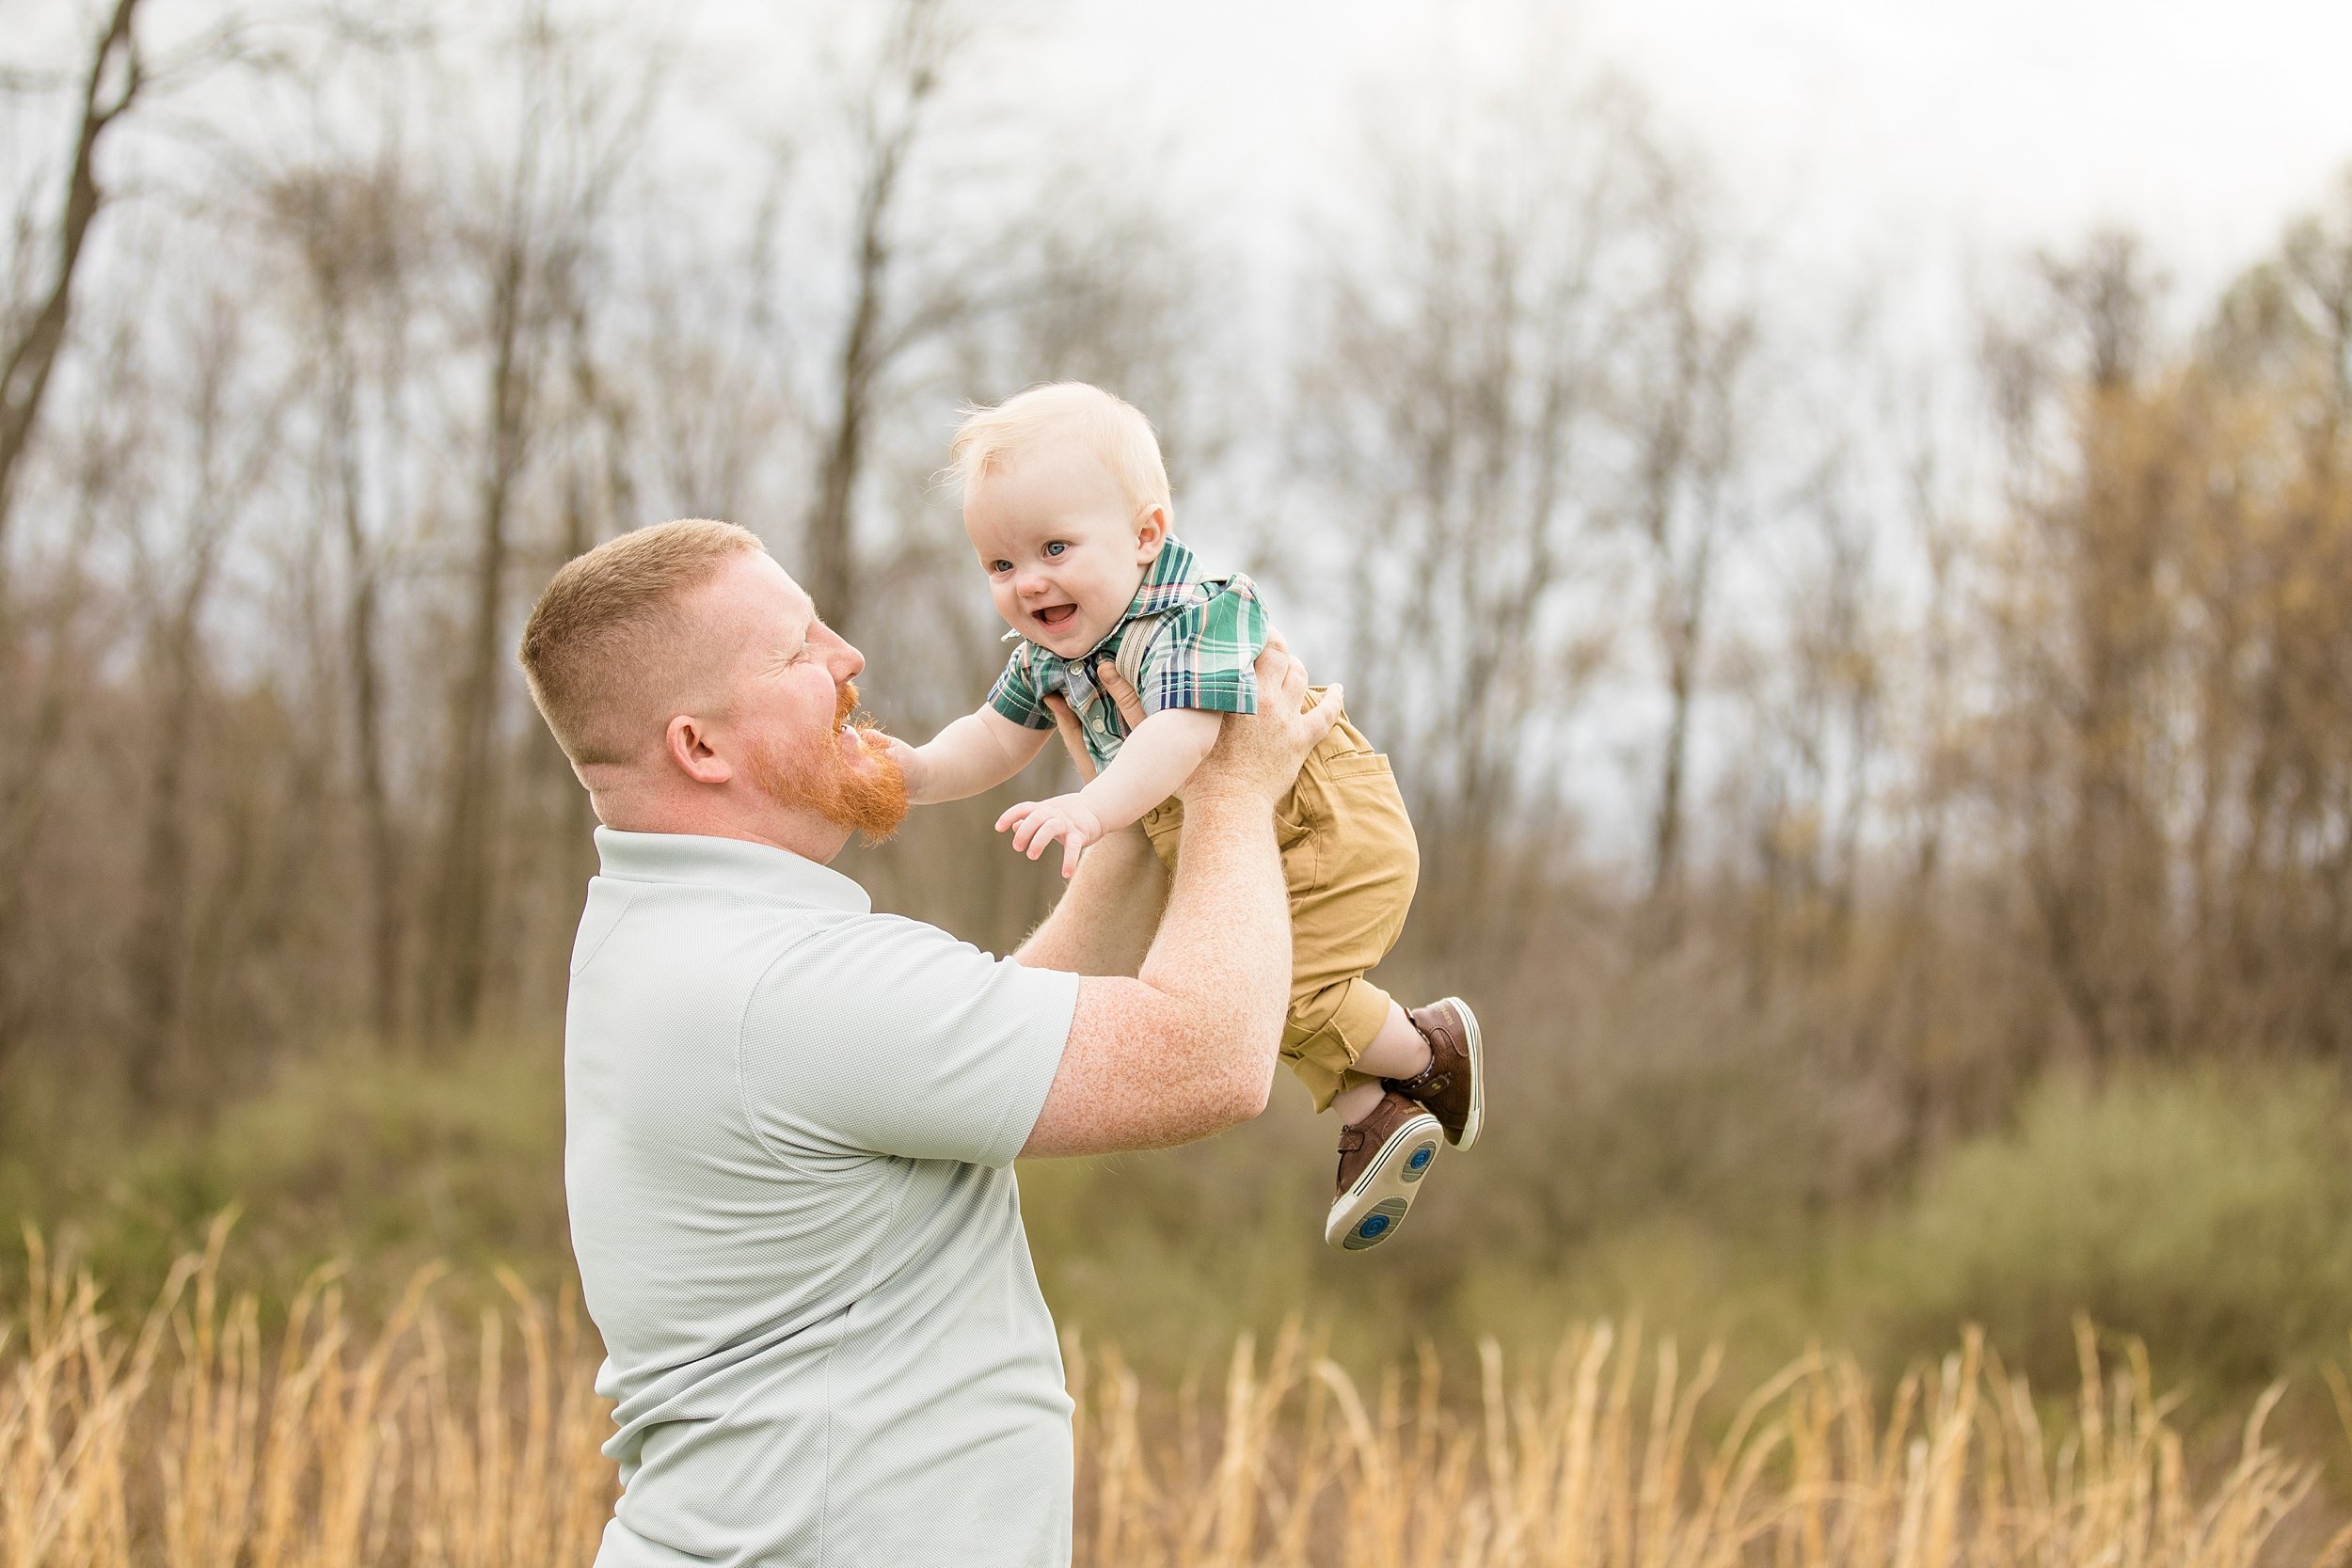
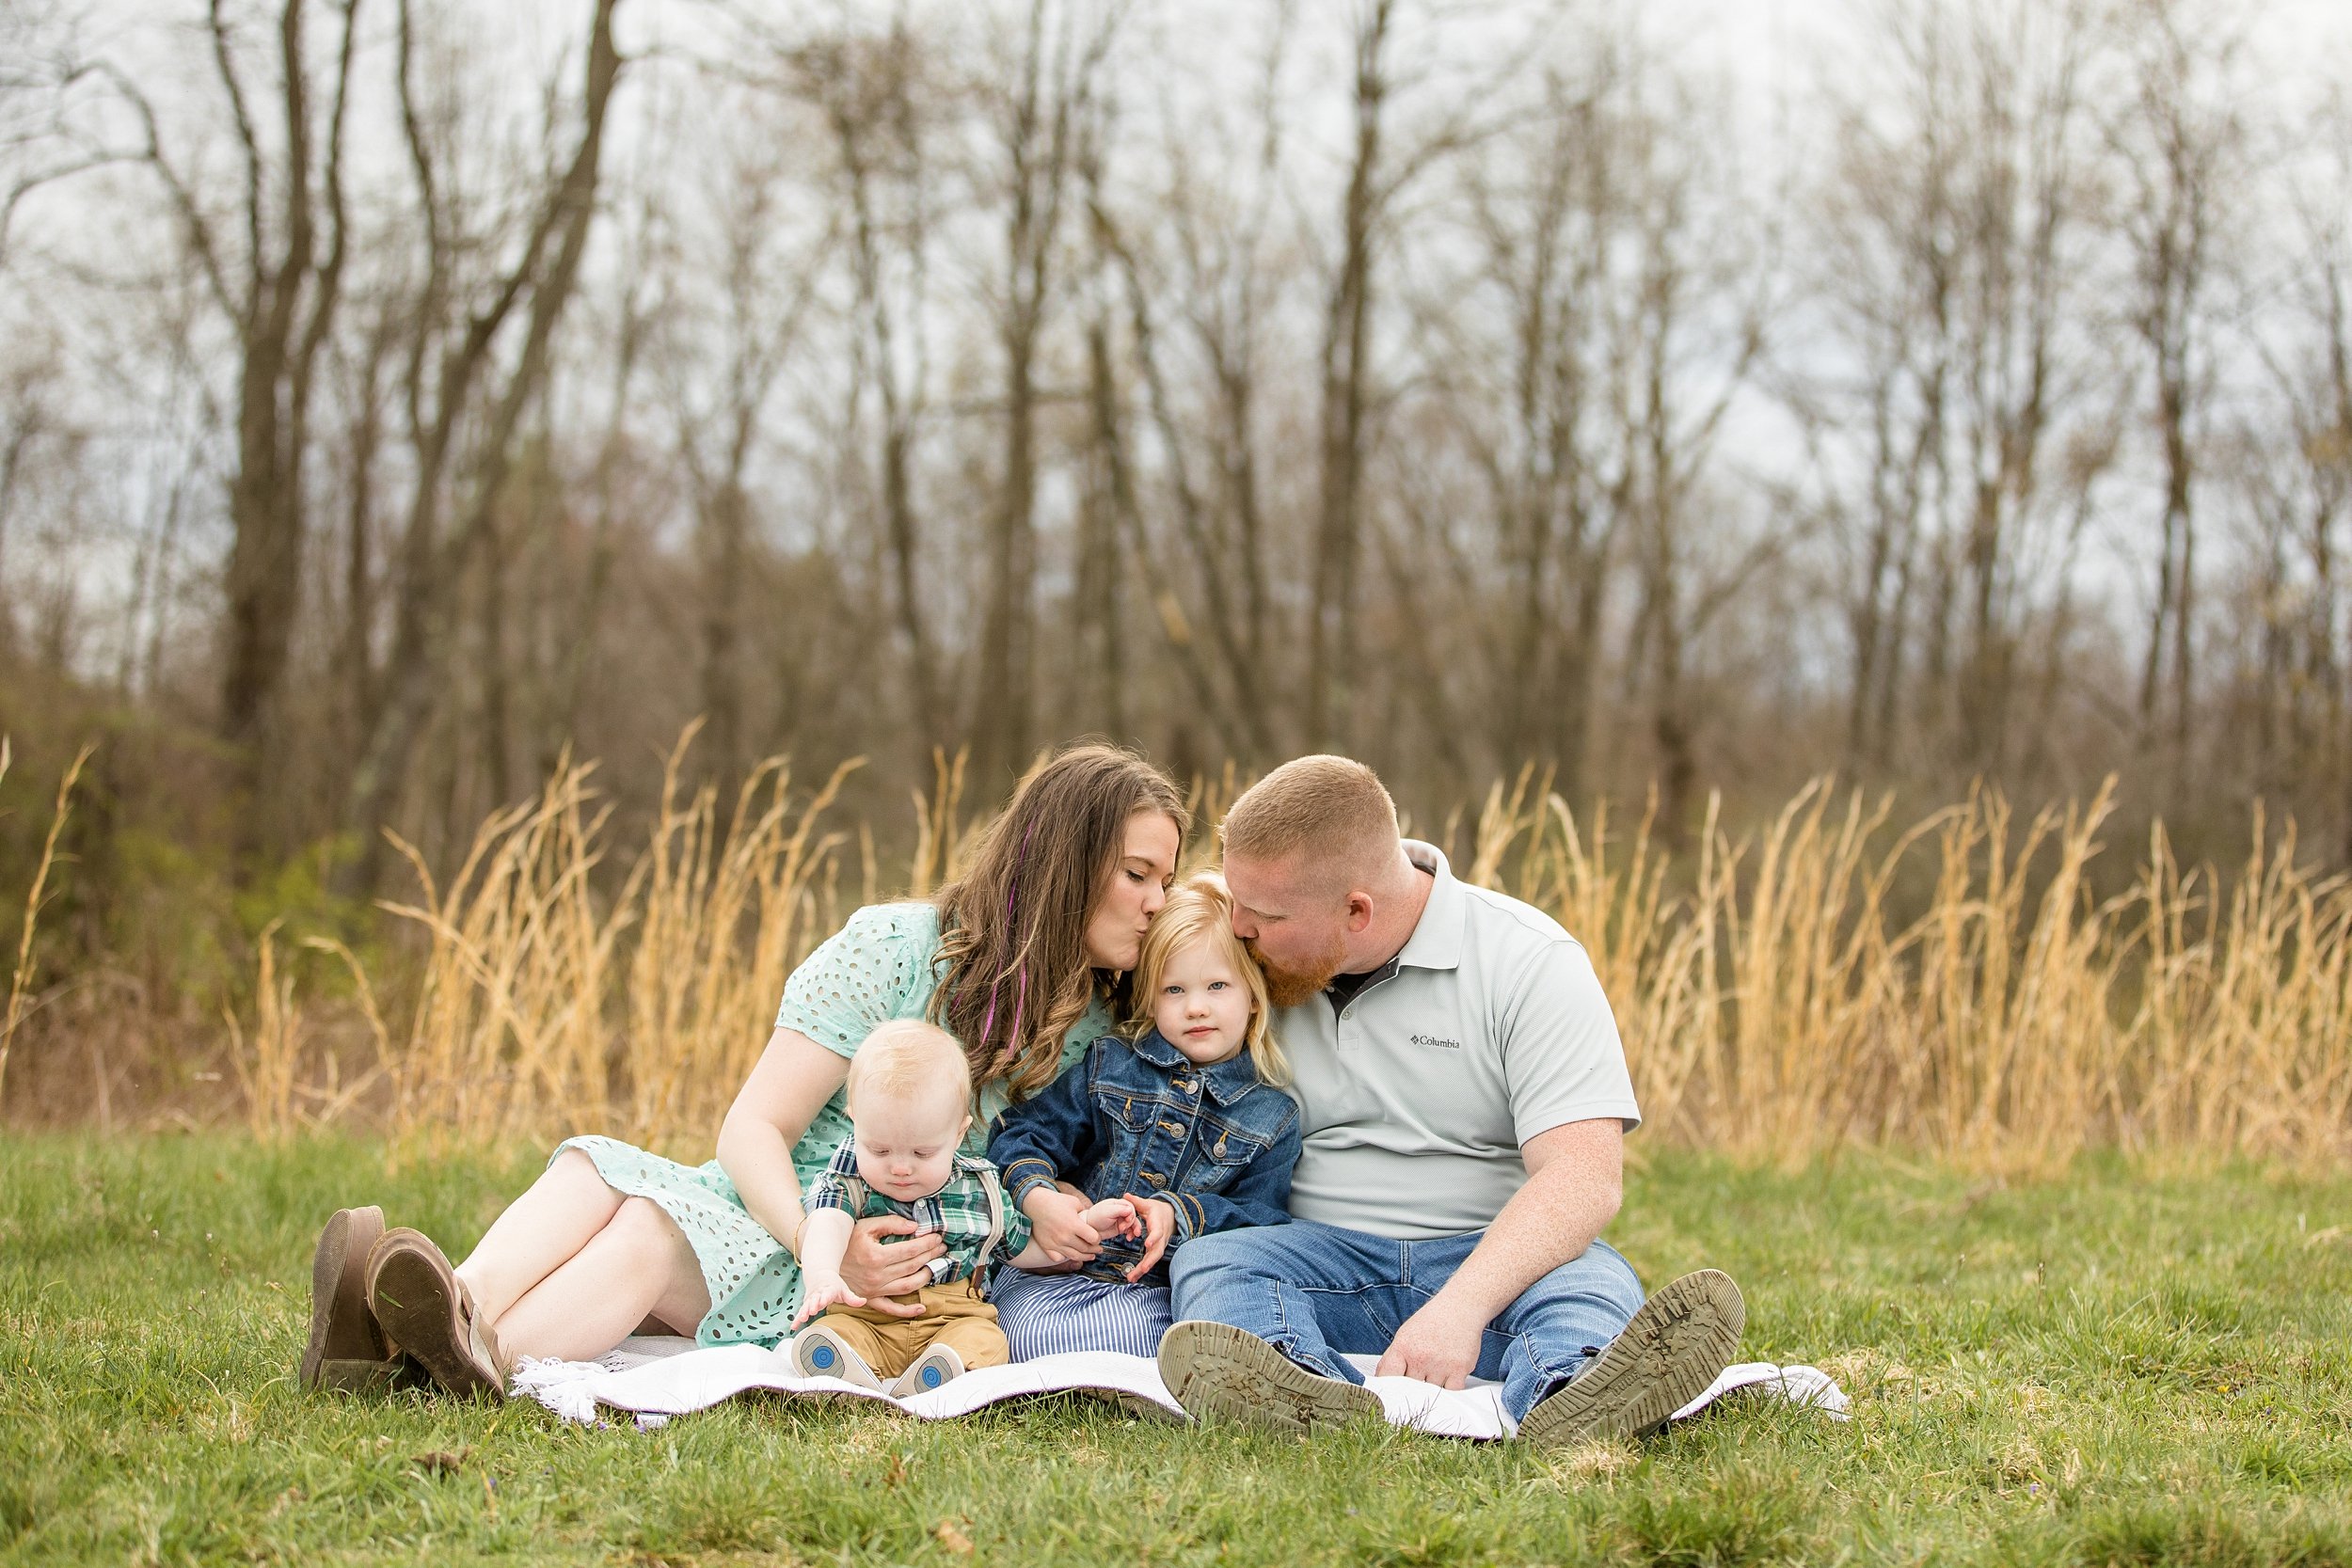
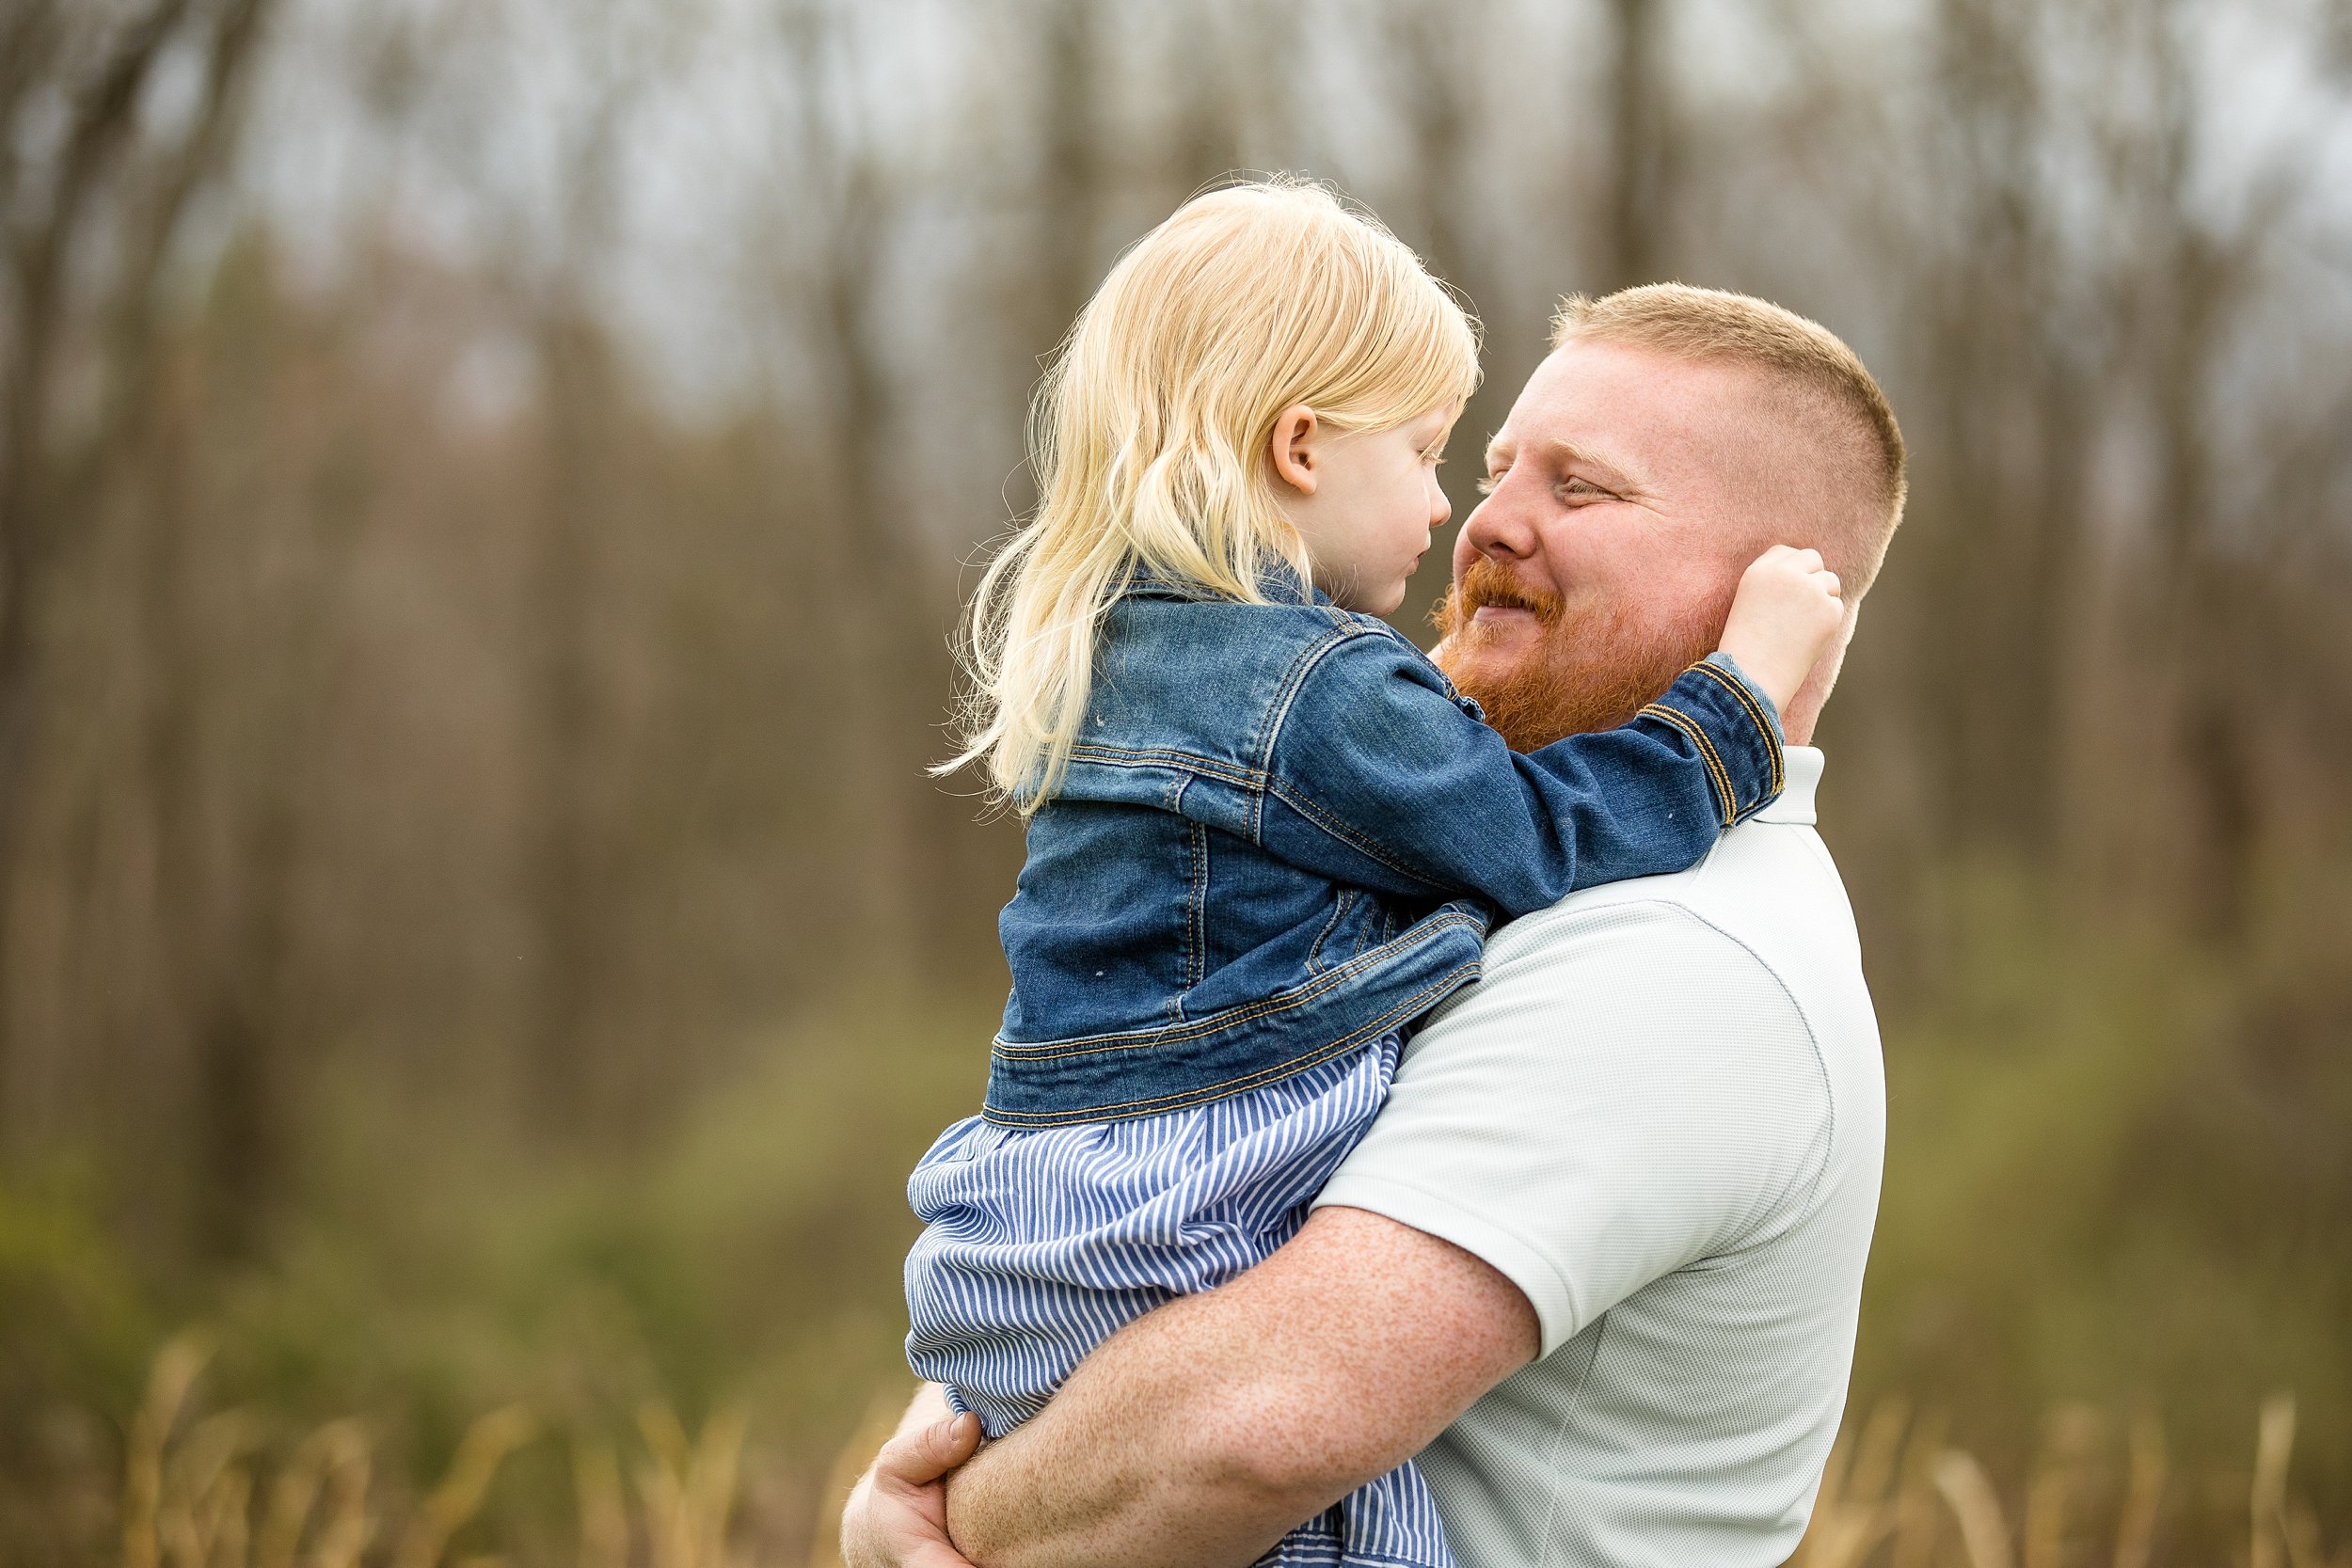
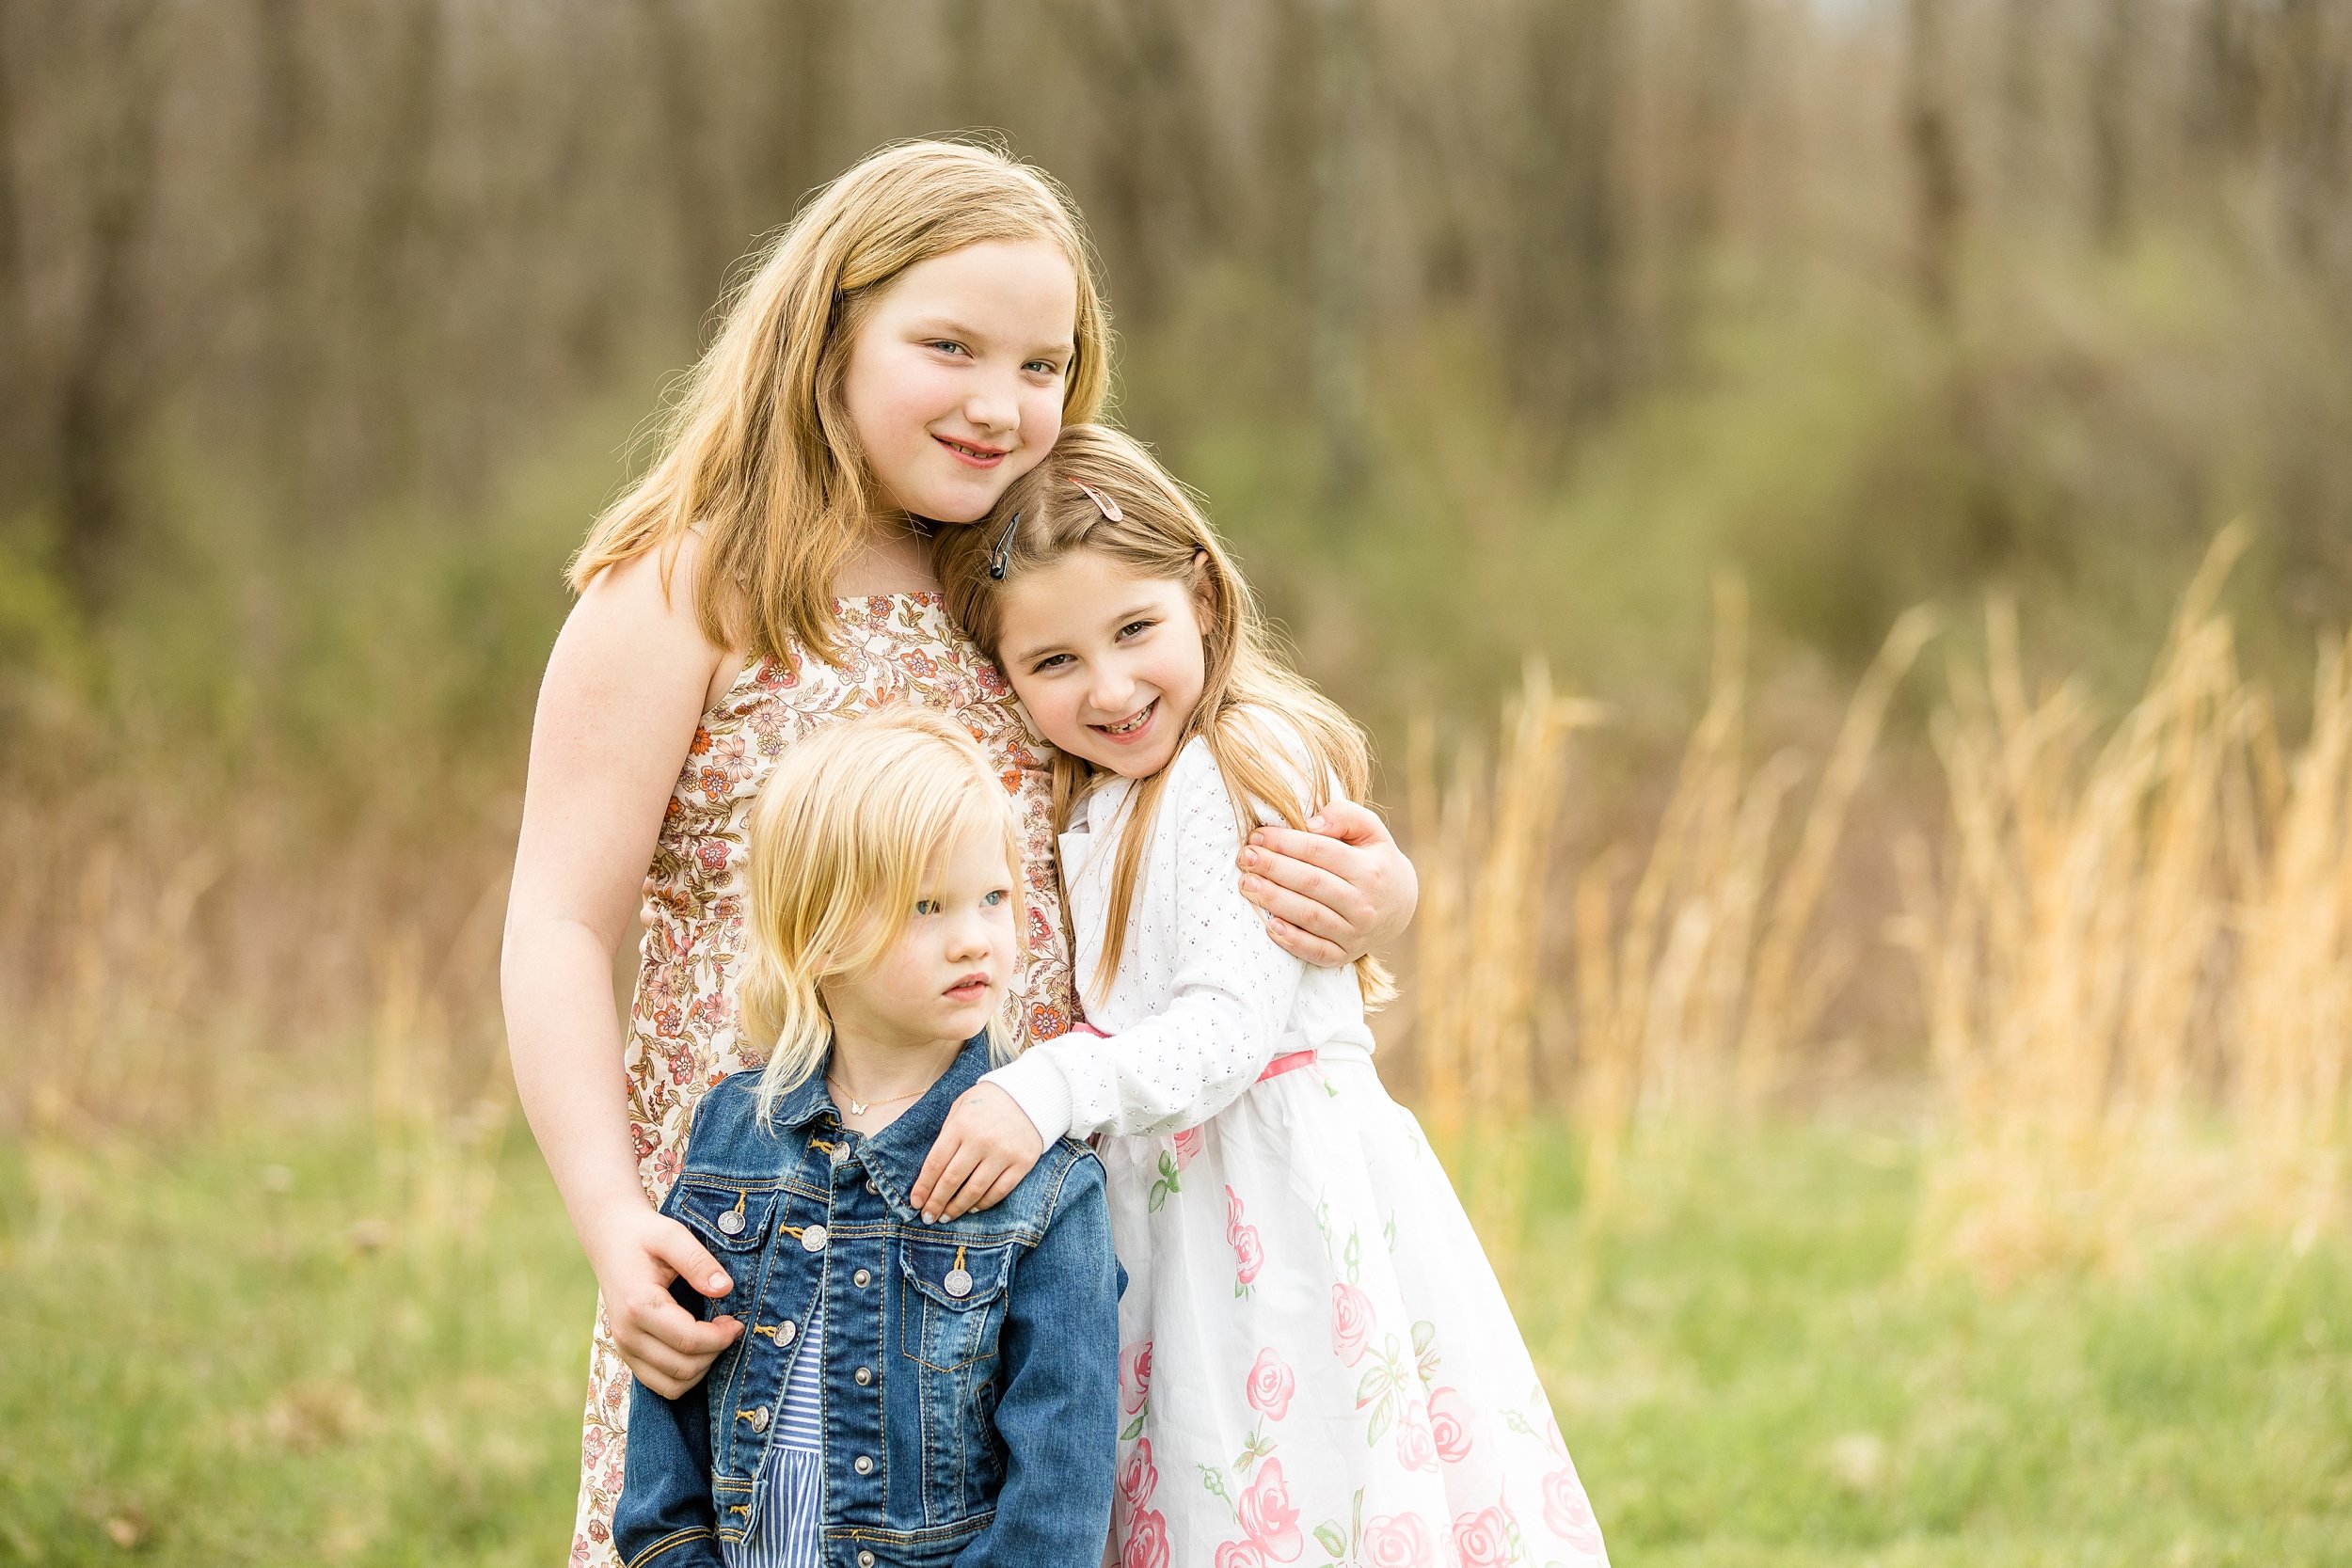
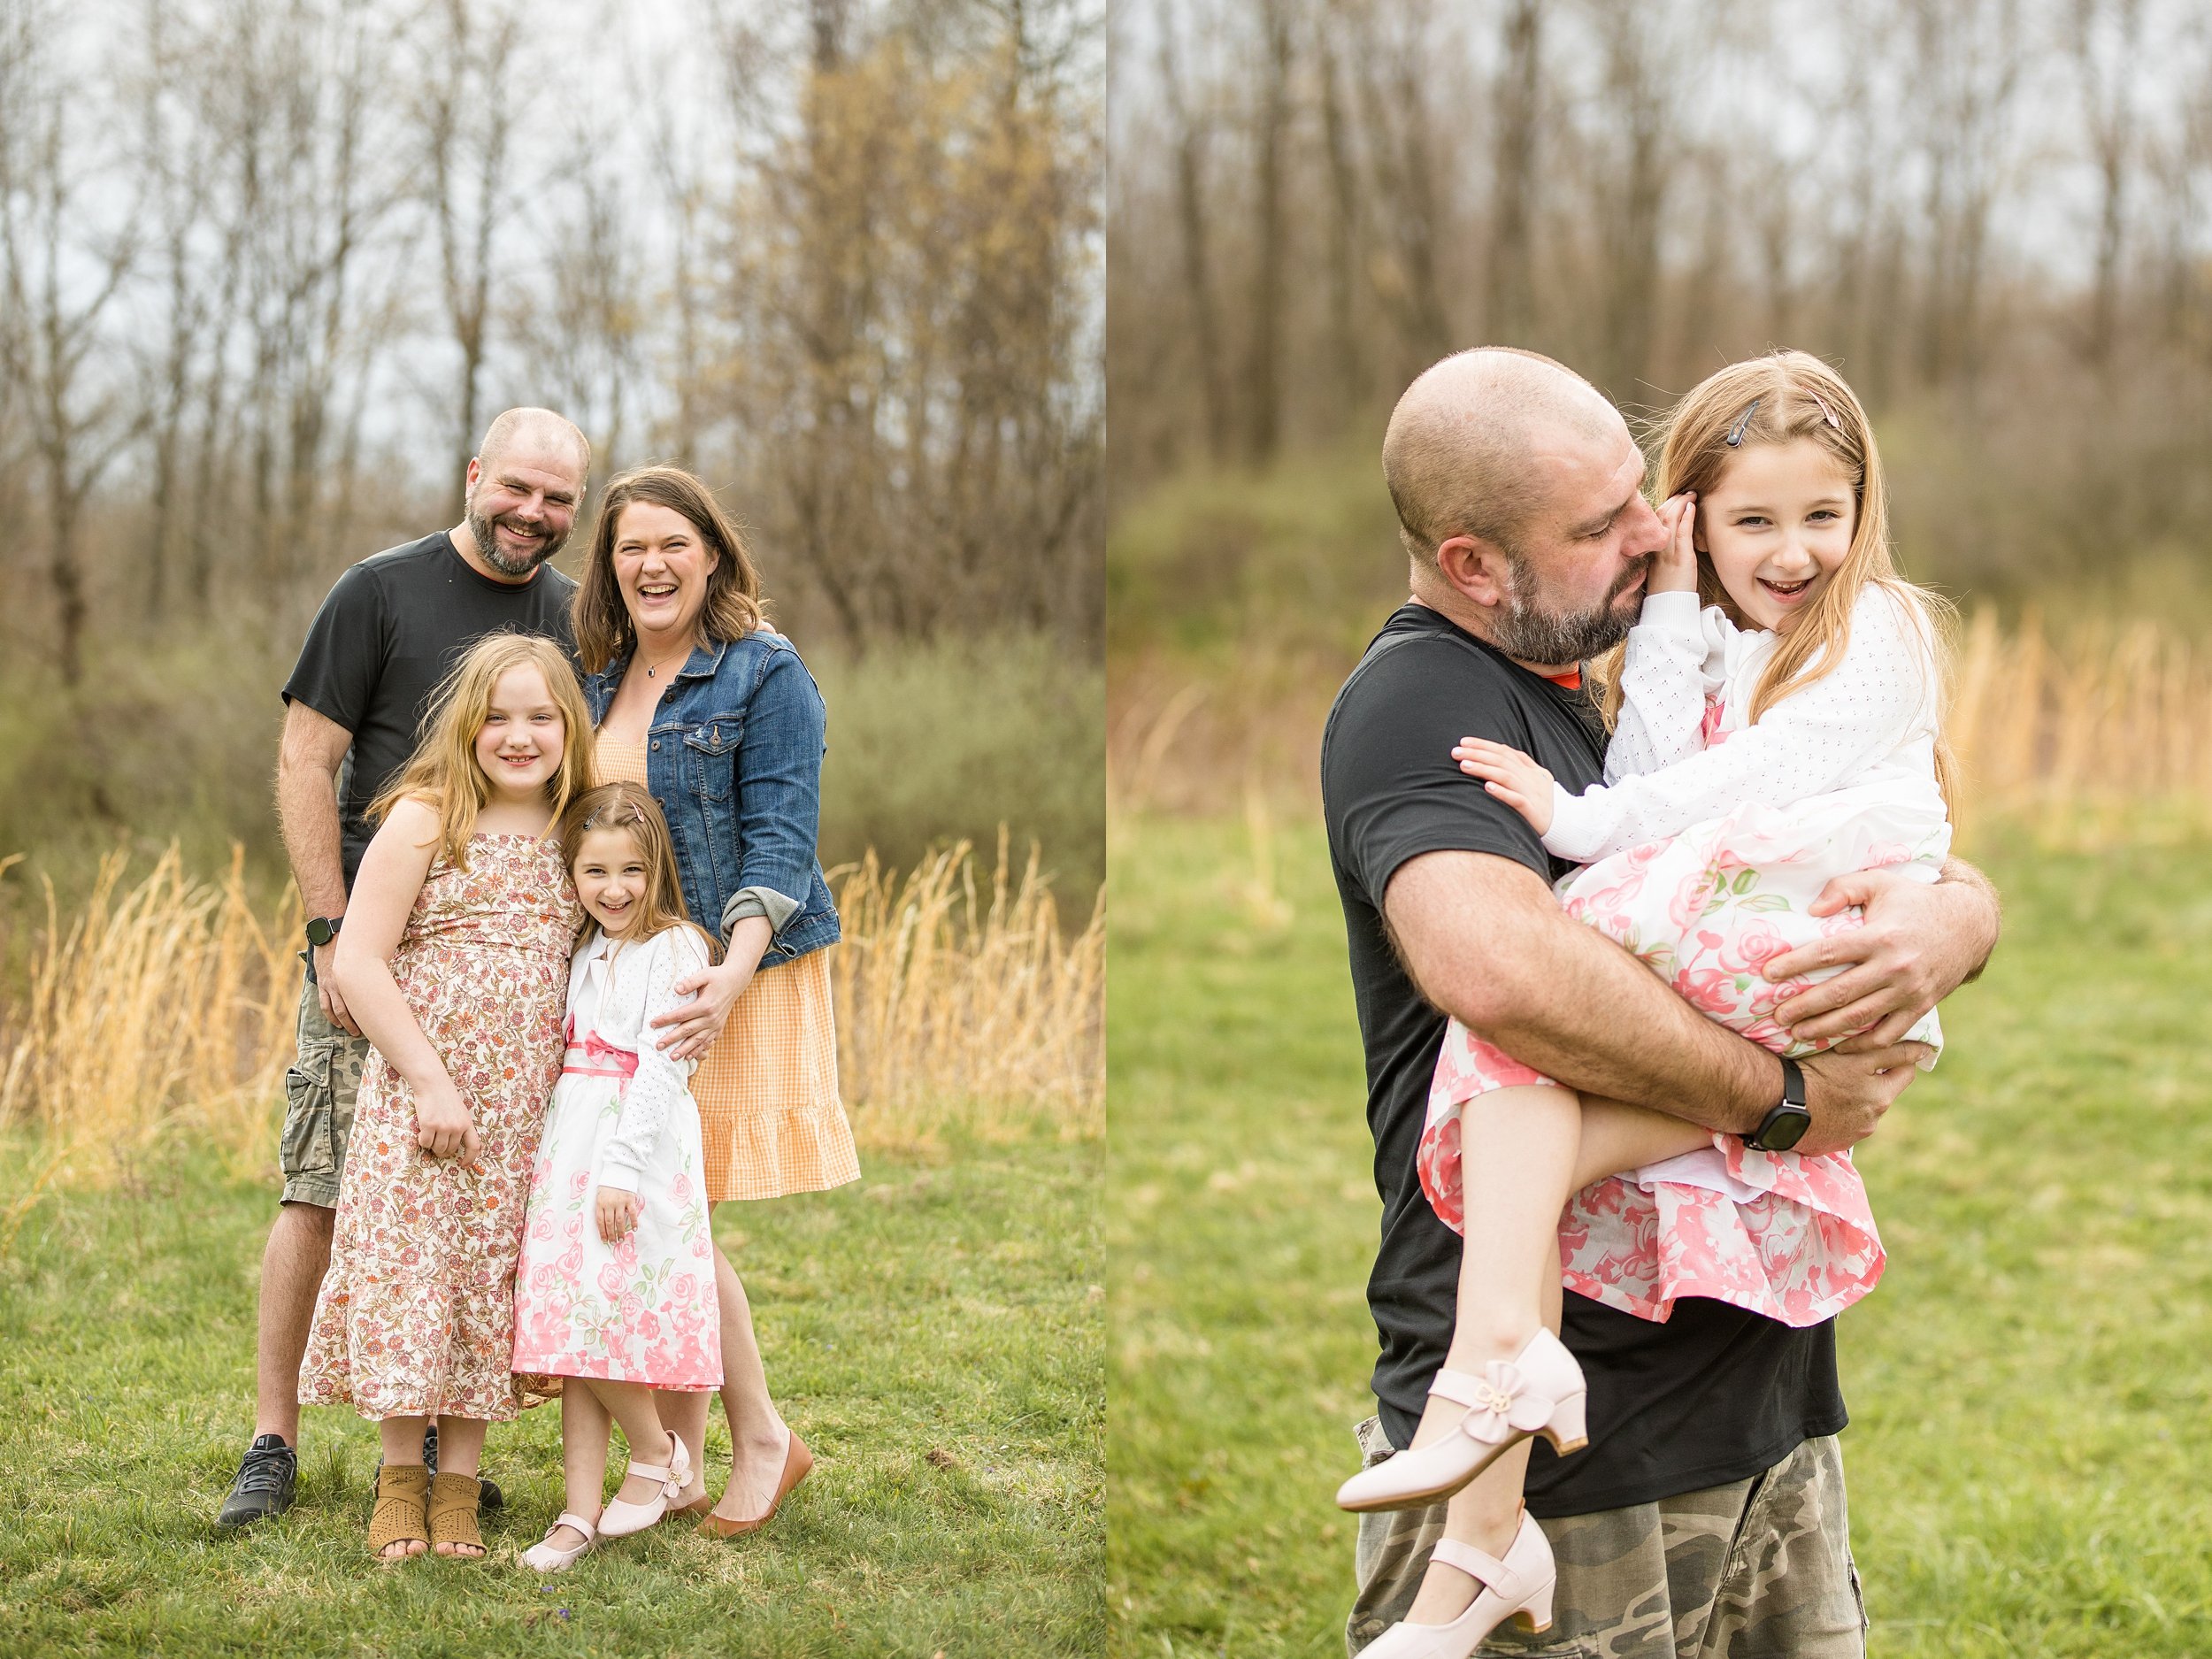
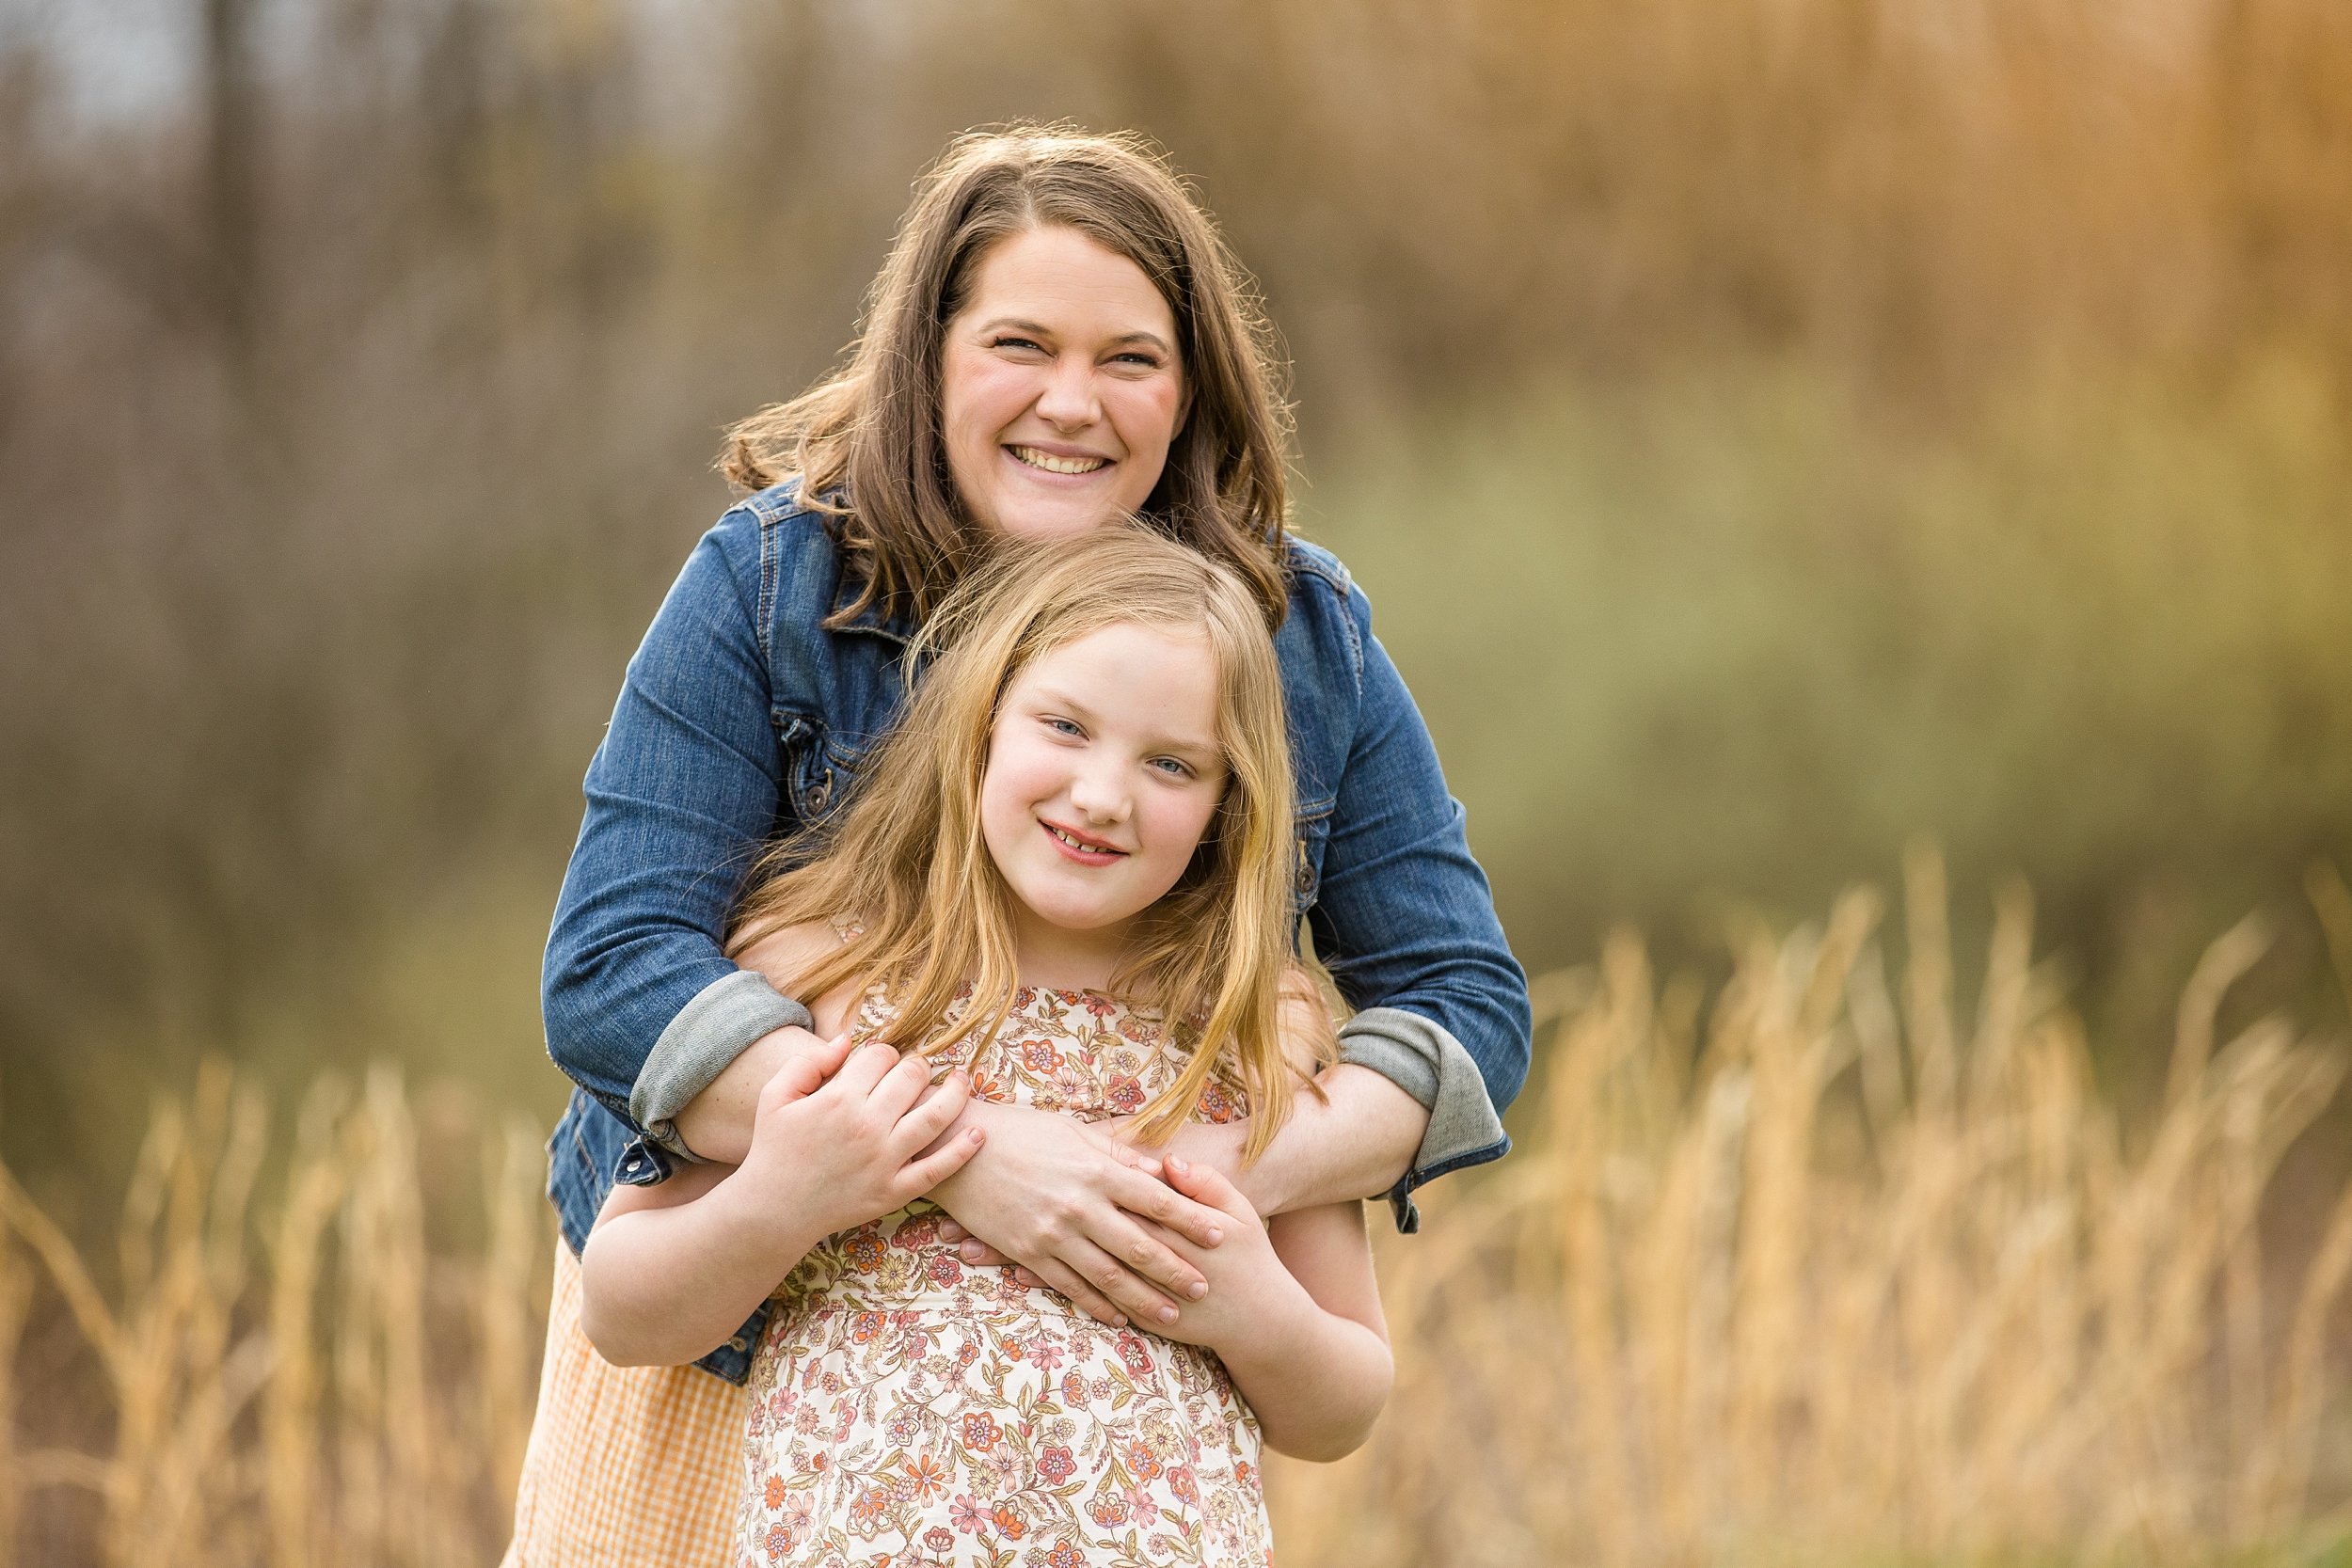
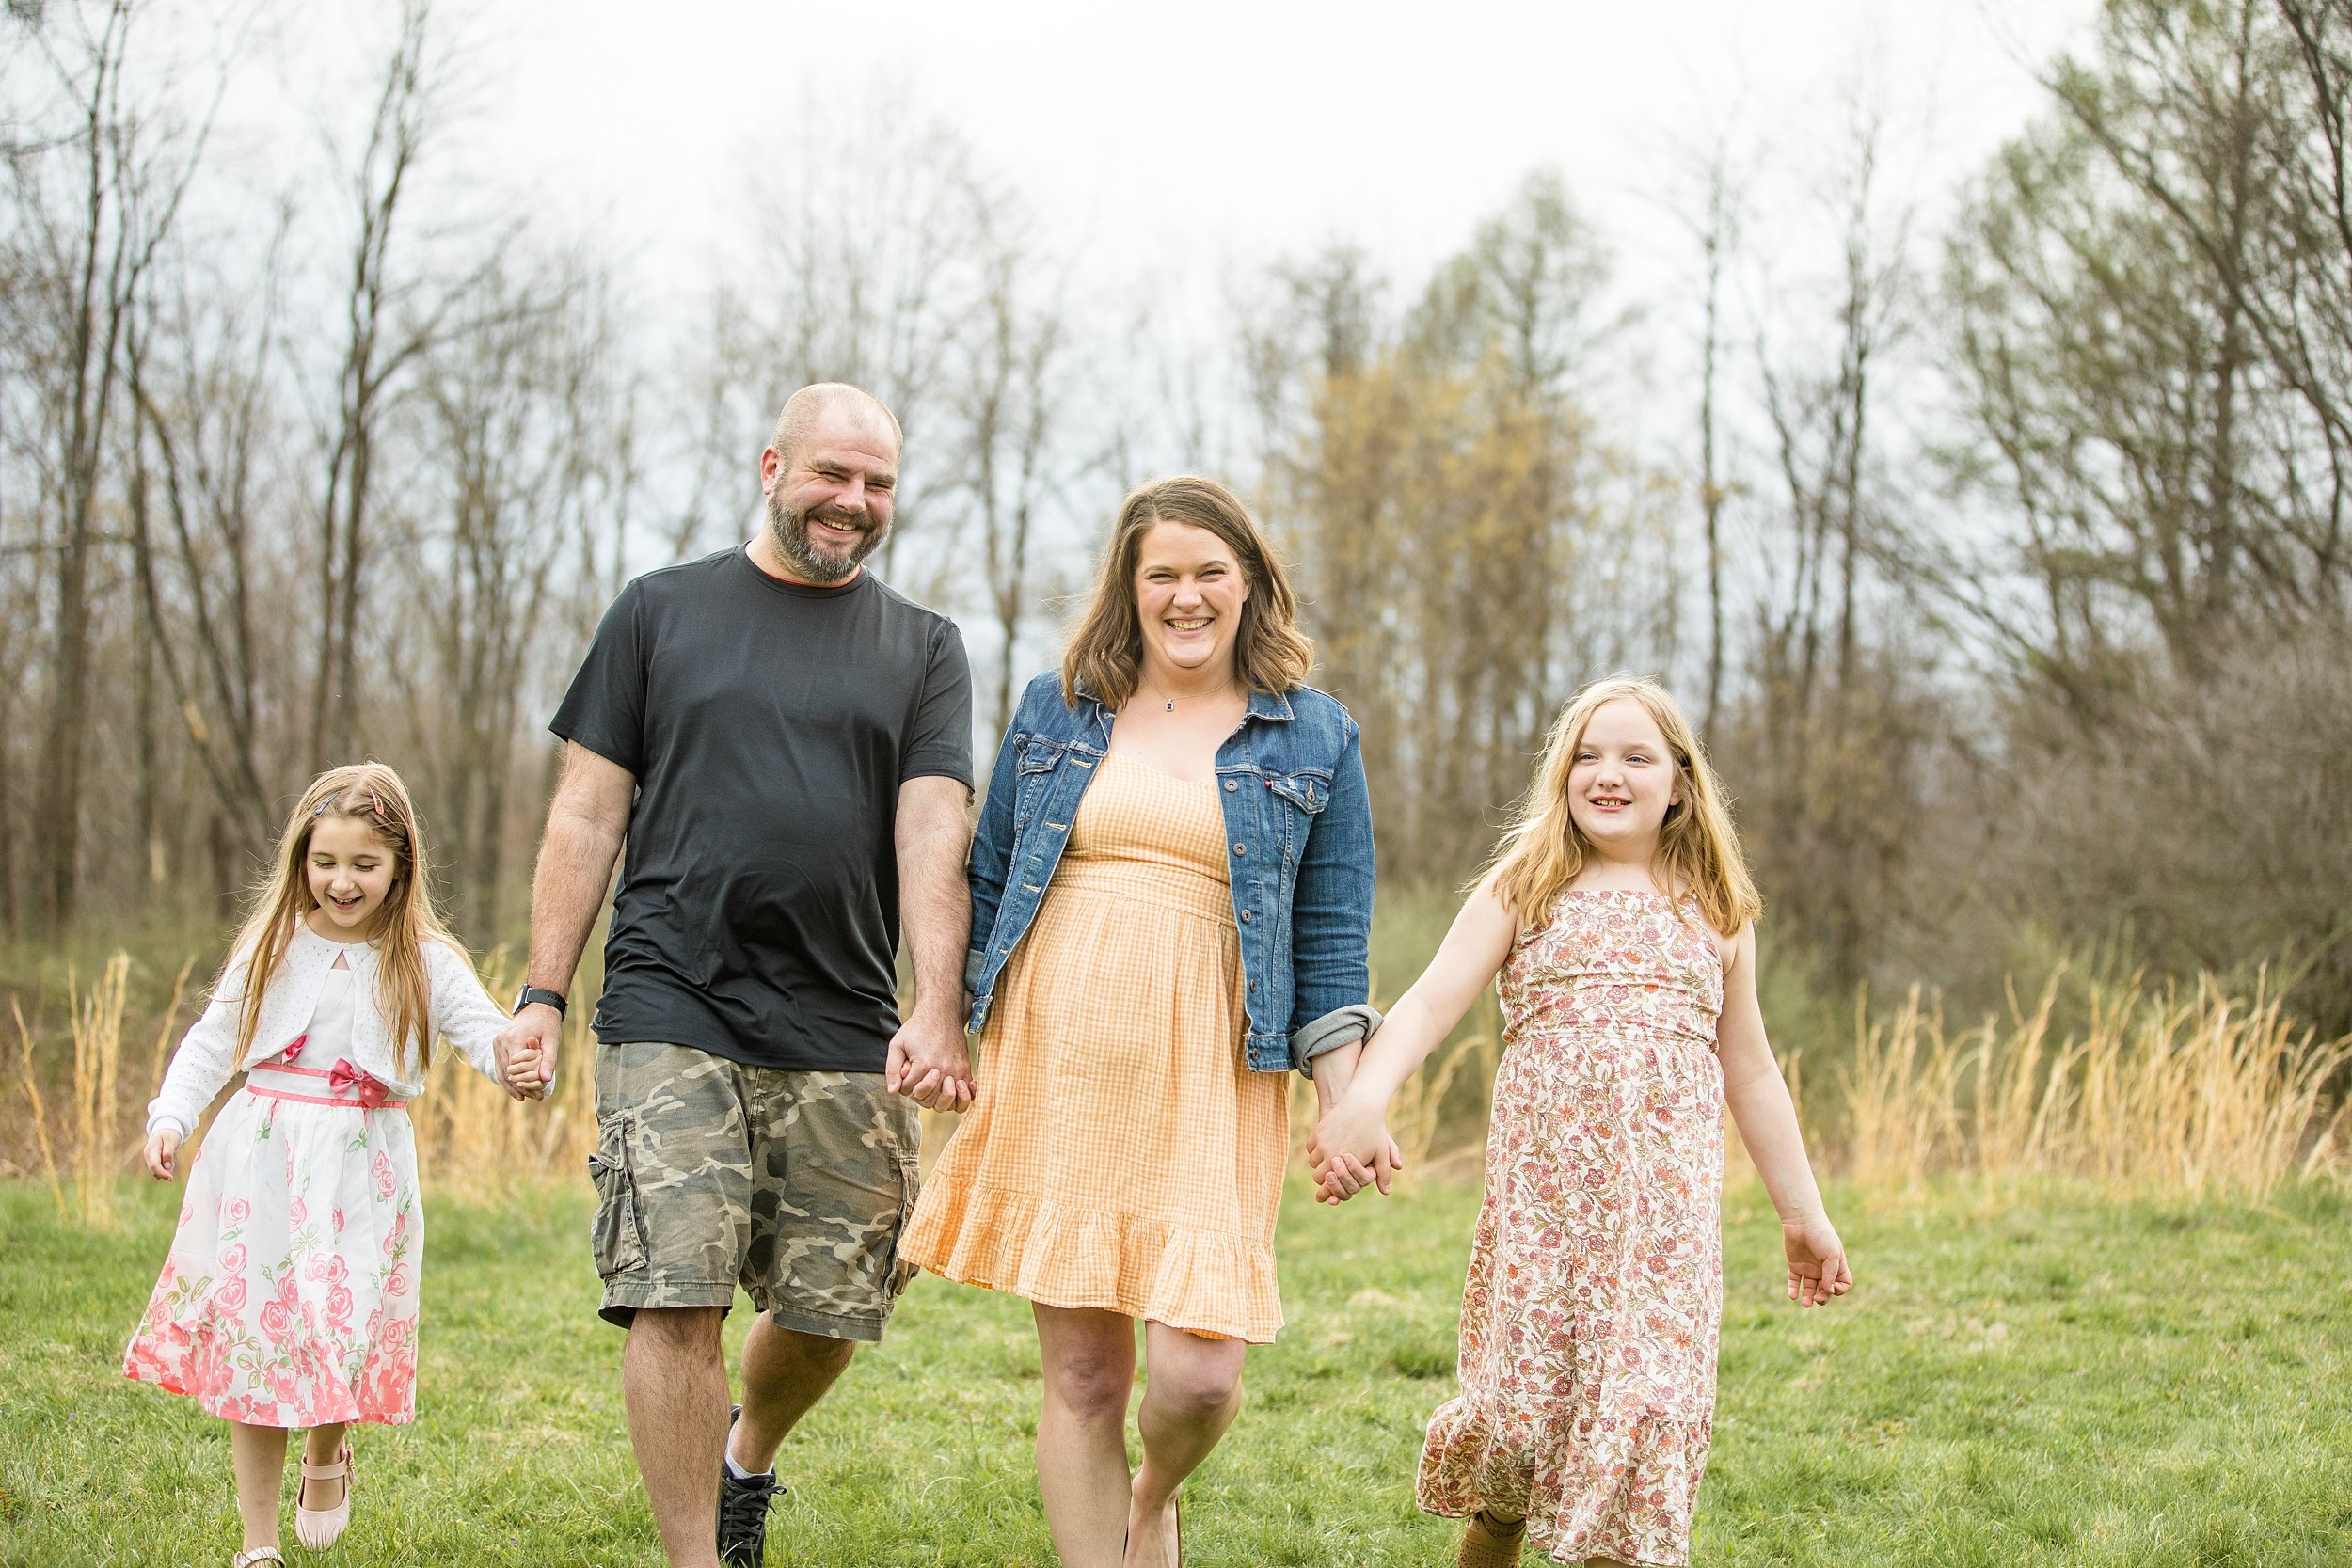
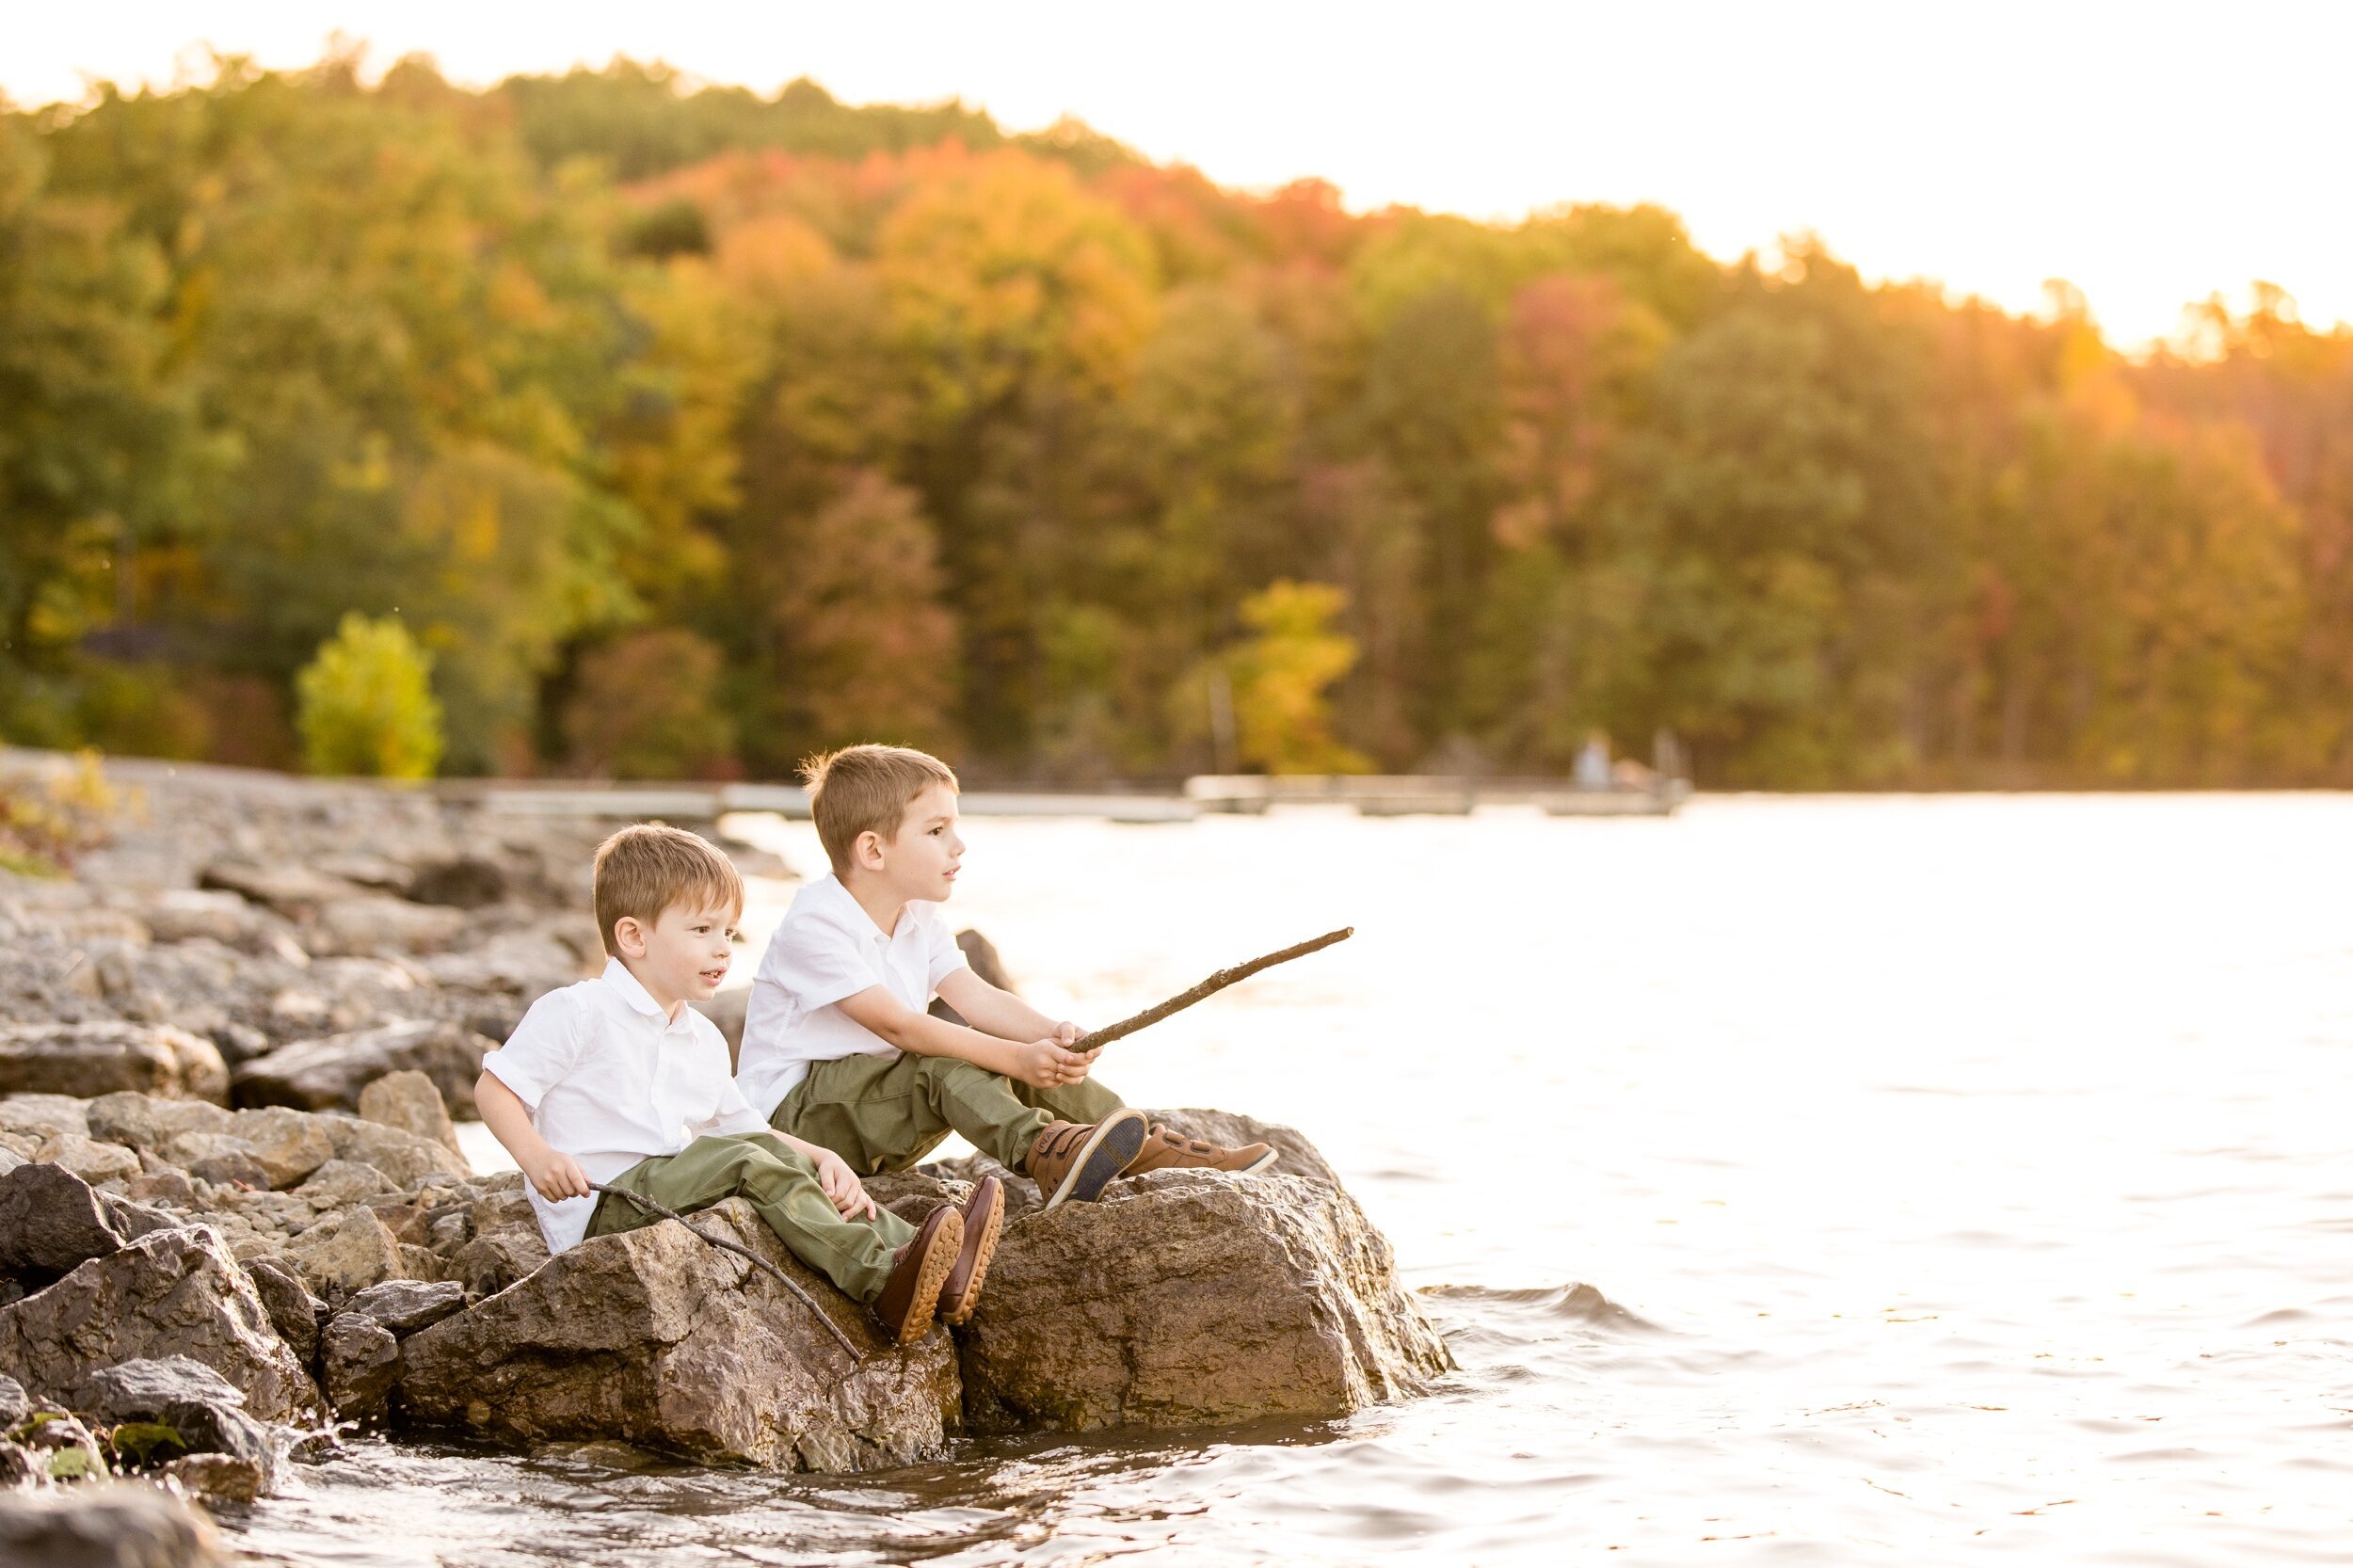
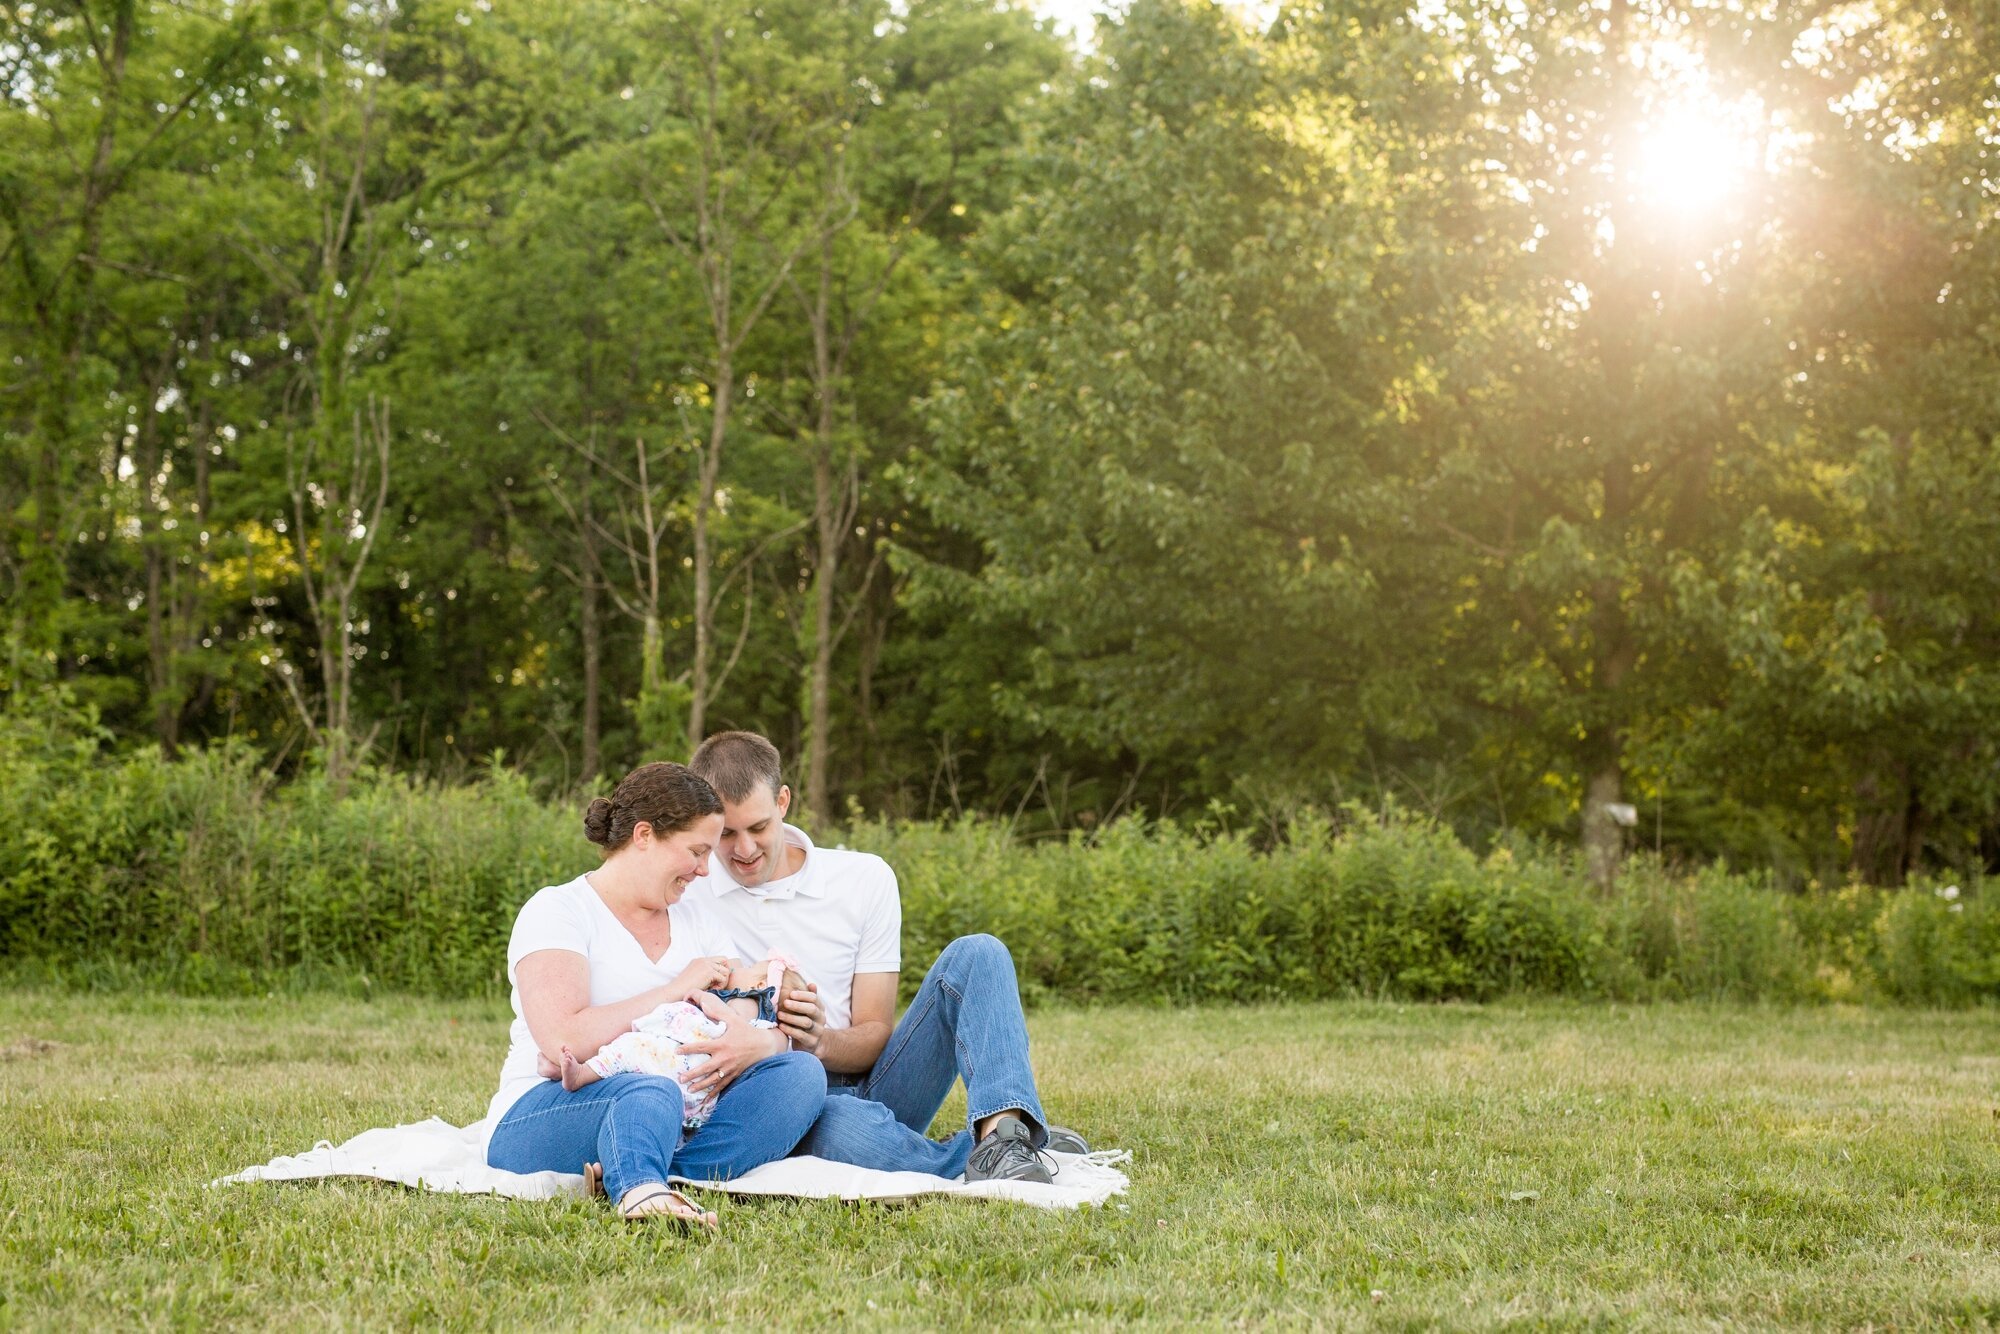
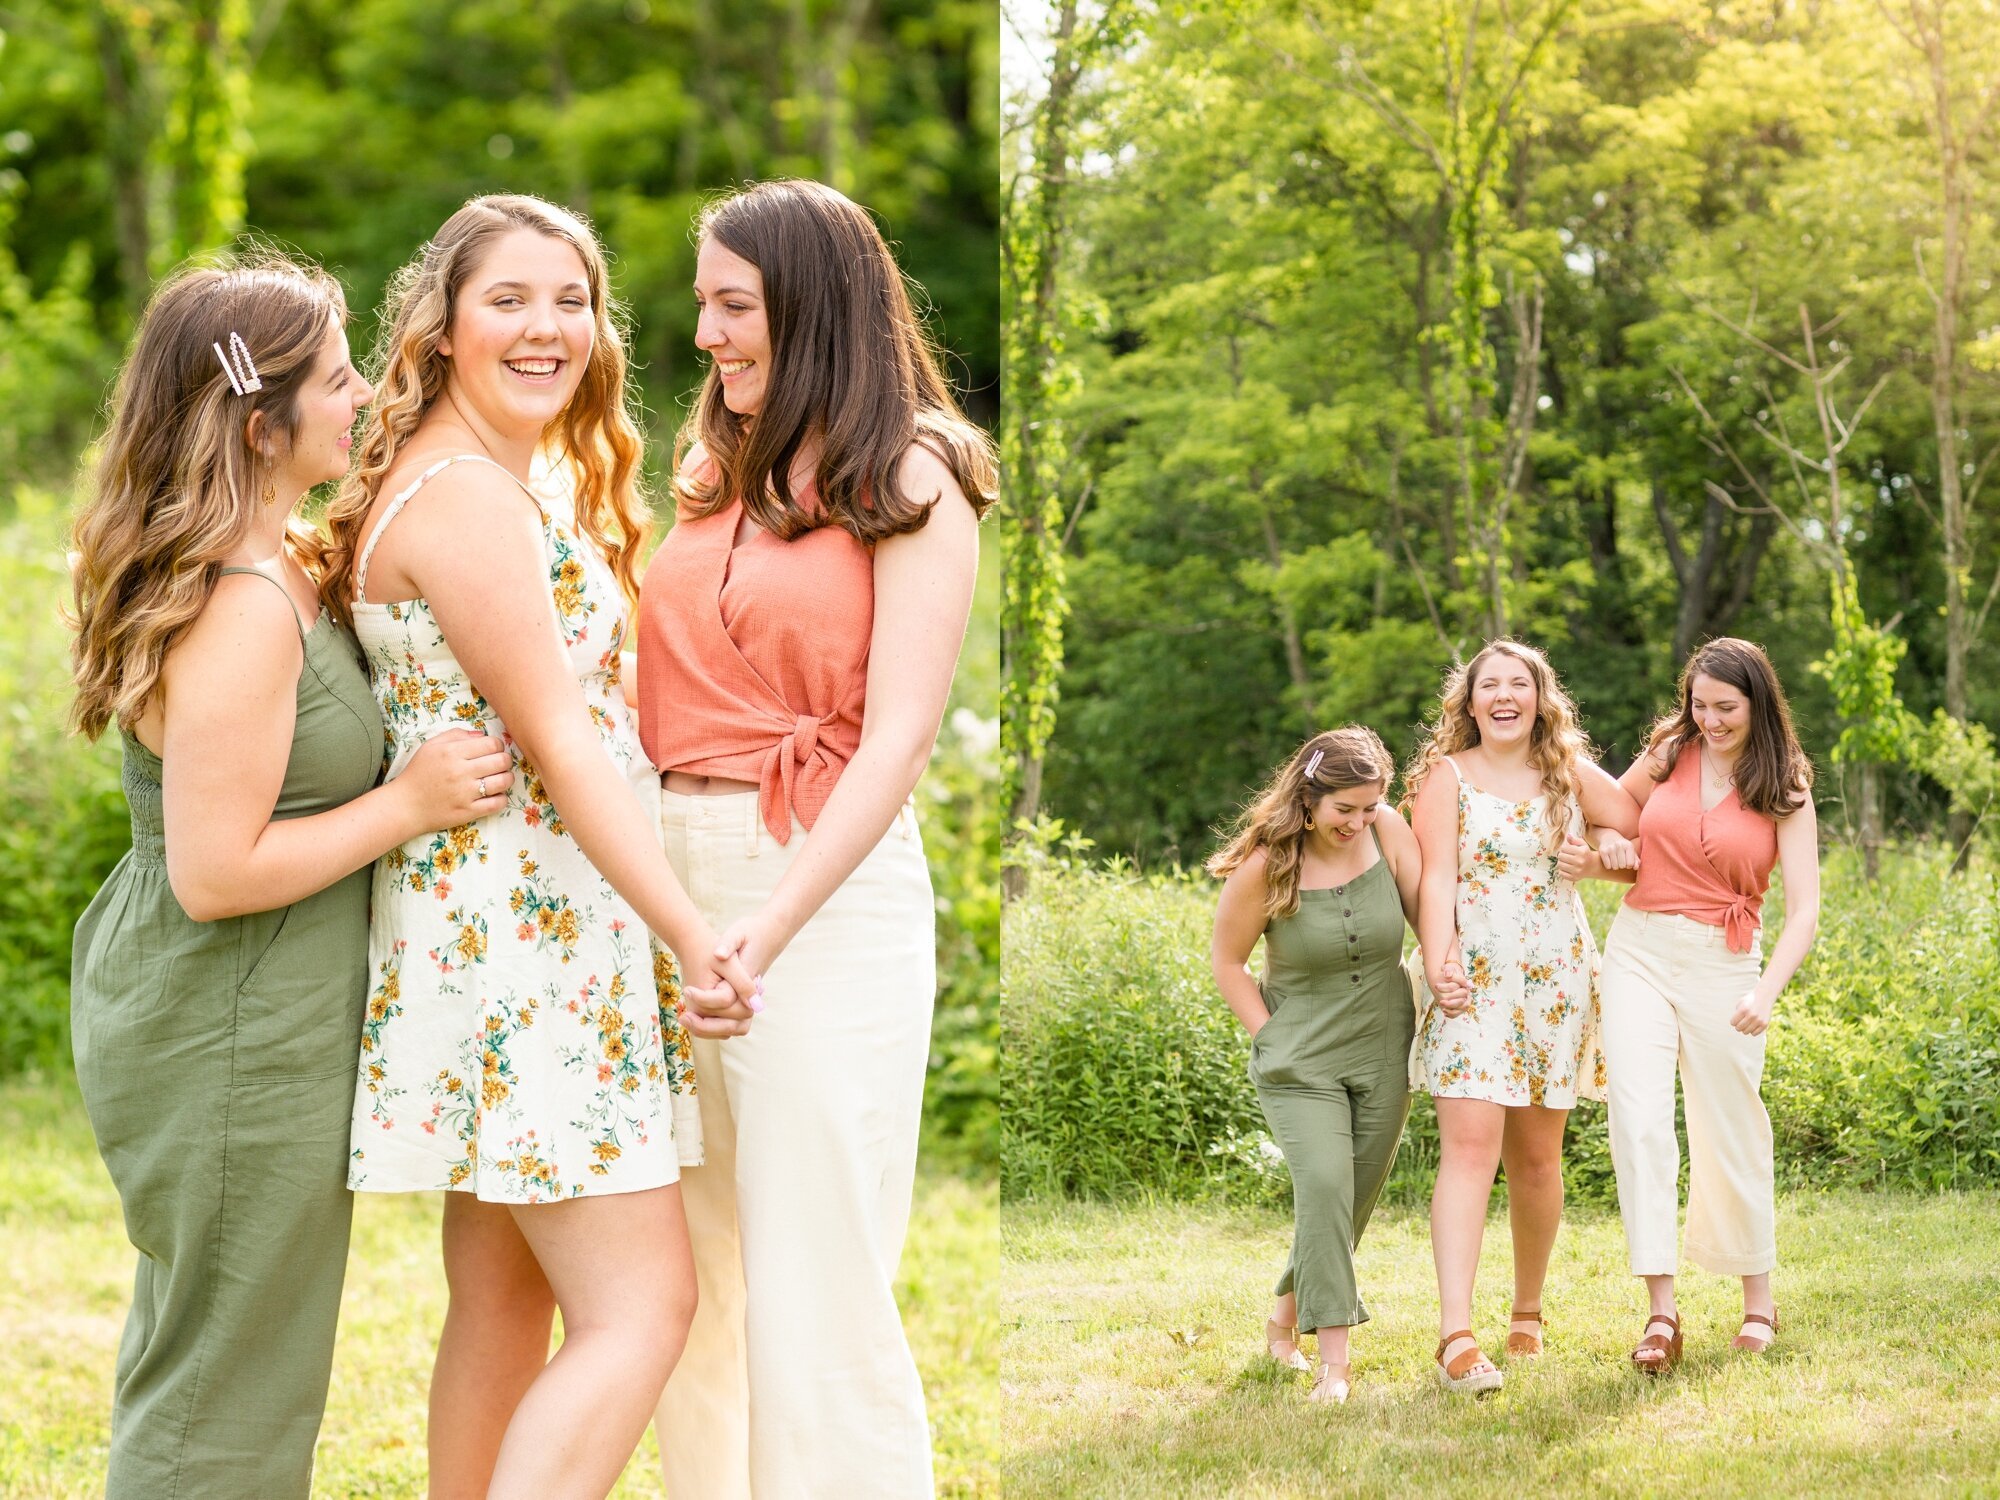
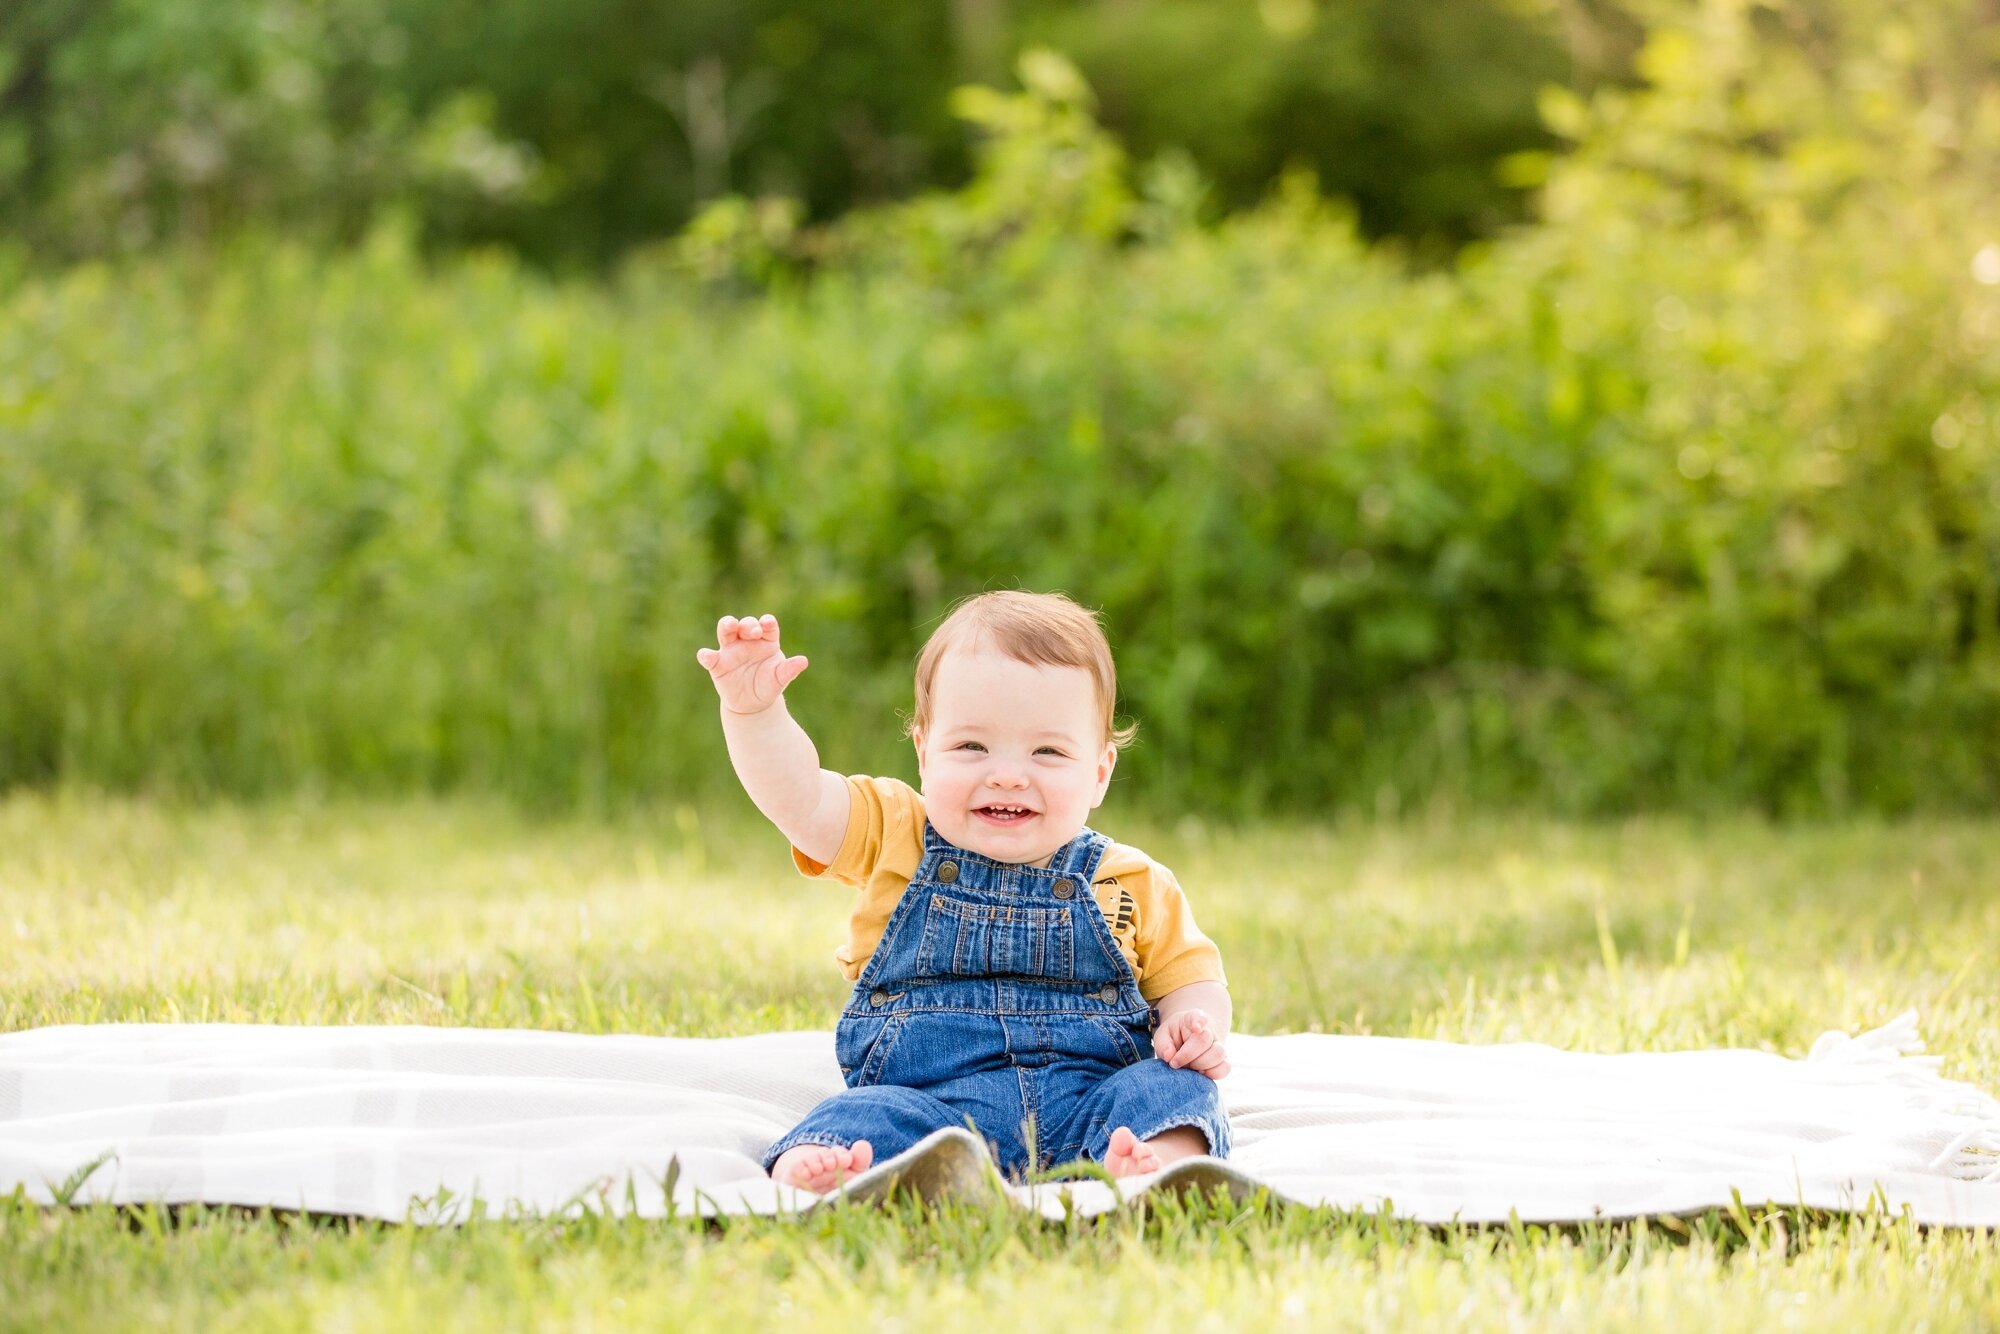
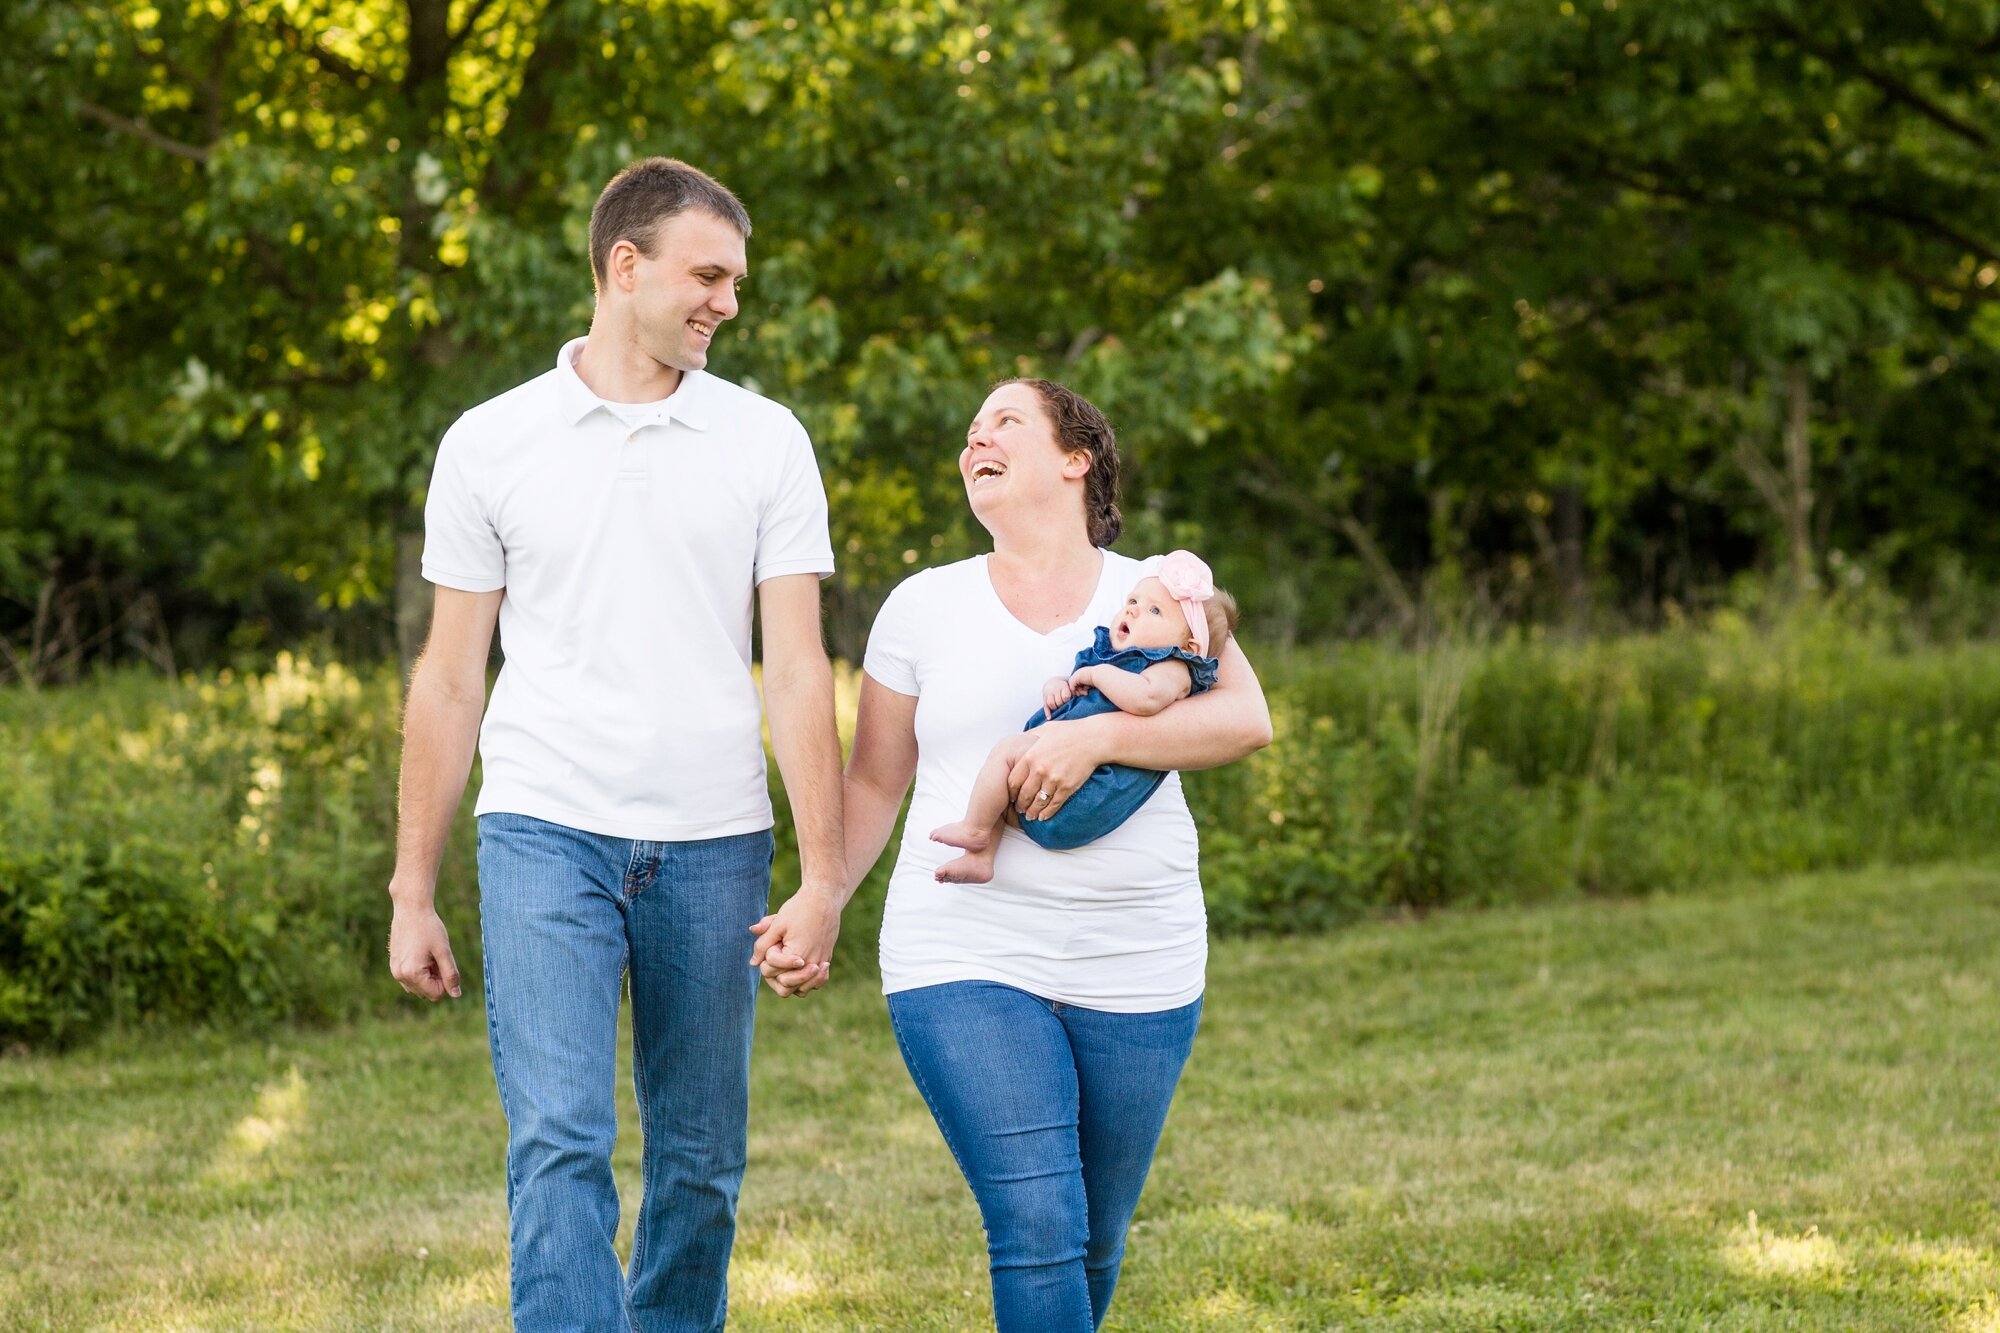
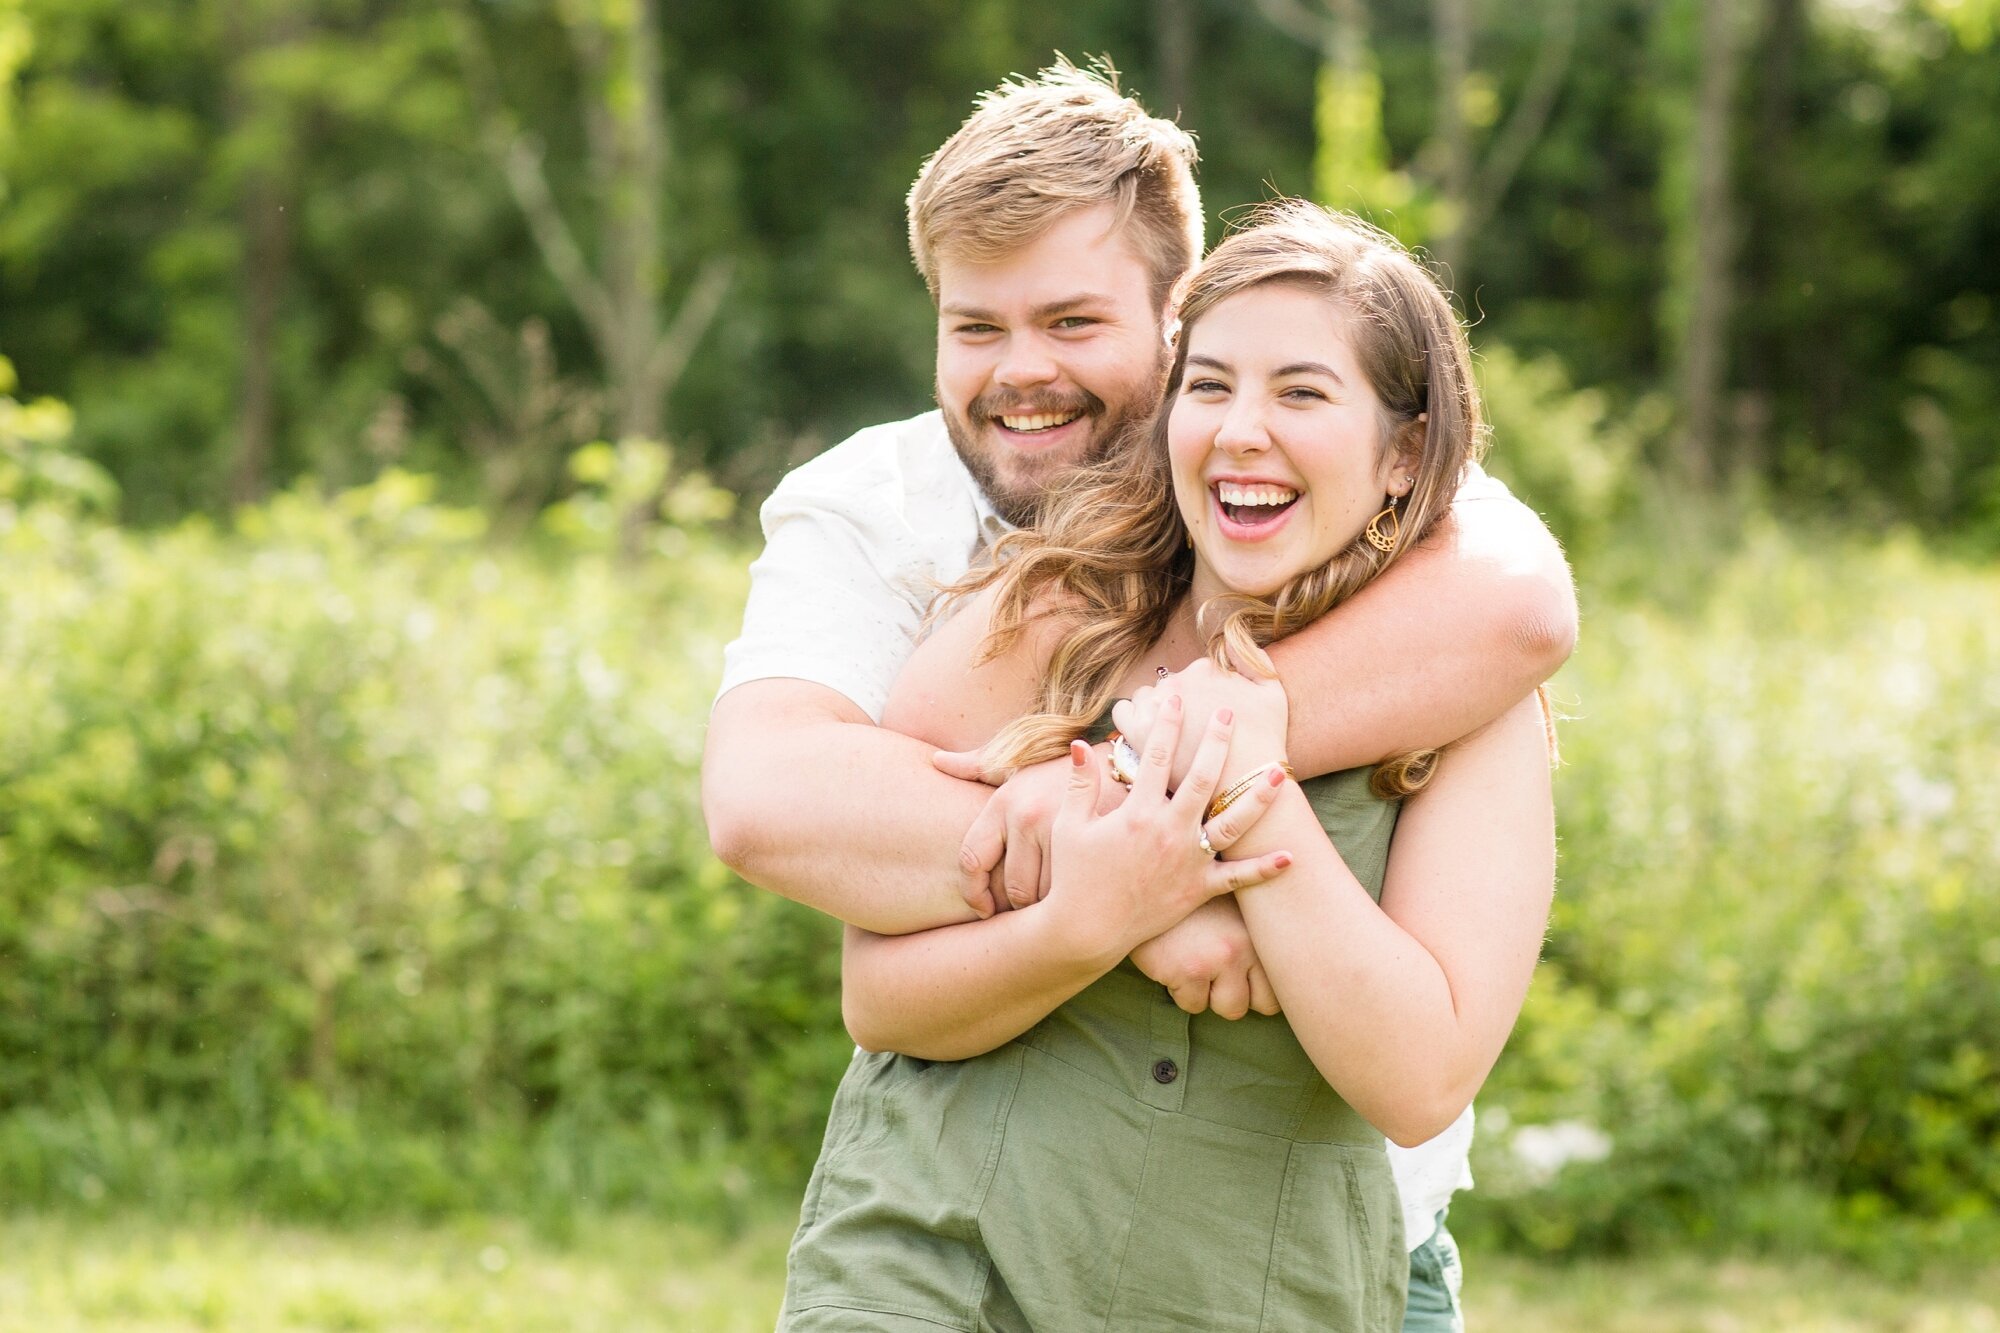
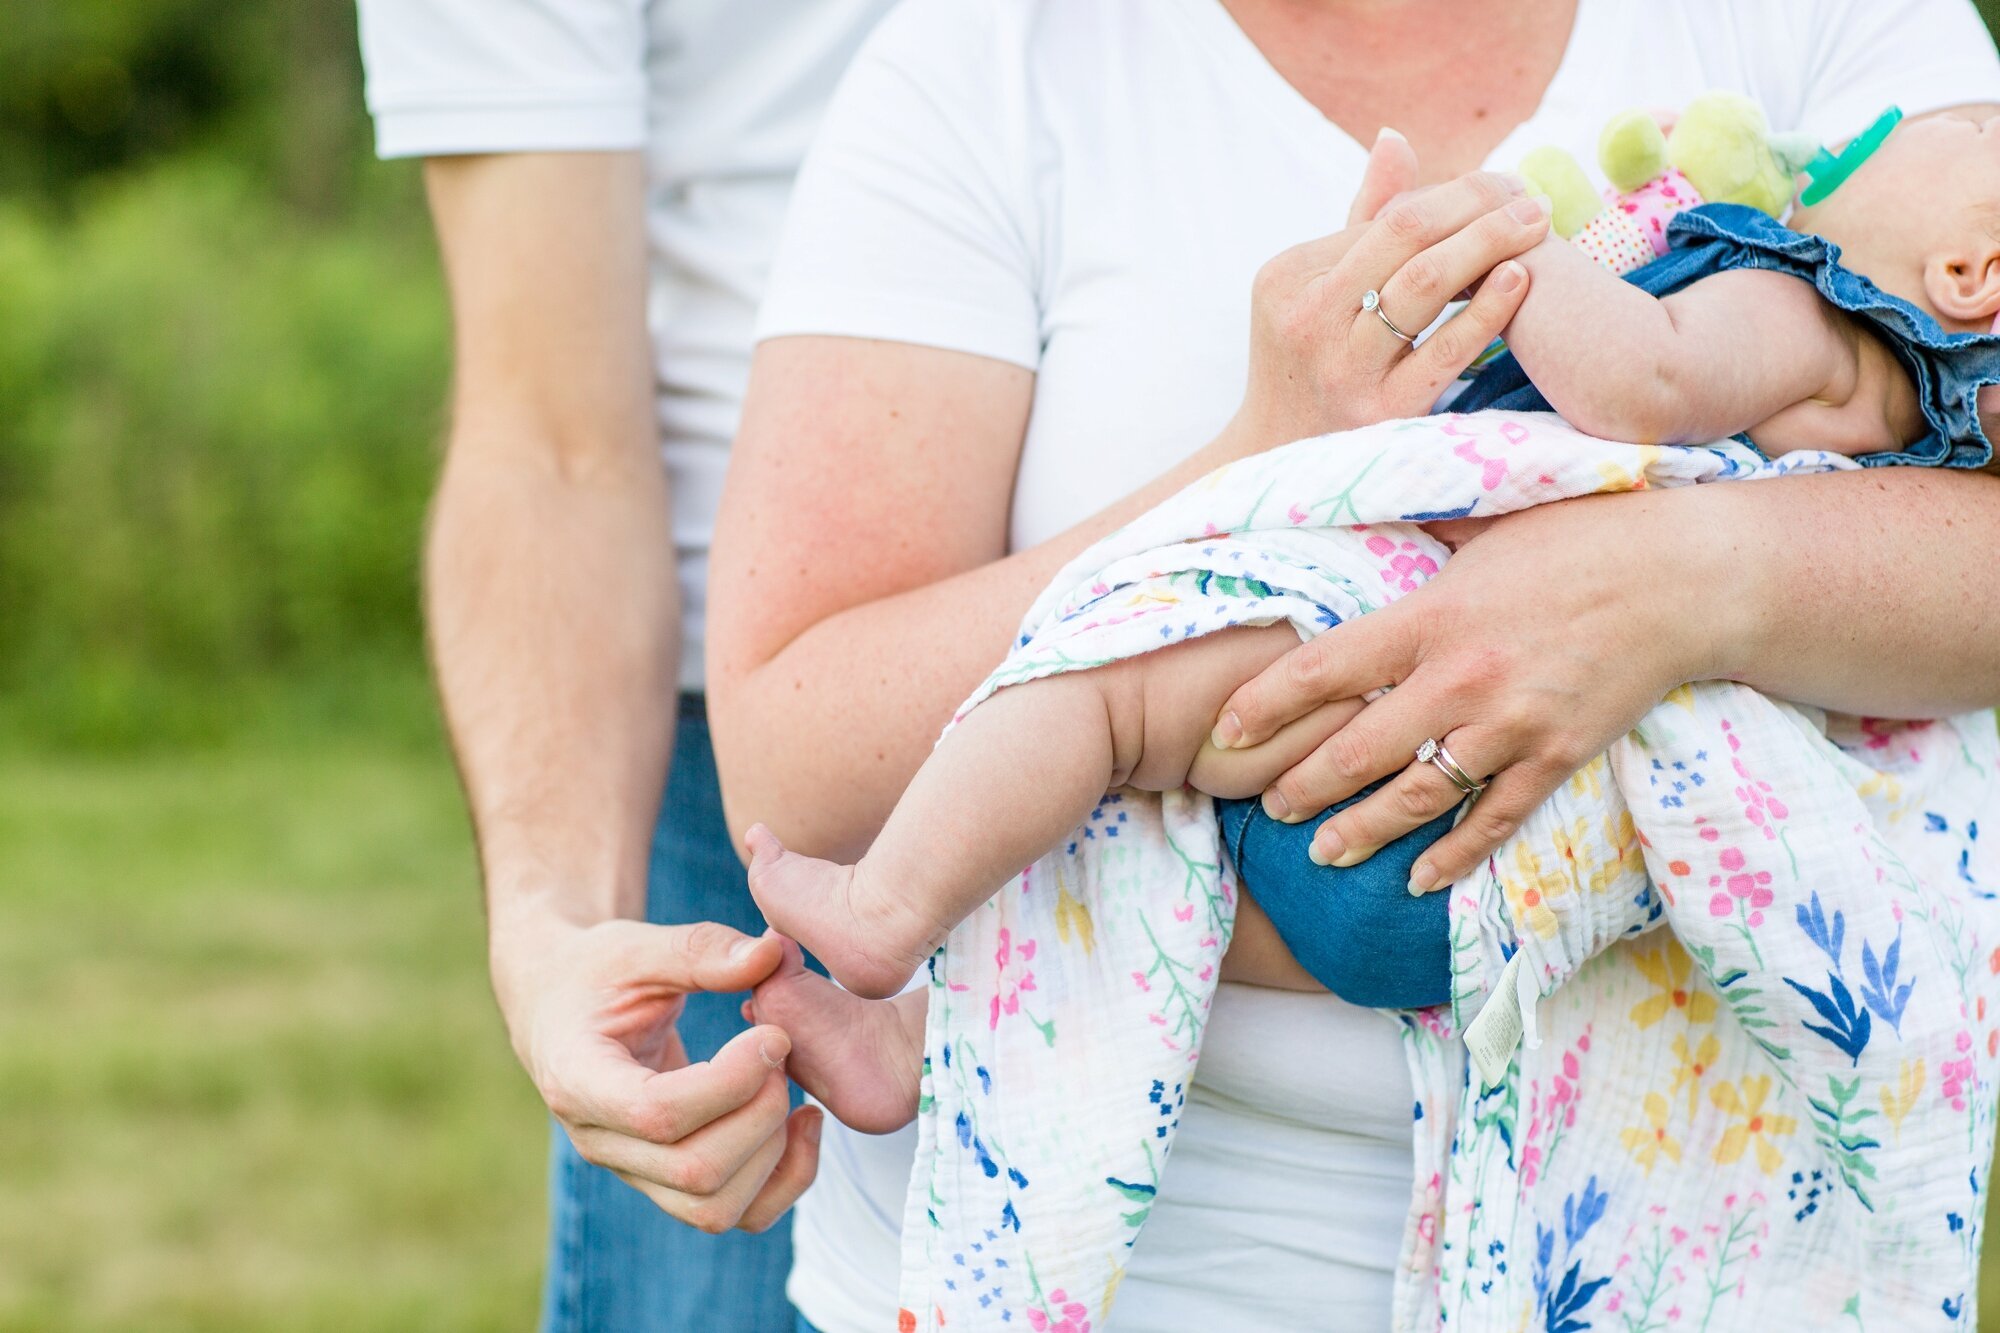
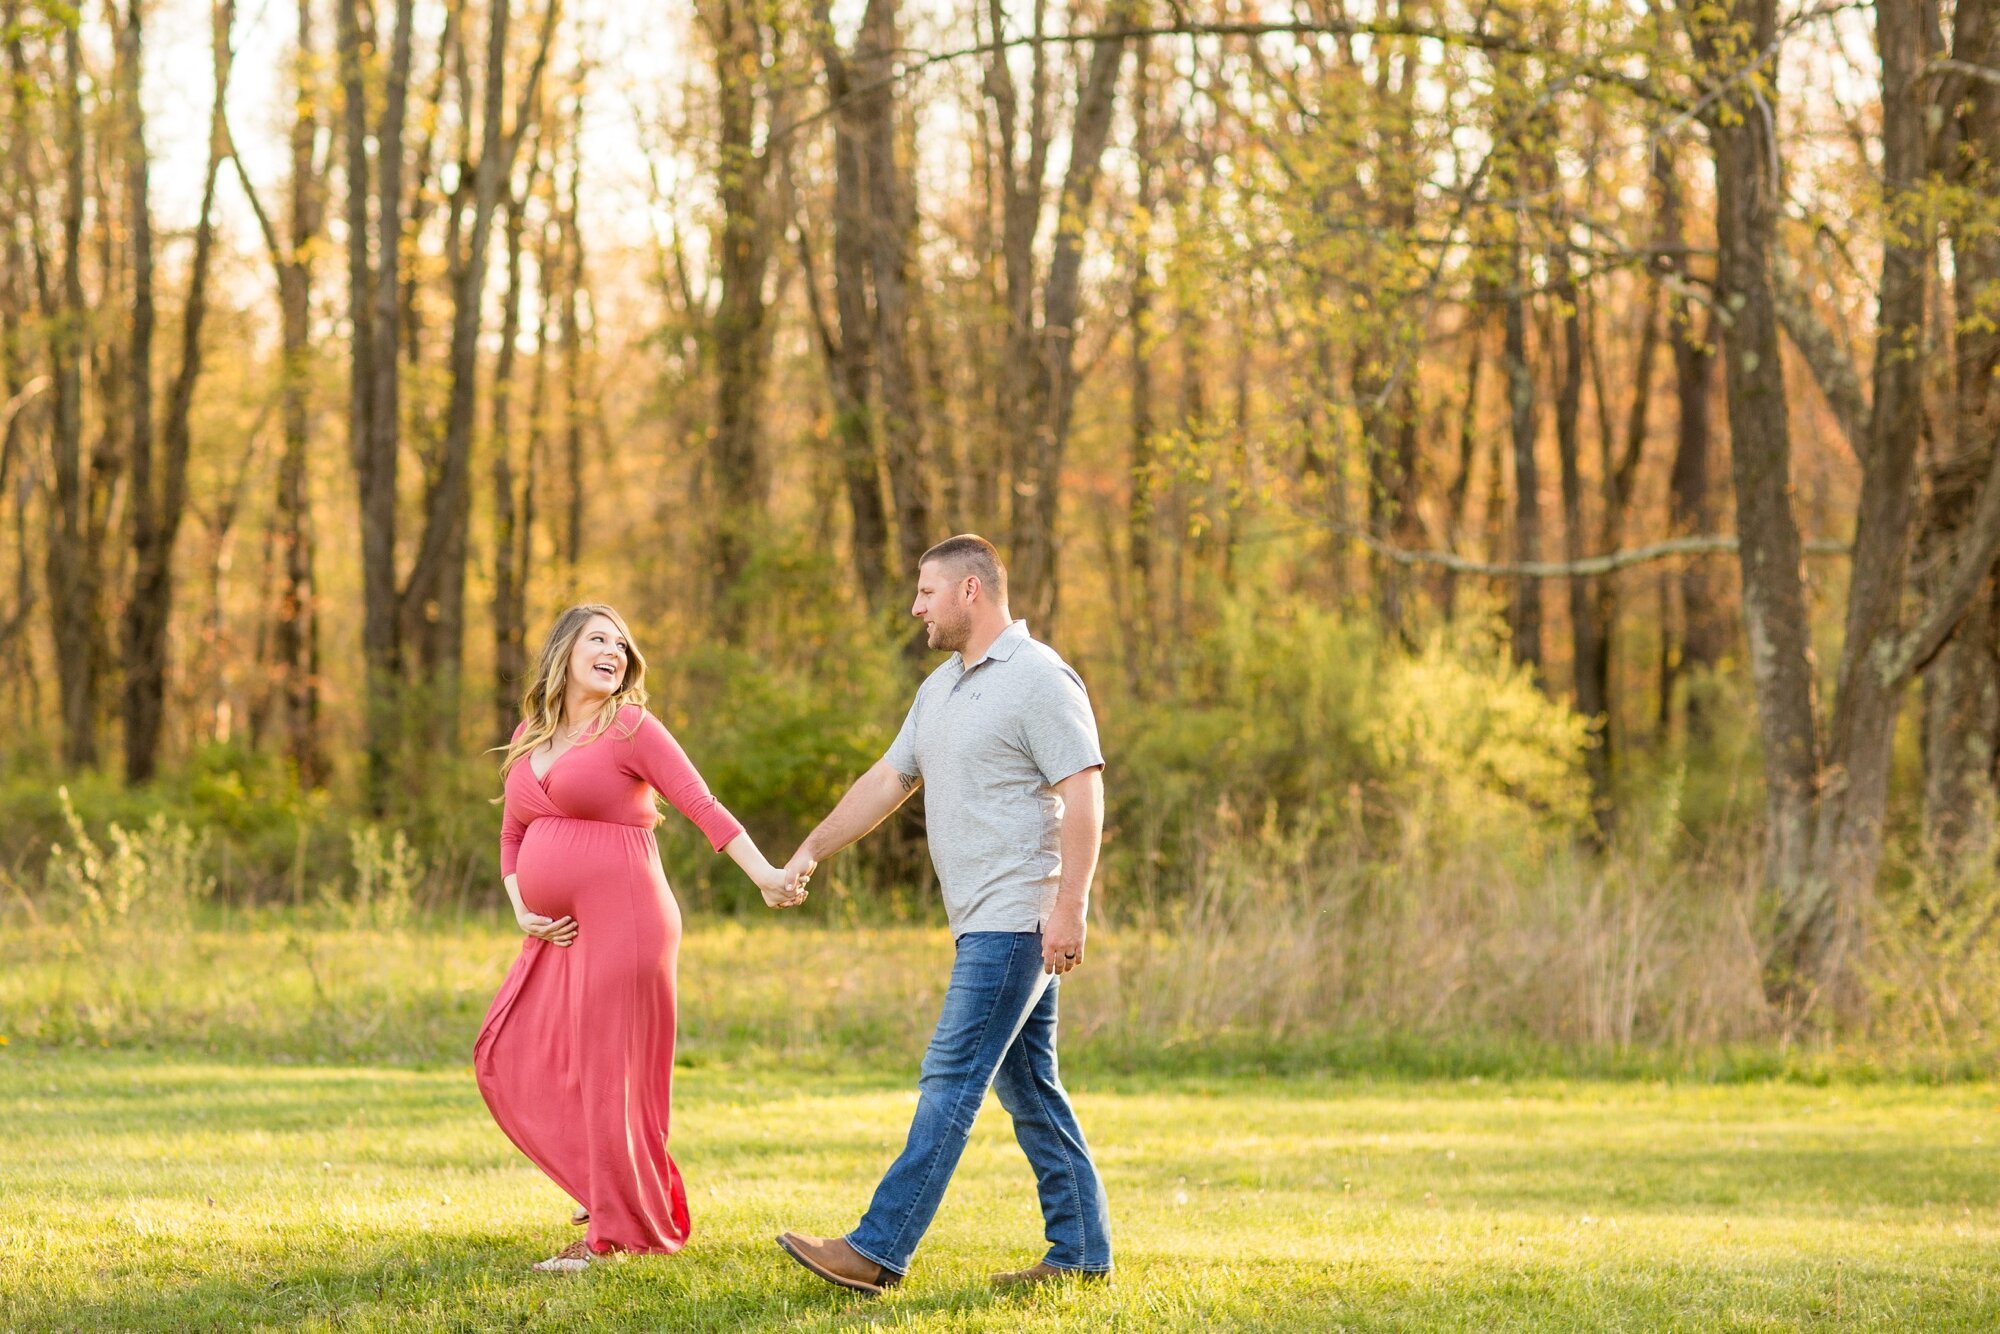
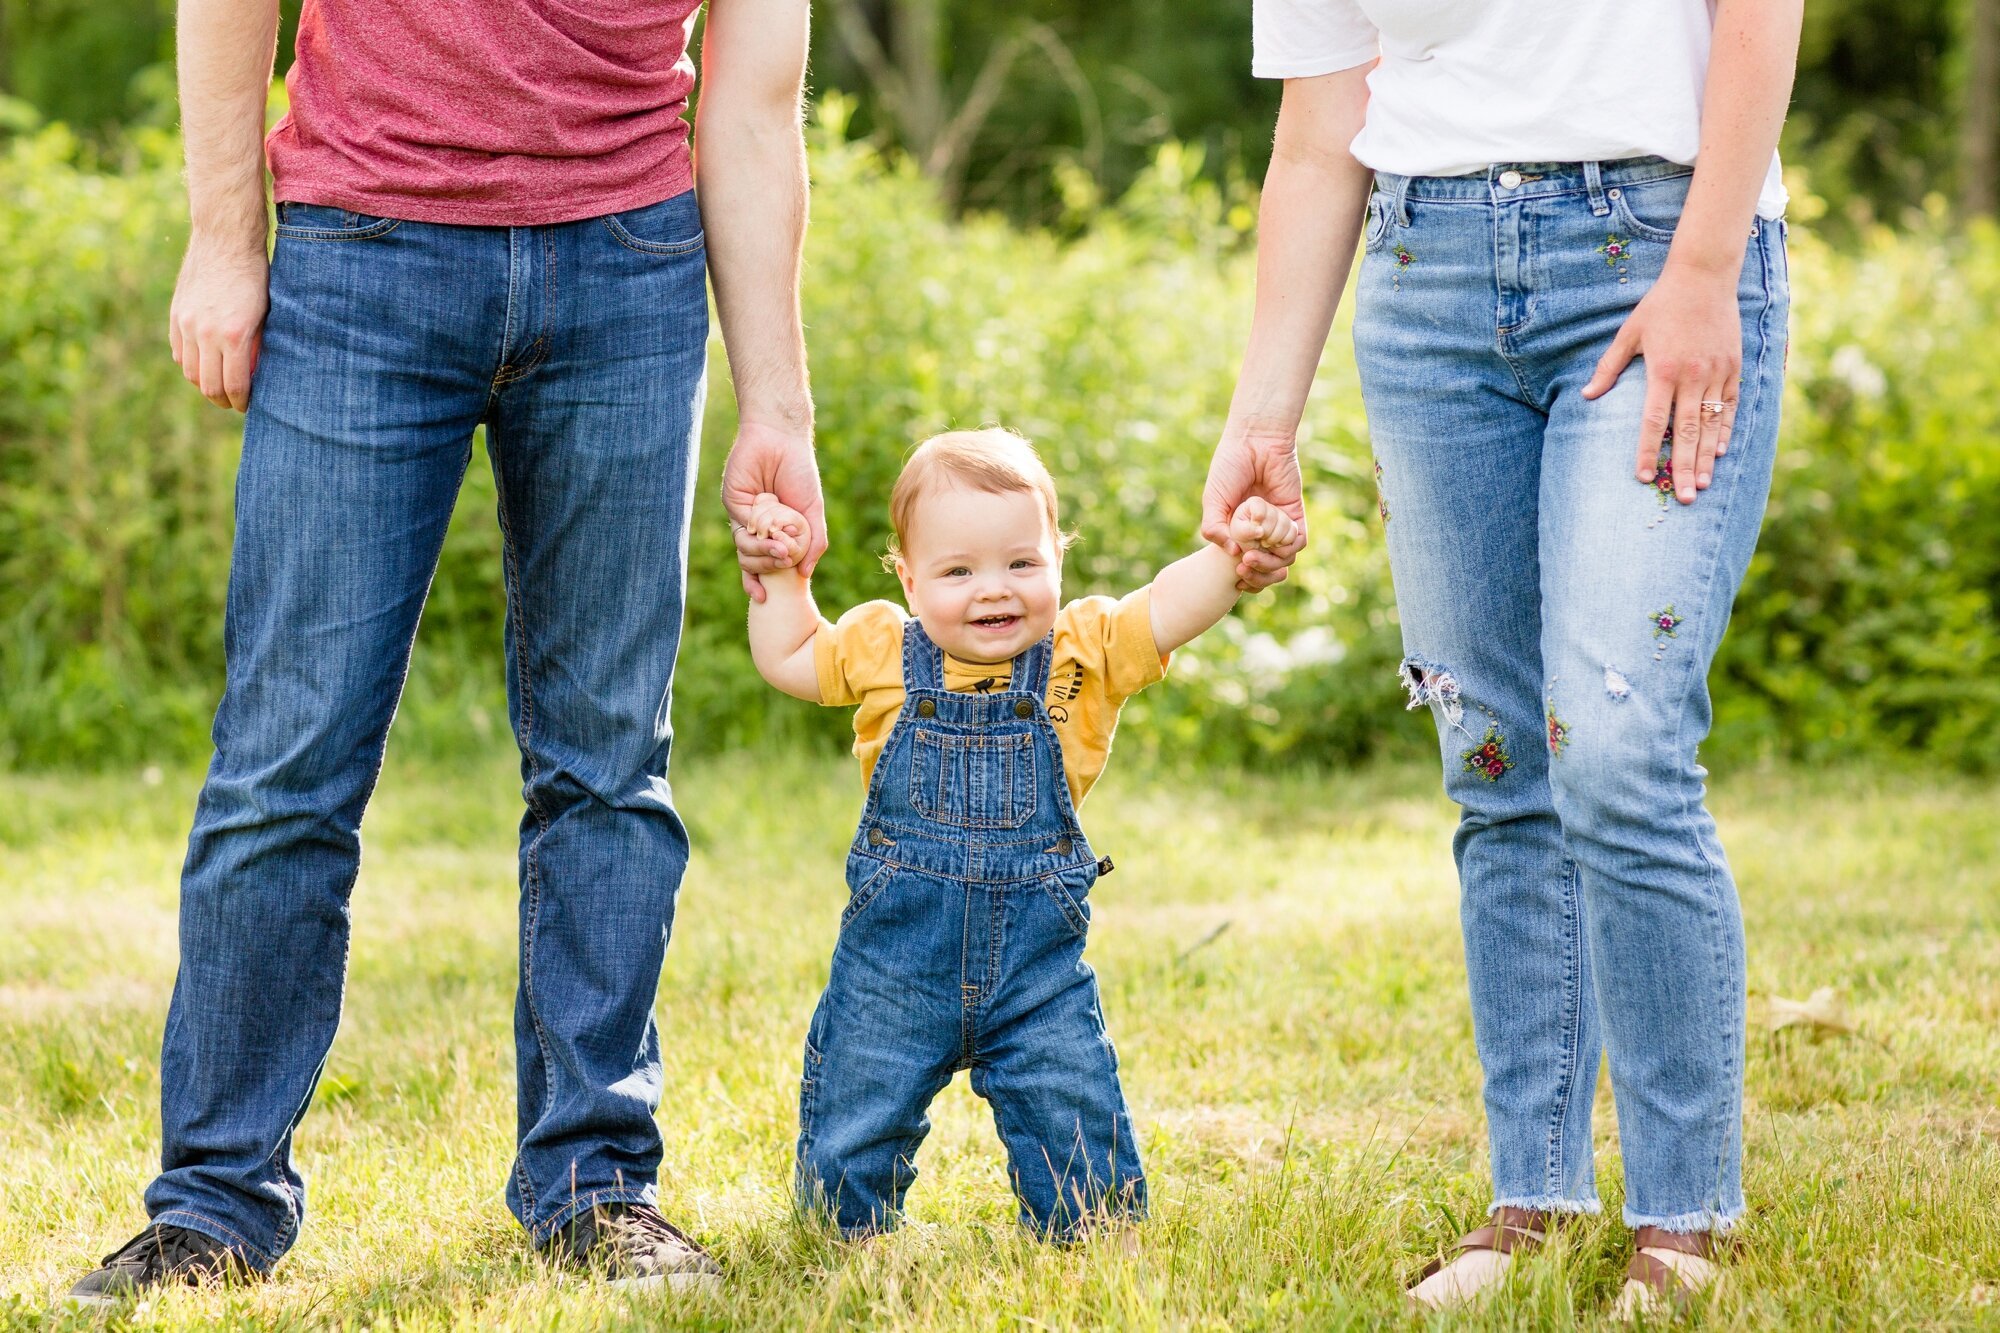
We had a beautiful afternoon for our back-to-back mini sessions at Moraine State Park!

It was an absolute joy to be able to photograph three beautiful families - two of whom I photographed weddings for just a few years ago! And one of whom I used to work with!

Mini sessions are a great option for families who want a few updated images as their kids grow - but they are also great for a short engagement session, a quick headshot, or even a quick extended family photo! I try to offer them a few times throughout each calendar year. I hope to offer Christmas tree farm mini sessions this fall! (Check out my last set from 2022 here!)

Interested in knowing when mini sessions events are happening? Feel free to click here to sign up for my email newsletter so you can be in the know!

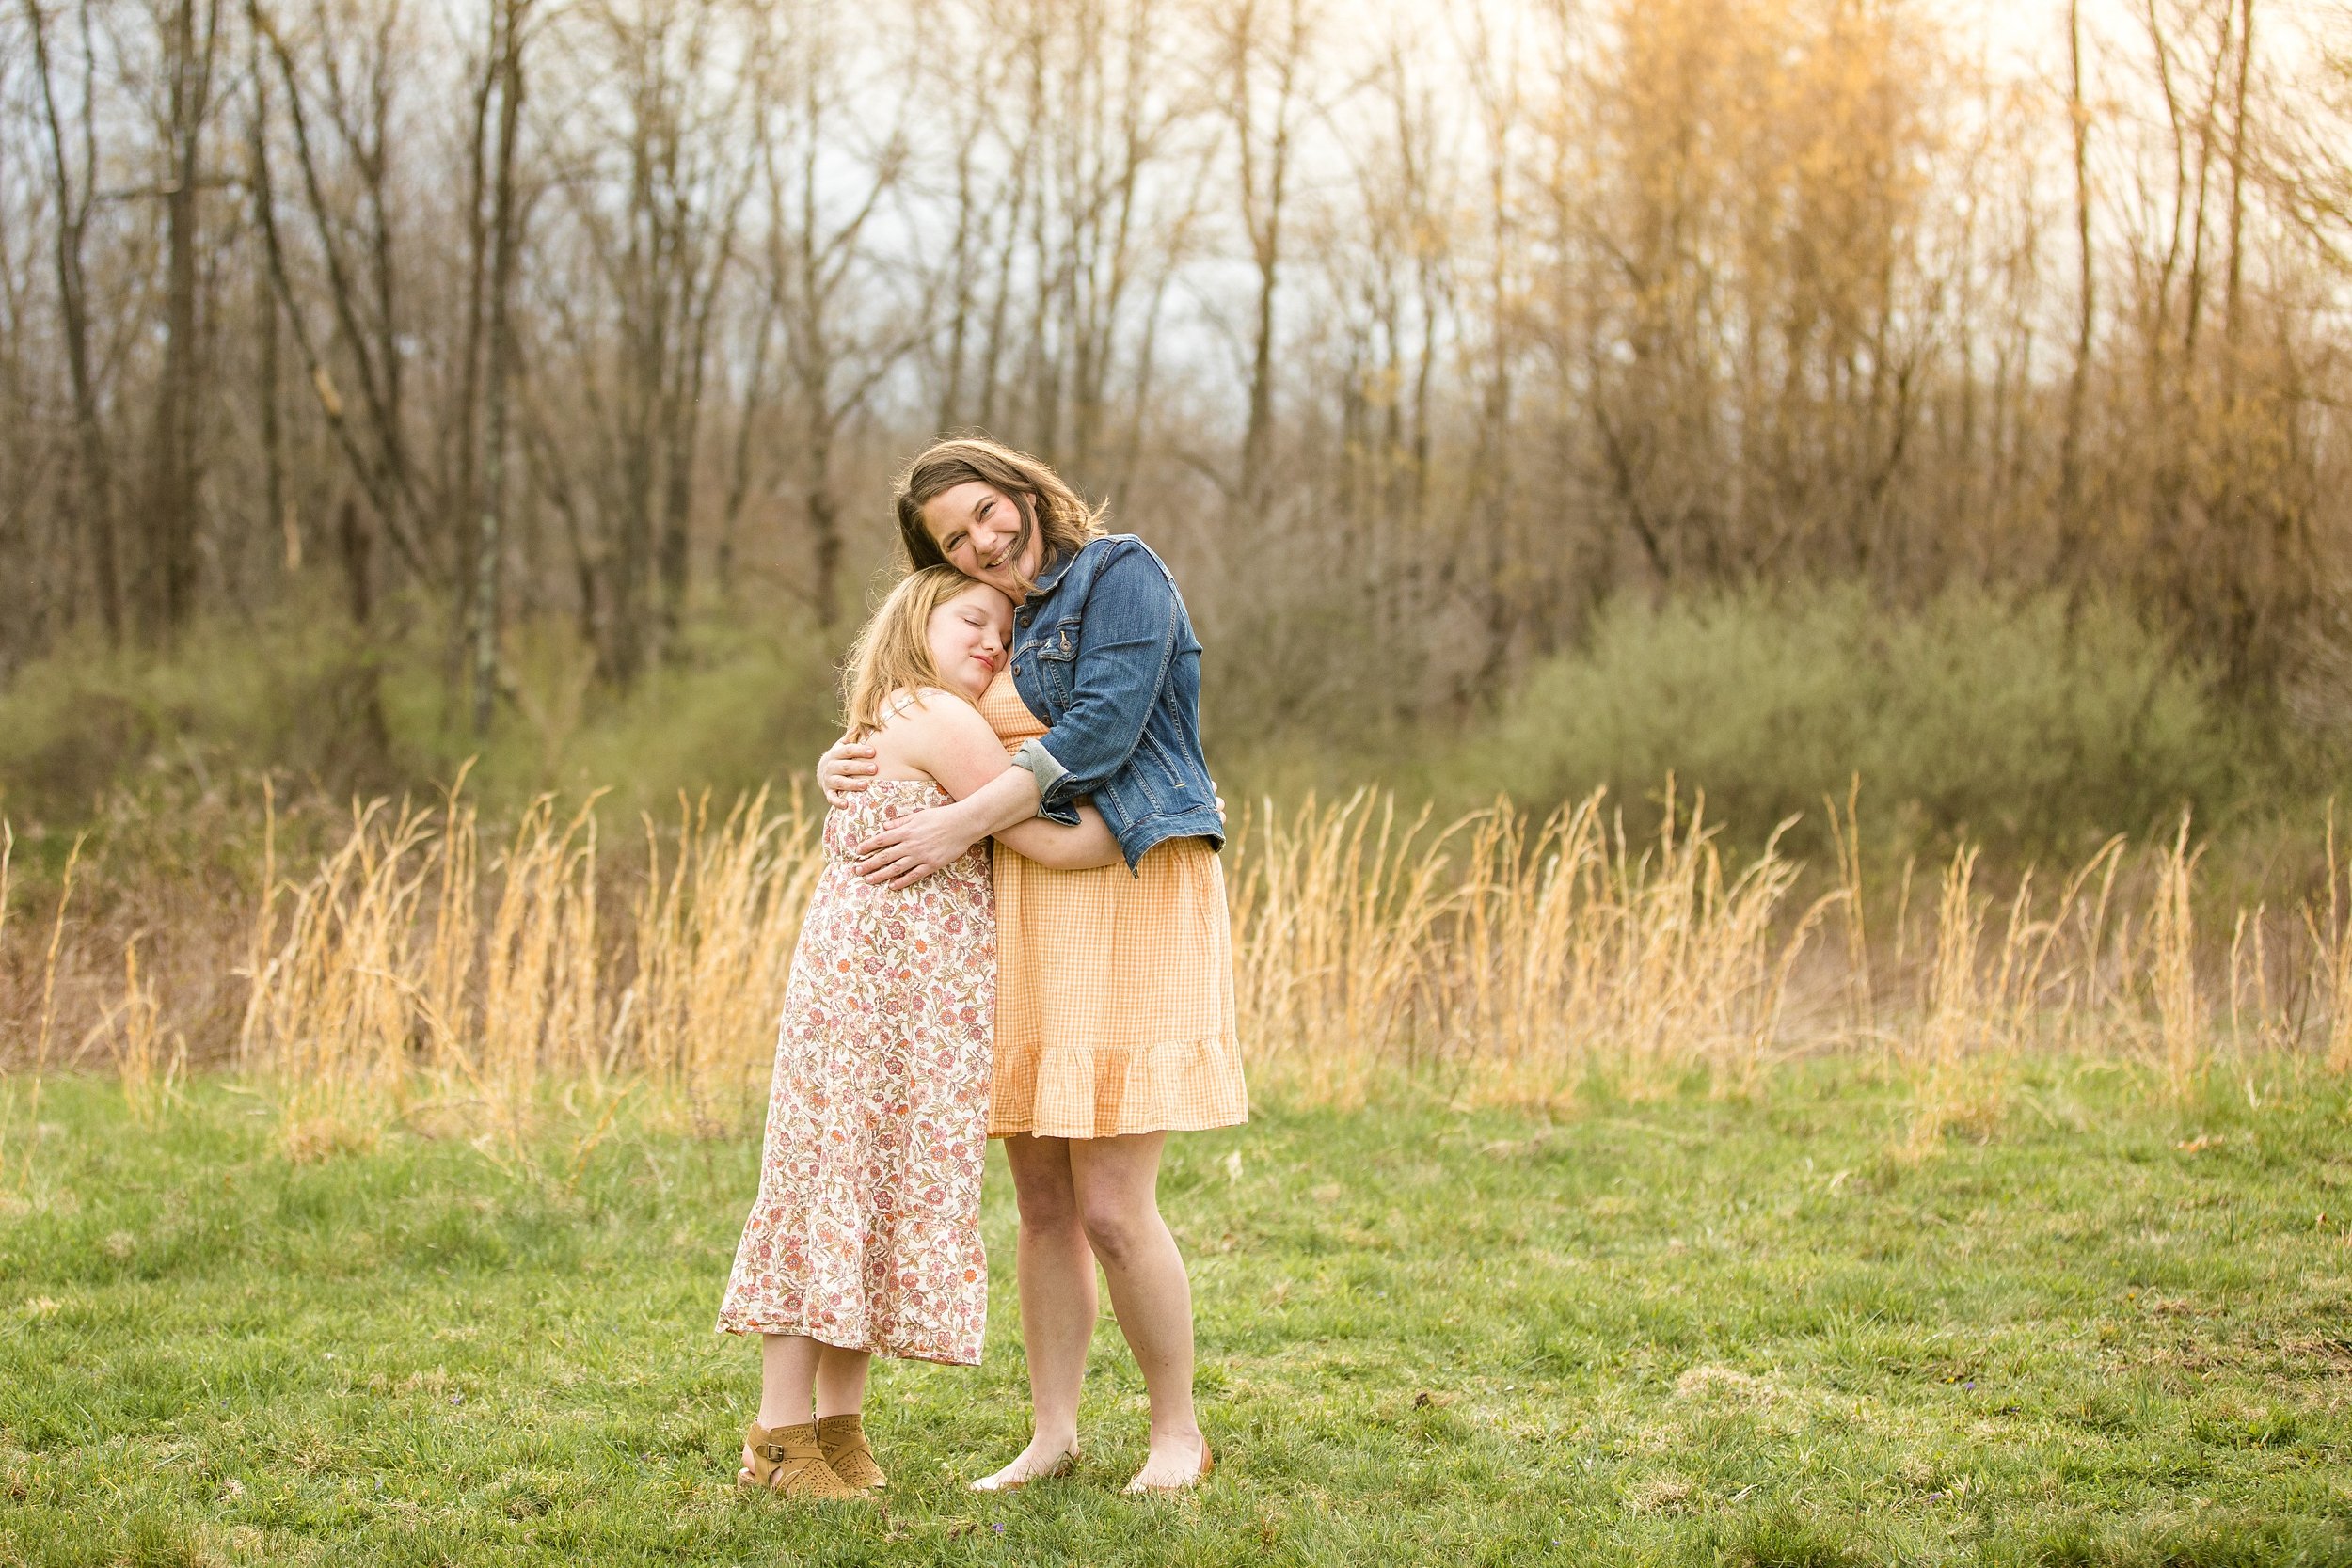
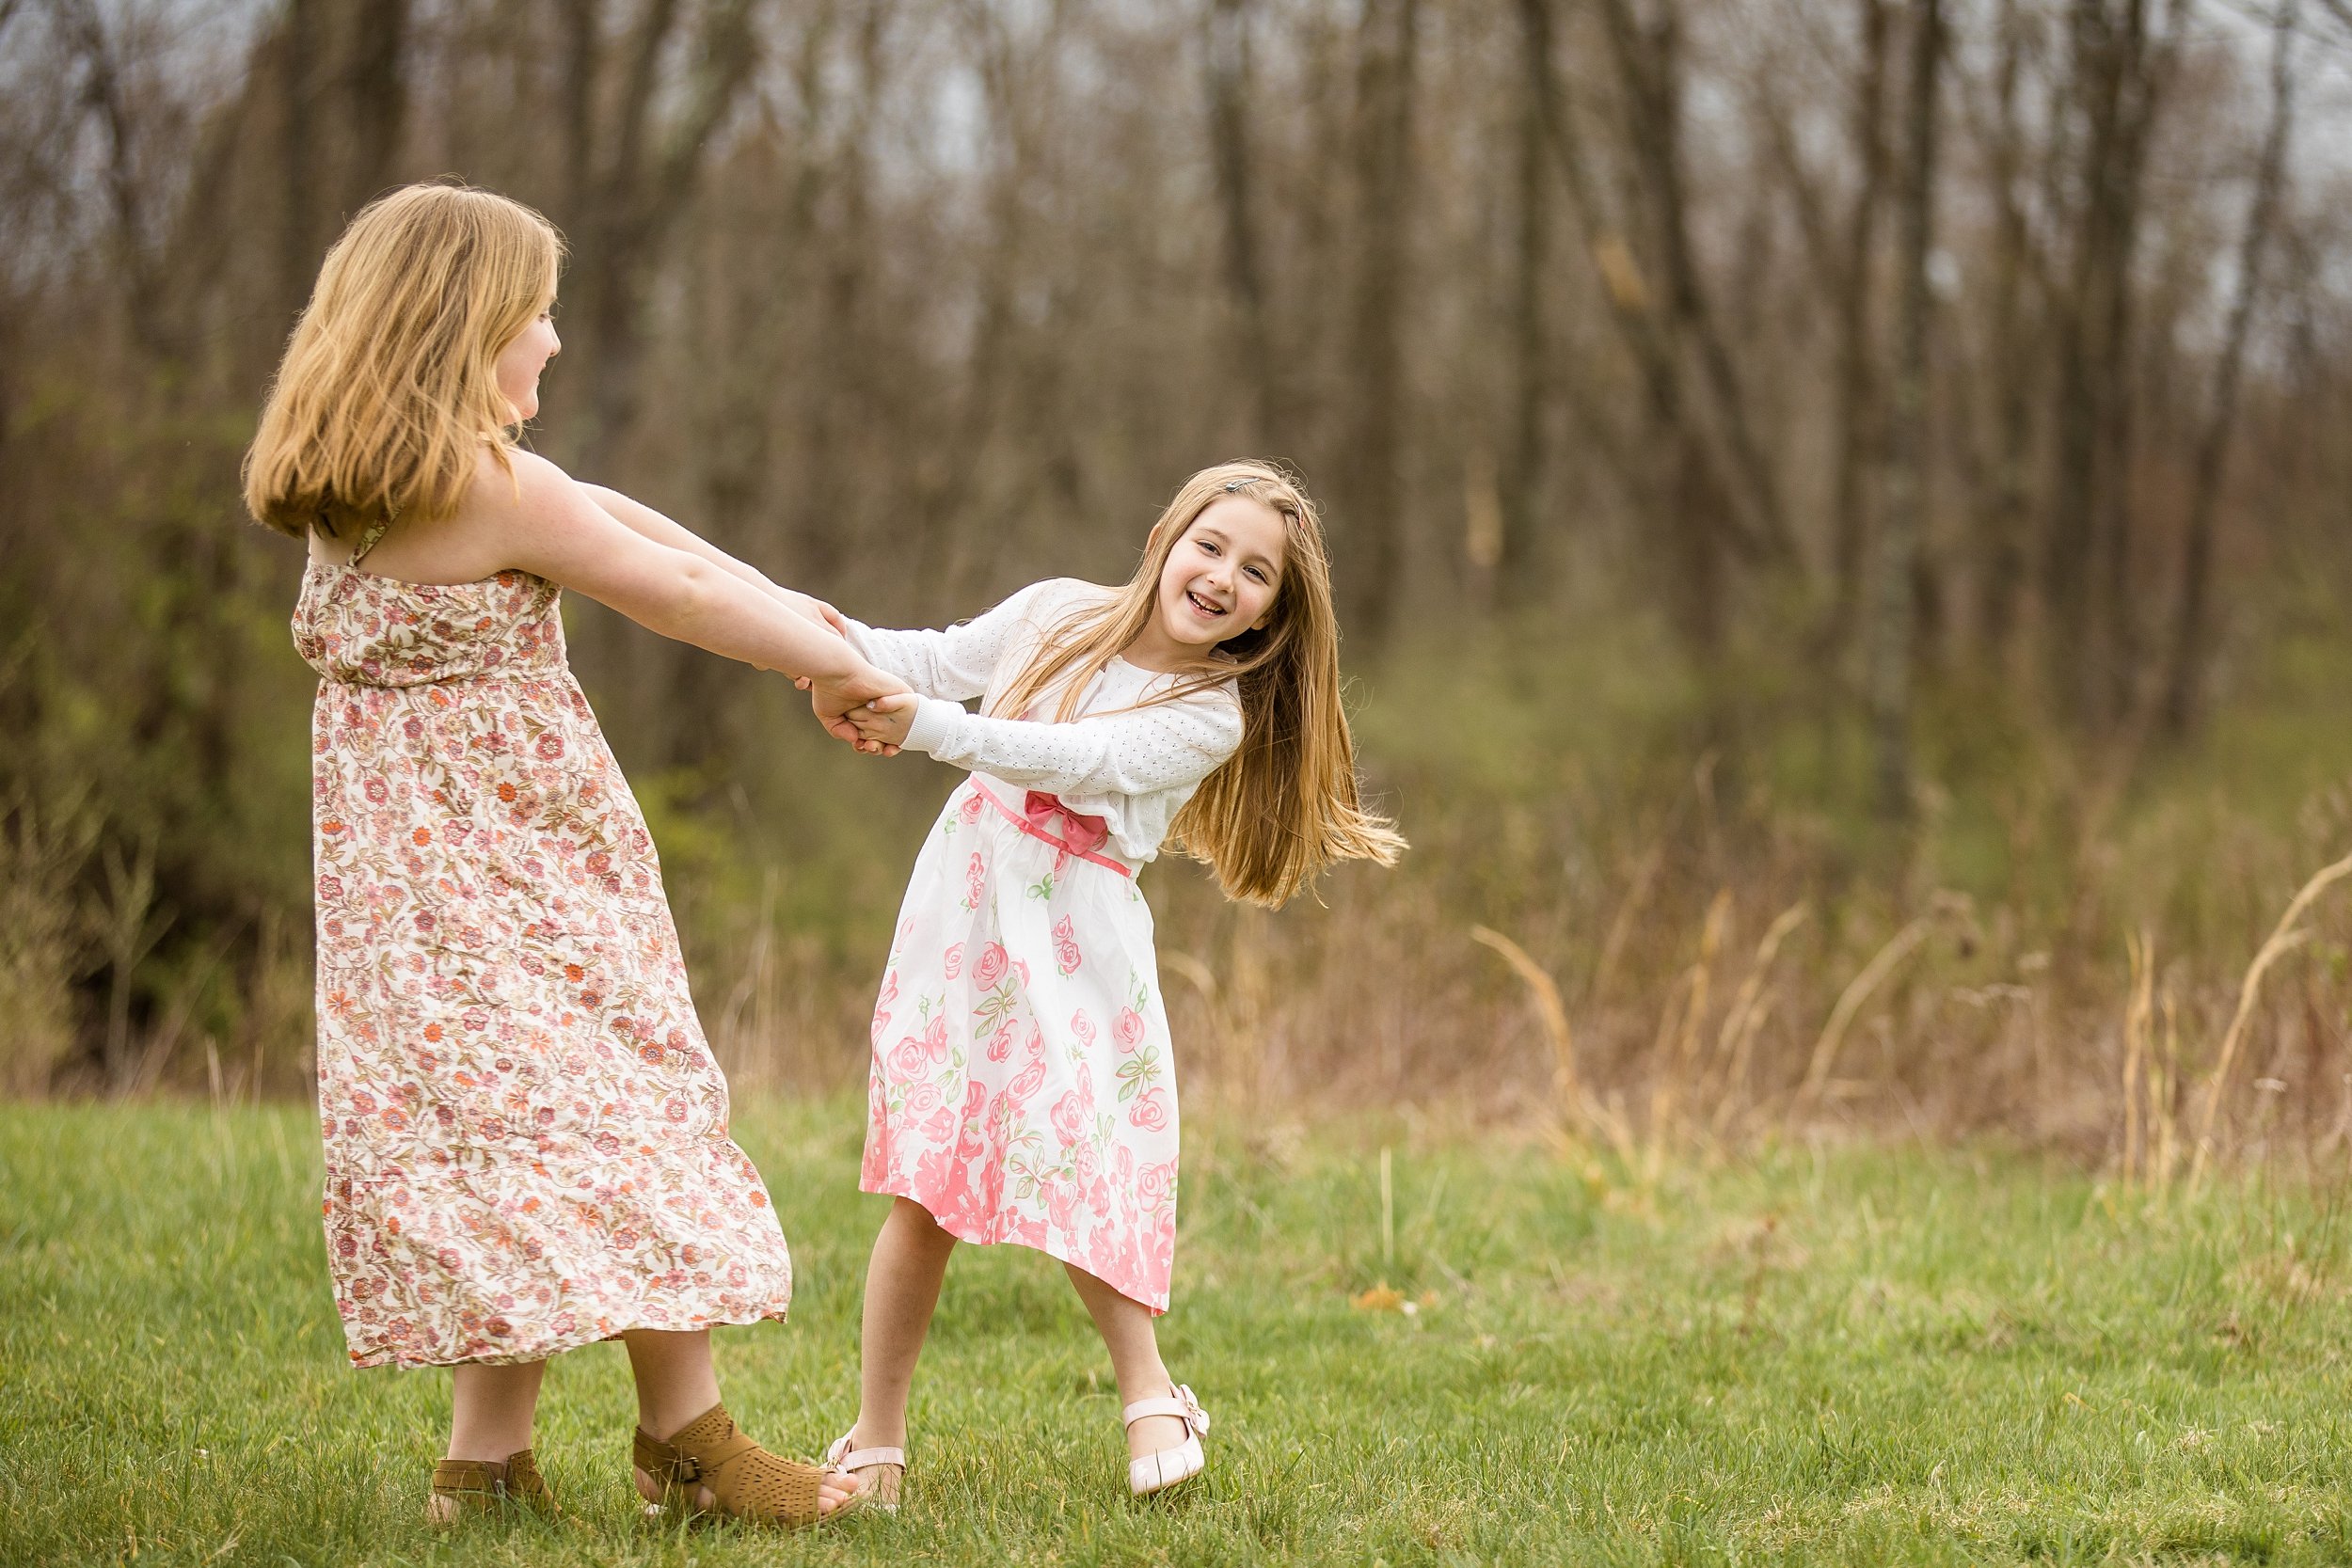
And for now - enjoy a few of my favorite images from our mini session day!

Comment

How to Prepare for Your Senior Photo Session

Comment

How to Prepare for Your Senior Photo Session

Preparing for senior photos isn’t hard, but it certainly can be if you wait until the last minute!

Today, I’m sharing things to think about months and weeks out from your session, as well as what to remember the day of your senior session!

One to Three Months Out:

  • Schedule any hair, makeup, or nail appointments you might want!

  • Start thinking about what you might want to wear - go through your closet in advance to see if you’ll need to purchase any additional garments

  • Choose a location where your senior photos will take place

The Week of Your Session:

  • Finalize and steam or iron all of your outfit choices (wrinkles be gone!) & props!

  • Drink LOTS of water! This is good for your skin and will give it a nice glow!

  • Make sure you are applying chapstick, especially if you are prone to chapped lips! (Chapped lips can’t be fixed in photoshop!)

  • Make sure your nails are clean or, for the ladies, painted!

  • Refrain from wearing sunglasses for the week leading up to your session so you aren’t squinting during your session!

The Day of Your Session:

  • Give yourself plenty of time to get ready – more than you think!

  • Don't forget to arrive 10 to 15 minutes before our scheduled start time. Your session will begin at the time we set in advance, not at the time you arrive.

  • Eat a snack before you come – it’s not fun getting your photo taken while you’re hangry!

What to Bring:

  • Any outfit changes you might have

  • Any props you may want to include (an instrument, soccer ball, pet, etc.!)

  • A change of comfortable shoes to walk in

  • A hair brush or comb (or anything for on location touch ups!)

  • A parent or friend (moral support is always a good thing – plus, if you’d like they can step in for a few photos at the end!)


HAVE MORE QUESTIONS?

One of my favorite ways to prepare my clients for their senior sessions is through my blog! Check out the popular blogs below to see if any of your senior Q’s can be answered, or reach out using the contact tab in the navigation above to start a conversation! ☺️

Comment

20 Small Ways to Save Money on Your Wedding Day

Comment

20 Small Ways to Save Money on Your Wedding Day

Weddings can be expensive, but they don’t have to be! Believe it or not, there are small ways you can cut costs while planning without sacrificing style or aesthetic on your wedding day.

As a wedding photographer of 10 years, I’ve seen many couples choose budget-friendly options without sacrificing the parts of the wedding day that are most important to them.

Believe it or not… I photograph a lot of budget-friendly wedding days. When I was first getting started in wedding photography, I heard a big name photographer in the wedding industry mention that a good photographer can make a budget-friendly wedding look like a savvy soiree… and really, it’s true! If you invest your budget in the right places and in the right vendors, you can still have a beautiful wedding day without spending more than you want to!

So, without further ado, today I’m sharing some of the top ways I’ve seen my couples save $$$ while planning their wedding days!

1.     Skip the matching PJ’s and robes.

These are definitely cute, but the cost for these can add up quickly!

2.     Skip the boutonnieres.

Or, have your husband-to-be be the only one to wear one. Boutonnieres are nice, but not necessary, especially for groomsmen.

3.     Go BIG for your bridal bouquet, but choose smaller bridesmaid bouquets.

Bridesmaid bouquets don’t have to be huge to add to your bridal party photos visually! Focus more on the bridal bouquet, which will be in more photos.

4.     Instead of programs for the ceremony, use a big sign at the ceremony entrance.

One less thing to have to print! You can even thrift a mirror or piece of glass and write the program on there yourself. Most people throw these out anyways!

5.     Instead of escort cards at the reception, use a large sign at the reception entrance to direct guests to their seats.

Escort cards are another small item that just get thrown away. Consider a large sign instead.

6.     Choose a venue that only allows a certain number of guests (that way, you have to stick to it!)

If you choose a venue that only allows a certain number of guests, you have to stick to that number. Which means less meals to pay for than a venue that allows basically an unlimited number of guests!

7.     Consider doing ALL of your wedding day festivities (getting ready, ceremony, photos, reception) at the same location.

This will MAJORLY cut transportation costs. Bonus points if guests from out of town can walk to your venue from their hotel, or if the hotel provides free transportation for guests to the venue! Also, investing in a limo/party bus for the bridal party to ride from place to place in can be a big expense.

8.     Consider getting married in the “off season.”

If you’re in a state that has super cold winters or super hot summers, consider getting married during that timeframe where people don’t really want to leave their houses. You might be able to get some discounts from your vendors for having an off-season wedding.

9.     Consider getting married on a week day.

You know what’s great for a wedding vendor? Getting to work during a week day! We work a lot of weekends, so when someone comes along and wants to get married on a random Tuesday, we are ALL FOR IT! For us, that means one more Saturday that we get to spend with our friends & family!

10.  Have your guests RSVP via a wedding website.

Guests RSVP-ing online means = one less envelope, card, and stamp to include in your invitation suite!

11.  Don’t wait until last minute for dress alterations.

Alterations can be expensive as is, but when you’re trying to get them done last minute? They can be even more expensive! Try to plan out your alterations in advance with enough time so your seamstress doesn’t have to charge a rush fee.

12.  Ask your florist what flowers are in season during your wedding, and go with those.

Did you know that it costs more money to get flowers that are out of season than those that are in season? Tell your florist your vision if you have one, and then try to make that vision happen with flowers that are in season.

13.  Borrow jewelry, hair pieces, shoes, and even your veil from a friend or family member.

Not only will this save you money, but it will make everything you’re wearing on your wedding day a bit more sentimental!

14.  Consider going for a smaller cake, and having friends & family contribute cookies and other small desserts for a big dessert spread for guests!

If you happen to be from Pittsburgh, you know that we go BIG with cookie tables - so getting a small cake for you and your spouse to cut, then serving cookies and cupcakes to guests, can be a great way to go!

15.  Skip the favors. Or, make it something simple (like taking home cookies from the cookie table!)

Favors can be hit or miss - if they’re not something people will actually use, they’ll usually just get left behind or thrown out anyways. Unless you live in Pittsburgh and make your favors boxes of cookies from your cookie table ;)

16. Choose your top three most important vendors to spend on, and go cheaper on the rest.

If you’re on a budget, you can’t spend big on everything - but you can certainly choose parts of the wedding day that are most important to you and spend on those! For me when I got married, we went bigger on the venue, photographer (surprise surprise! ;) ), and food. With everything else, we did the best we could, and did what we could!

17. When choosing packages from wedding vendors, start with a lower package, then upgrade later if necessary.

This is advice I actually give to my own couples that book with me! Sometimes, my couples aren’t sure if they need 8 hours or 10 hours of coverage, if they want an engagement session or not, or if they want an album or not. So I always tell them - go for the cheaper one, and upgrade later if you decide you need more coverage, want an engagement session, or want an album! That way, you’re spending less to begin with and can add on as-needed.

18. Have a lower-key rehearsal dinner.

This is another one that we used for our wedding day - we catered Chipotle for our rehearsal dinner and ate it at our church instead of eating out at a fancy restaurant or venue! The food was actually a huge hit with all of our families and bridal party!

19. Limit alcohol.

This one may not be for everyone… but it certainly does work! Limit the types of alcohol you serve on your wedding day to save a little bit of extra money.

20. Nix “wedding welcome” packages for guests.

I know, I know… but these are so fun and sweet! Wedding welcome packages often include small gifts and souvenirs from the town/city/area where the wedding is taking place.

These are always so cute, but are they completely necessary? Maybe for you, they’re a must have! But if you’re willing to part wit them, consider trying to go a more cost effective route. Consider writing your guests hand-written notes instead, paired with a small guide for things to do and places to see while they’re in town!

Is there anything else you would add to this list? Feel free to let me know in the comment section below!

Comment

Historic Harmony Triplet Senior Session

Comment

Historic Harmony Triplet Senior Session

What a joy it was to photograph this sweet set of triplets - Paige, Ethan, & Jeremy! We had a beautiful day for their photos in Historic Harmony, and had a “mega” senior session to accommodate taking photos of all three of them separately, and some of them together!

I’ve learned that, when choosing a location for senior photos with multiple seniors (see my last triplet senior photo session from back in 2017 here!), it’s so important to have a solid variety of backdrops. While using different types of poses can make each senior’s photos look different, it really does help to have a wide variety of backdrops to choose from to differentiate each senior a little bit from the other!

I was SO excited when these three decided on Historic Harmony for their photos. It is such a versatile location with so much variety to offer!

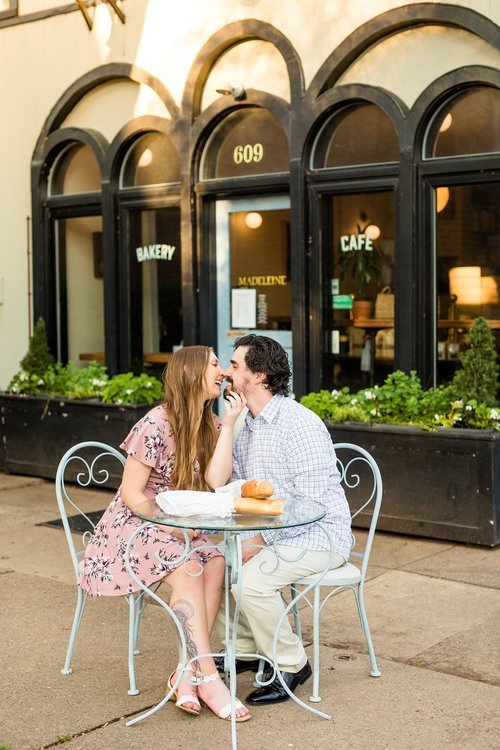
Besides photographing these three - I loved getting to know them, too! A few fun facts: Paige is heading to school after graduation to become a pastry chef, so of course we had to use the bakery sign as a little nod toward her future career! Also, the blue floral dress she is wearing in some of these photos was her mom's when she was in college... So sweet!!

Ethan and Jeremy are headed to Slippery Rock post high school - they love ultimate frisbee and are both musically talented - one plays the violin and one plays drums!

In the post below, I’ve tried to break up their photos into groups - first Paige, then Ethan, then Jeremy! Then, of course, some photos of all three of them together ☺️

Congratulations on your senior year, Paige, Ethan, and Jeremy! ☺️ Thank you so much for the honor of taking these photos for you!

Comment

Sophia E: North Allegheny High School Senior Photos at Mellon Park

Comment

Sophia E: North Allegheny High School Senior Photos at Mellon Park

Sophia is a North Allegheny senior who is graduating this spring! She plans to attend Temple University, her snack of choice is kettle cooked jalapeno chips, and she was an absolute delight to photograph during an early April evening at Mellon Park!

Mellon Park has really started to bloom - not only with daffodils on the ground, but also with a beautiful pink tree! Of course, we had to take advantage of that tree during our time together… and I’m so glad that we did! Those are some of my favorite photos from Sophia’s entire session!

Congratulations on your senior year, Sophia!

If you're interested in learning more about a senior photo session, feel free to click here!

Comment

Madie D: Seneca Valley High School Senior Photos at Mellon Park

Comment

Madie D: Seneca Valley High School Senior Photos at Mellon Park

Meet Madie! She’s a part of the class of 2022 who is graduating this Spring, and she was a joy to photograph! (I had the honor of photographing her brother just last year for his senior photos in Historic Harmony - click here to see!)

Madie’s session took place at Mellon Park on a damp and cold morning in early April. She was a trooper through the cold and rainy weather! And she even brought her color guard flag for some photos… it was so much fun to see her twirl it around!

One of my favorite parts about April sessions are the FLOWERS! And even though we don’t always see many until mid to late April, there were some beautiful daffodils in bloom that really make Madie’s photos pop!

Congratulations on your senior year, Madie!!!

Comment

SUMMER PHOTOSHOOT OUTFIT IDEAS: THE DO'S AND DON'TS

Comment

SUMMER PHOTOSHOOT OUTFIT IDEAS: THE DO'S AND DON'TS

When considering an outdoor photo session in the summer months, you may come across a bit of a conundrum - it’s likely to be hot & humid, and you want to make sure you look presentable for the one to two hours that you’ll be standing outside!

Enter the answer: this blog post! I’ve compiled a list of the most pertinent “do’s” and “don’ts” pertaining to outfit choice for photo sessions that take place in summer weather.

SAY YES TO…

  • Light, breathable fabrics - the type of fabric you choose for your photo outfits is so important in the summer time! You want to make sure you choose fabrics that are breathable and light.

  • Light colored clothing - light colors reflect light, so choosing light colored clothing will help you beat the heat and stay a little bit cooler throughout your session!

  • Dresses - ladies, this one is for you! Dresses, short or long, are a great way to stay cool during your summer session. Extra airflow is always a good thing!

  • Open toe shoes - I wouldn’t always recommend an open toe shoe for men for photos, but for ladies, they are certainly permissible!

  • Patterned fabrics - patterned fabrics often hide sweat (and pit stains) better than solid colored fabrics.

  • An outfit change - if your first outfit gets super sweaty mid-photo session, you can always change into a second outfit!

  • An undershirt - especially for guys who plan on wearing a button down to their session, it might seem counter intuitive in the summer, but wear a white undershirt. This will help pit stains stay at bay for longer!

  • Summer themed props & accessories - a cute sunhat? Some ice cream cones? A cold beverage? A picnic basket and blanket? Maybe even just a bouquet of fresh flowers? These can all be cute additions to a summer session!

CONSIDER PASSING ON…

  • Dark colored fabrics - dark fabrics will drawn in the heat and make you warmer faster!

  • Heavy fabrics - heavy fabrics, including denim, corduroy, and suede can feel heavy and are usually a bit too insulated for a comfortable summer photo session (if you want to wear jeans, you could always plan for them to be your second outfit for a sunset-timed photo session, when things are a little bit cooler!)

  • Too many layers - summer is not a time to wear lots of layers. Keep anything you wear light and simple!

  • Sunglasses leading up to your session - when you’re used to wearing sunglasses and then suddenly have to be outside in the bright light for an hour to an hour and a half, you will be very squinty. This is something very common that happens ALL the time. Put those sunglasses away for the week leading up to your session so your eyes are used to the brighter summer light!

A FEW MORE RESOURCES:

If you’re looking for some more help preparing for your summer photo session, check out the posts below!

VIEW SOME OF MY FAVORITE OUTFITS FROM PAST SUMMER SESSIONS BELOW!

Comment

Answering FAQ's: How do you choose locations for photo shoots?

Comment

Answering FAQ's: How do you choose locations for photo shoots?

One question I get fairly frequently from clients as I’m taking their photos is: how do you choose locations for photo shoots?

Most clients who come to me either 1) have a location picked out in advance that they want to use for their session, or 2) tell me the style of backdrop they’re looking for, and I make suggestions for potential locations based on their specifications. Either way, once a client chooses a location (either on their own or with my direction), my job is to find spots at that location that I can use to achieve the style and look of images that clients see on my website.

It’s important to me that a client knows the style of work they are going to get when they choose to work with me. The vast majority of images on my website are vibrant/colorful and bright, so when a client chooses a location for their photo session and chooses me to be the photographer based on the work they’ve seen on my website, my job is to create work for them that is consistent with the work they’ve seen on my website - even at a location I’ve never shot at before.

So, how is this done? How can consistency be maintained across a multitude of different types of locations?

Before every session - either days in advance or an hour in advance - I location scout wherever I will be taking photos. Location scouting is essentially just checking out the light and location of where a session will be taking place to see what spots are suitable for creating bright & vibrant imagery, and what spots are not.

While I’m location scouting, I’m looking for a few specific things. First and foremost, position and quality of light.

1 - Position & Quality of Light

As a photographer who primarily uses natural light for outdoor photography, it’s important for me to know where the sun will be during the timeframe that the photo session will be taking place. My goal is to almost always have my subject facing away from the sun. Because of this, I have to make sure that any specific spots I choose to use during a session are working in cooperation with the available light and with the look I am trying to achieve.

I will choose different locations when photographing an evening photo session versus a morning one, because the sun switches spots in the sky throughout the day. On an overcast day, however, I am able to use MANY more backdrops because the light is much easier to work with - it falls softly across my subject no matter which direction I have them facing, which means we are able to use a wider variety of backdrops.

The light is the first determining factor when figuring out what locations can be used for a photo session.

2 - Natural Reflectors

Because my clients are often facing away from the sun, I want to make sure they have enough light bouncing back onto their faces (filling their features, as I like to say!) so that they look illuminated and bright. You might have experience this struggle before if you’ve ever tried to take a backlit photo of someone on a sunny day on your phone - their face might not be very well light, and it probably lacked contrast. One reason is because phones just don’t always have the capacity to expose a subject well when backlit, but another reason is because there might not be any light bouncing back into your subject’s face - it’s all coming from behind.

Here’s how I fix this problem: by utilizing “natural reflectors.” (And sometimes artificial ones, too!)

Let me explain - a “natural reflector” is any light that bounces off of the scenery around my subject (the ground, a wall, etc.) onto their faces. Whatever surface is below my subject reflects trace amounts of light onto their faces, especially on a very bright day (the brighter the sun = the more intense reflection of surface light). This means that placing my subject on a large patch of green grass in the middle of the afternoon can create a green color cast on their skin, making them look a bit sickly. Putting my subject next to a large, red brick wall on a bright day means that some of that red will reflect onto their face. However, putting that same subject on a white or cream colored cement or cobblestone means that they will have flattering light reflected onto their face - because a white or cream colored surface reflects “clean” light that doesn’t have a color tint.

I always look for natural reflectors when I am looking at locations, because they help my subjects look their best, and are easiest to work with. This is especially helpful when it comes to photo sessions with larger groups (families & bridal parties, especially) when I can’t use an artificial reflector to correct the color as easily. (If you’re wondering what an artificial reflector looks like, click here!). I will often use an artificial reflector to correct color casts from green grass and brick buildings when I really want to use a location that doesn’t have an optimal natural reflector!

3 - Variety of Backdrops

After first and foremost considering the light, then natural reflectors, I finally move on to considering specific backdrops at a location. For me, specifically, I tend to gravitate more towards lighter colored and colorful backdrops. This means looking for light colored architecture, bright flowers, white cobblestone pathways, trees with lighter green shrubbery, and the like. It’s easiest for me to achieve the “look” of bright, vibrant, and colorful when I choose backdrops that coincide with the style that I am to consistently achieve.

Some locations have more potential for getting an increased amount of different “looks” than others. If you choose a simple park for your senior session, most of your photos might look very similar - trees, grass, maybe a bench, maybe some flowers. But if you choose something more dynamic - say, a park that has some additional features to it, such as a dock, a field, a lake, etc. - you will get more variety in your overall gallery!

Some of my favorite spots to shoot are locations that combine nature with architecture - locations in Pittsburgh like Mellon Park & Hartwood Acres come to mind first, because they have so much more than just grass and trees to work with!

4 - Variety of “Posing Opportunities”

I always like to look for a variety of “posing options/opportunities” to maximize the poses I can direct my clients into when scouting a location. For example - is there somewhere they can sit? Something they can lean on? Something they can lay on? Squat in? Walk through? Peek out from behind? Or is there really only an option to stand in some grass for the majority of the session? That can get very repetitive and limits the amount of poses we’re able to accomplish.

Benches, stairways, railings, doorways, steps, chairs, fences, gates, trees, archways, bridges, and the like all help add not only variety of scenery, but variety of poses that can be achieved during a given session.


I hope you enjoyed this little peek into how I location scout for sessions! I love being able to come into each and every session prepared, knowing where my best light & natural reflectors will be, as well as what backdrops and posing opportunities we have to work with.

if you enjoyed this post, you might also enjoy…

Comment

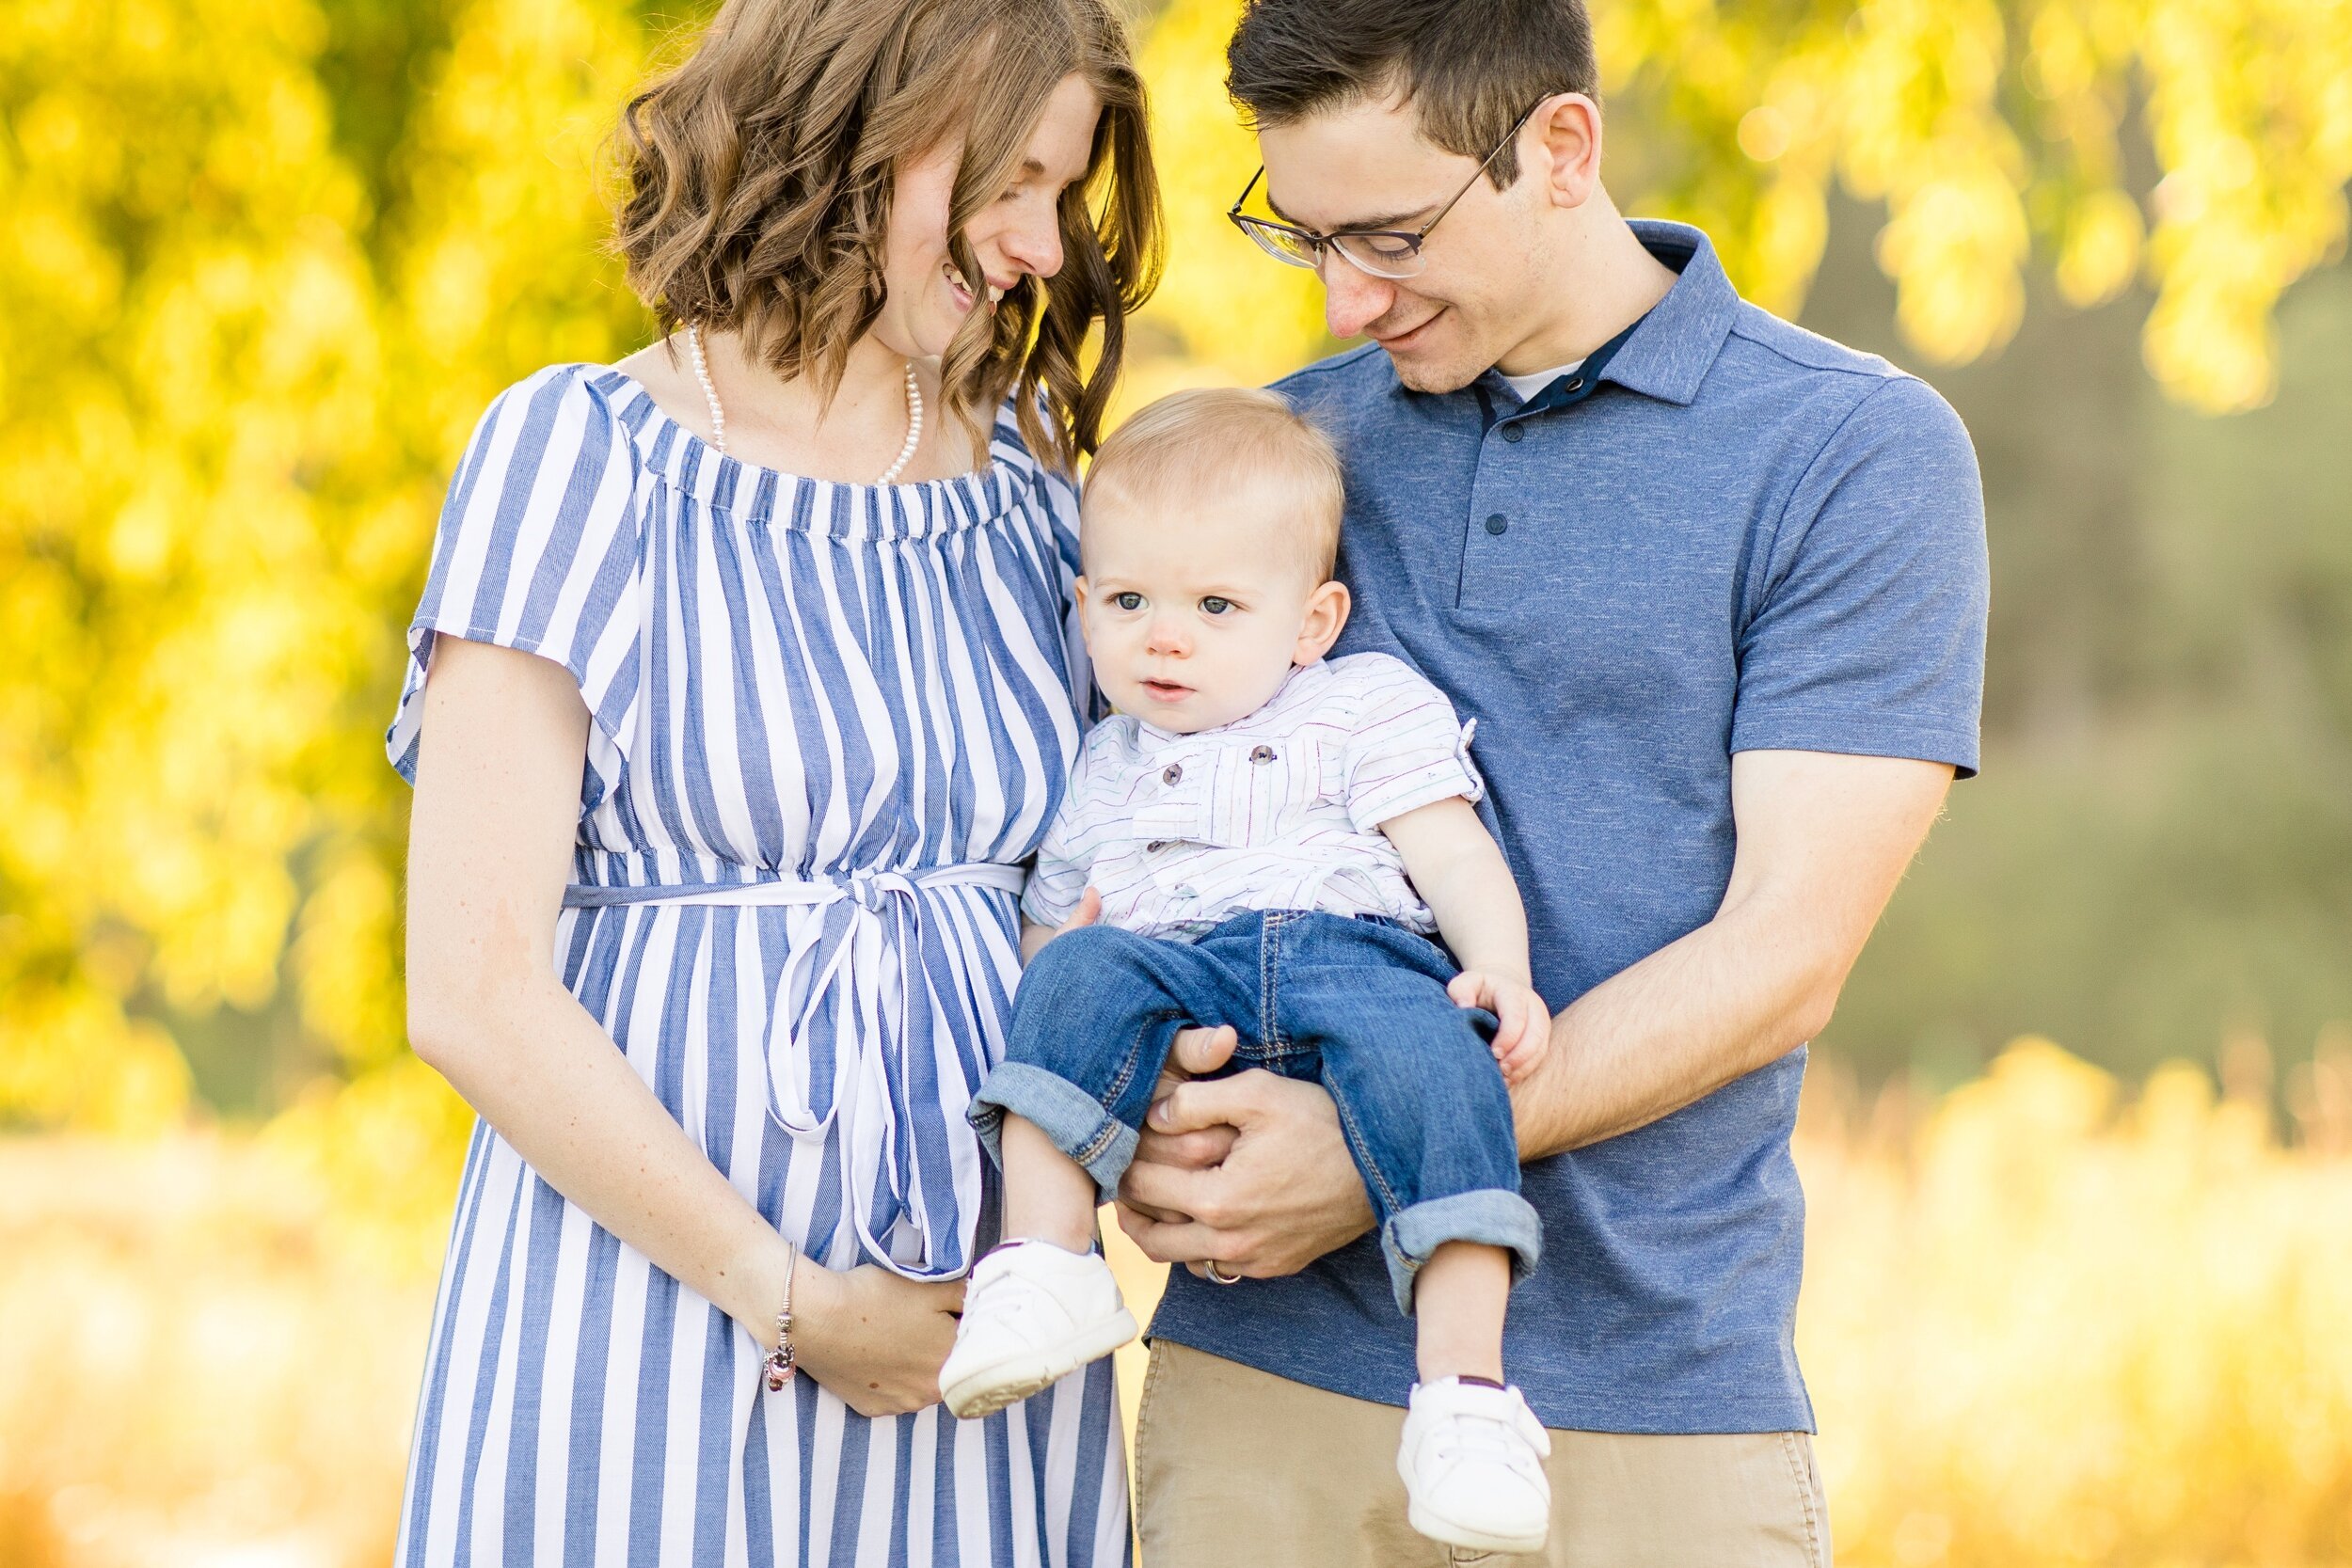
Introducing Spring 2022 Mini Sessions at Moraine State Park!

Comment

Introducing Spring 2022 Mini Sessions at Moraine State Park!

I’m excited to announce that I’ll be hosting a round of Spring mini sessions this year at a favorite park of mine, Moraine State Park!

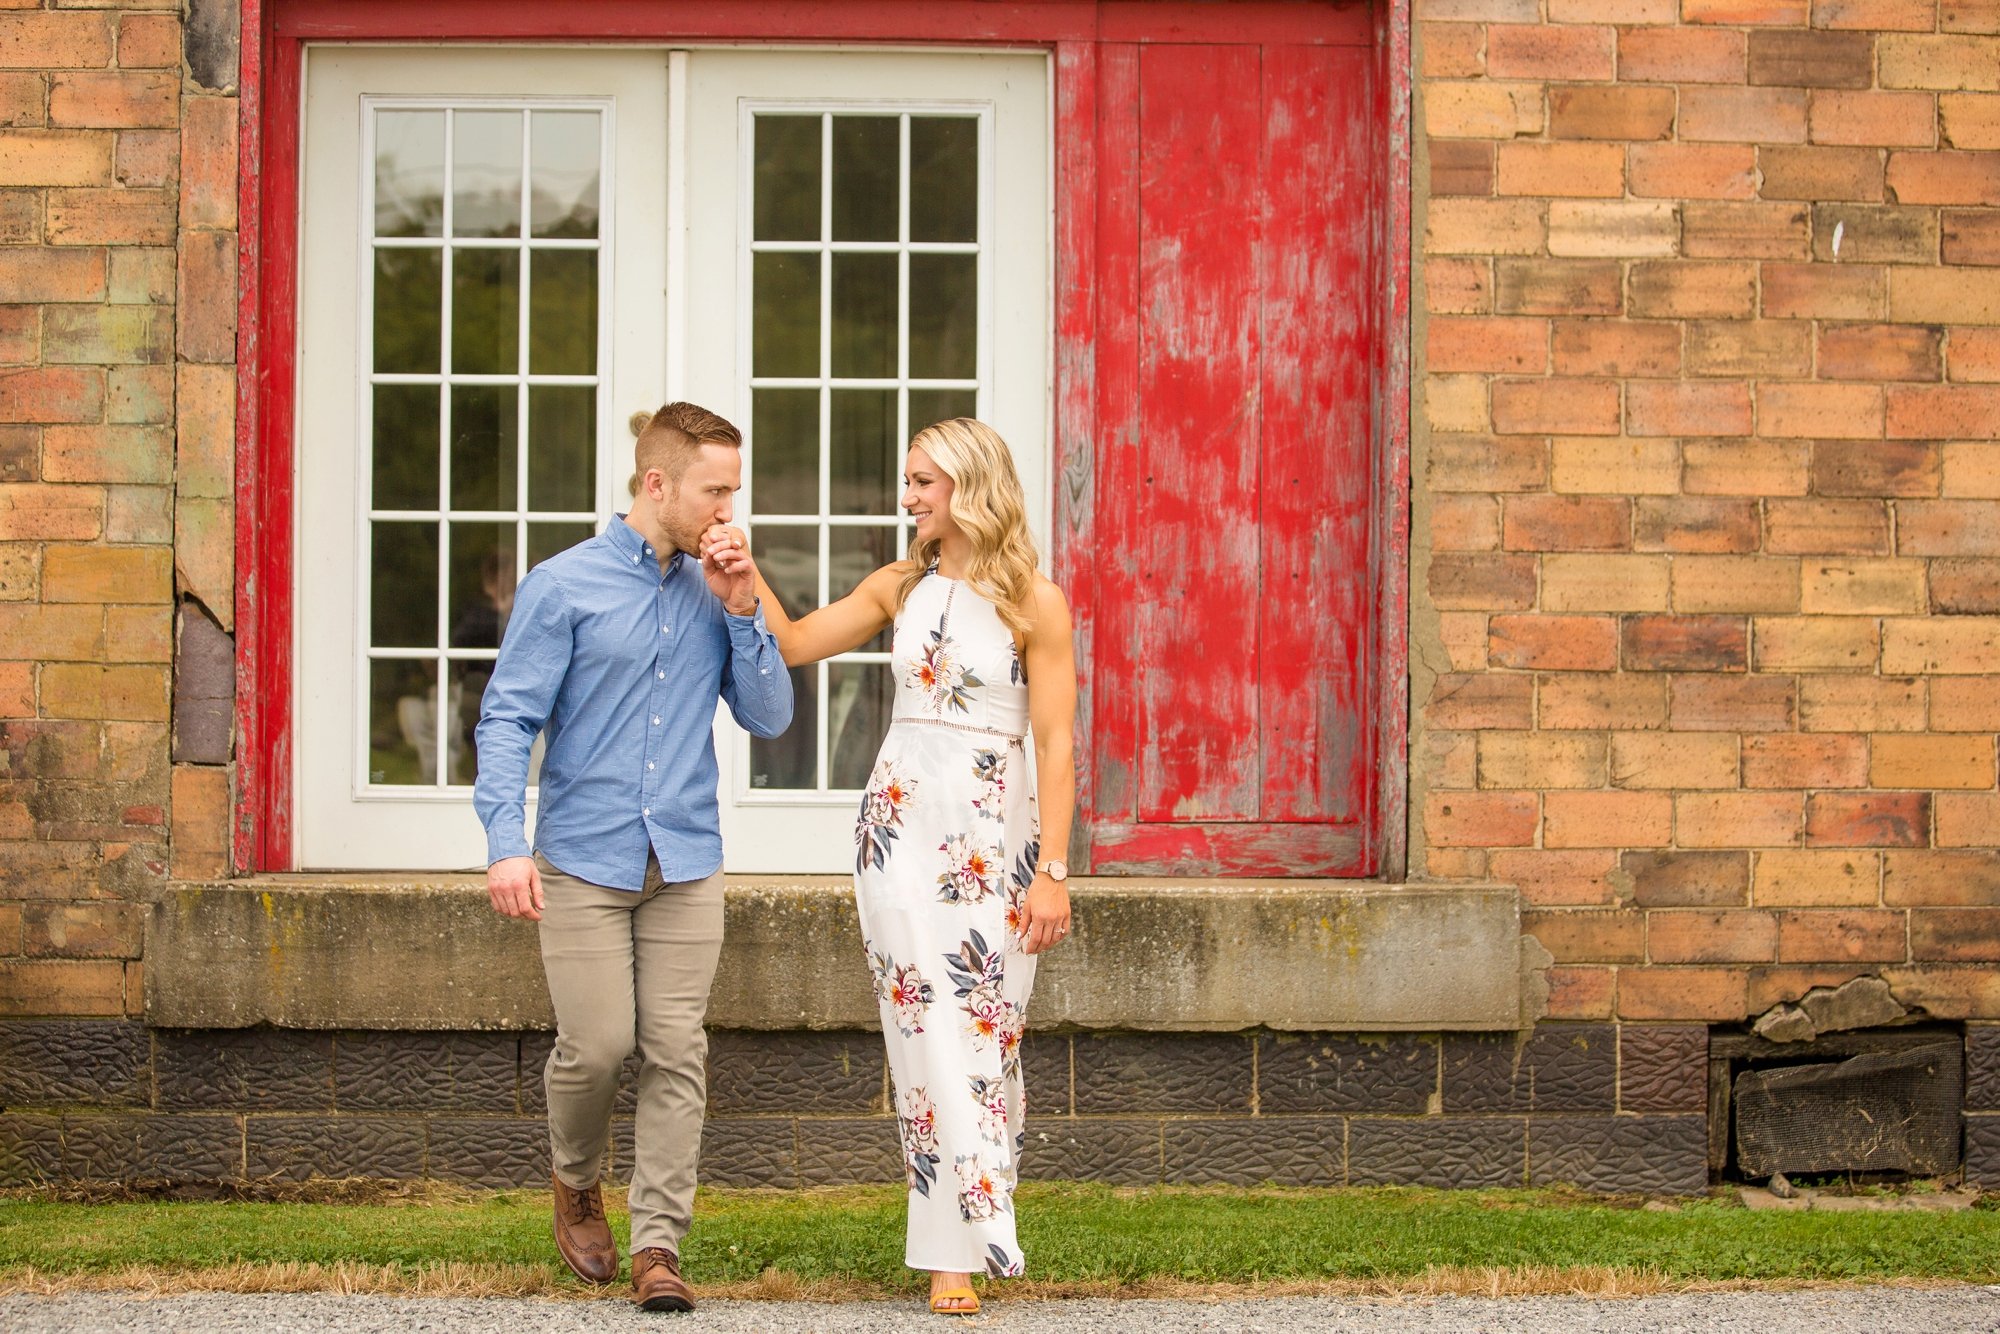
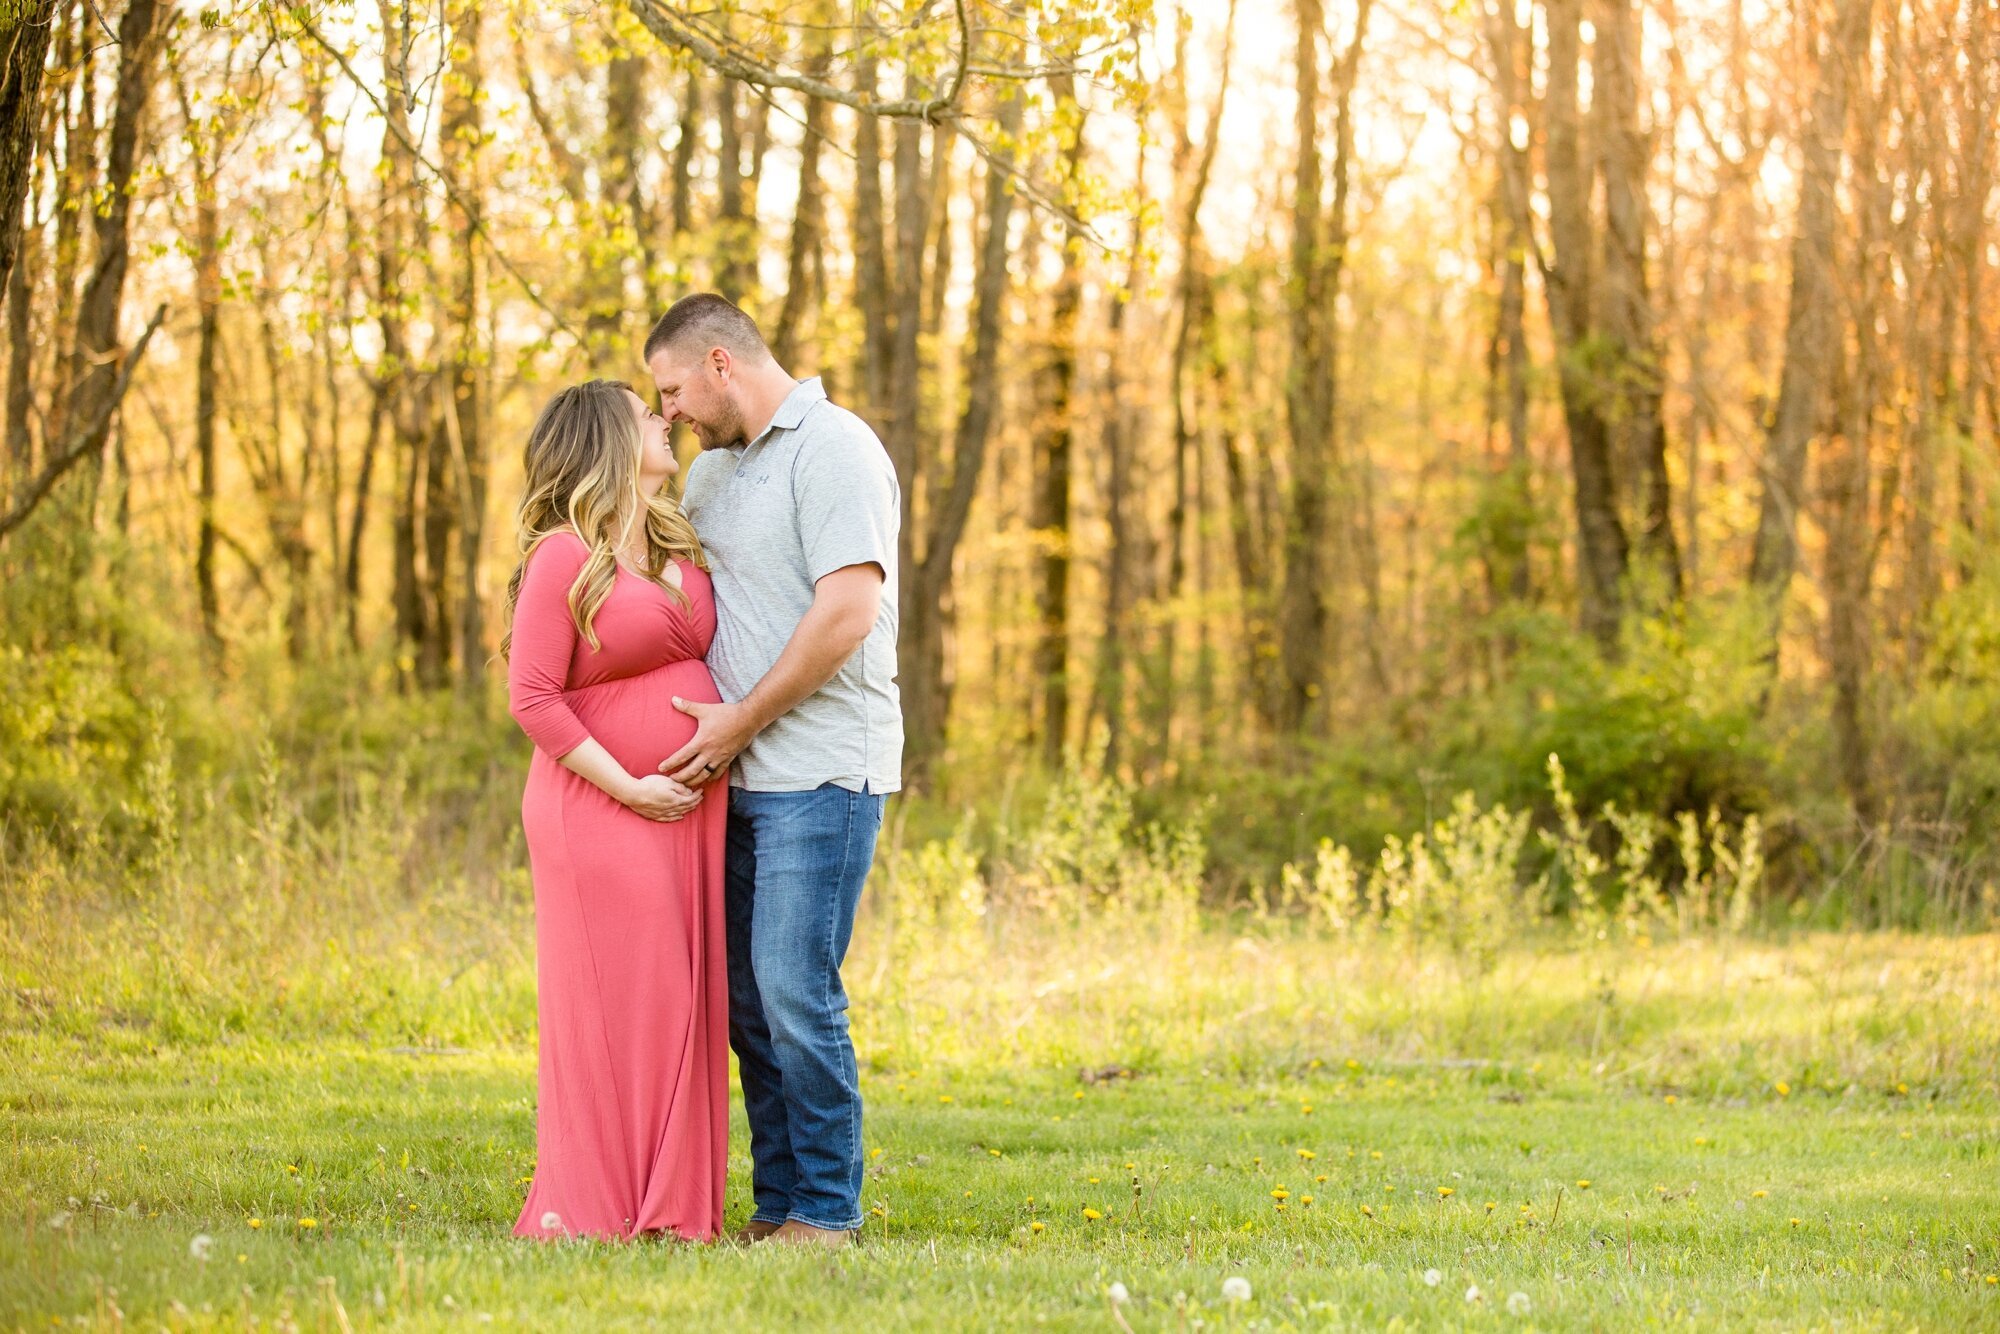
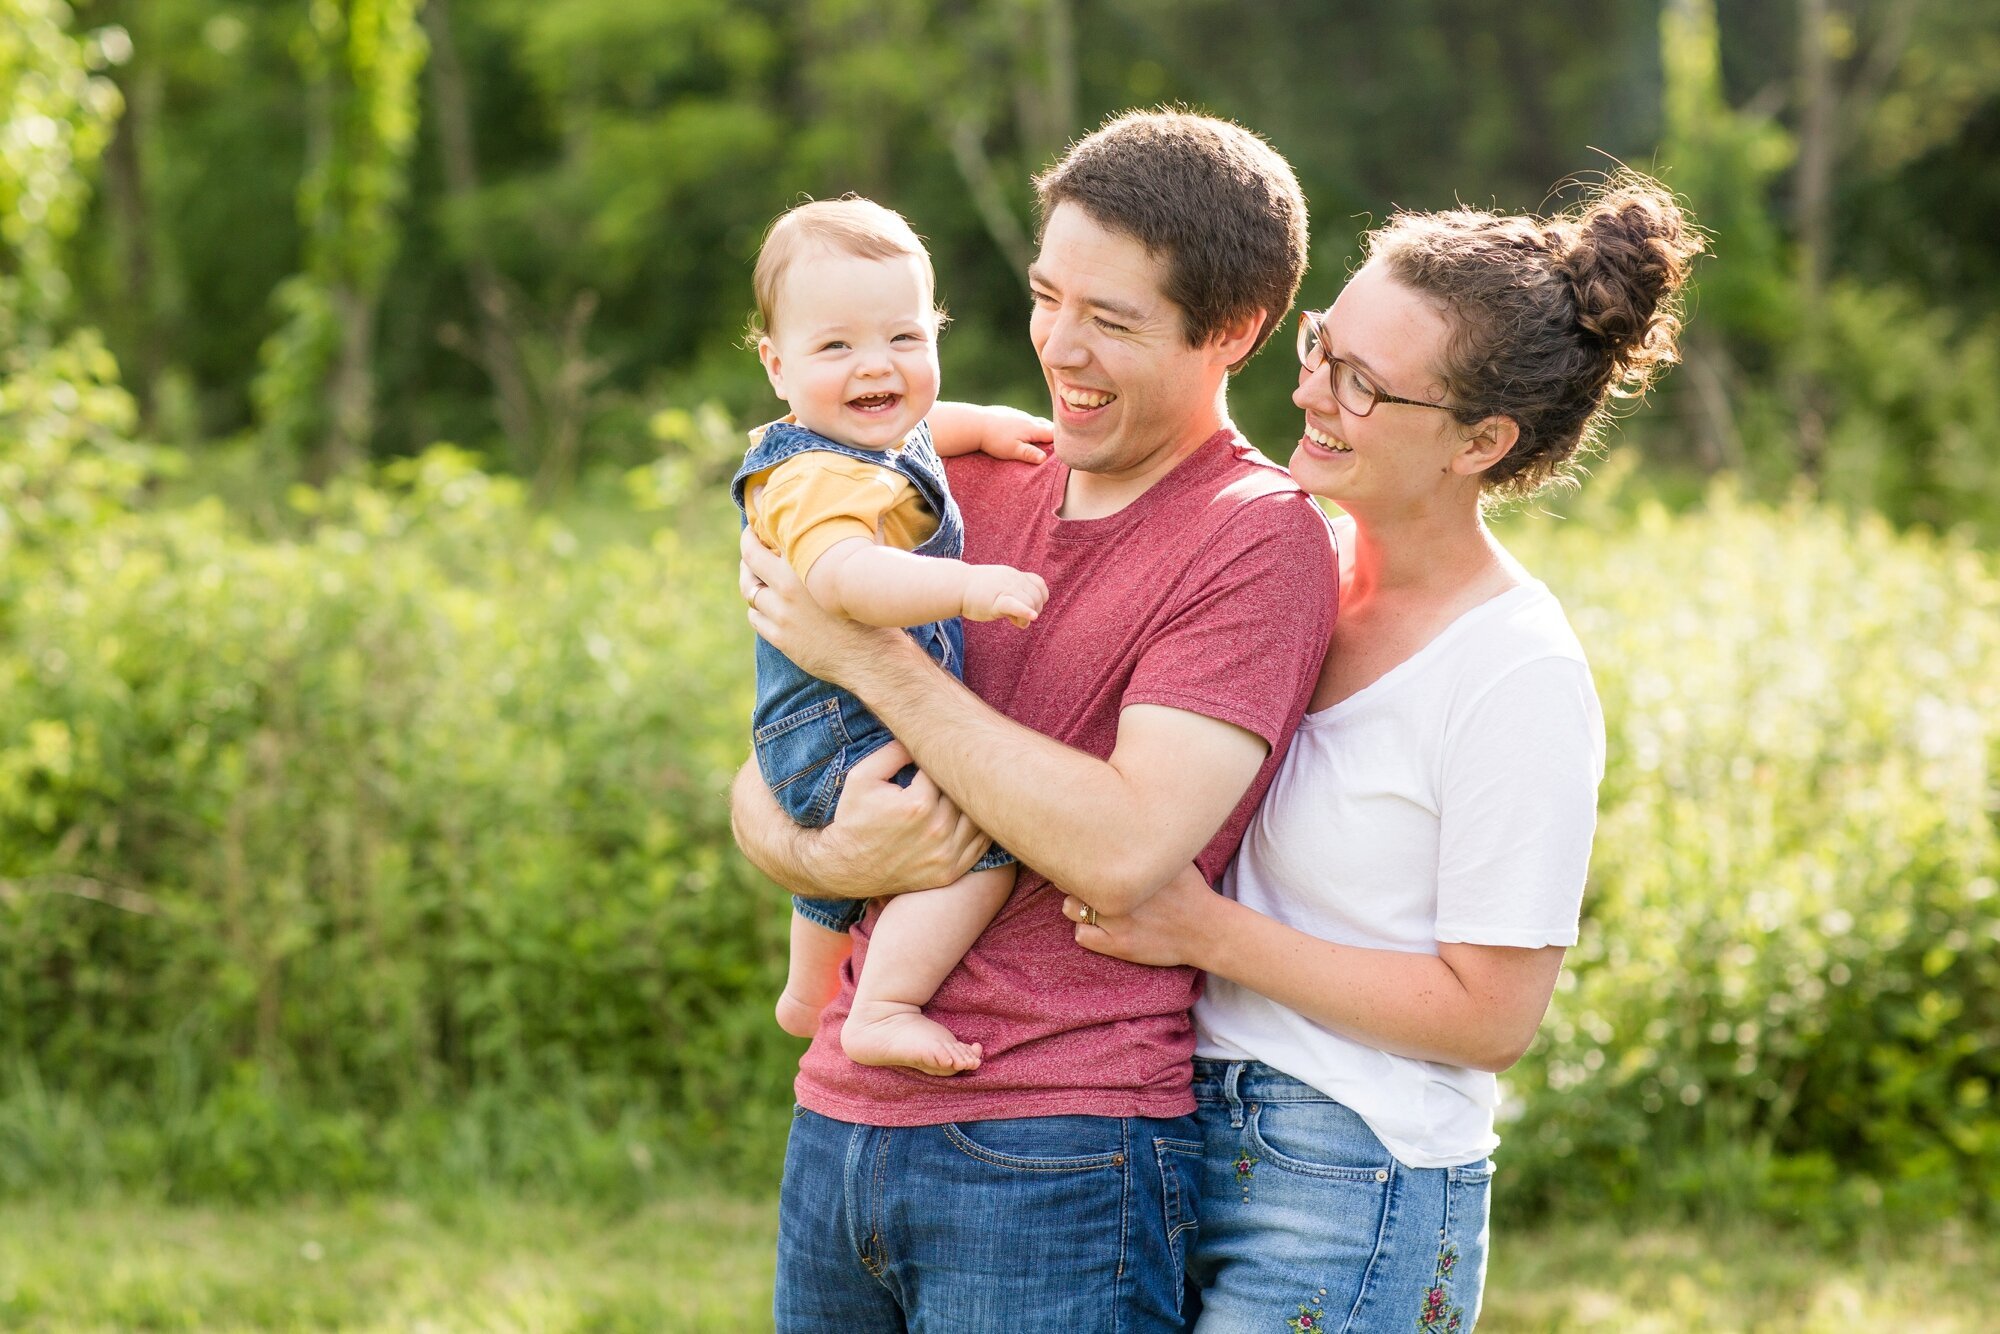
These sessions will be 15 minutes in length and will take place at the Pleasant View Picnic Area on the South Shore of Moraine. These mini sessions will include 10 digital files (that you will be able to choose from your online gallery!), and will be priced at $275, +6% sales tax. We’ll be using a natural, forest-y backdrop for the photos (see example photos below!)

If you are interested in booking or in checking out what timeslots are still available, click here!

If you are someone who might be interested in a JHP mini session in the future, I’d love to encourage you to sign up for my email list! People on my email list are the first to know about upcoming mini sessions, and when my full session time slots are released, seasonally. Plus, I only send a few emails per year (I promise! 👏). Click here to join the mailing list!

Comment