SUMMER PHOTOSHOOT OUTFIT IDEAS: THE DO'S AND DON'TS

Comment

SUMMER PHOTOSHOOT OUTFIT IDEAS: THE DO'S AND DON'TS

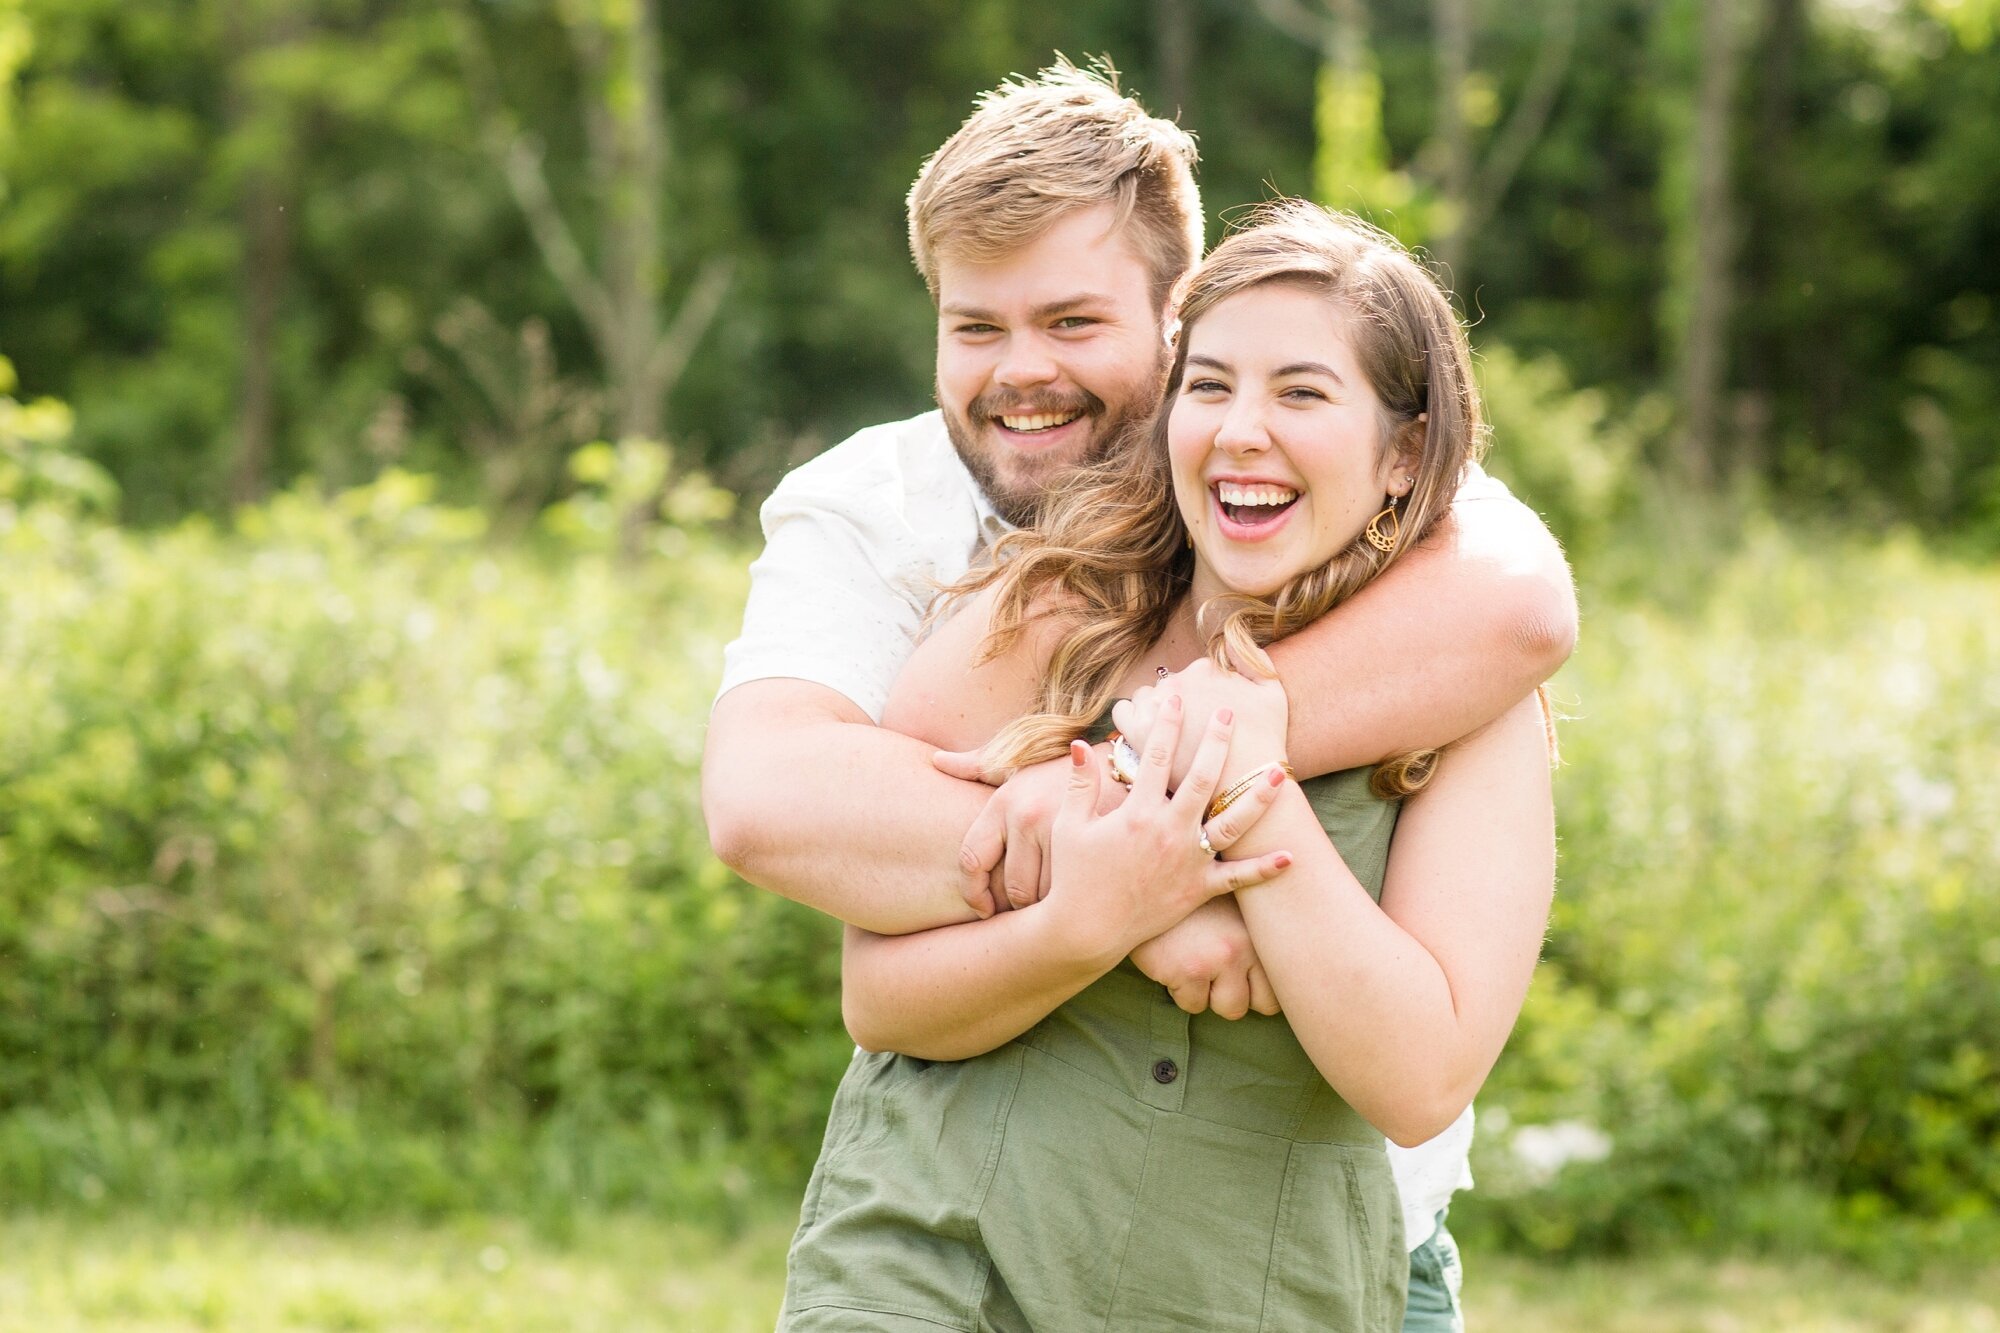
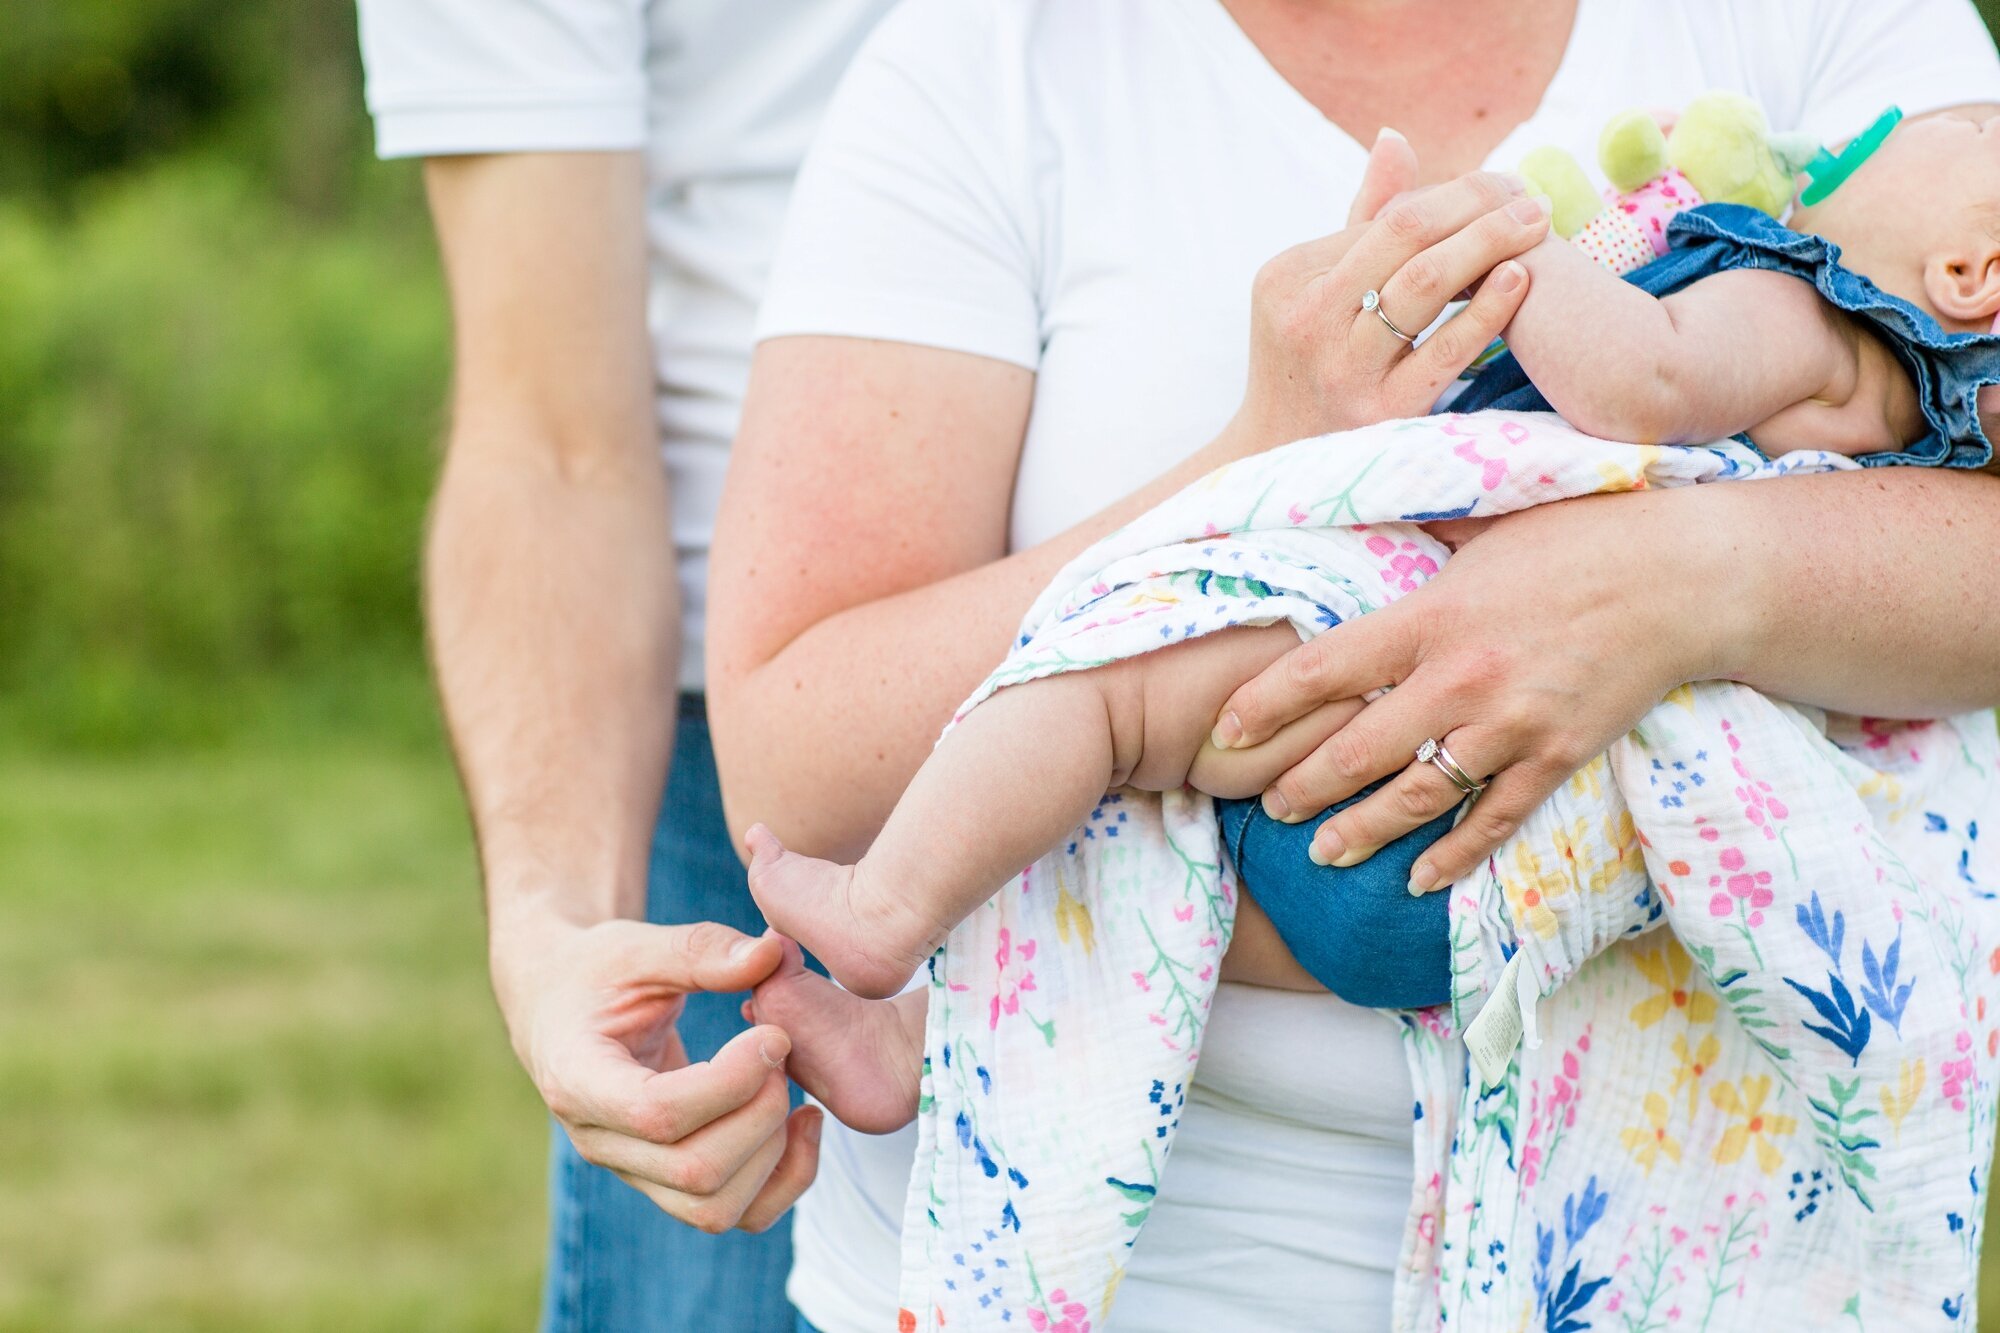
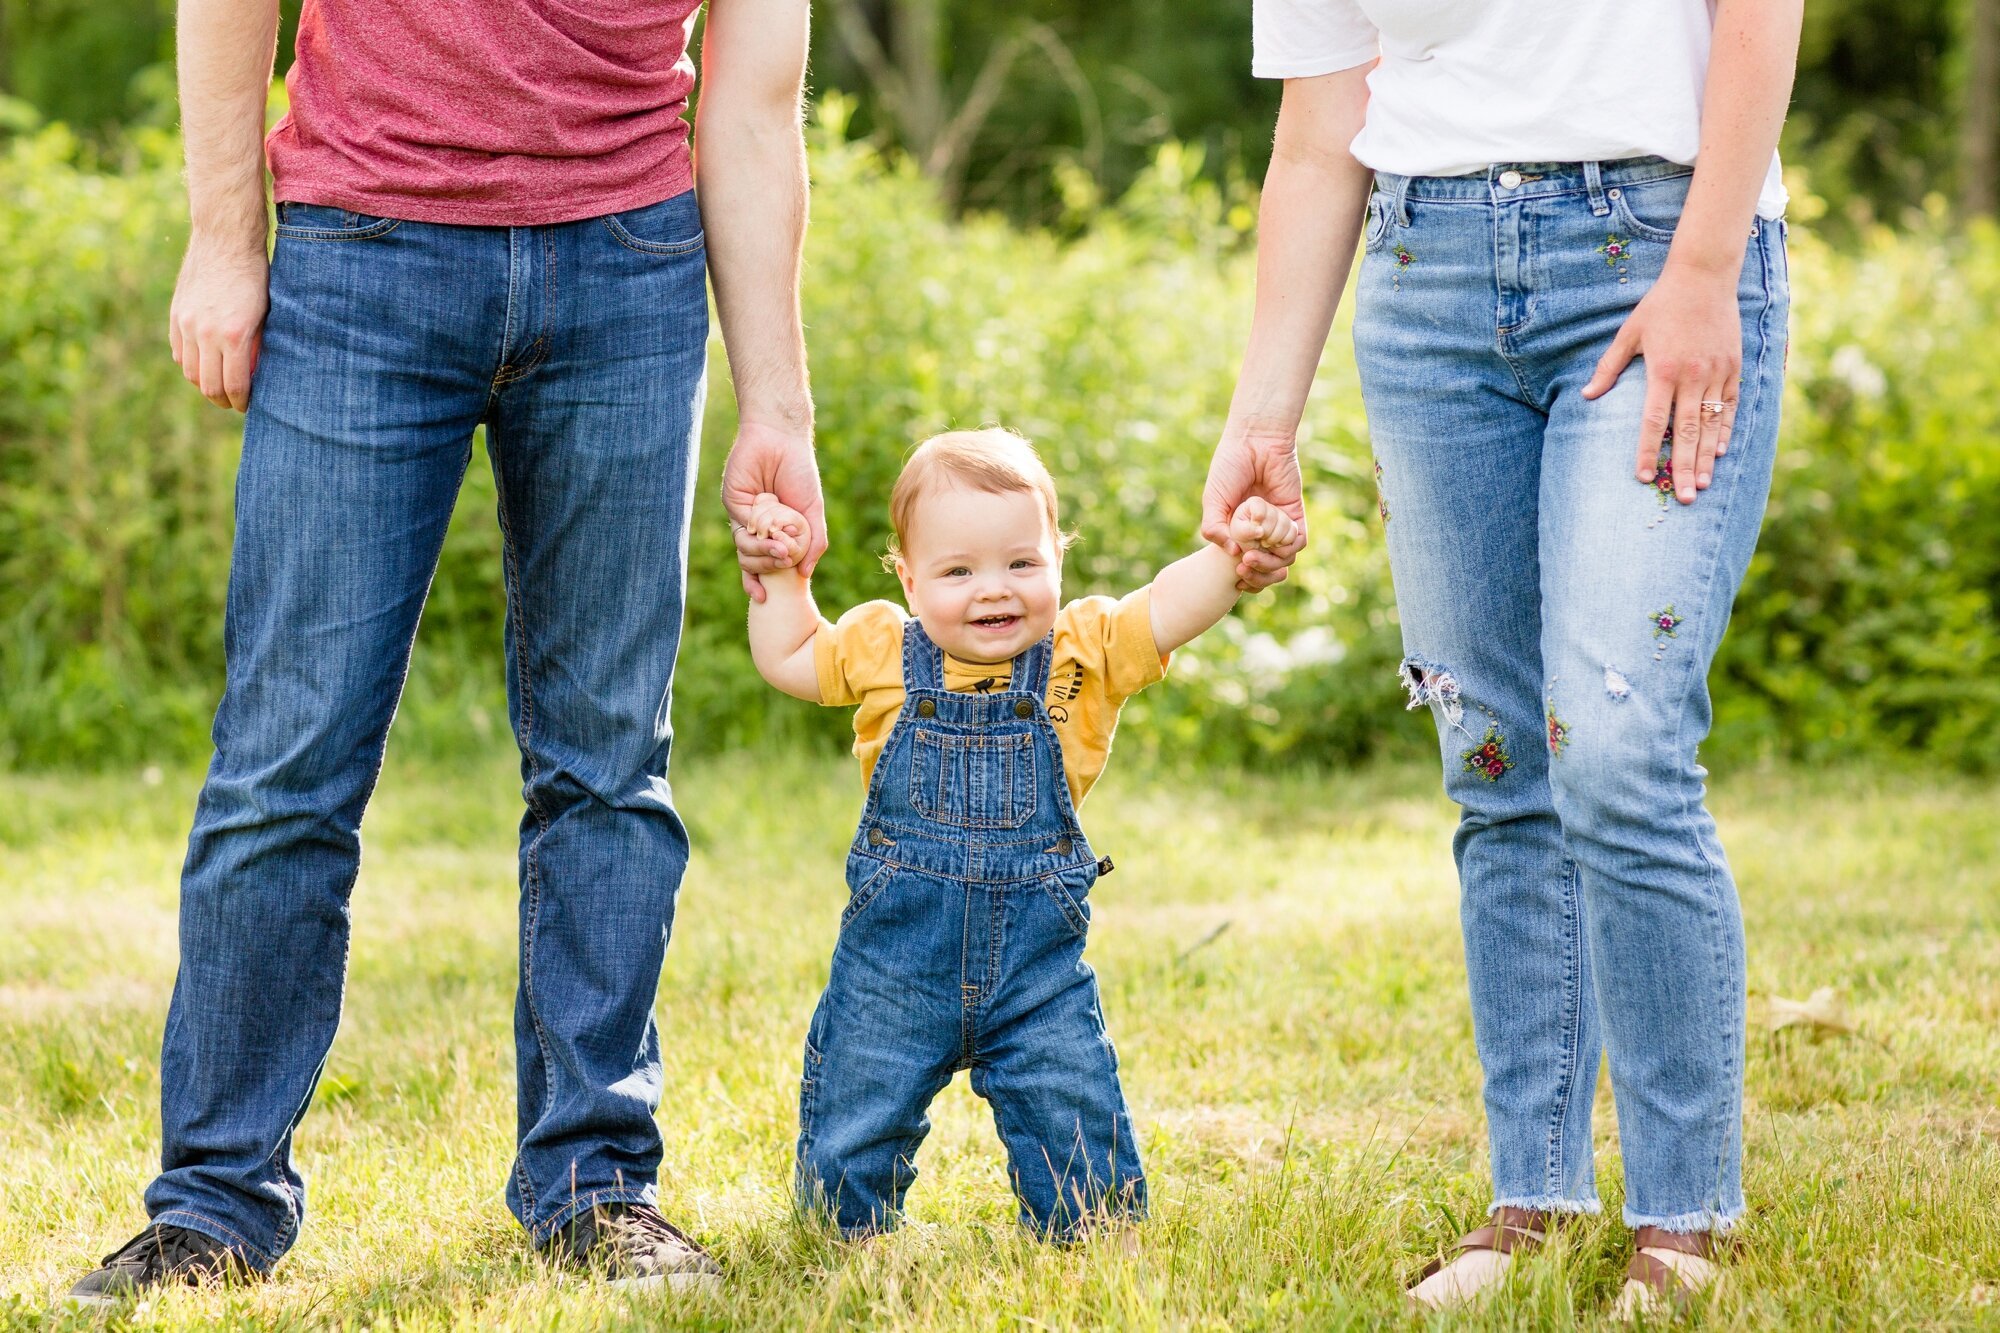
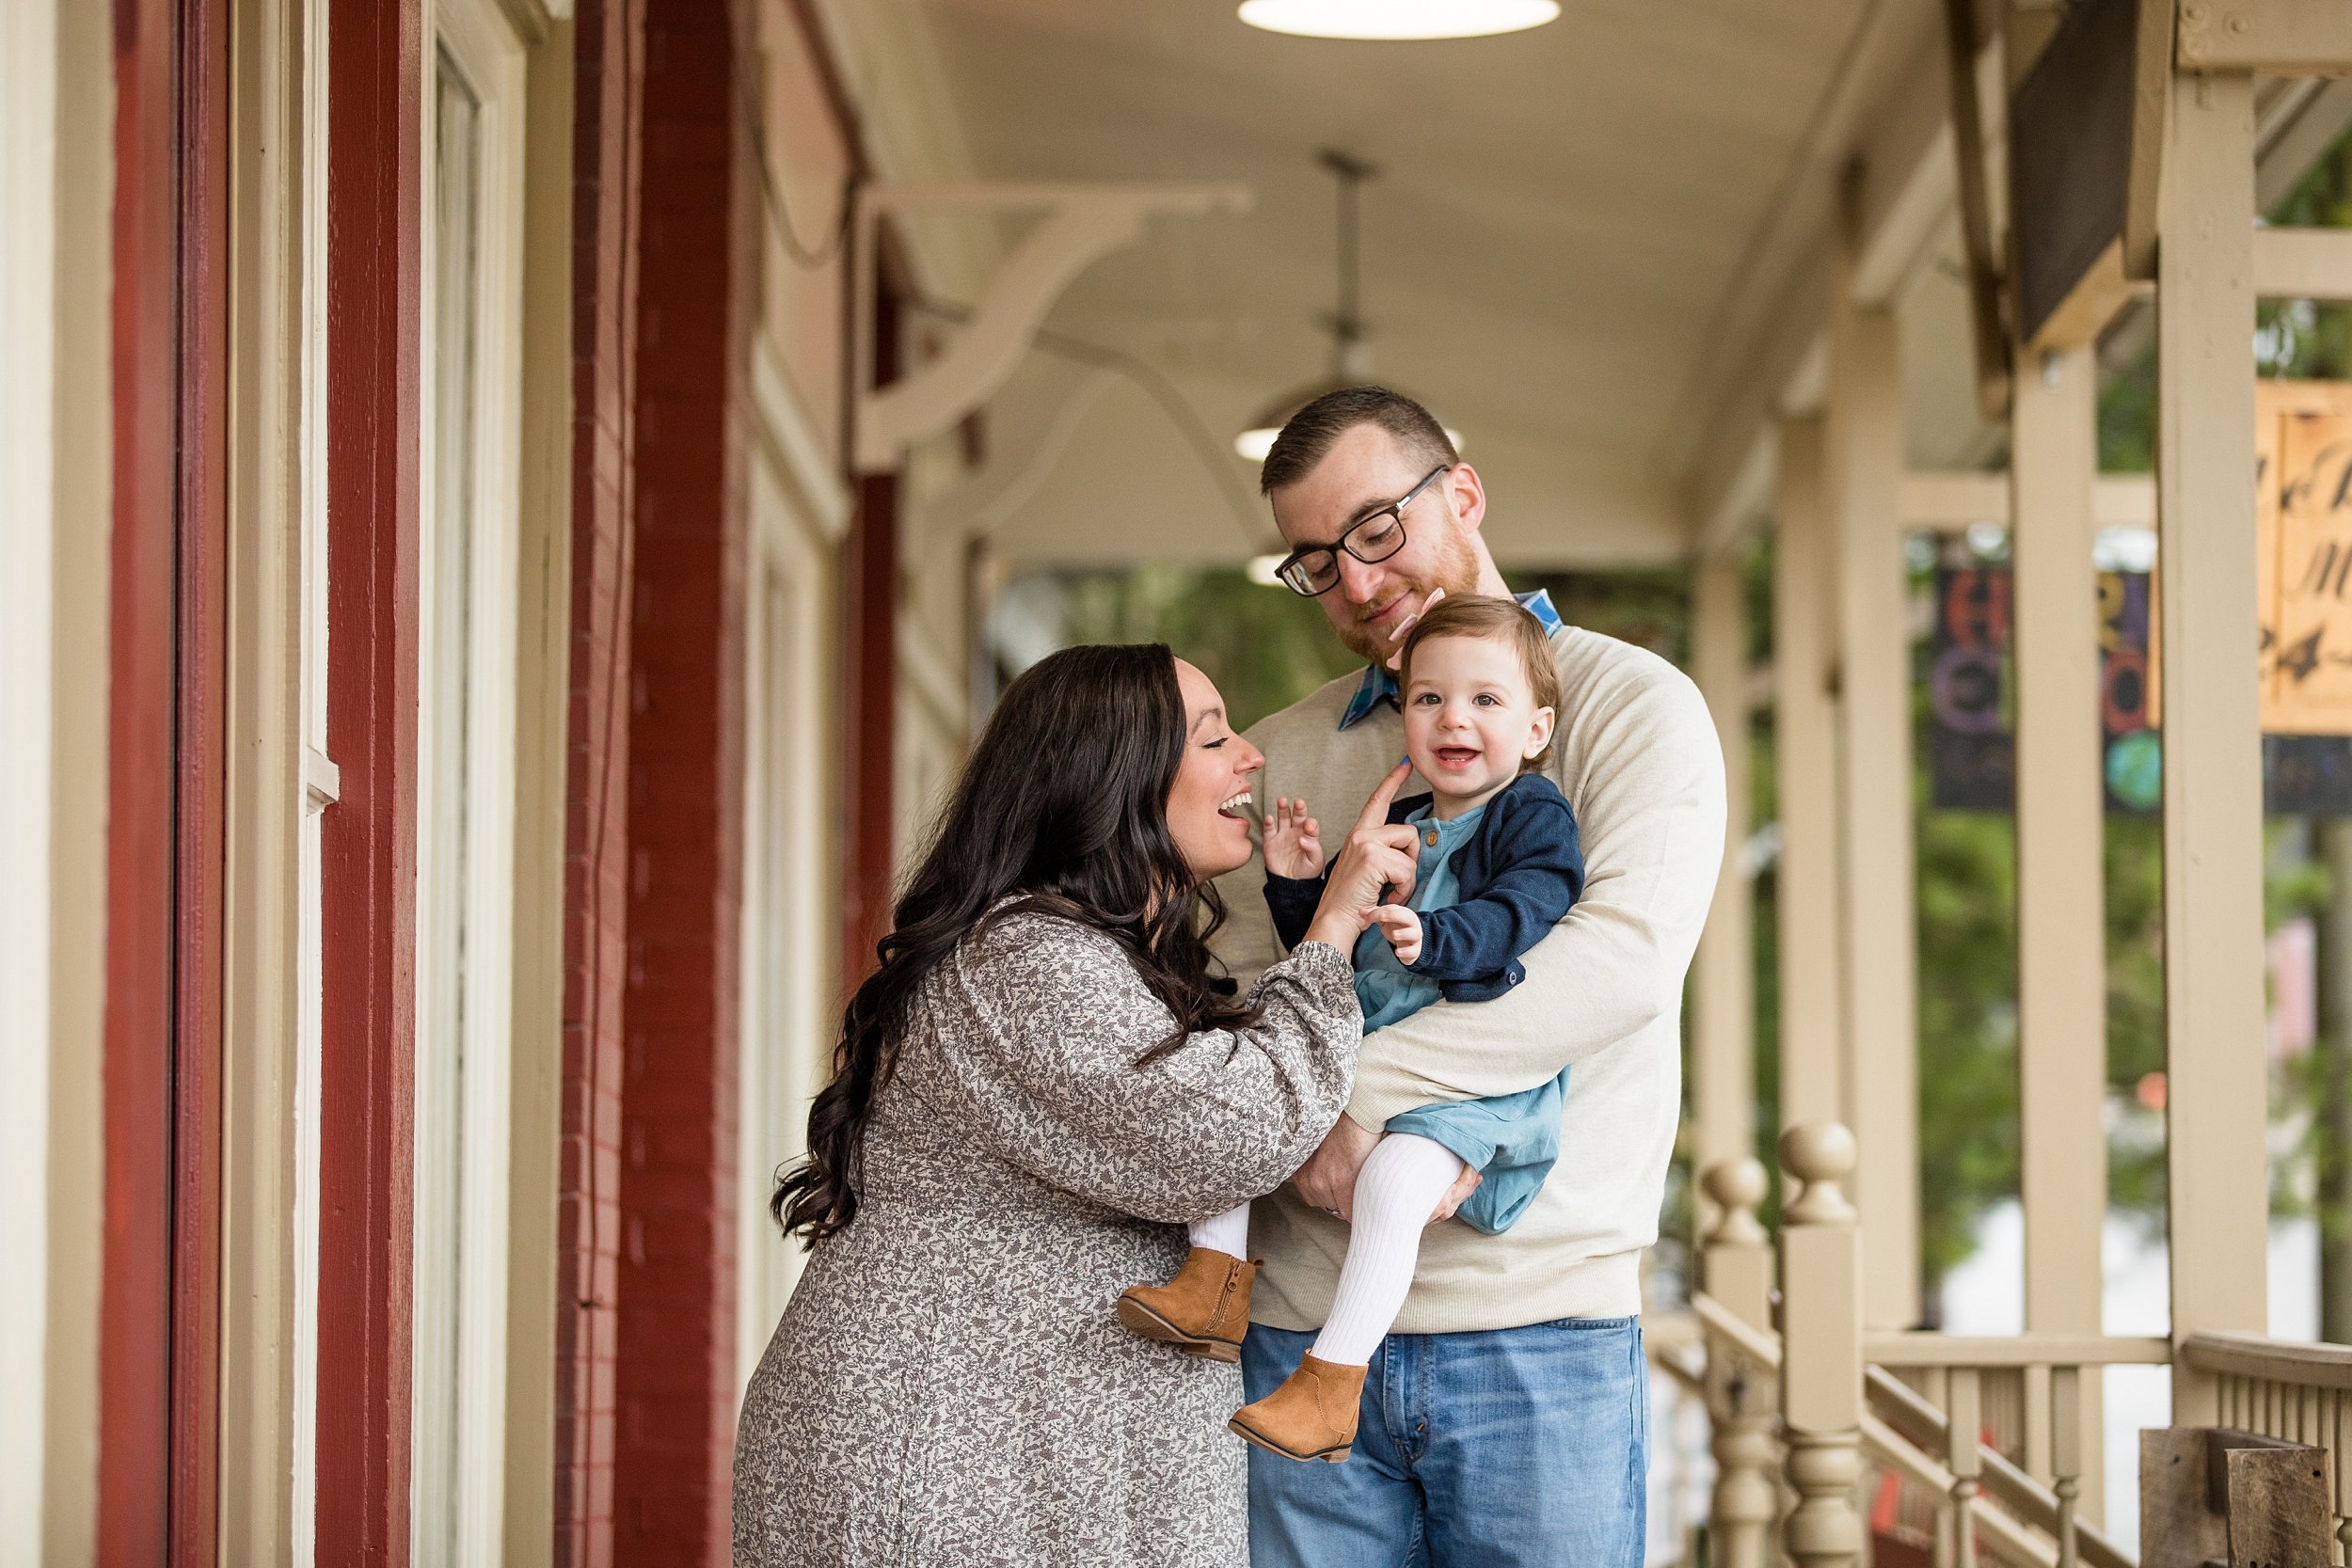
When considering an outdoor photo session in the summer months, you may come across a bit of a conundrum - it’s likely to be hot & humid, and you want to make sure you look presentable for the one to two hours that you’ll be standing outside!

Enter the answer: this blog post! I’ve compiled a list of the most pertinent “do’s” and “don’ts” pertaining to outfit choice for photo sessions that take place in summer weather.

SAY YES TO…

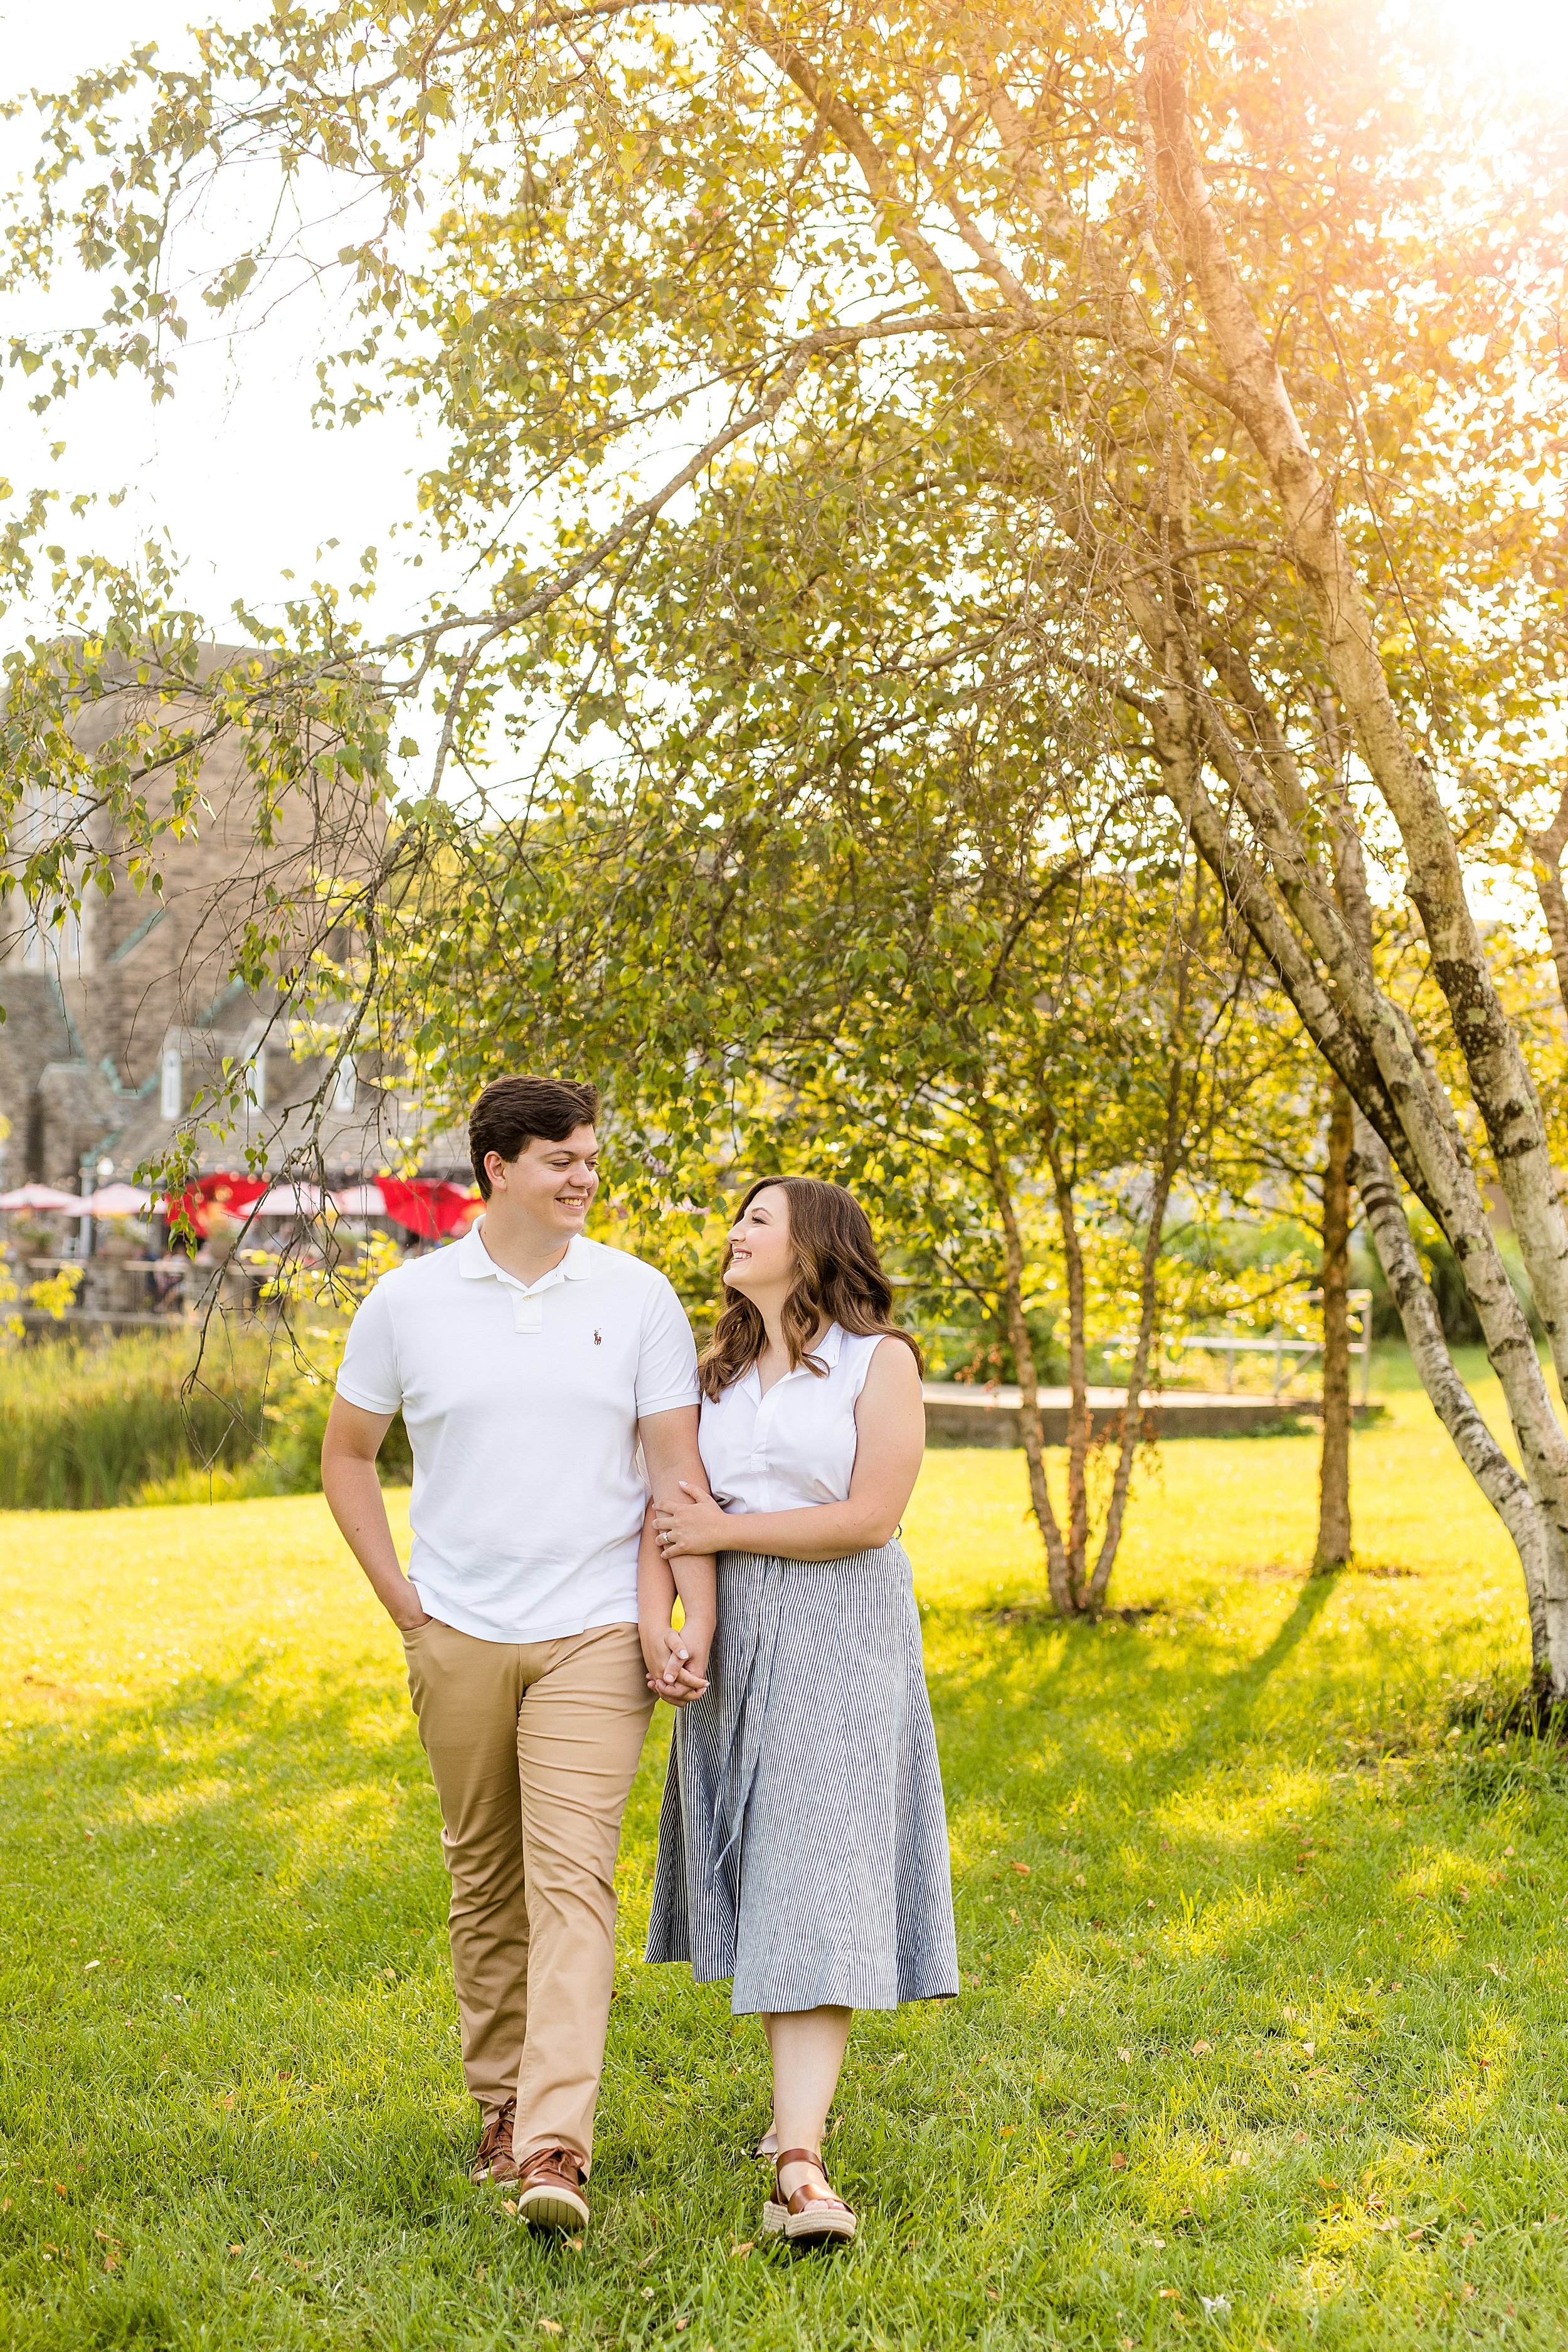
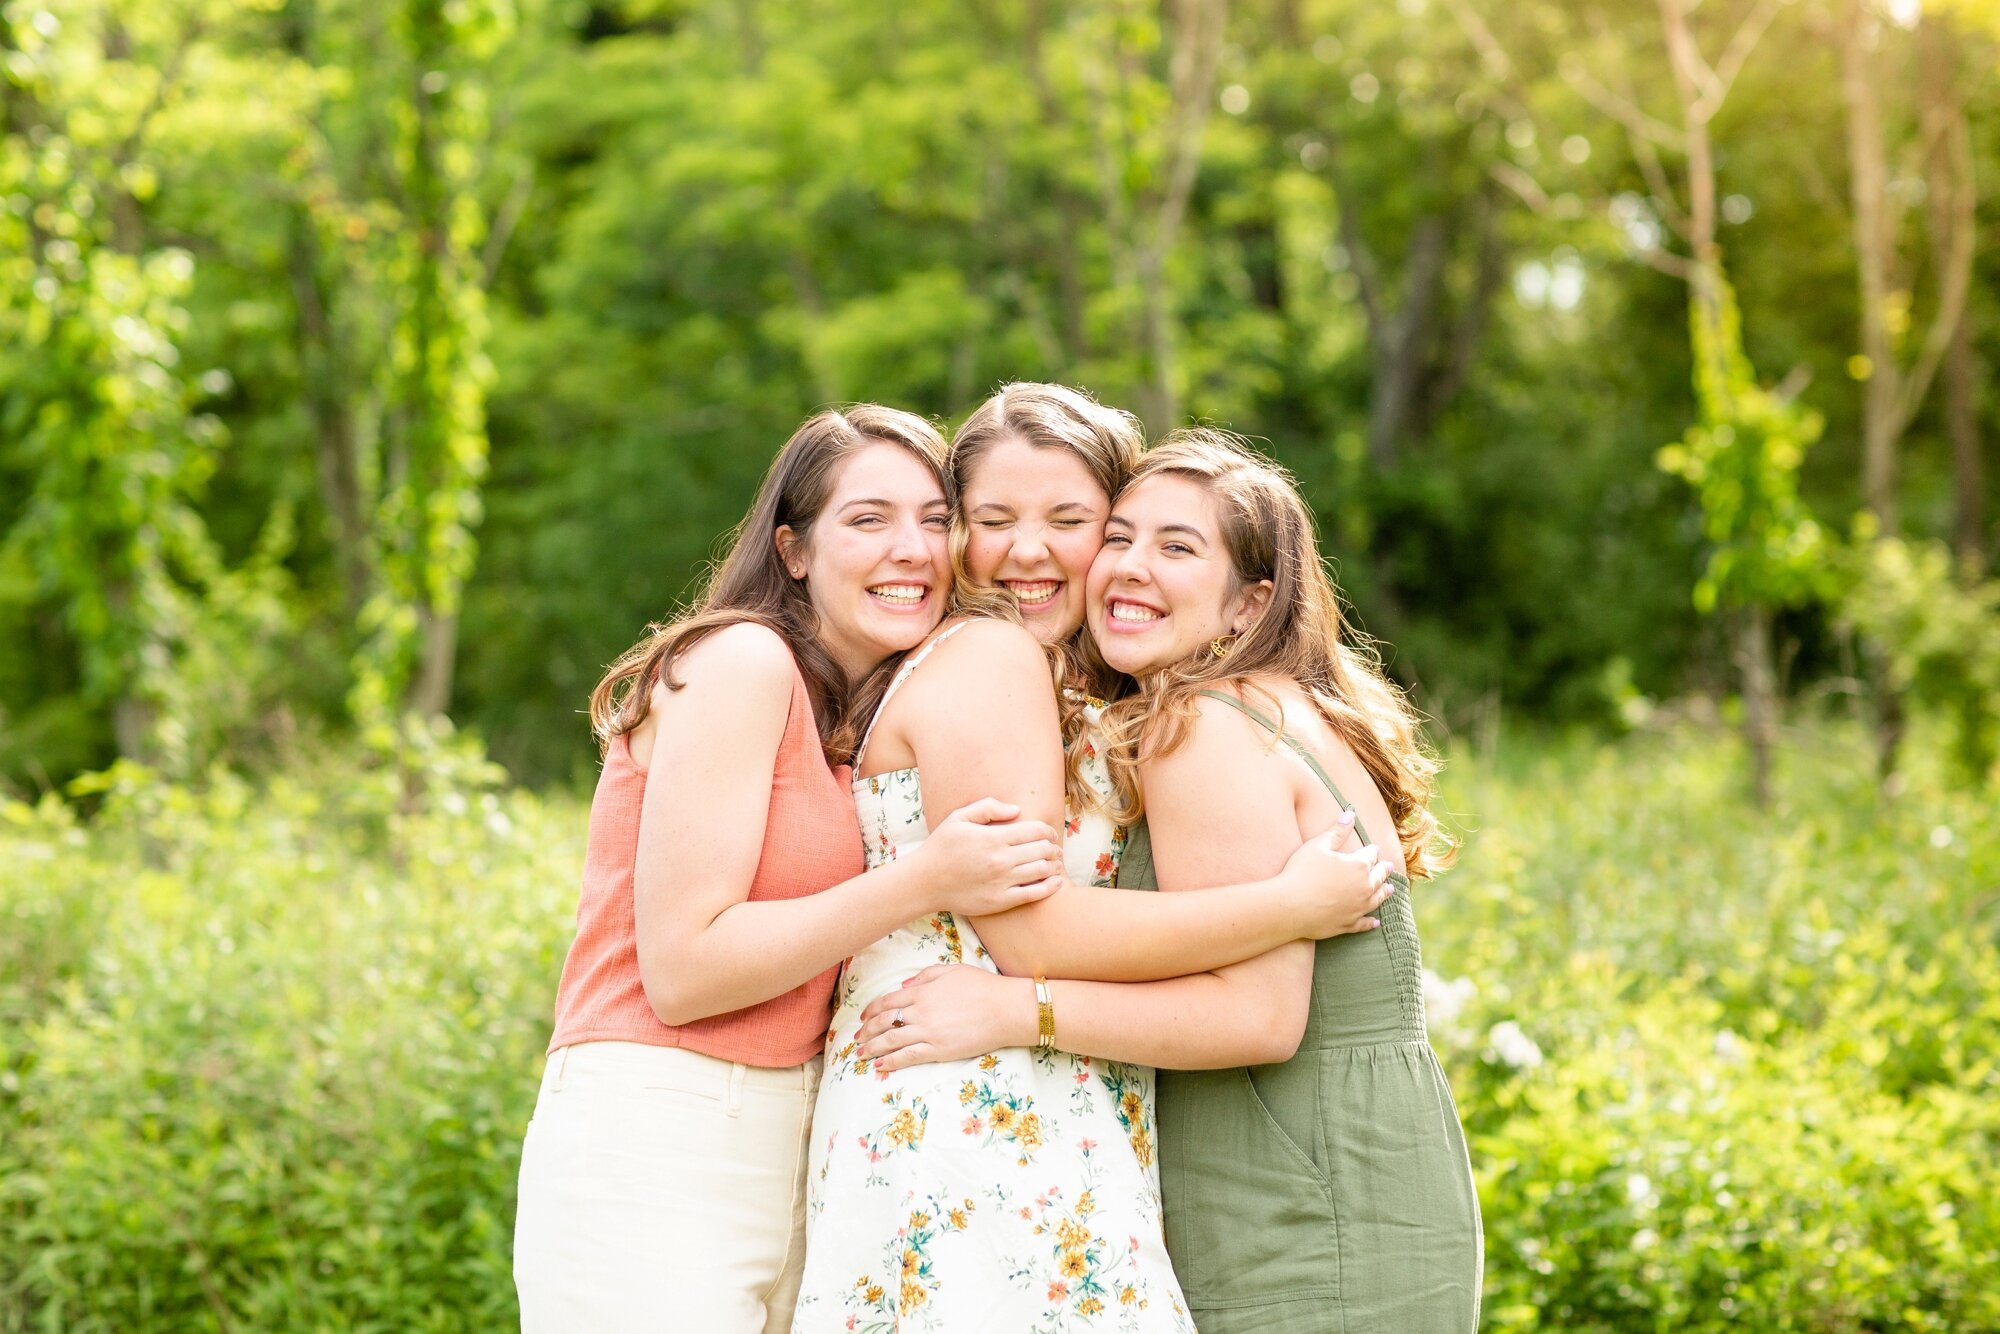
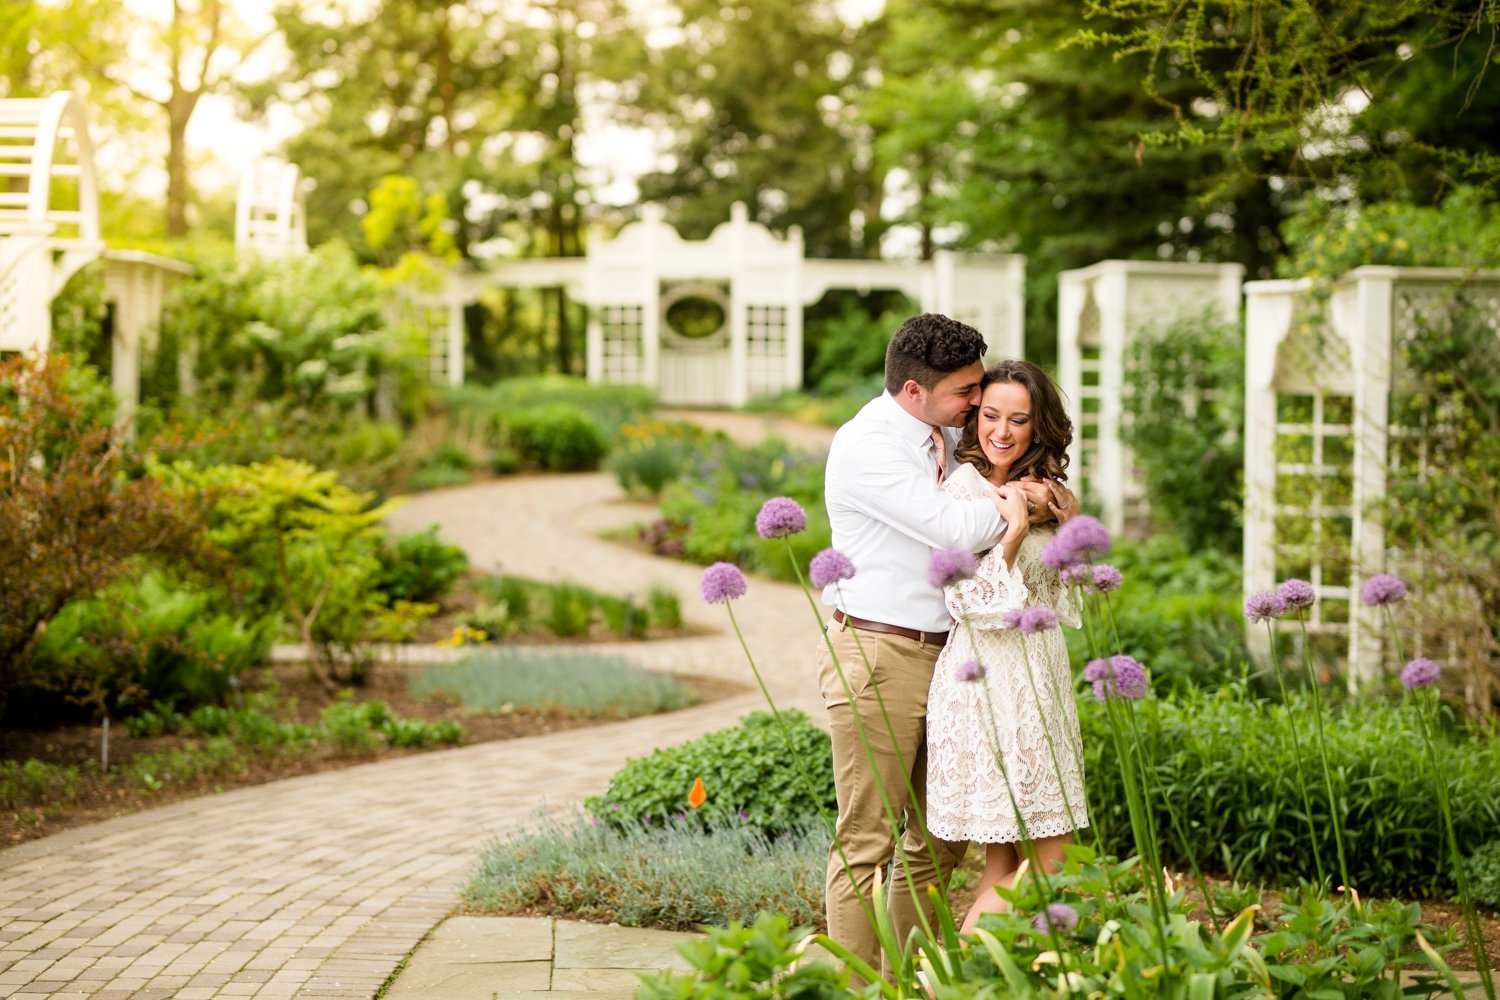
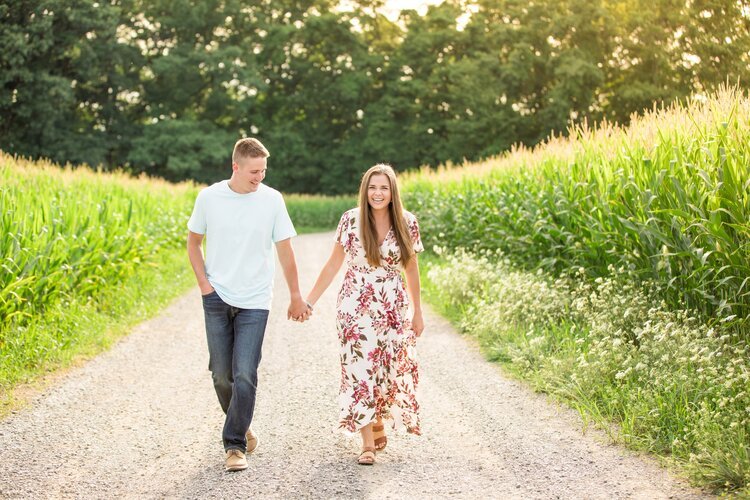
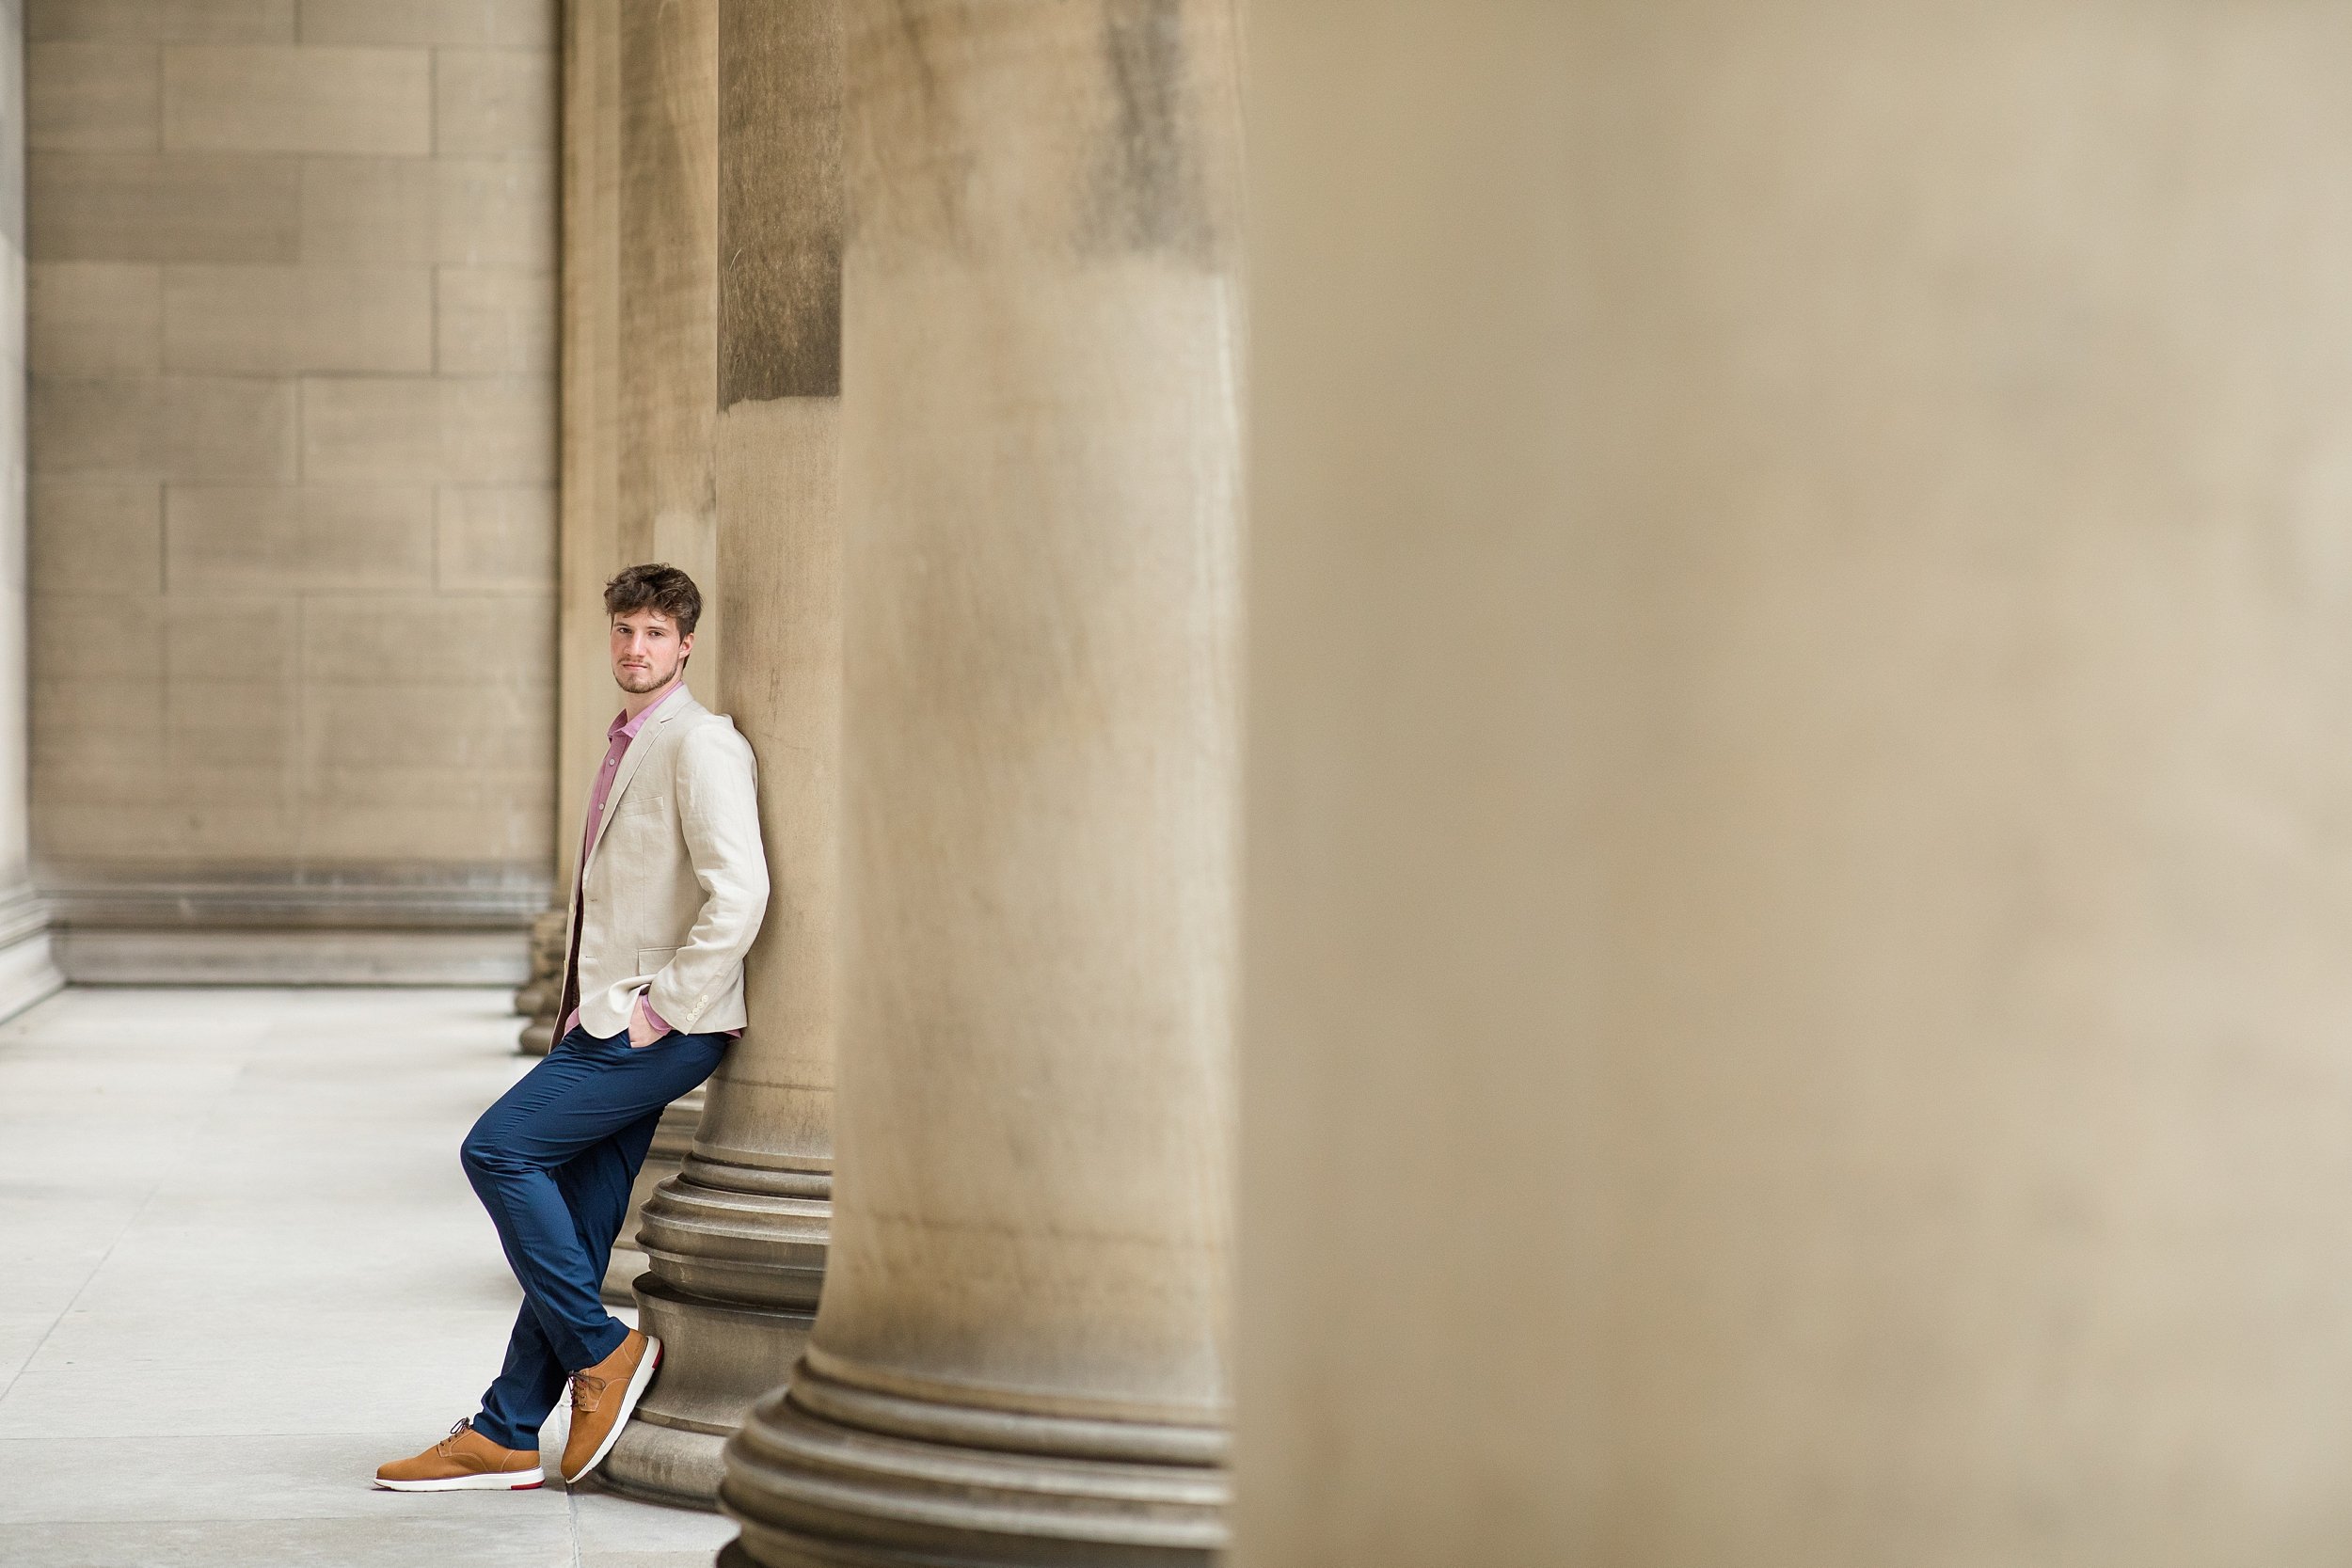
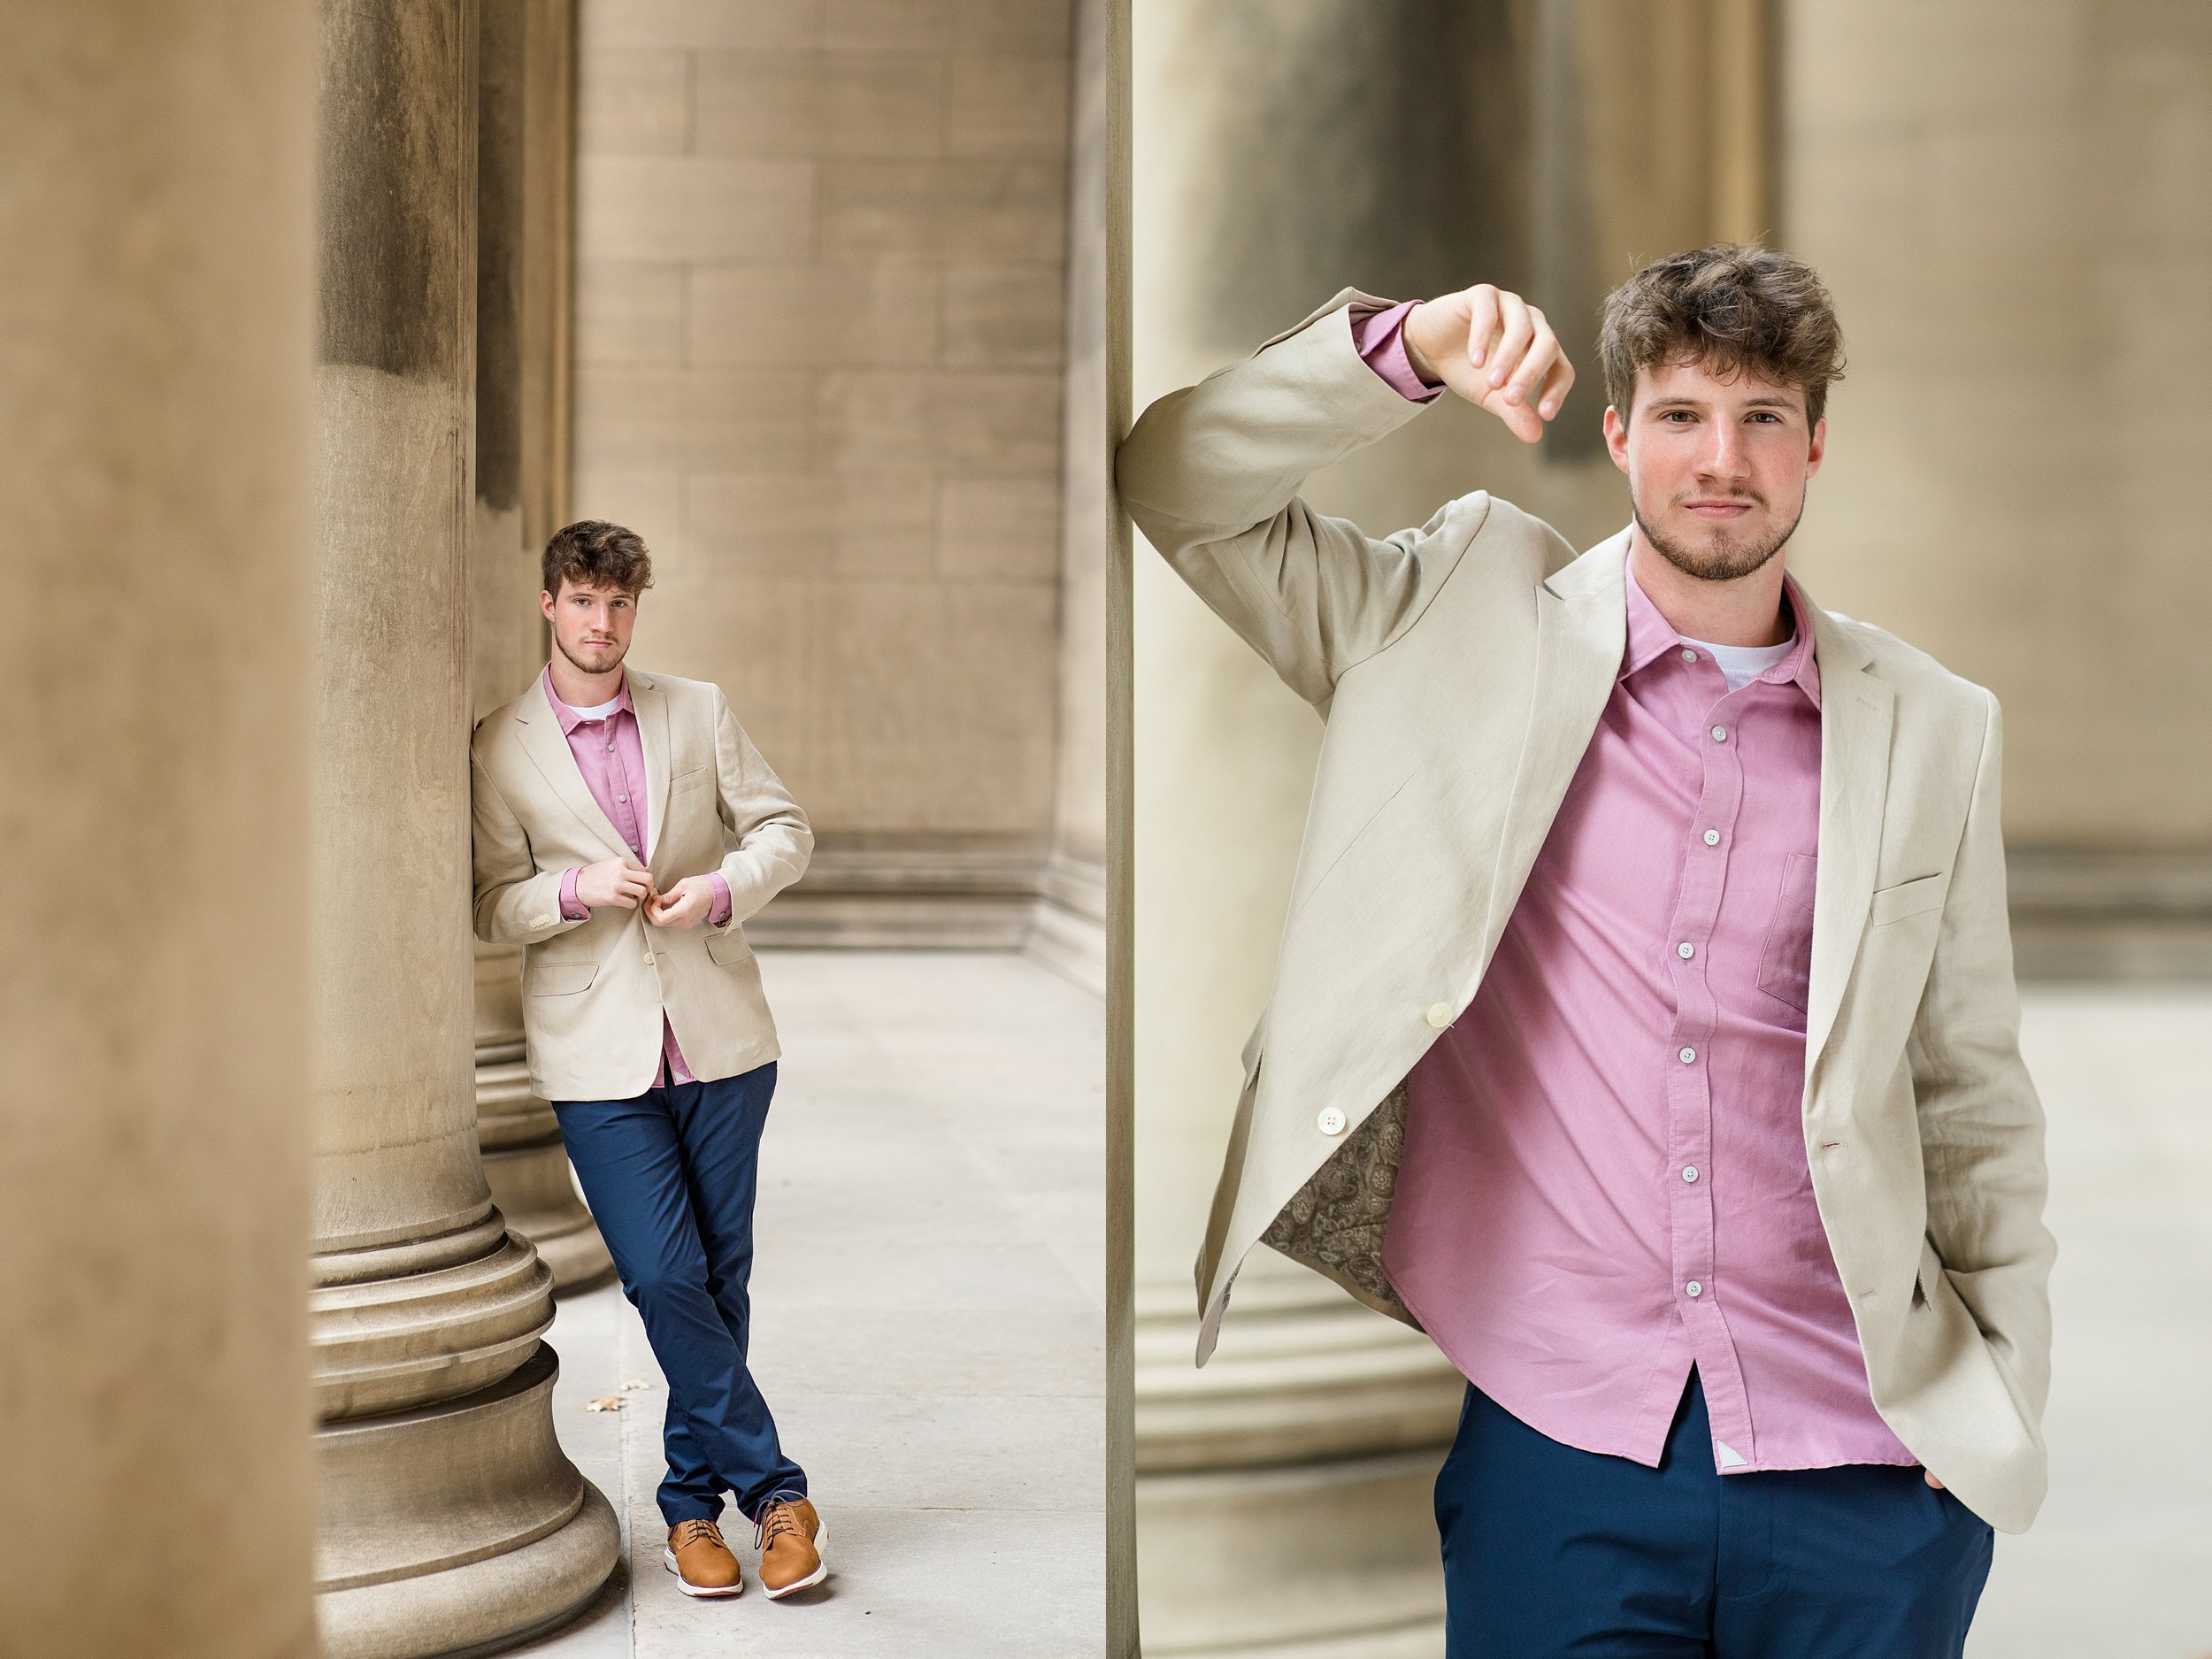
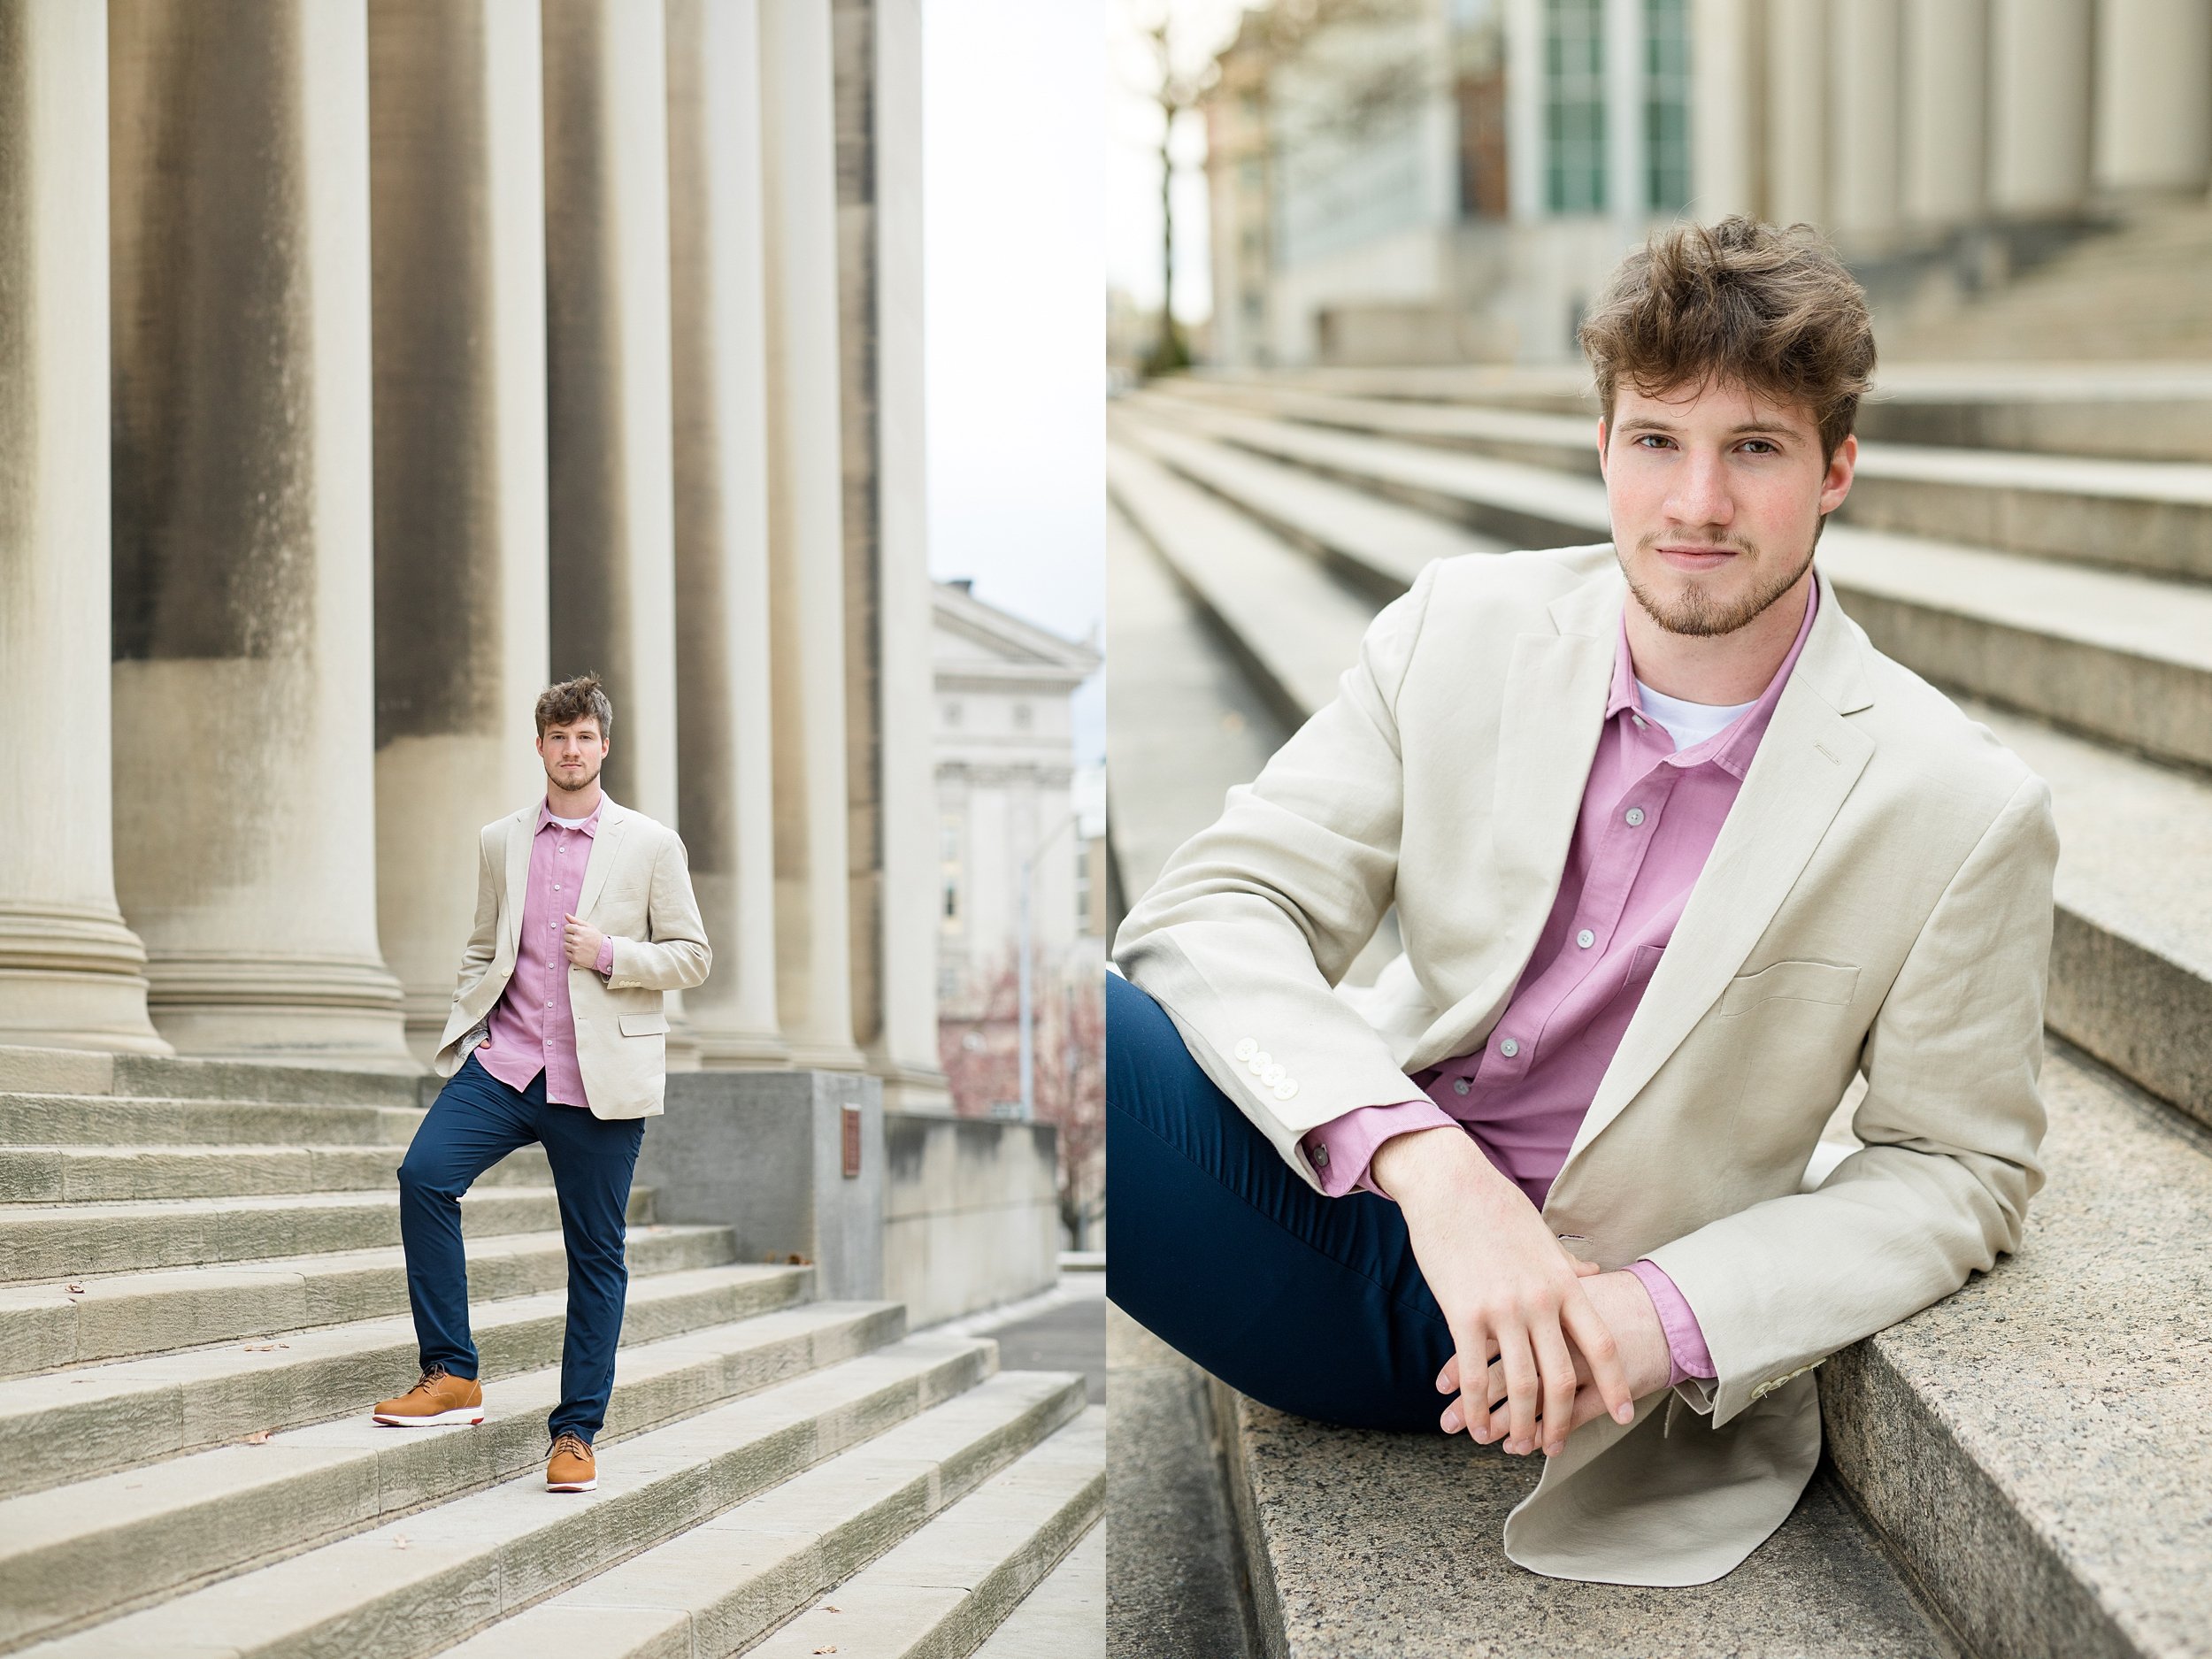
  • Light, breathable fabrics - the type of fabric you choose for your photo outfits is so important in the summer time! You want to make sure you choose fabrics that are breathable and light.

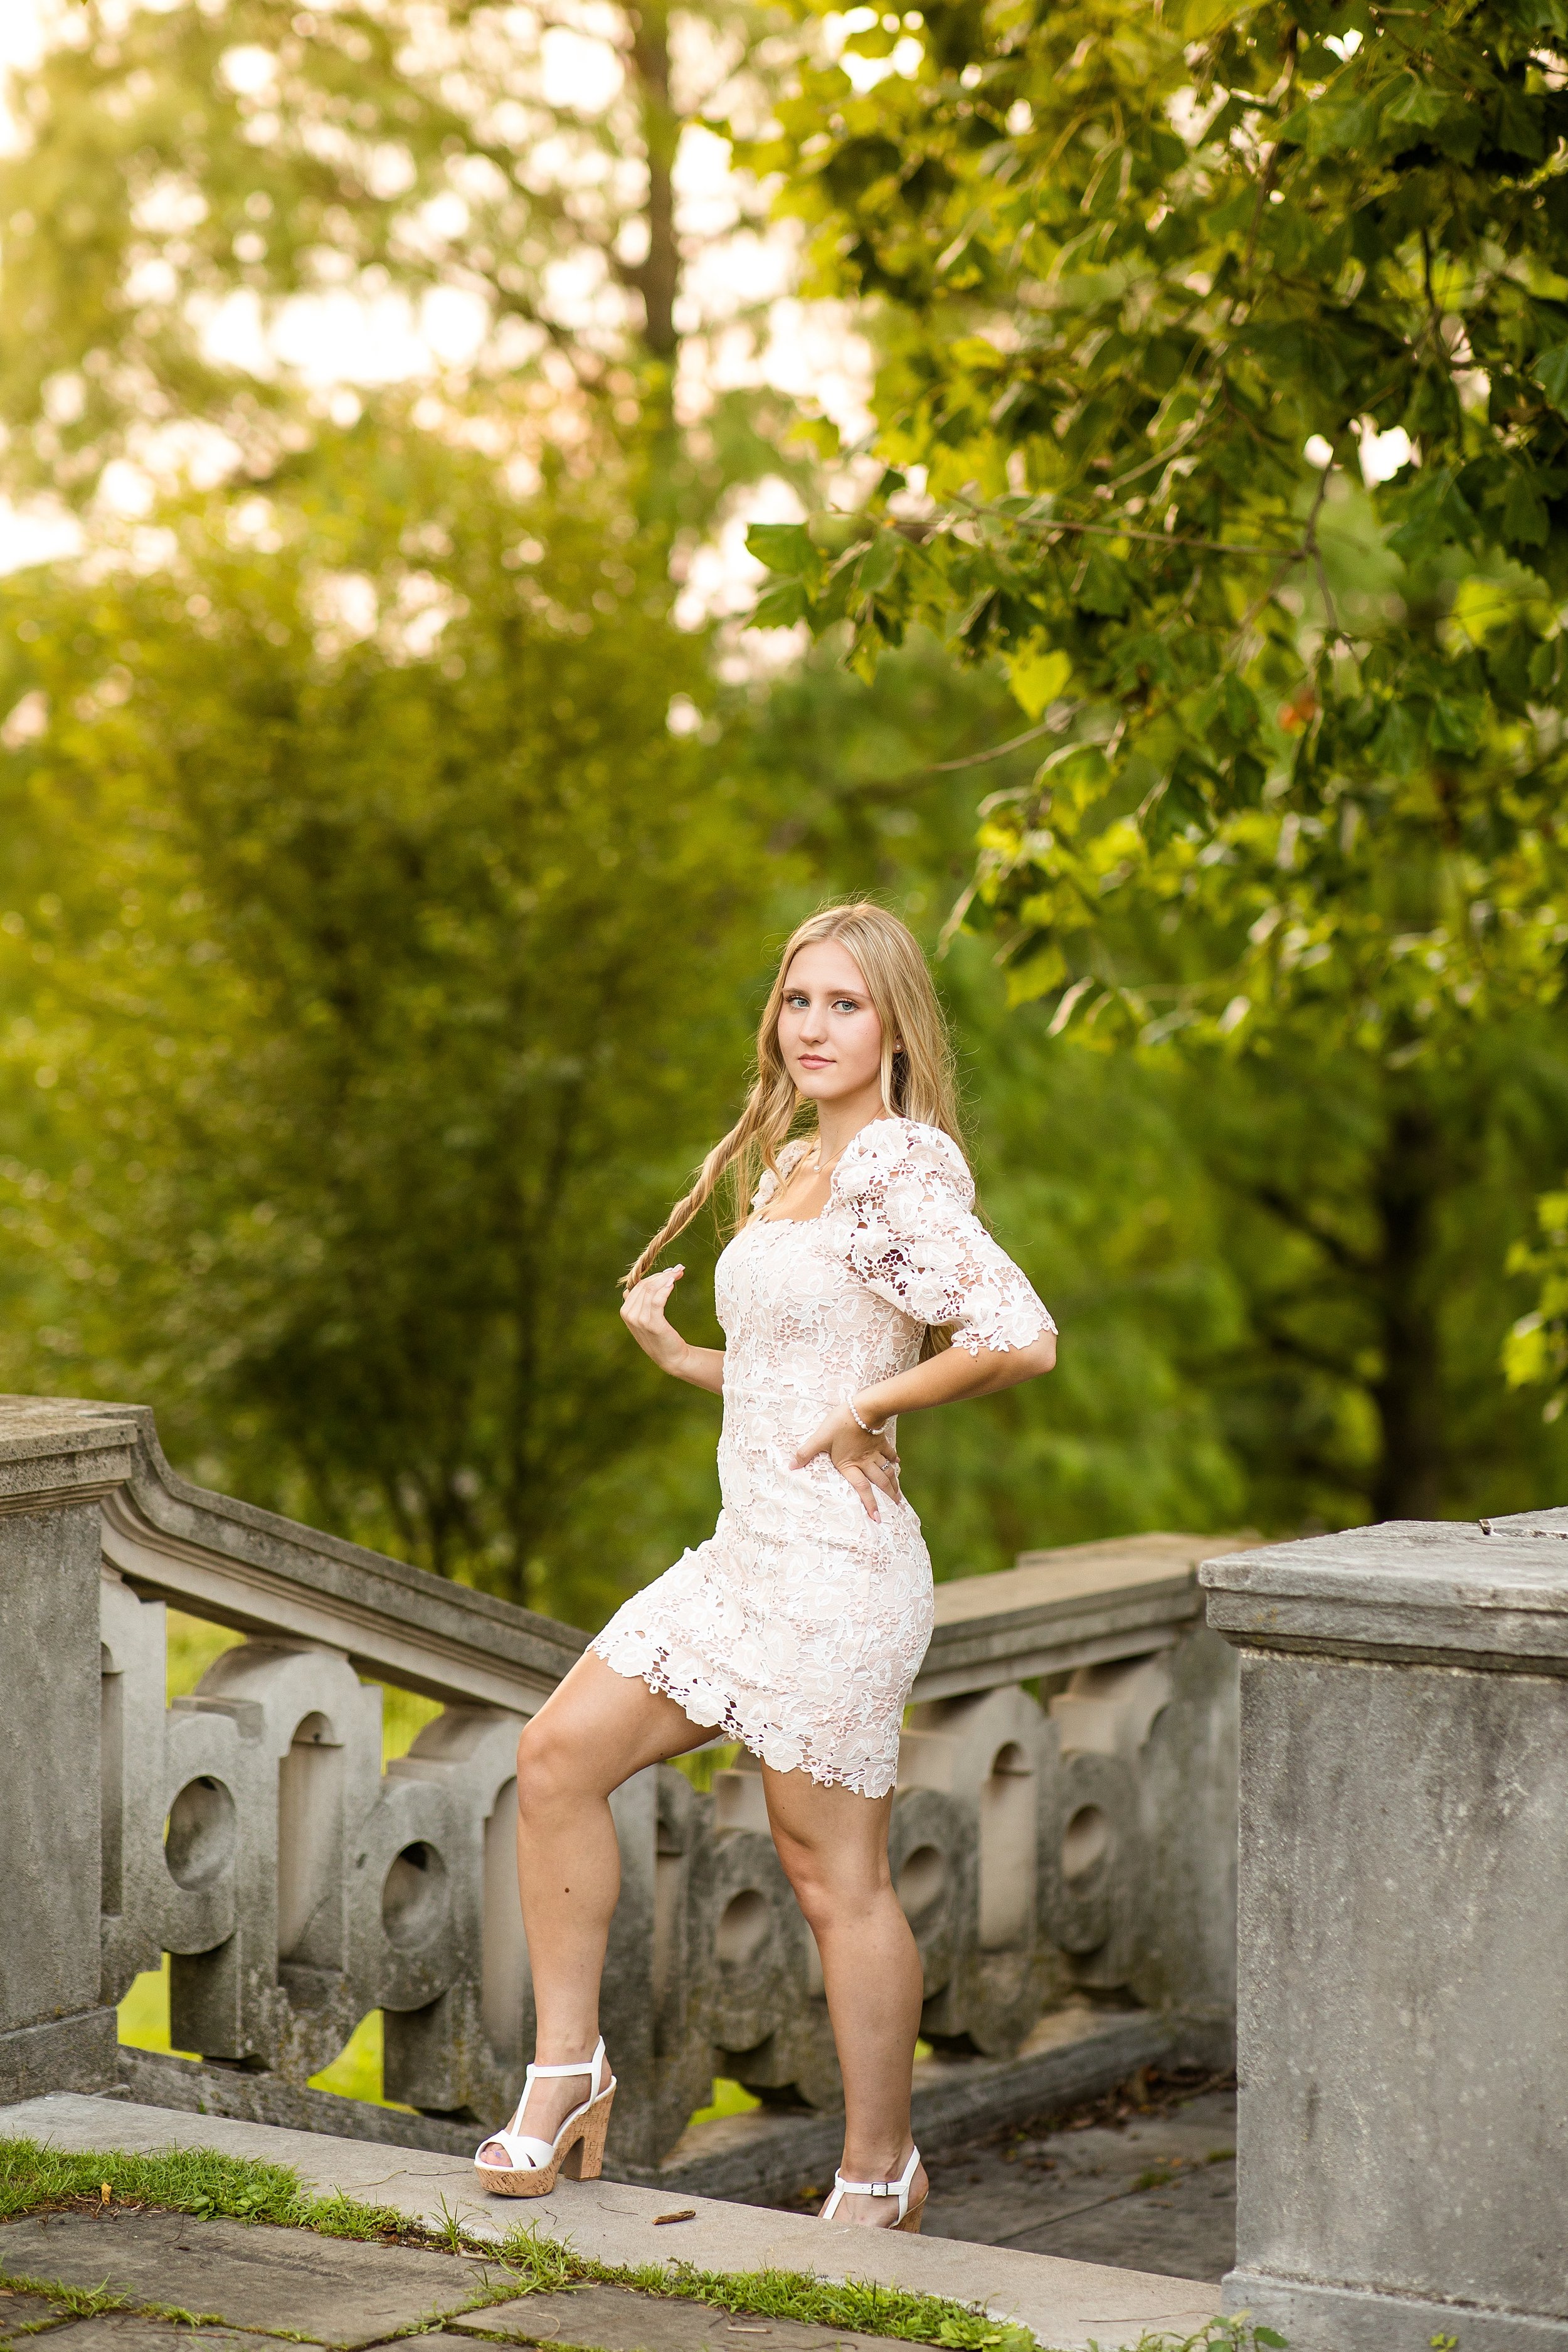
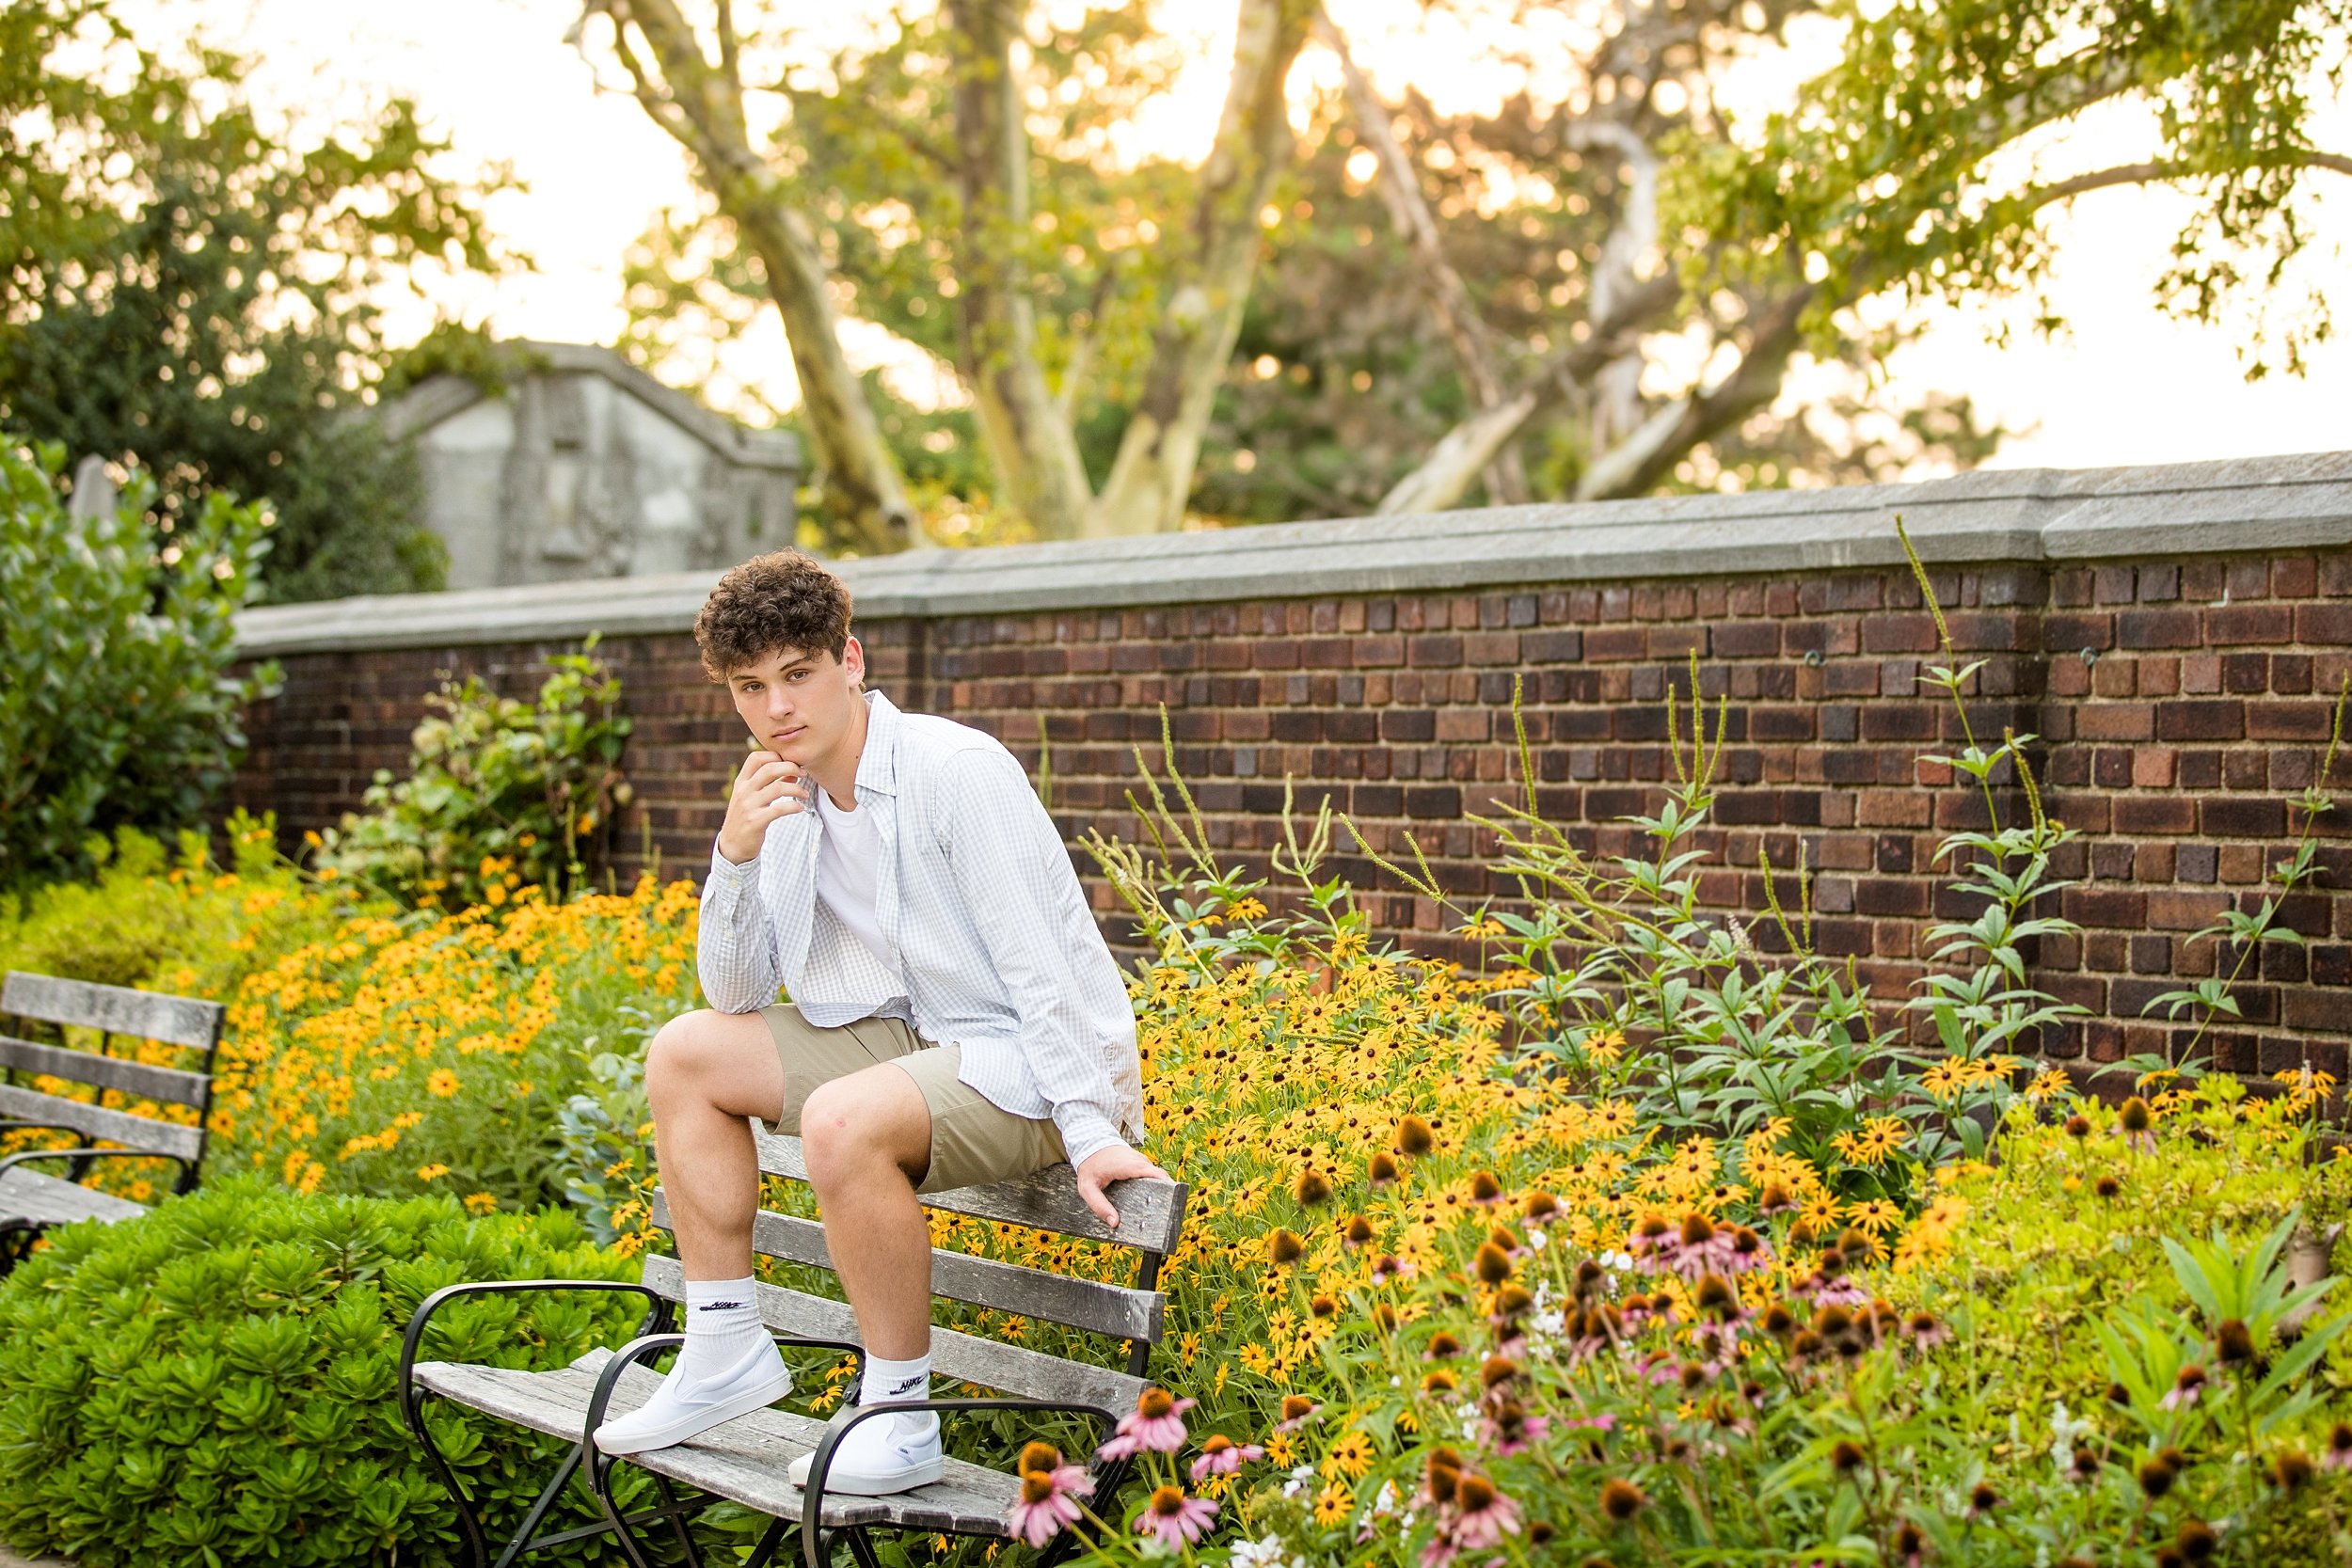
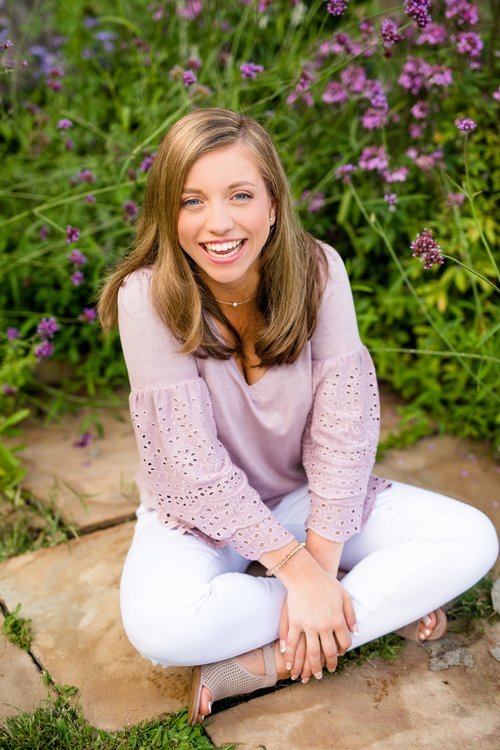
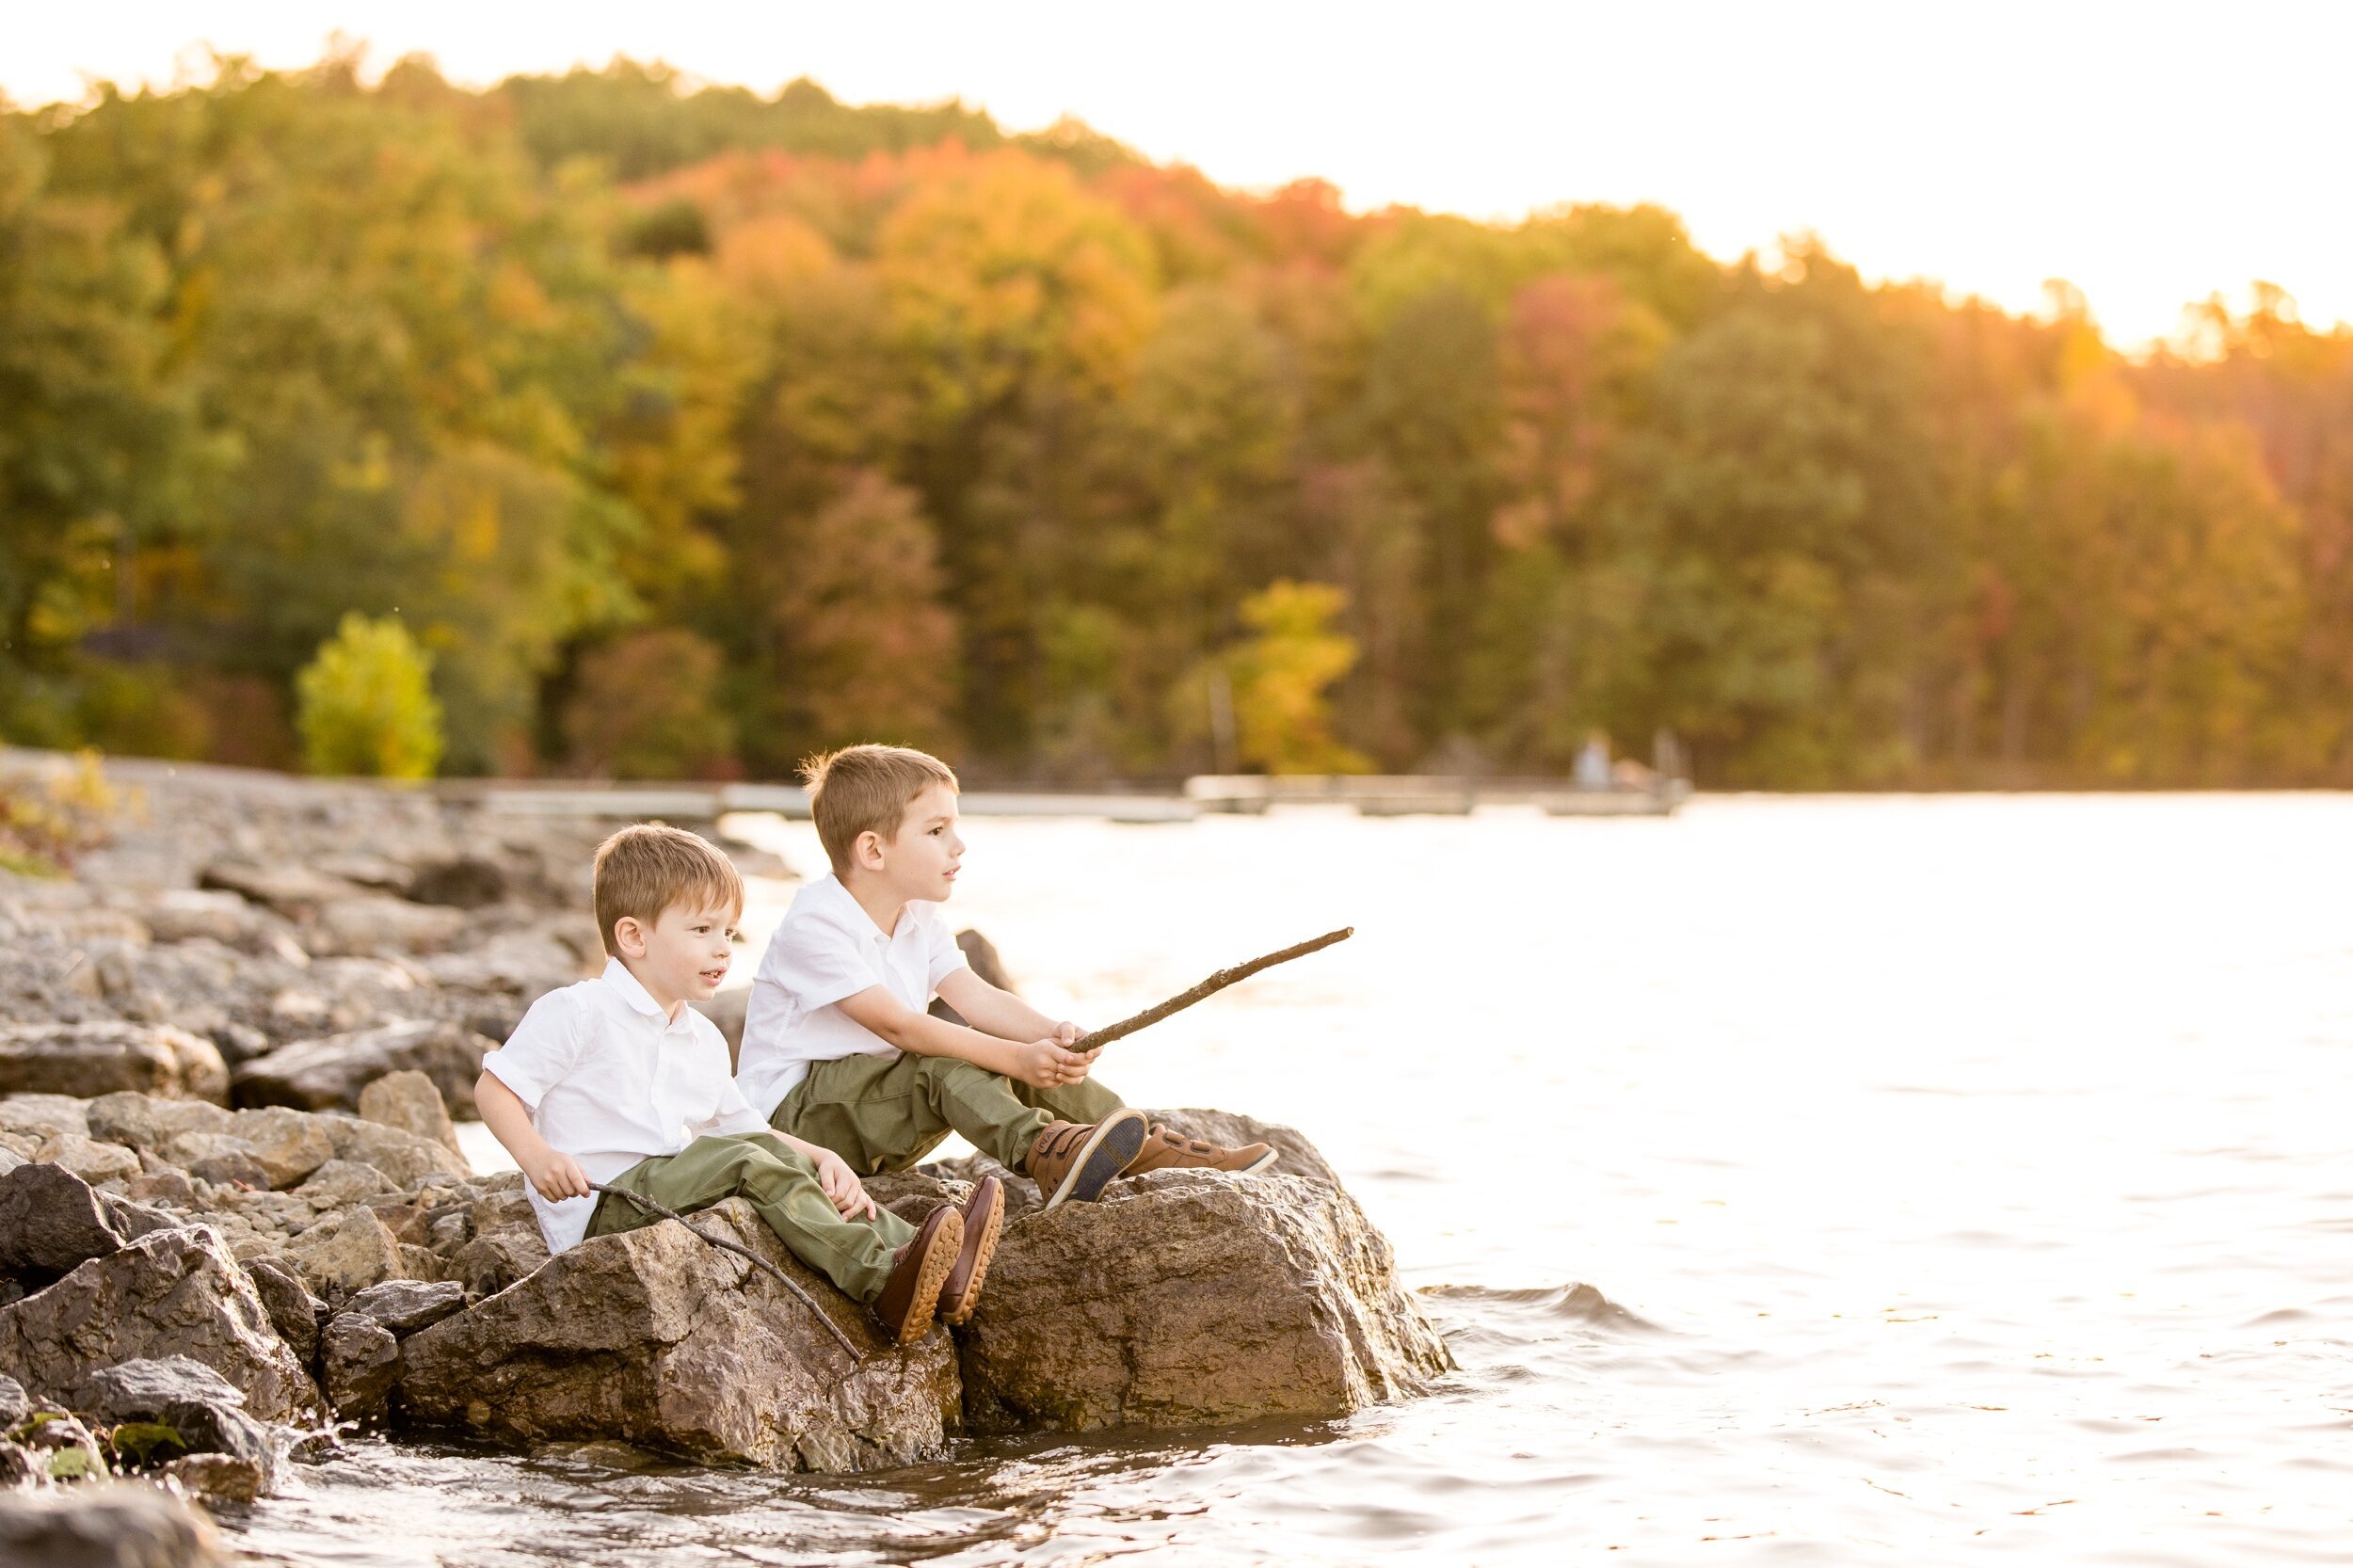
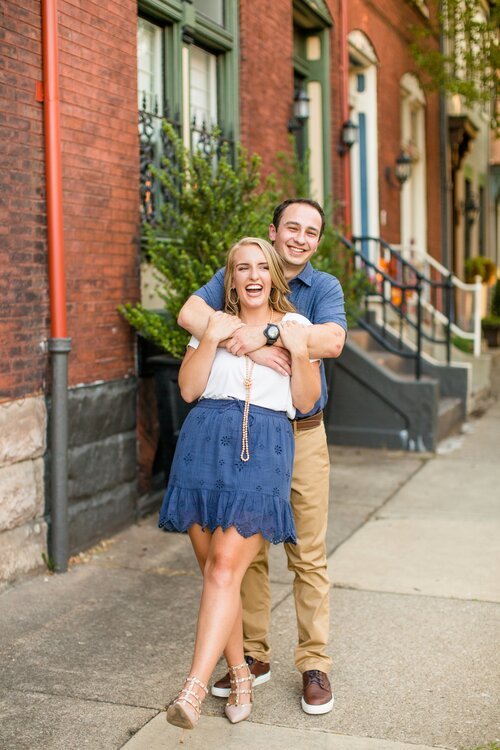
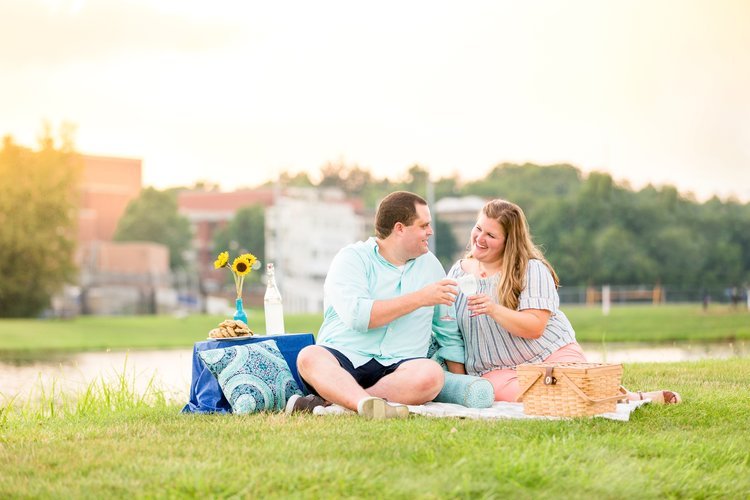
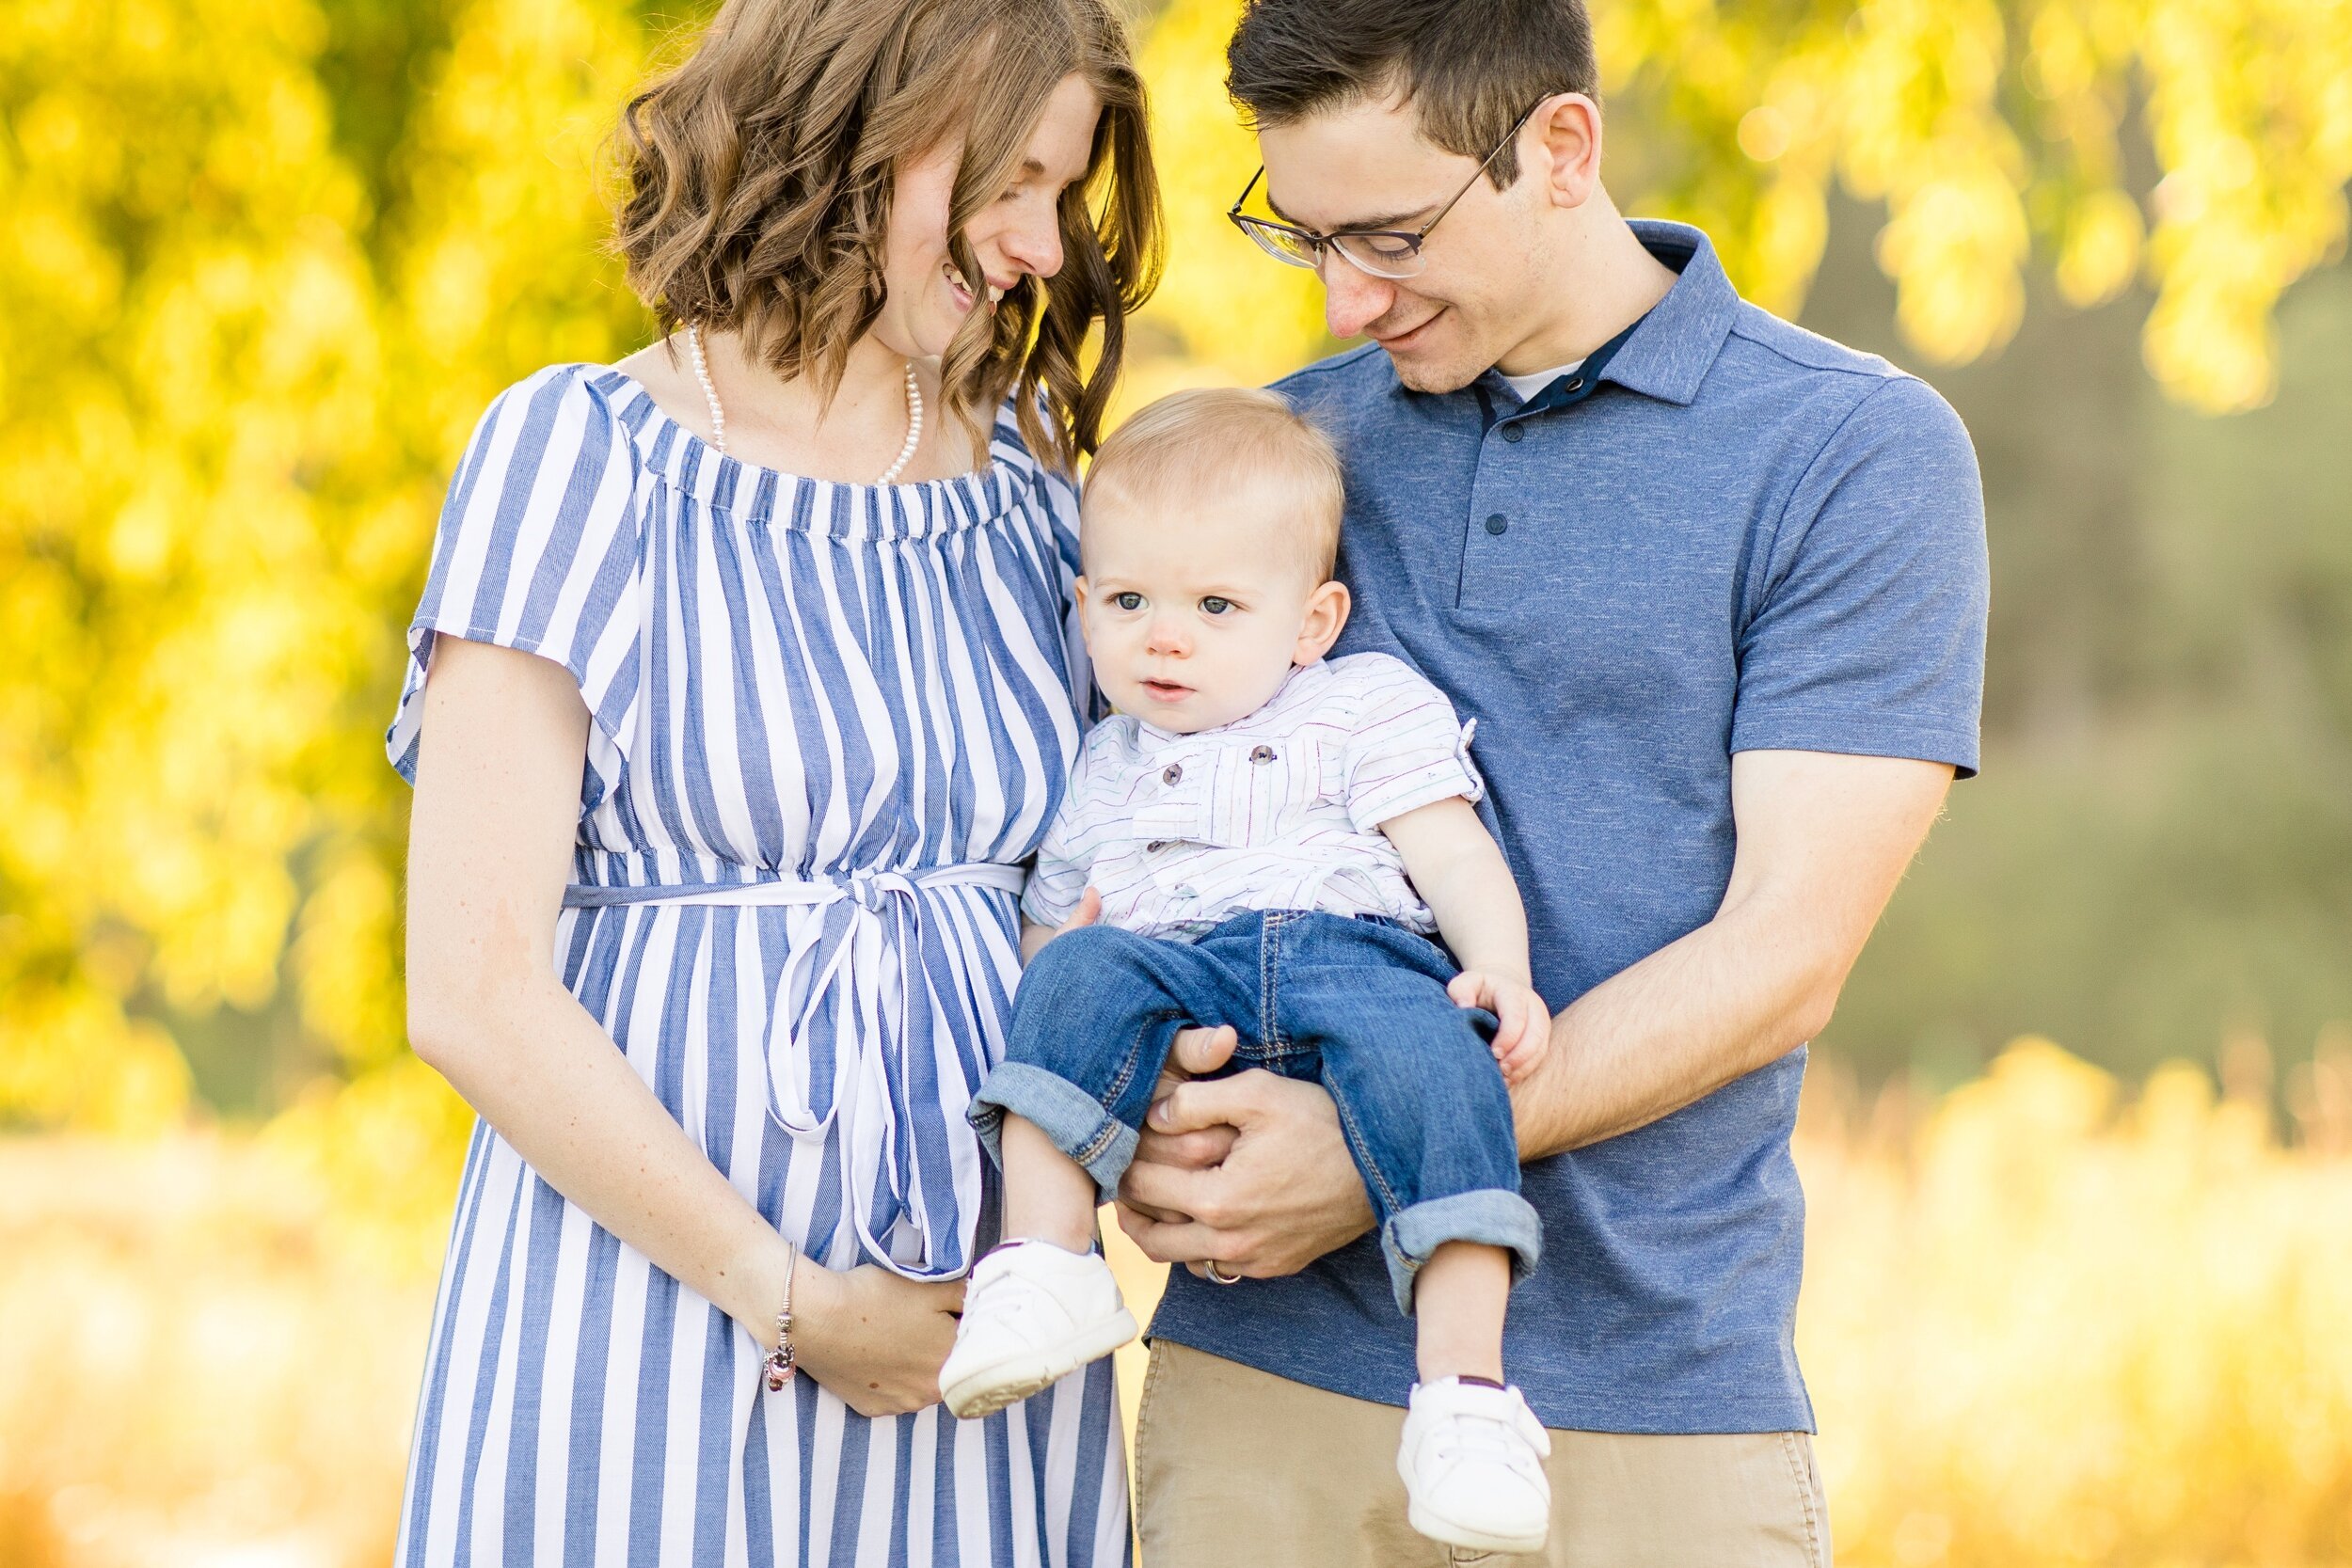
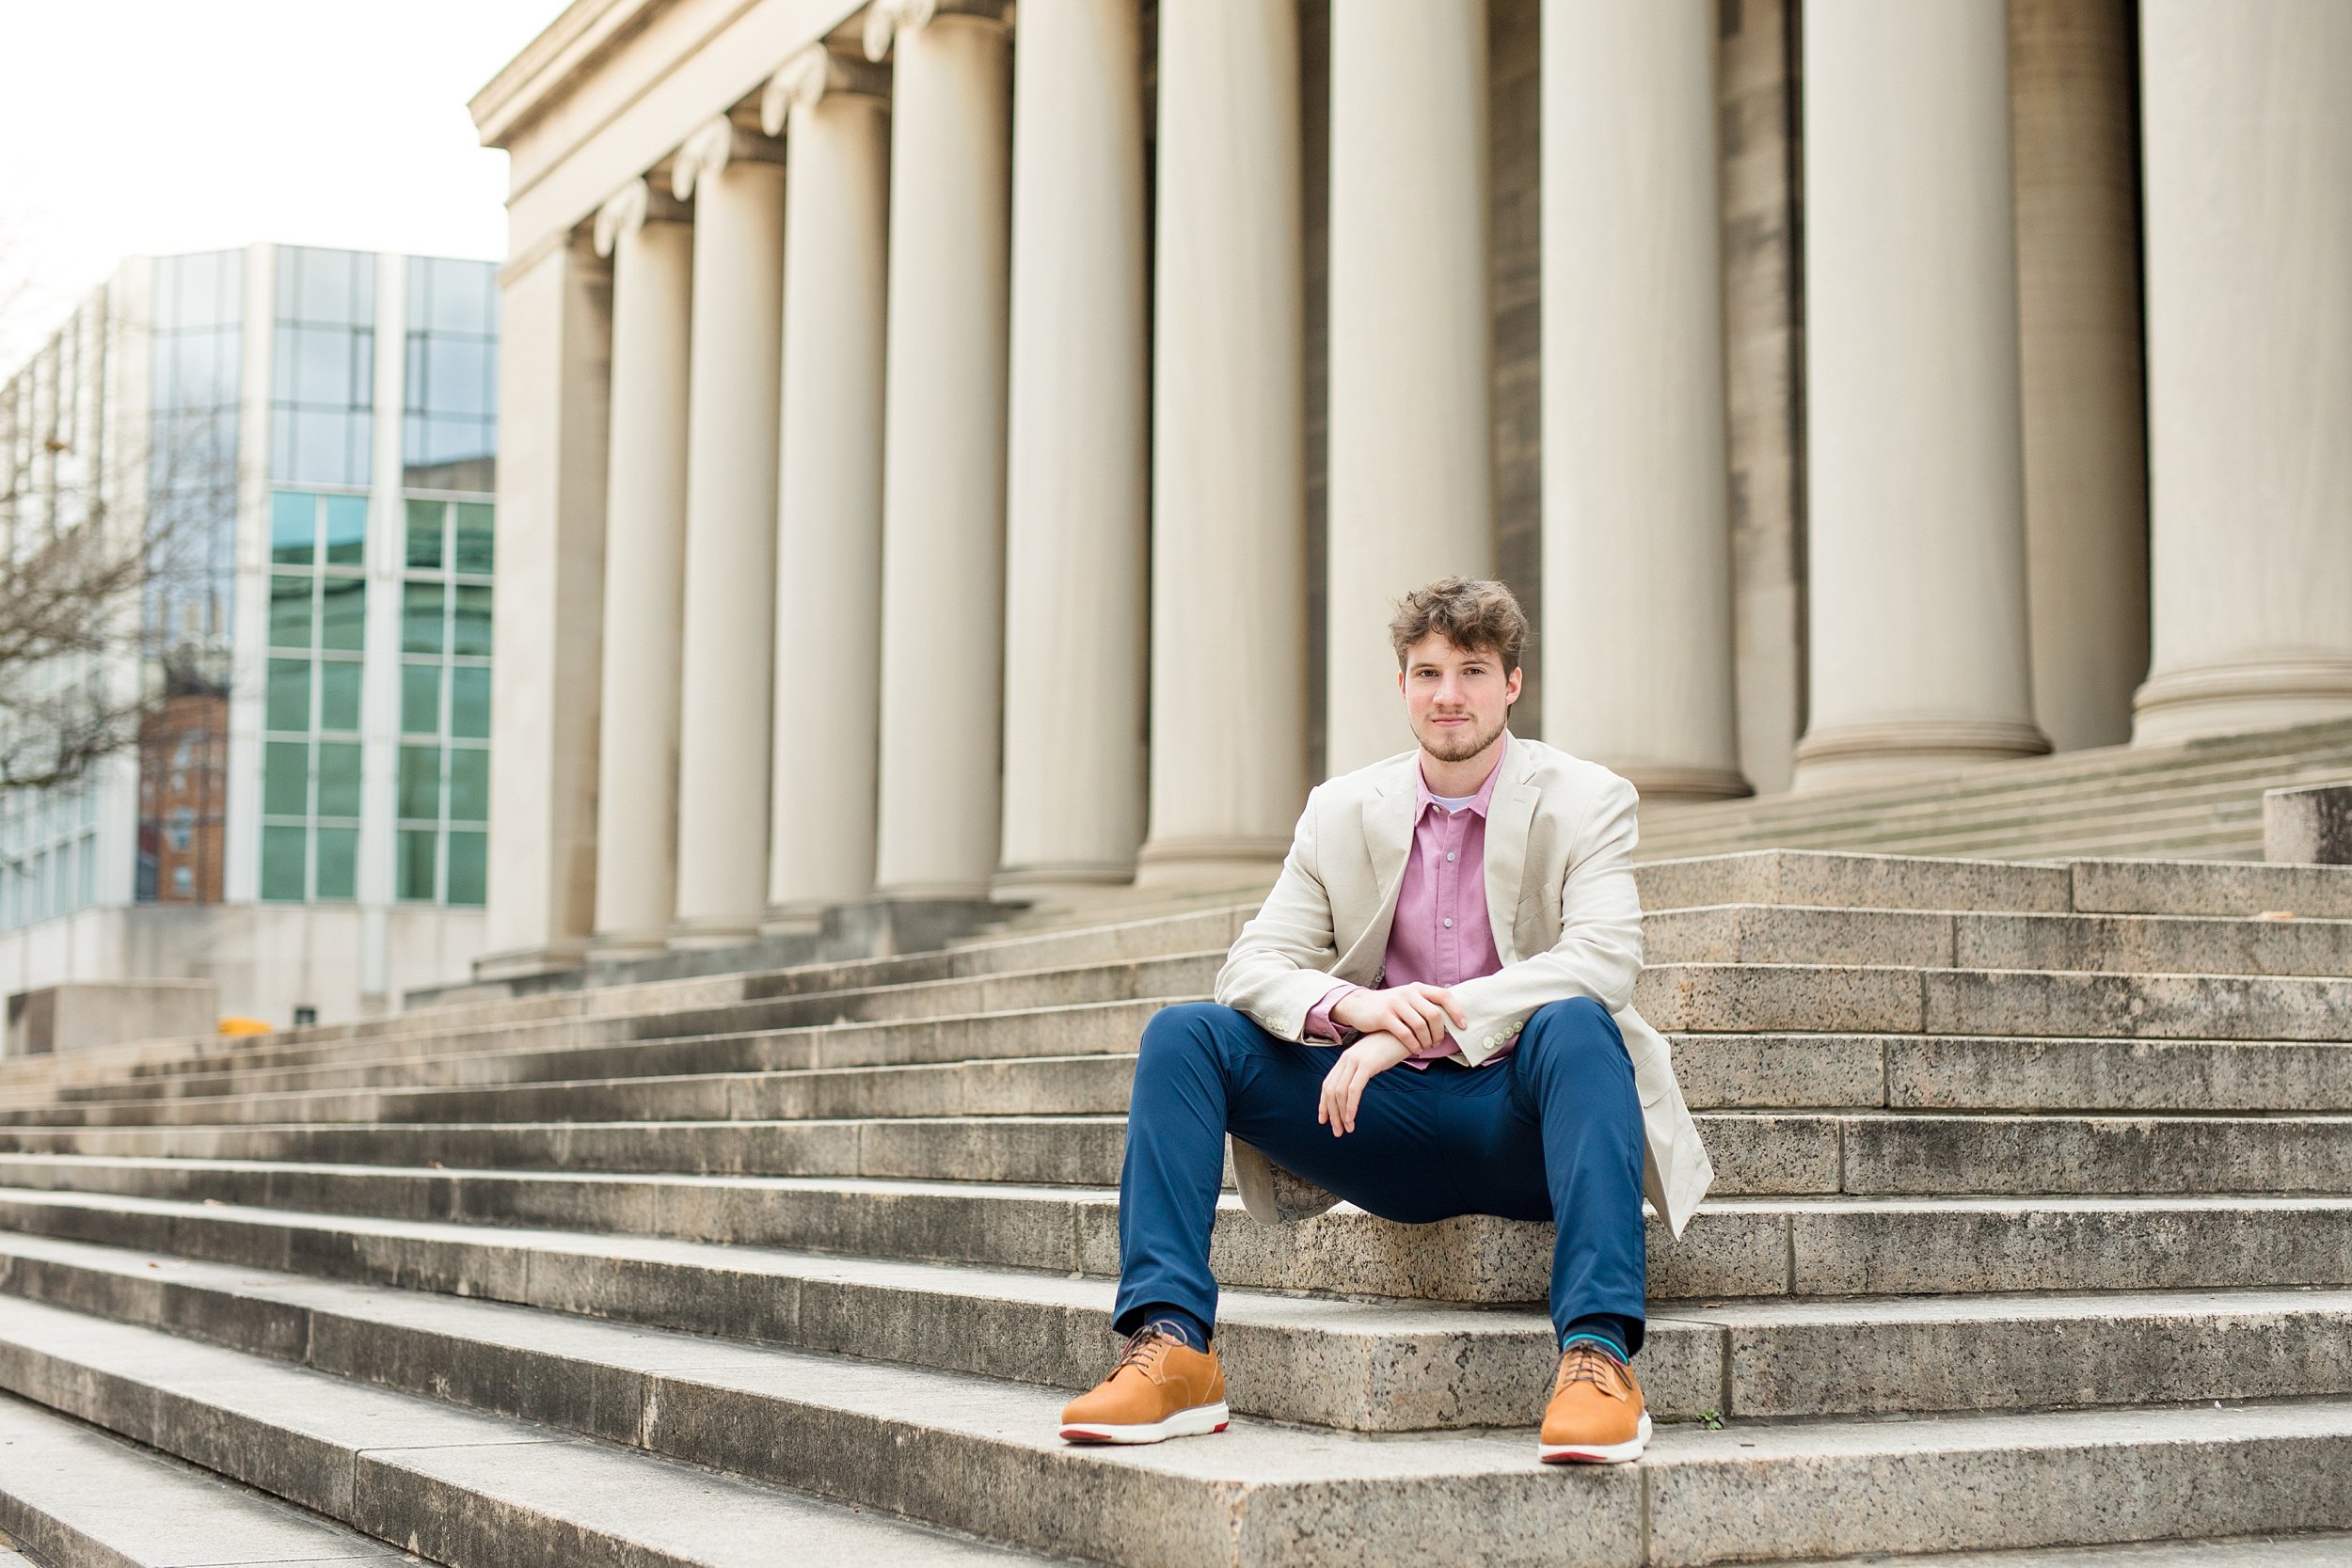
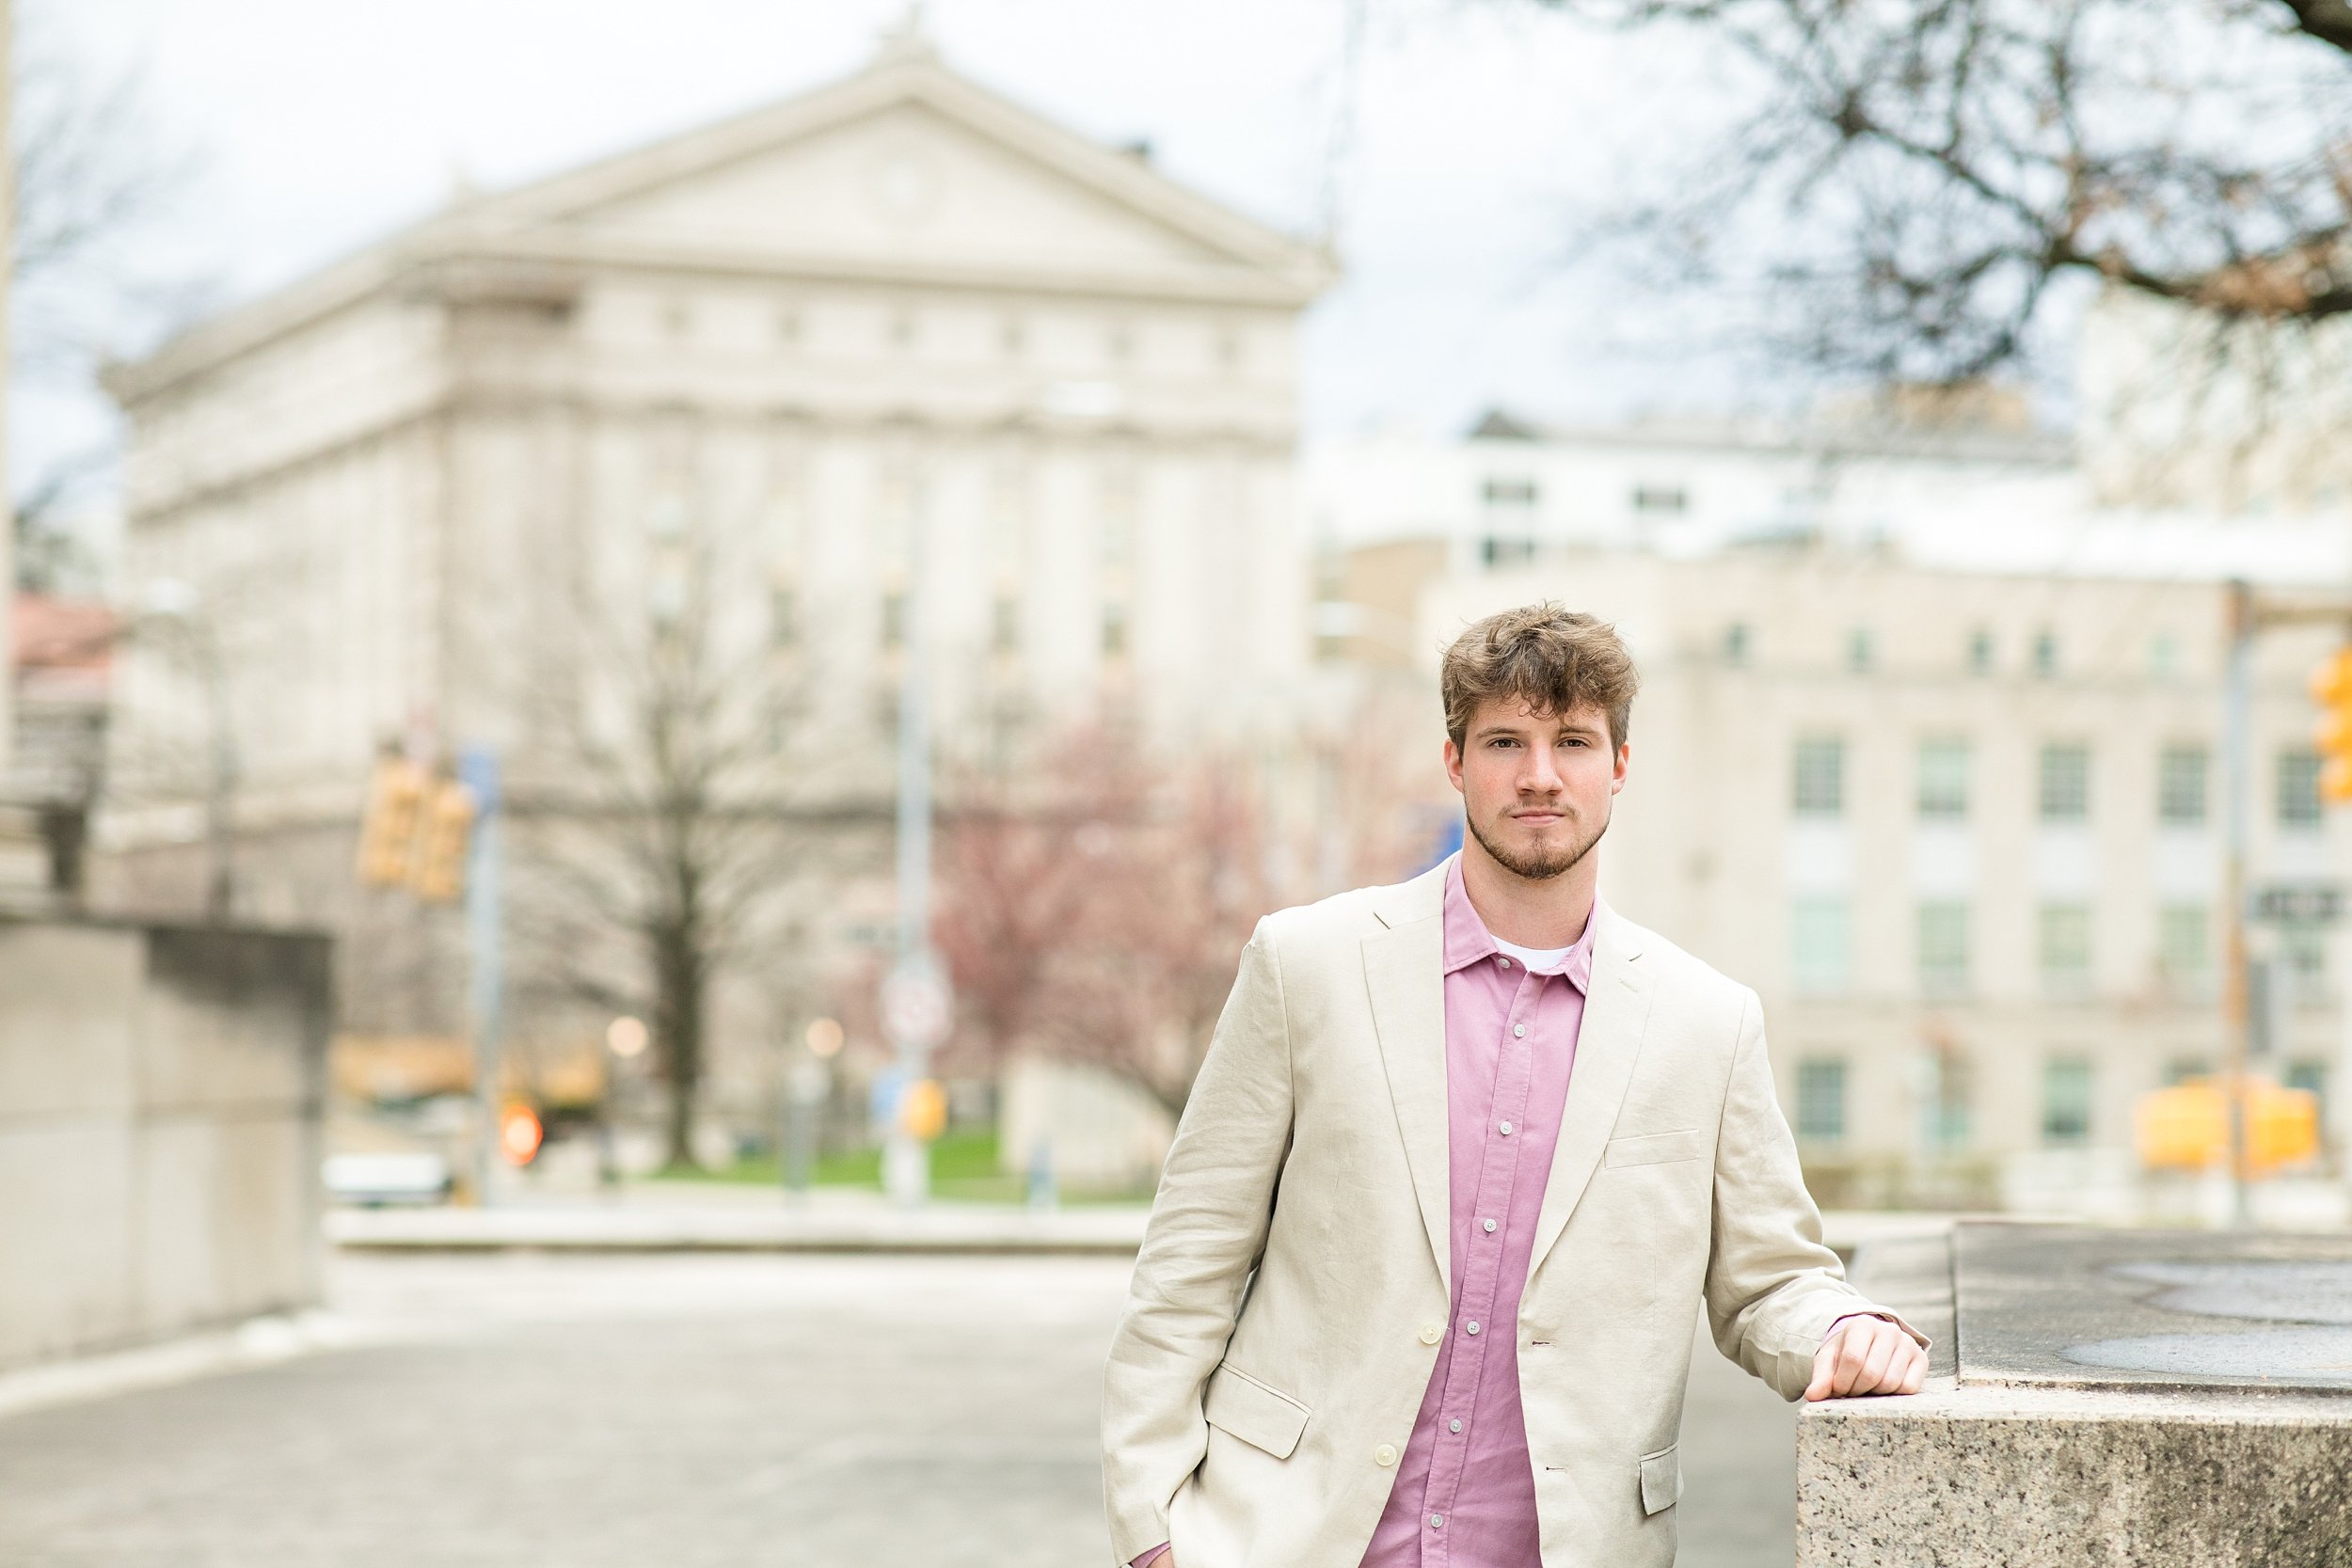
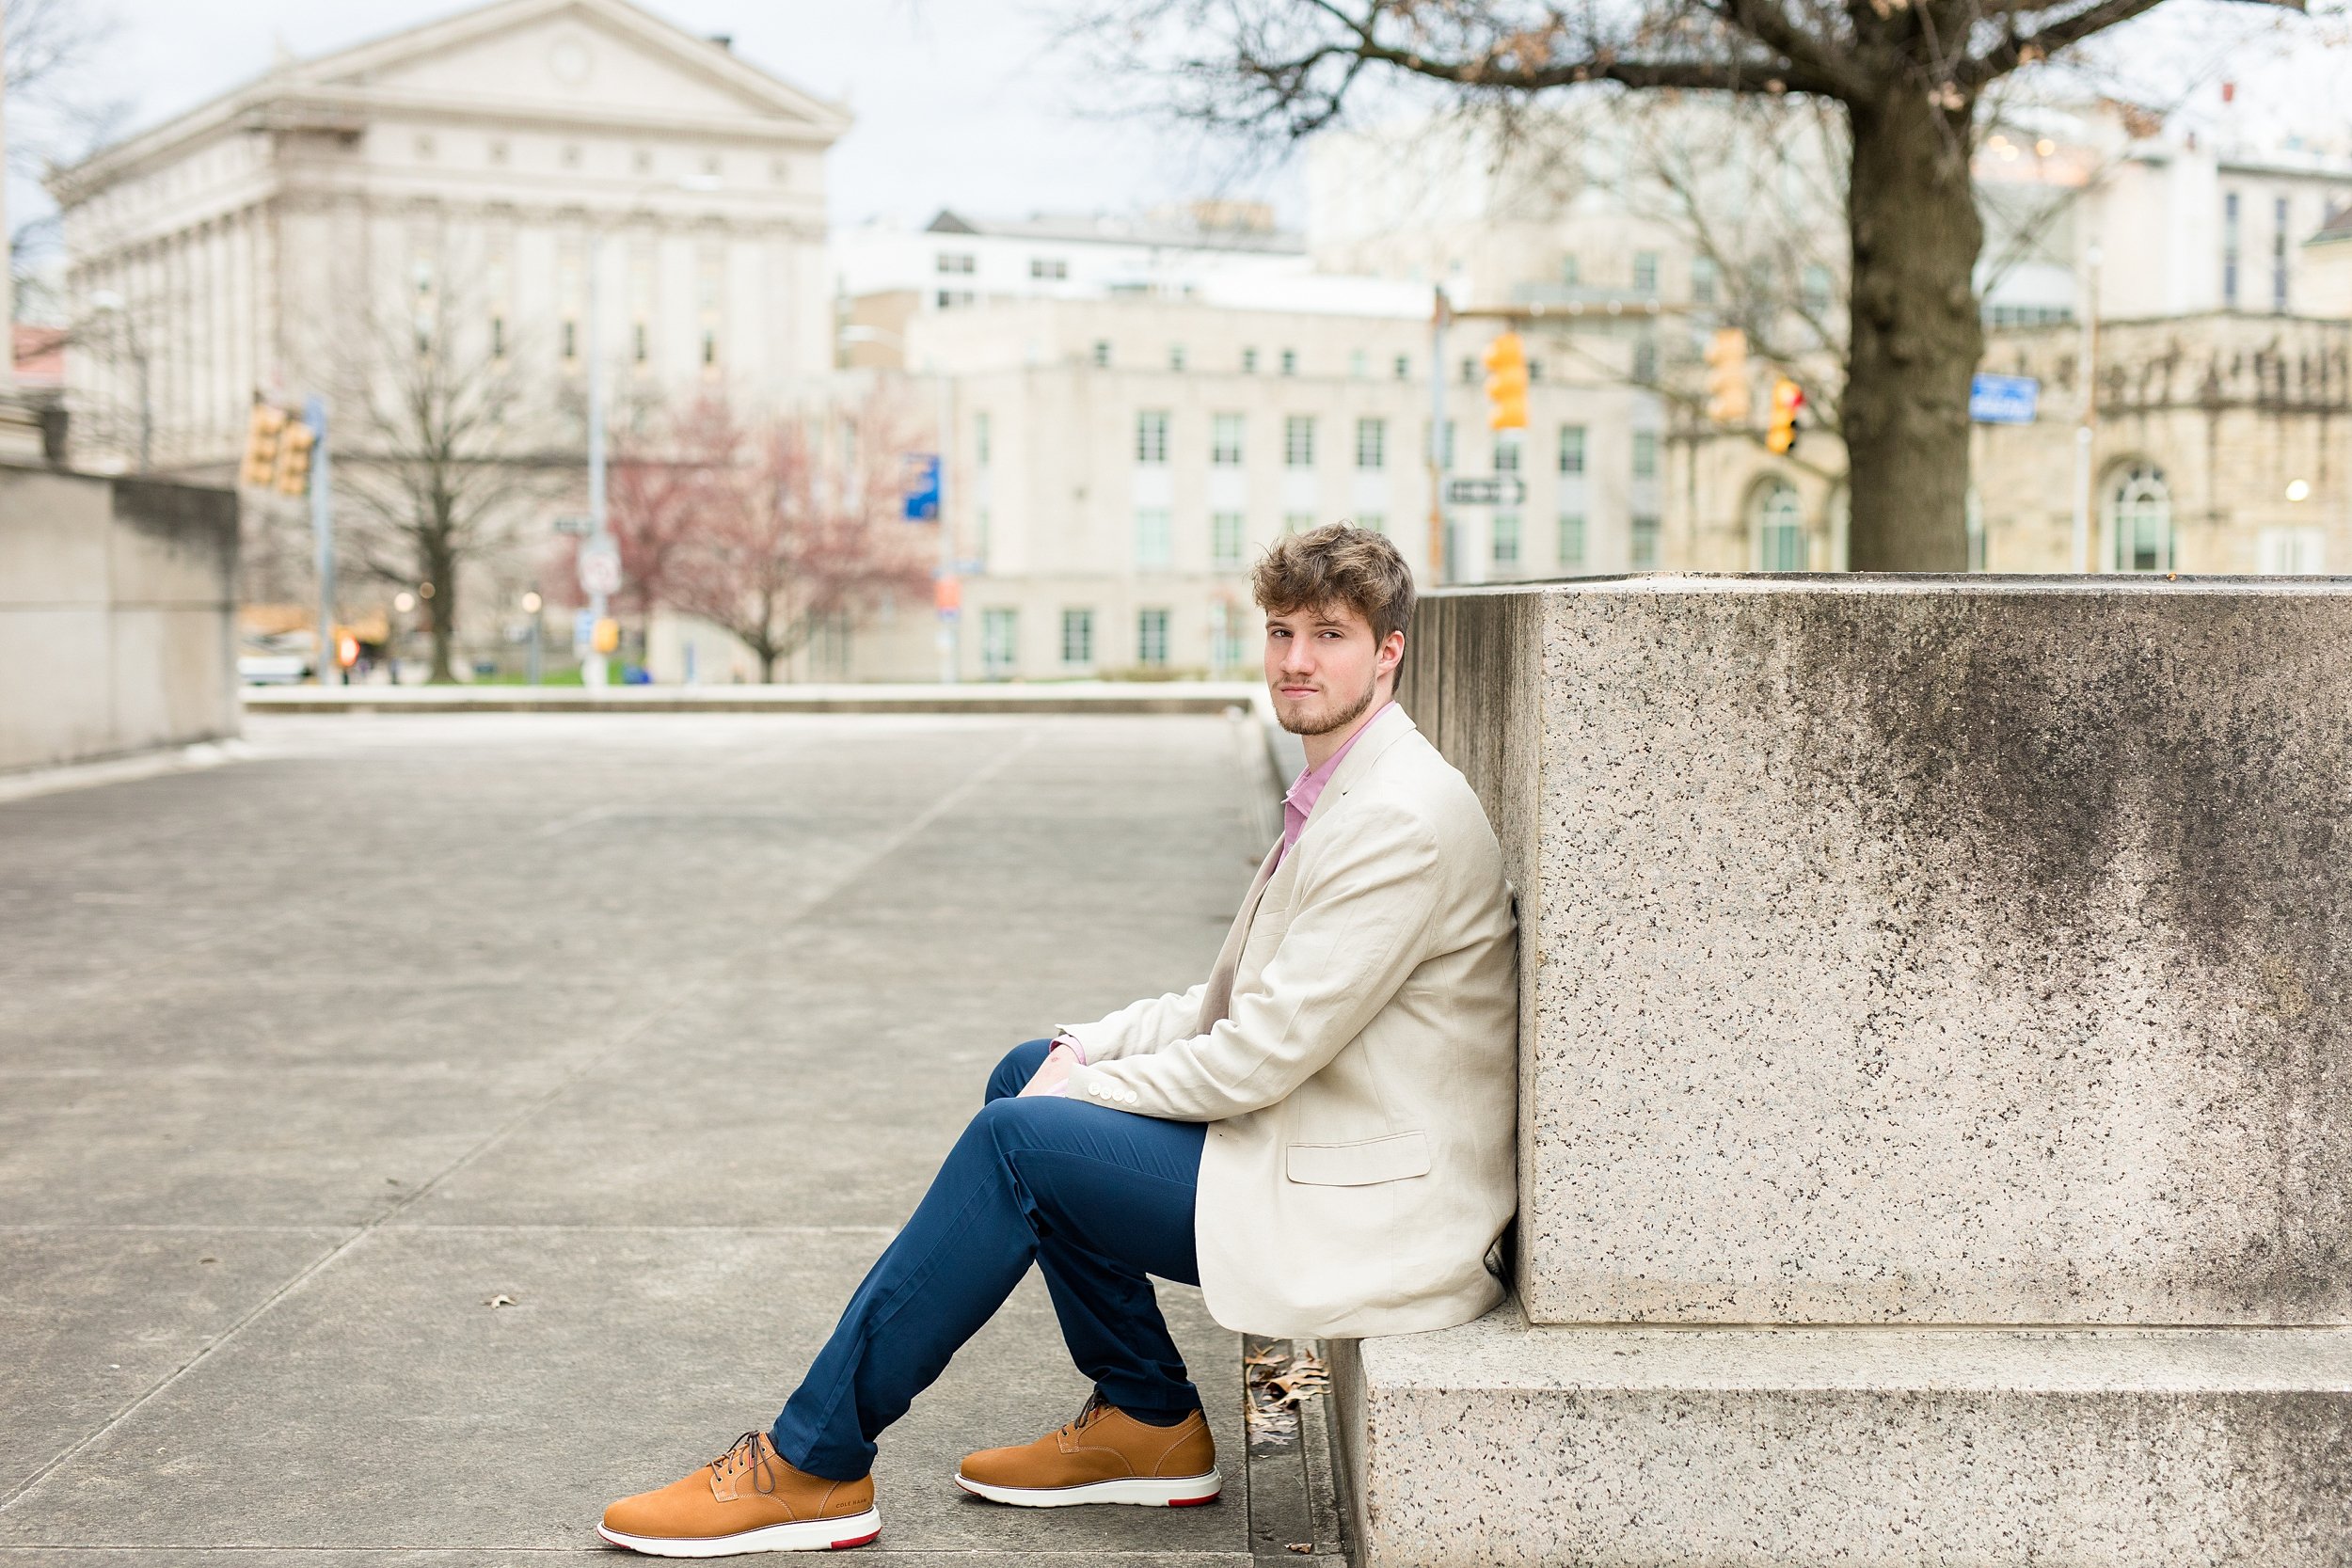
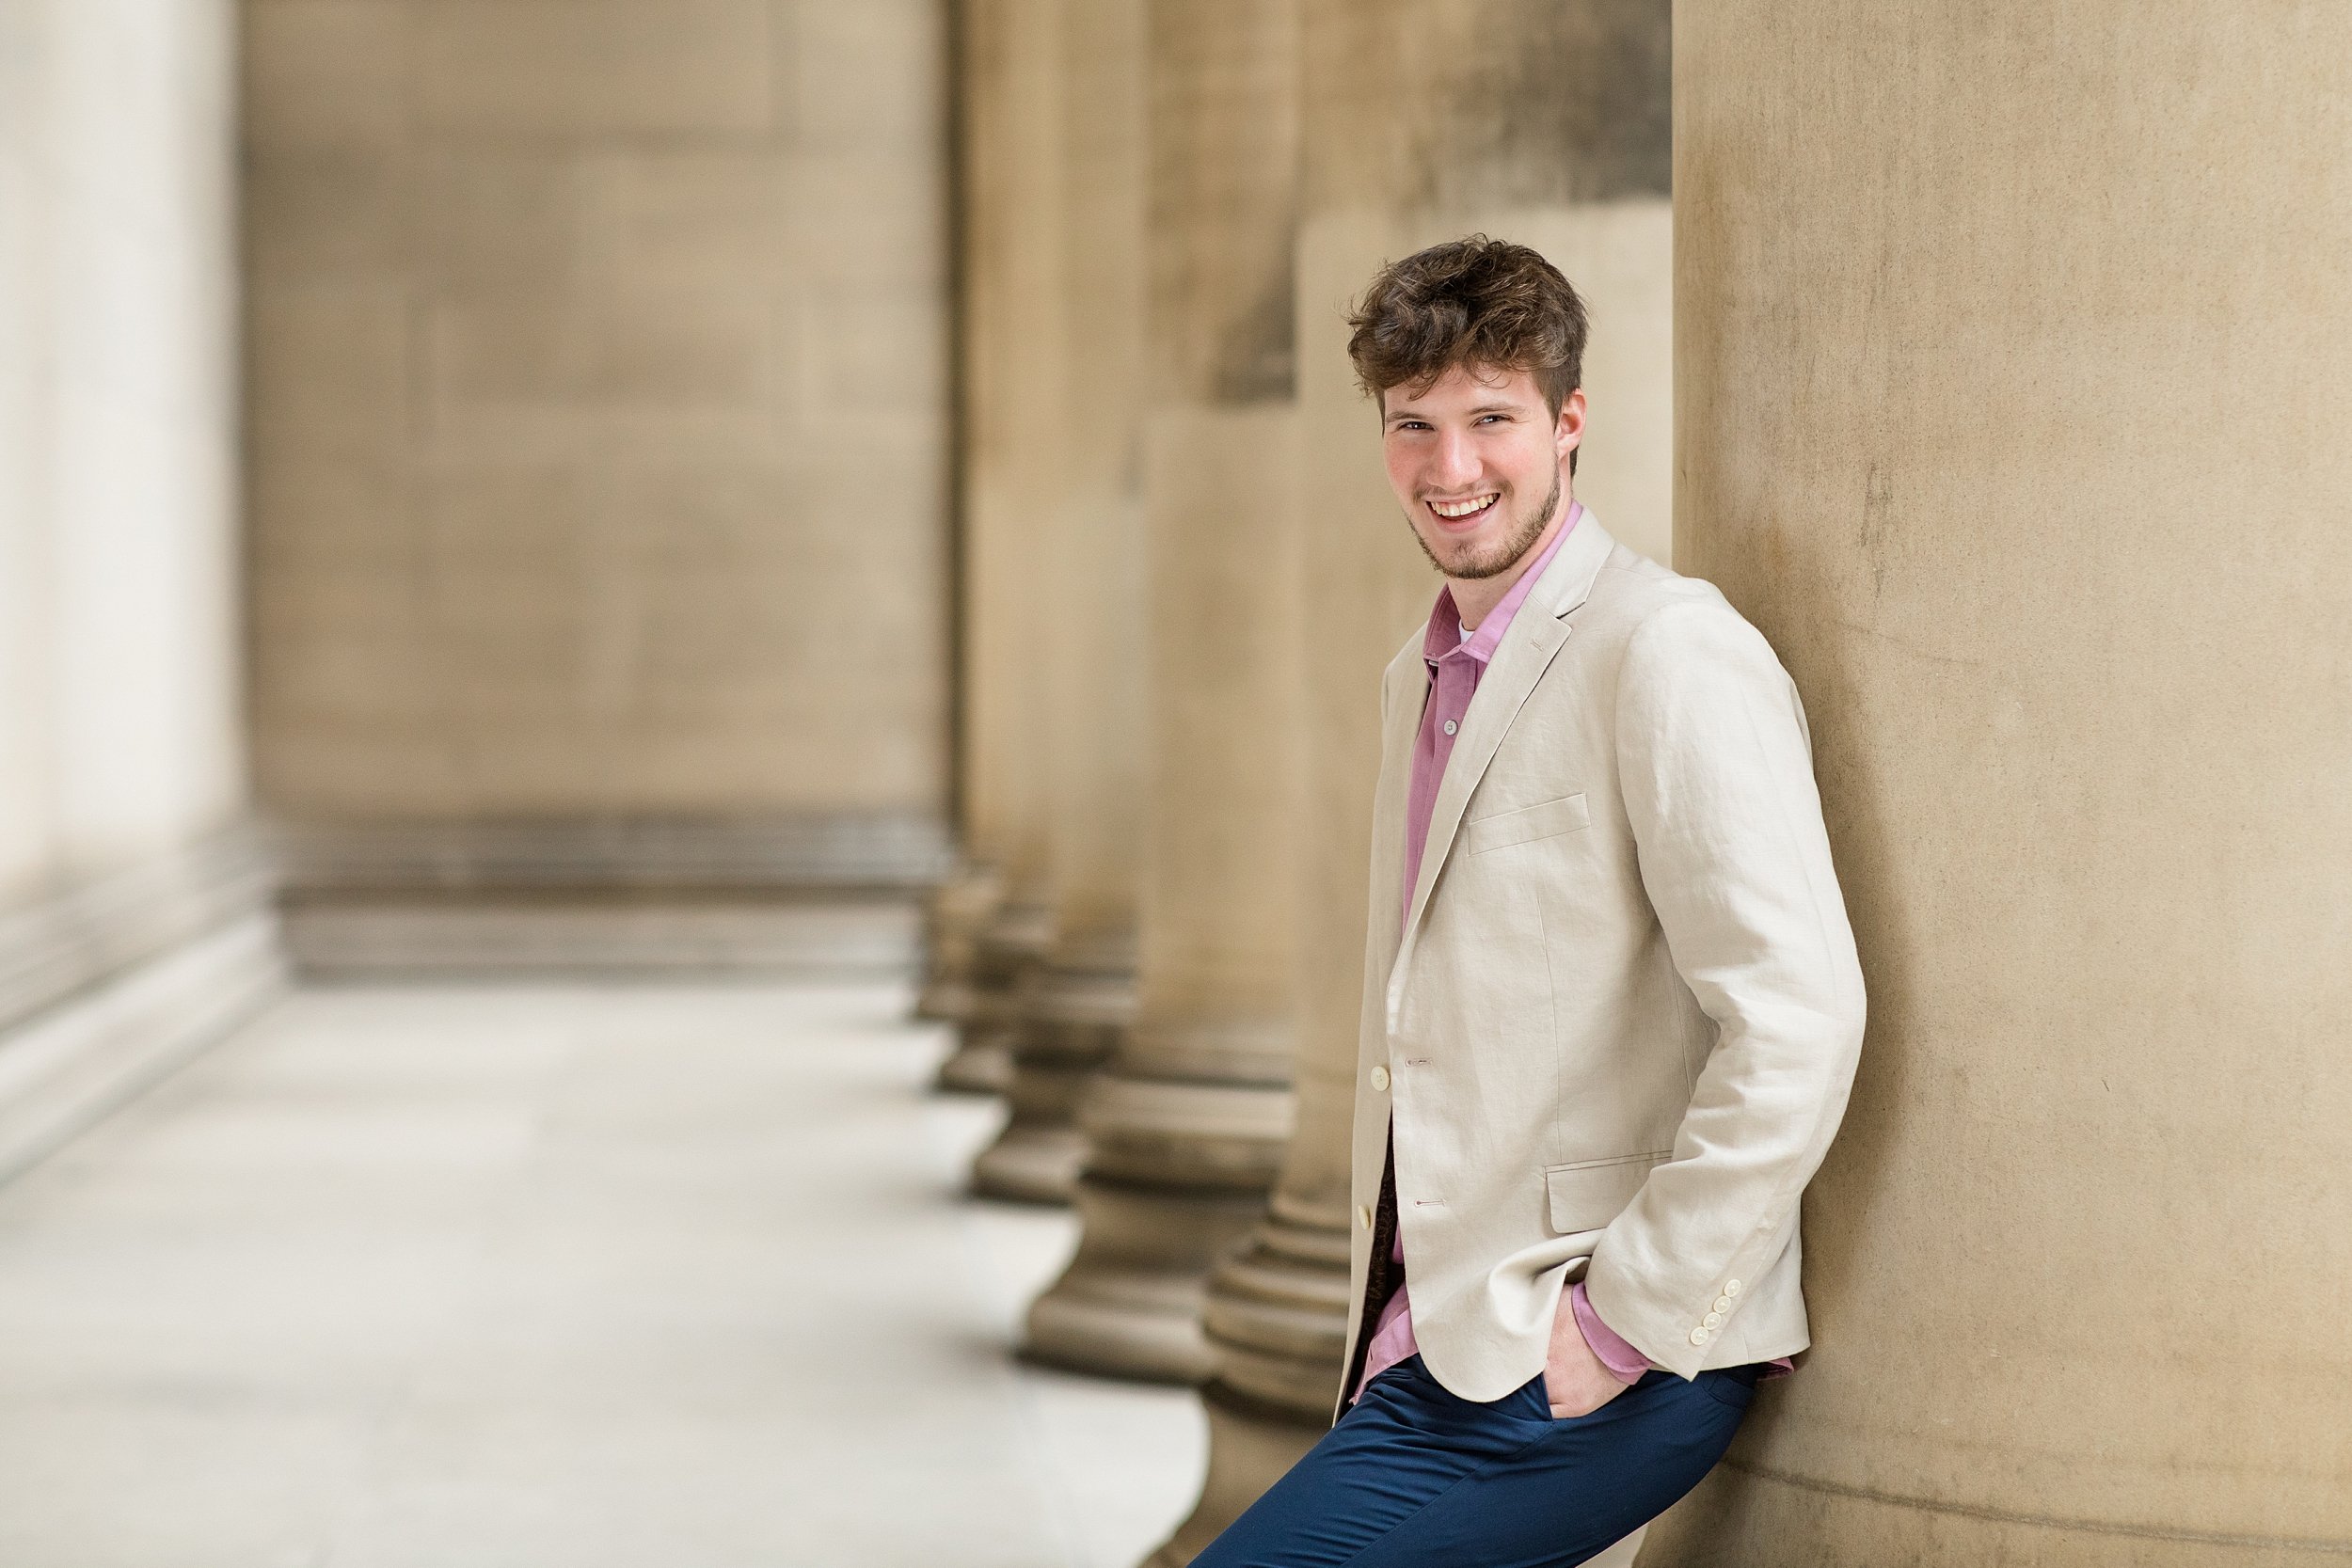
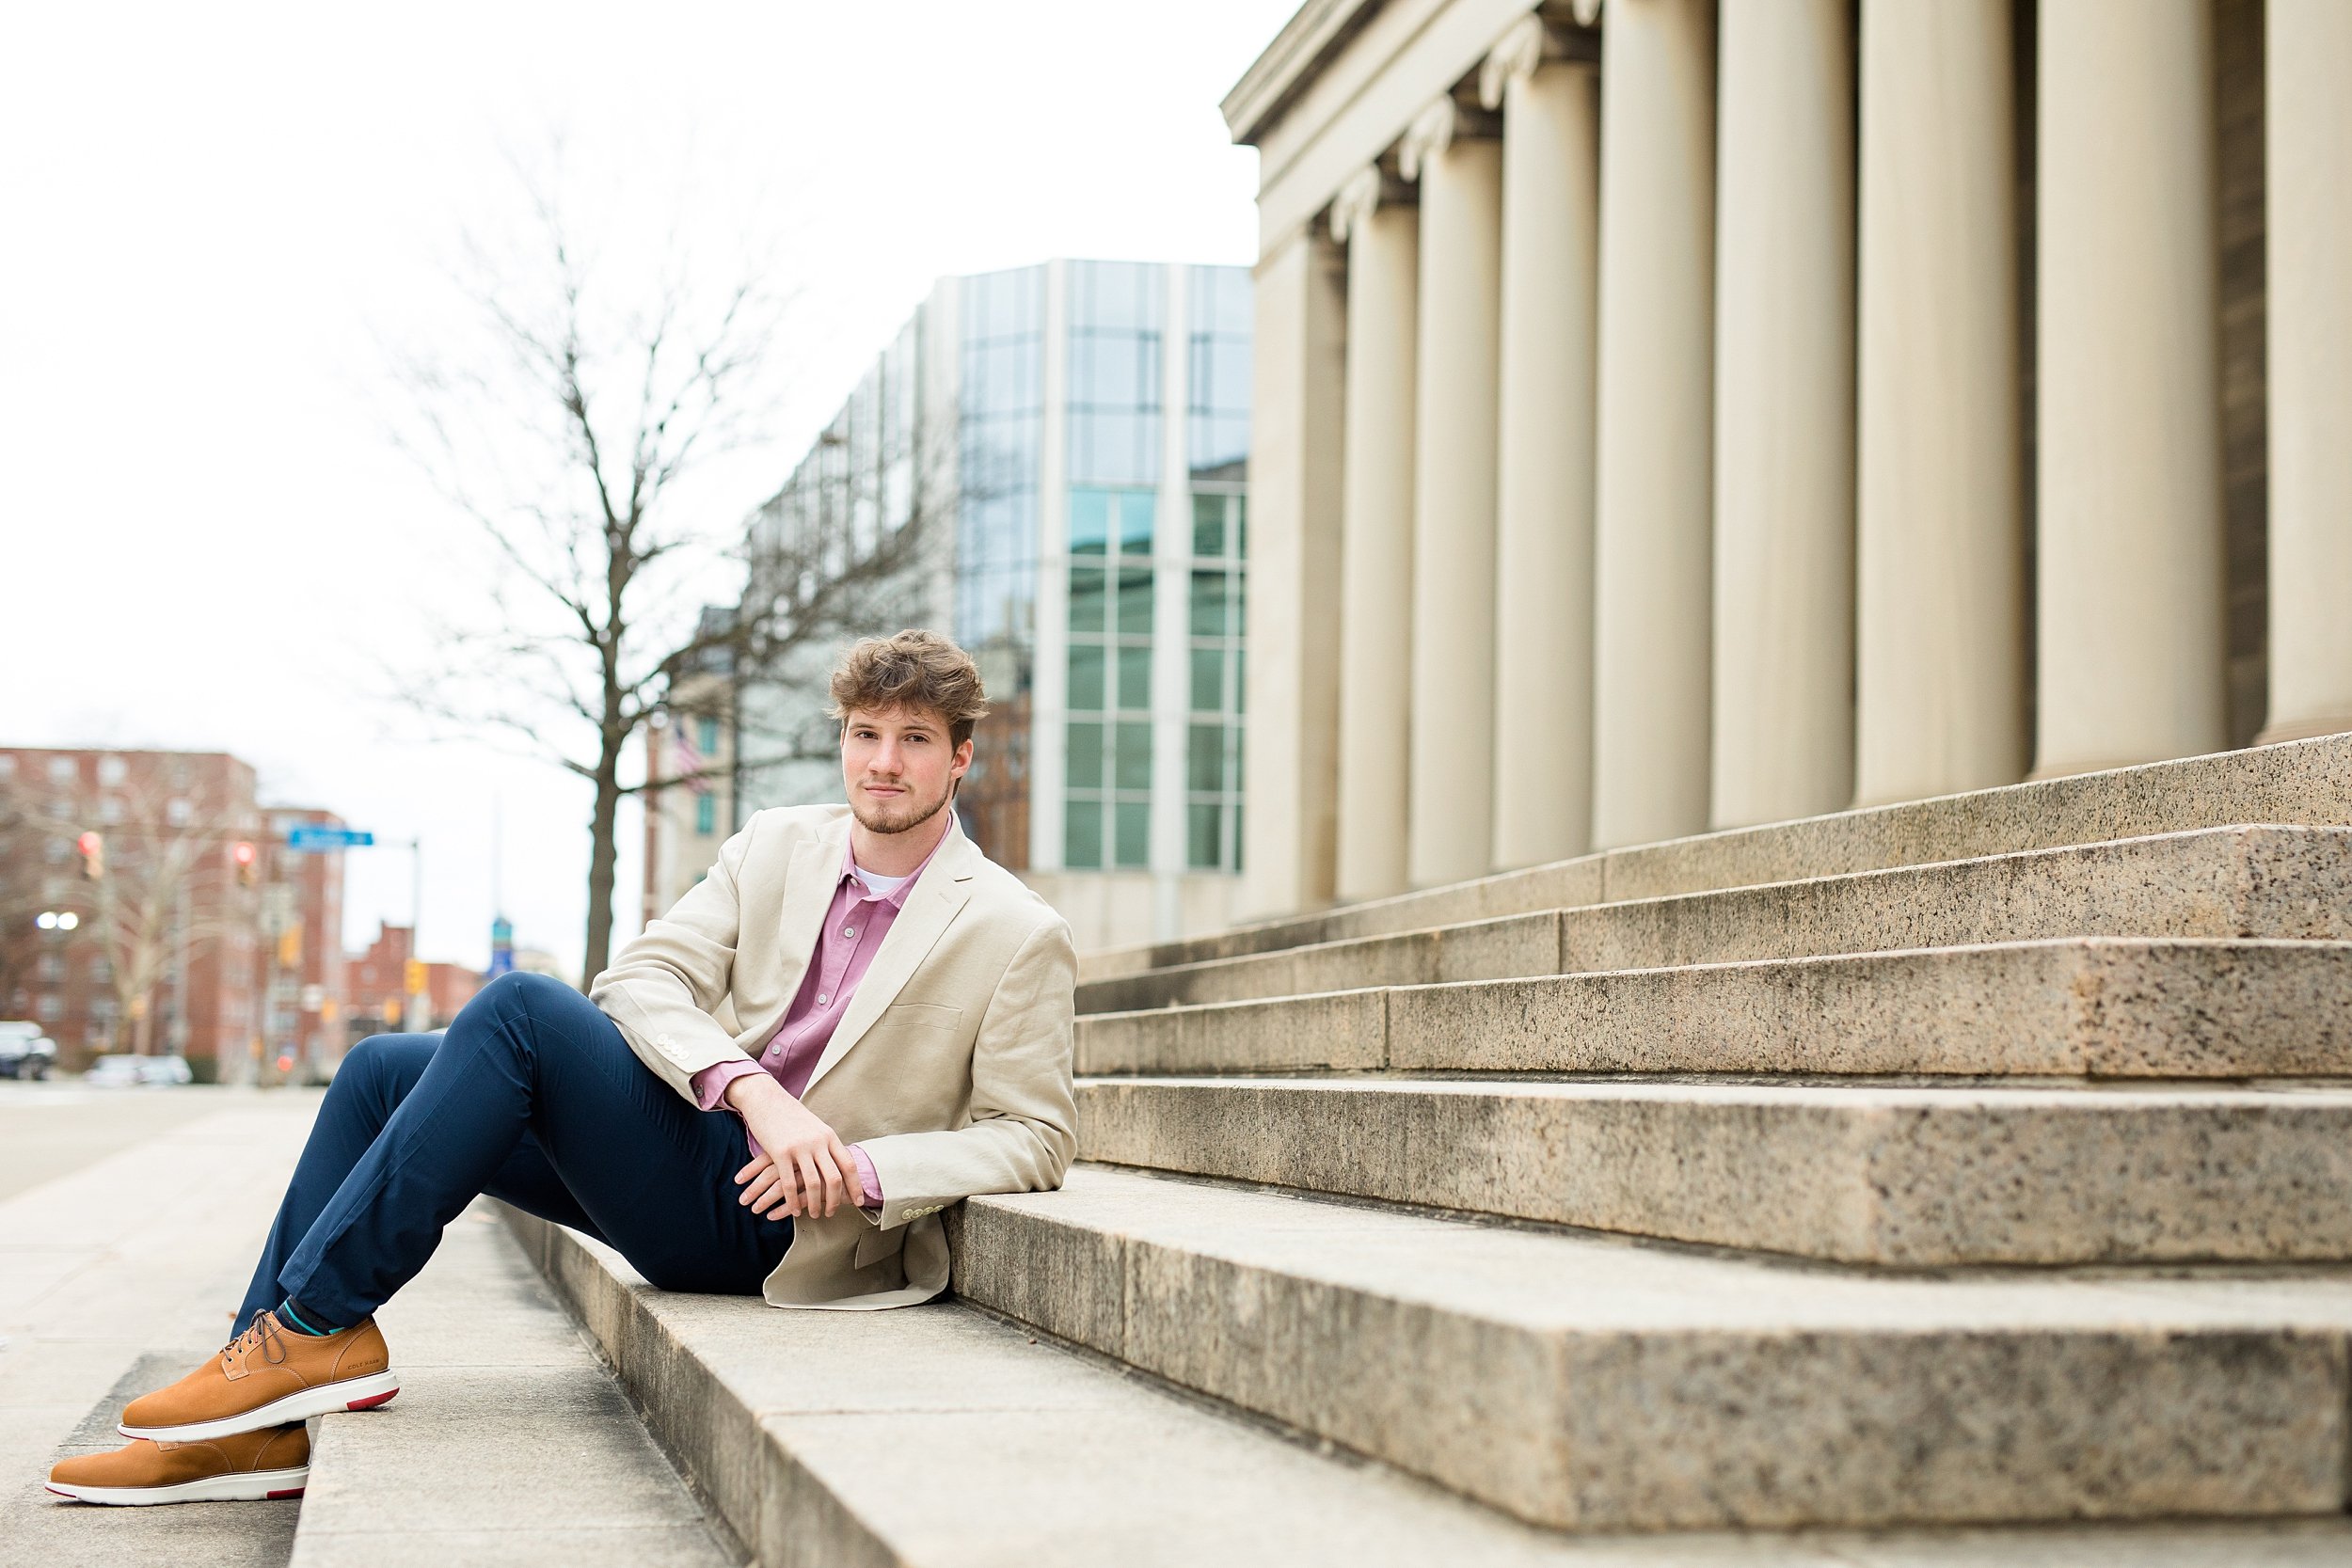
  • Light colored clothing - light colors reflect light, so choosing light colored clothing will help you beat the heat and stay a little bit cooler throughout your session!

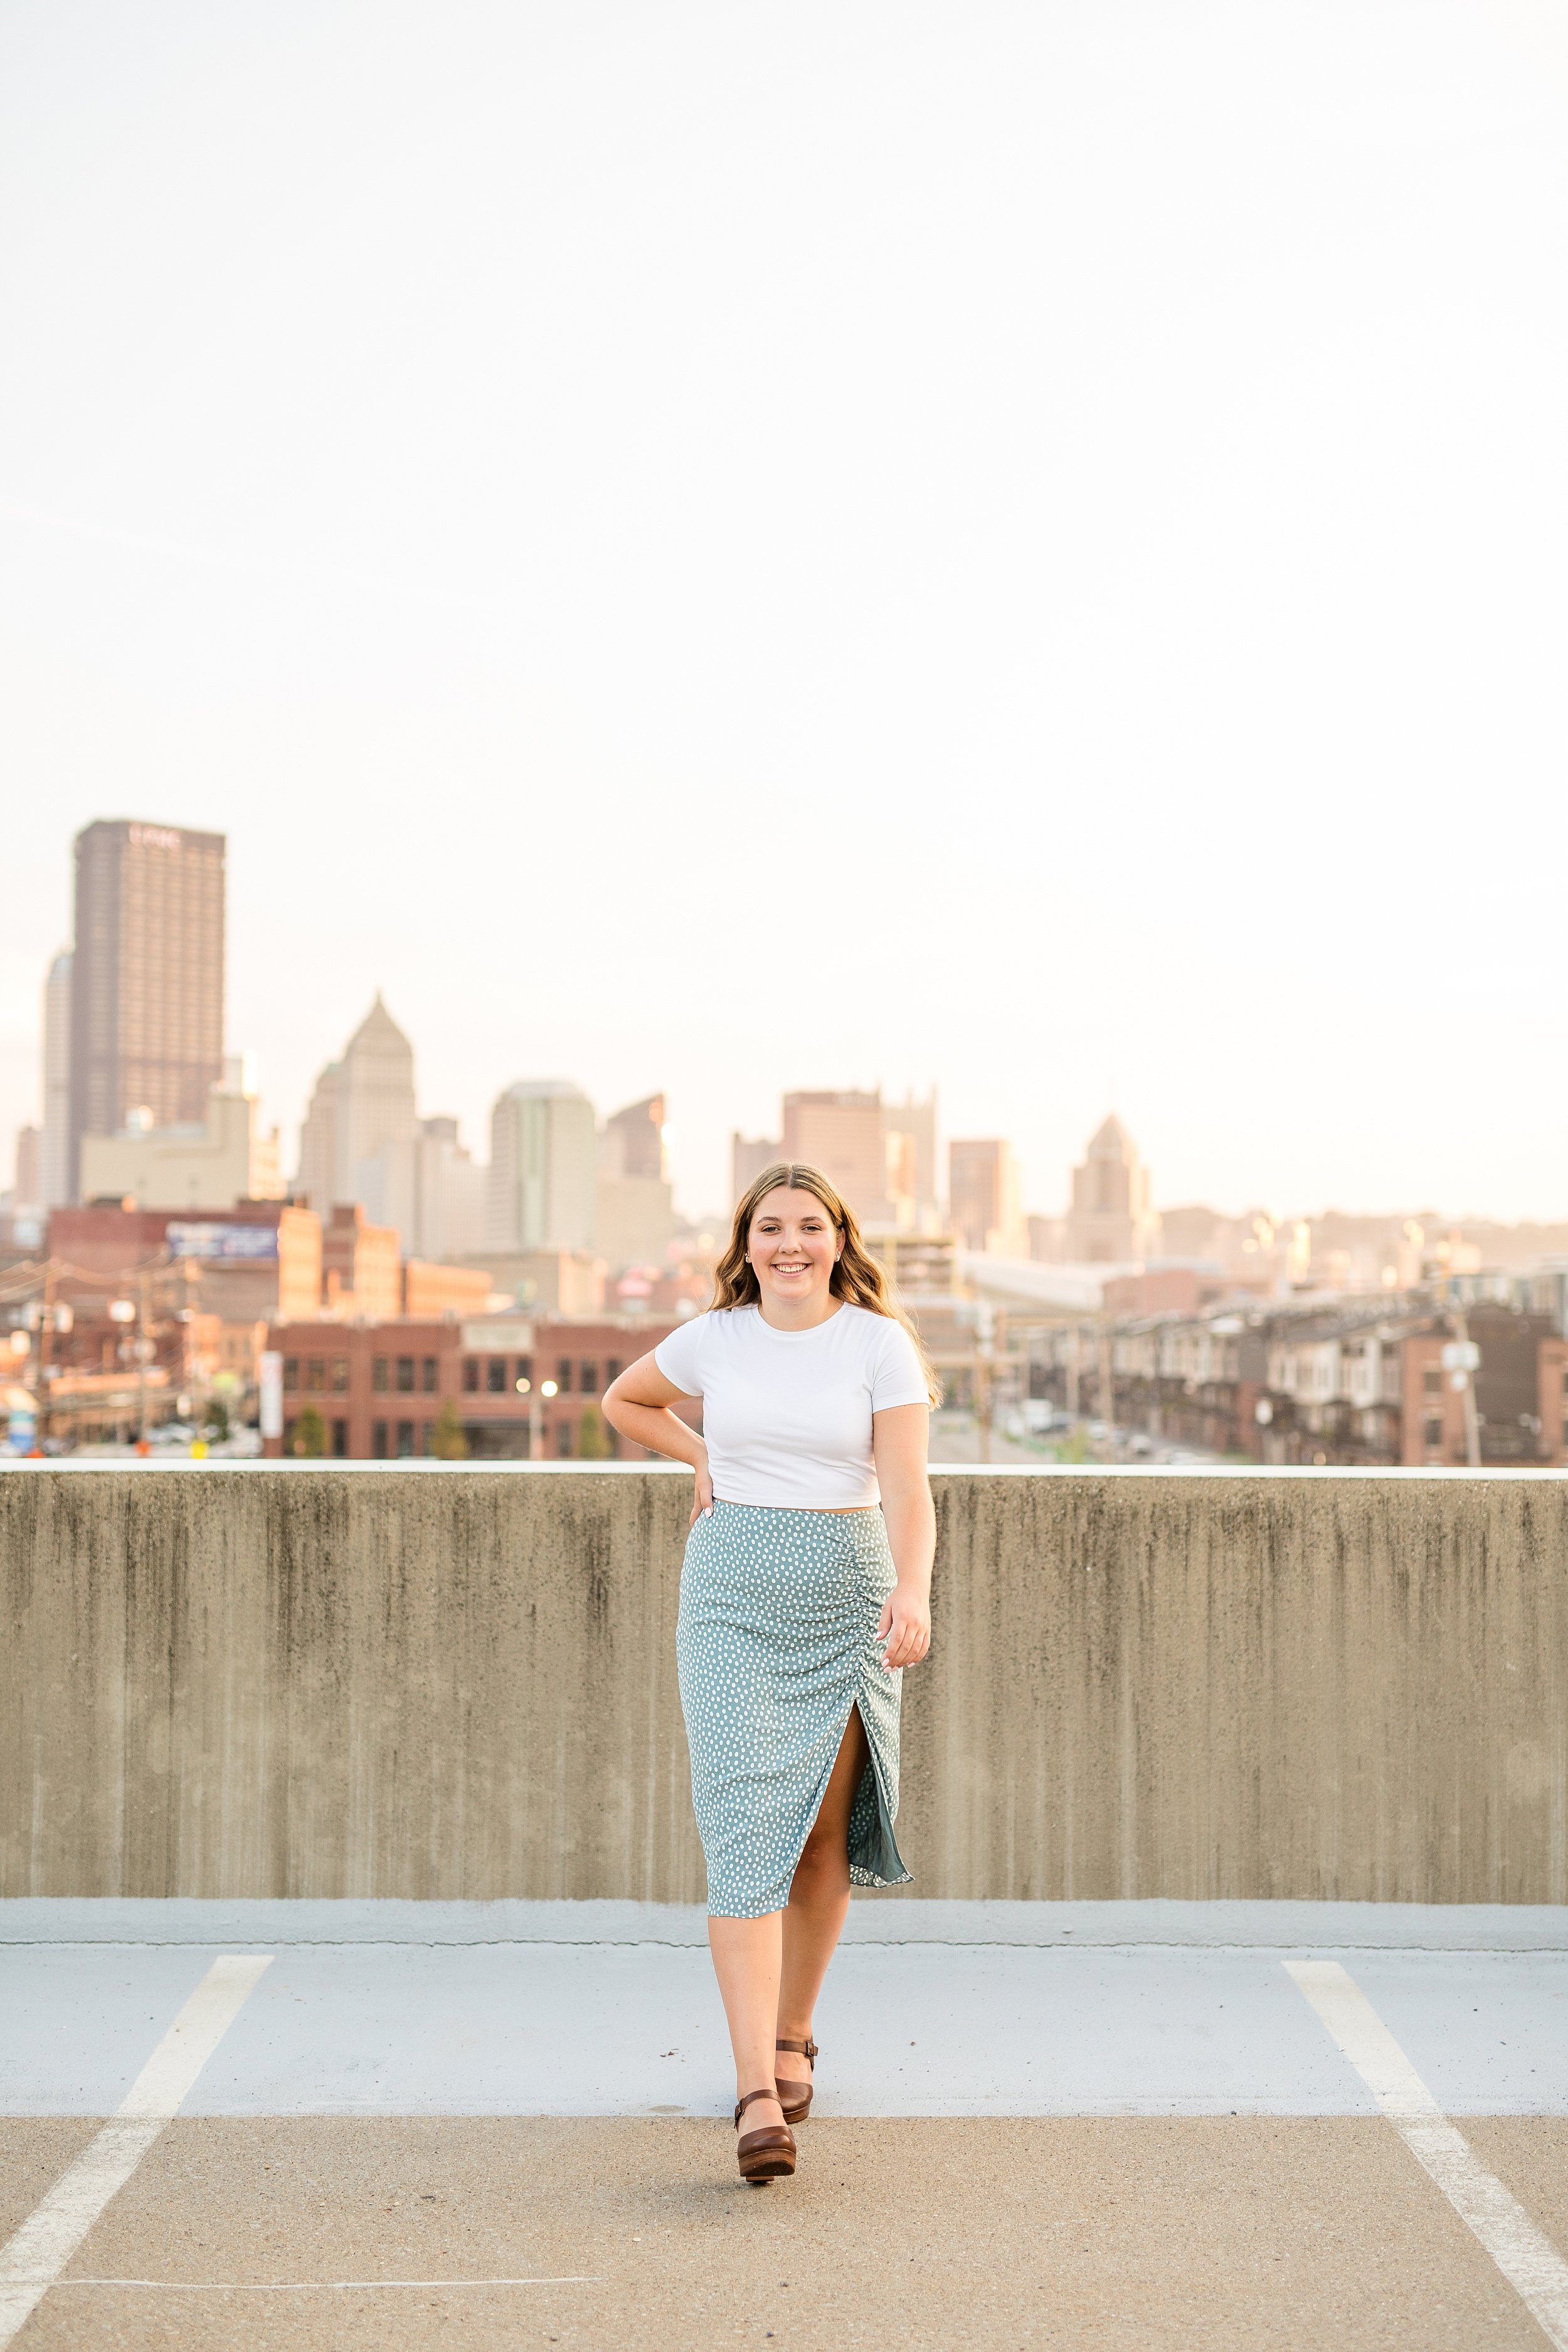
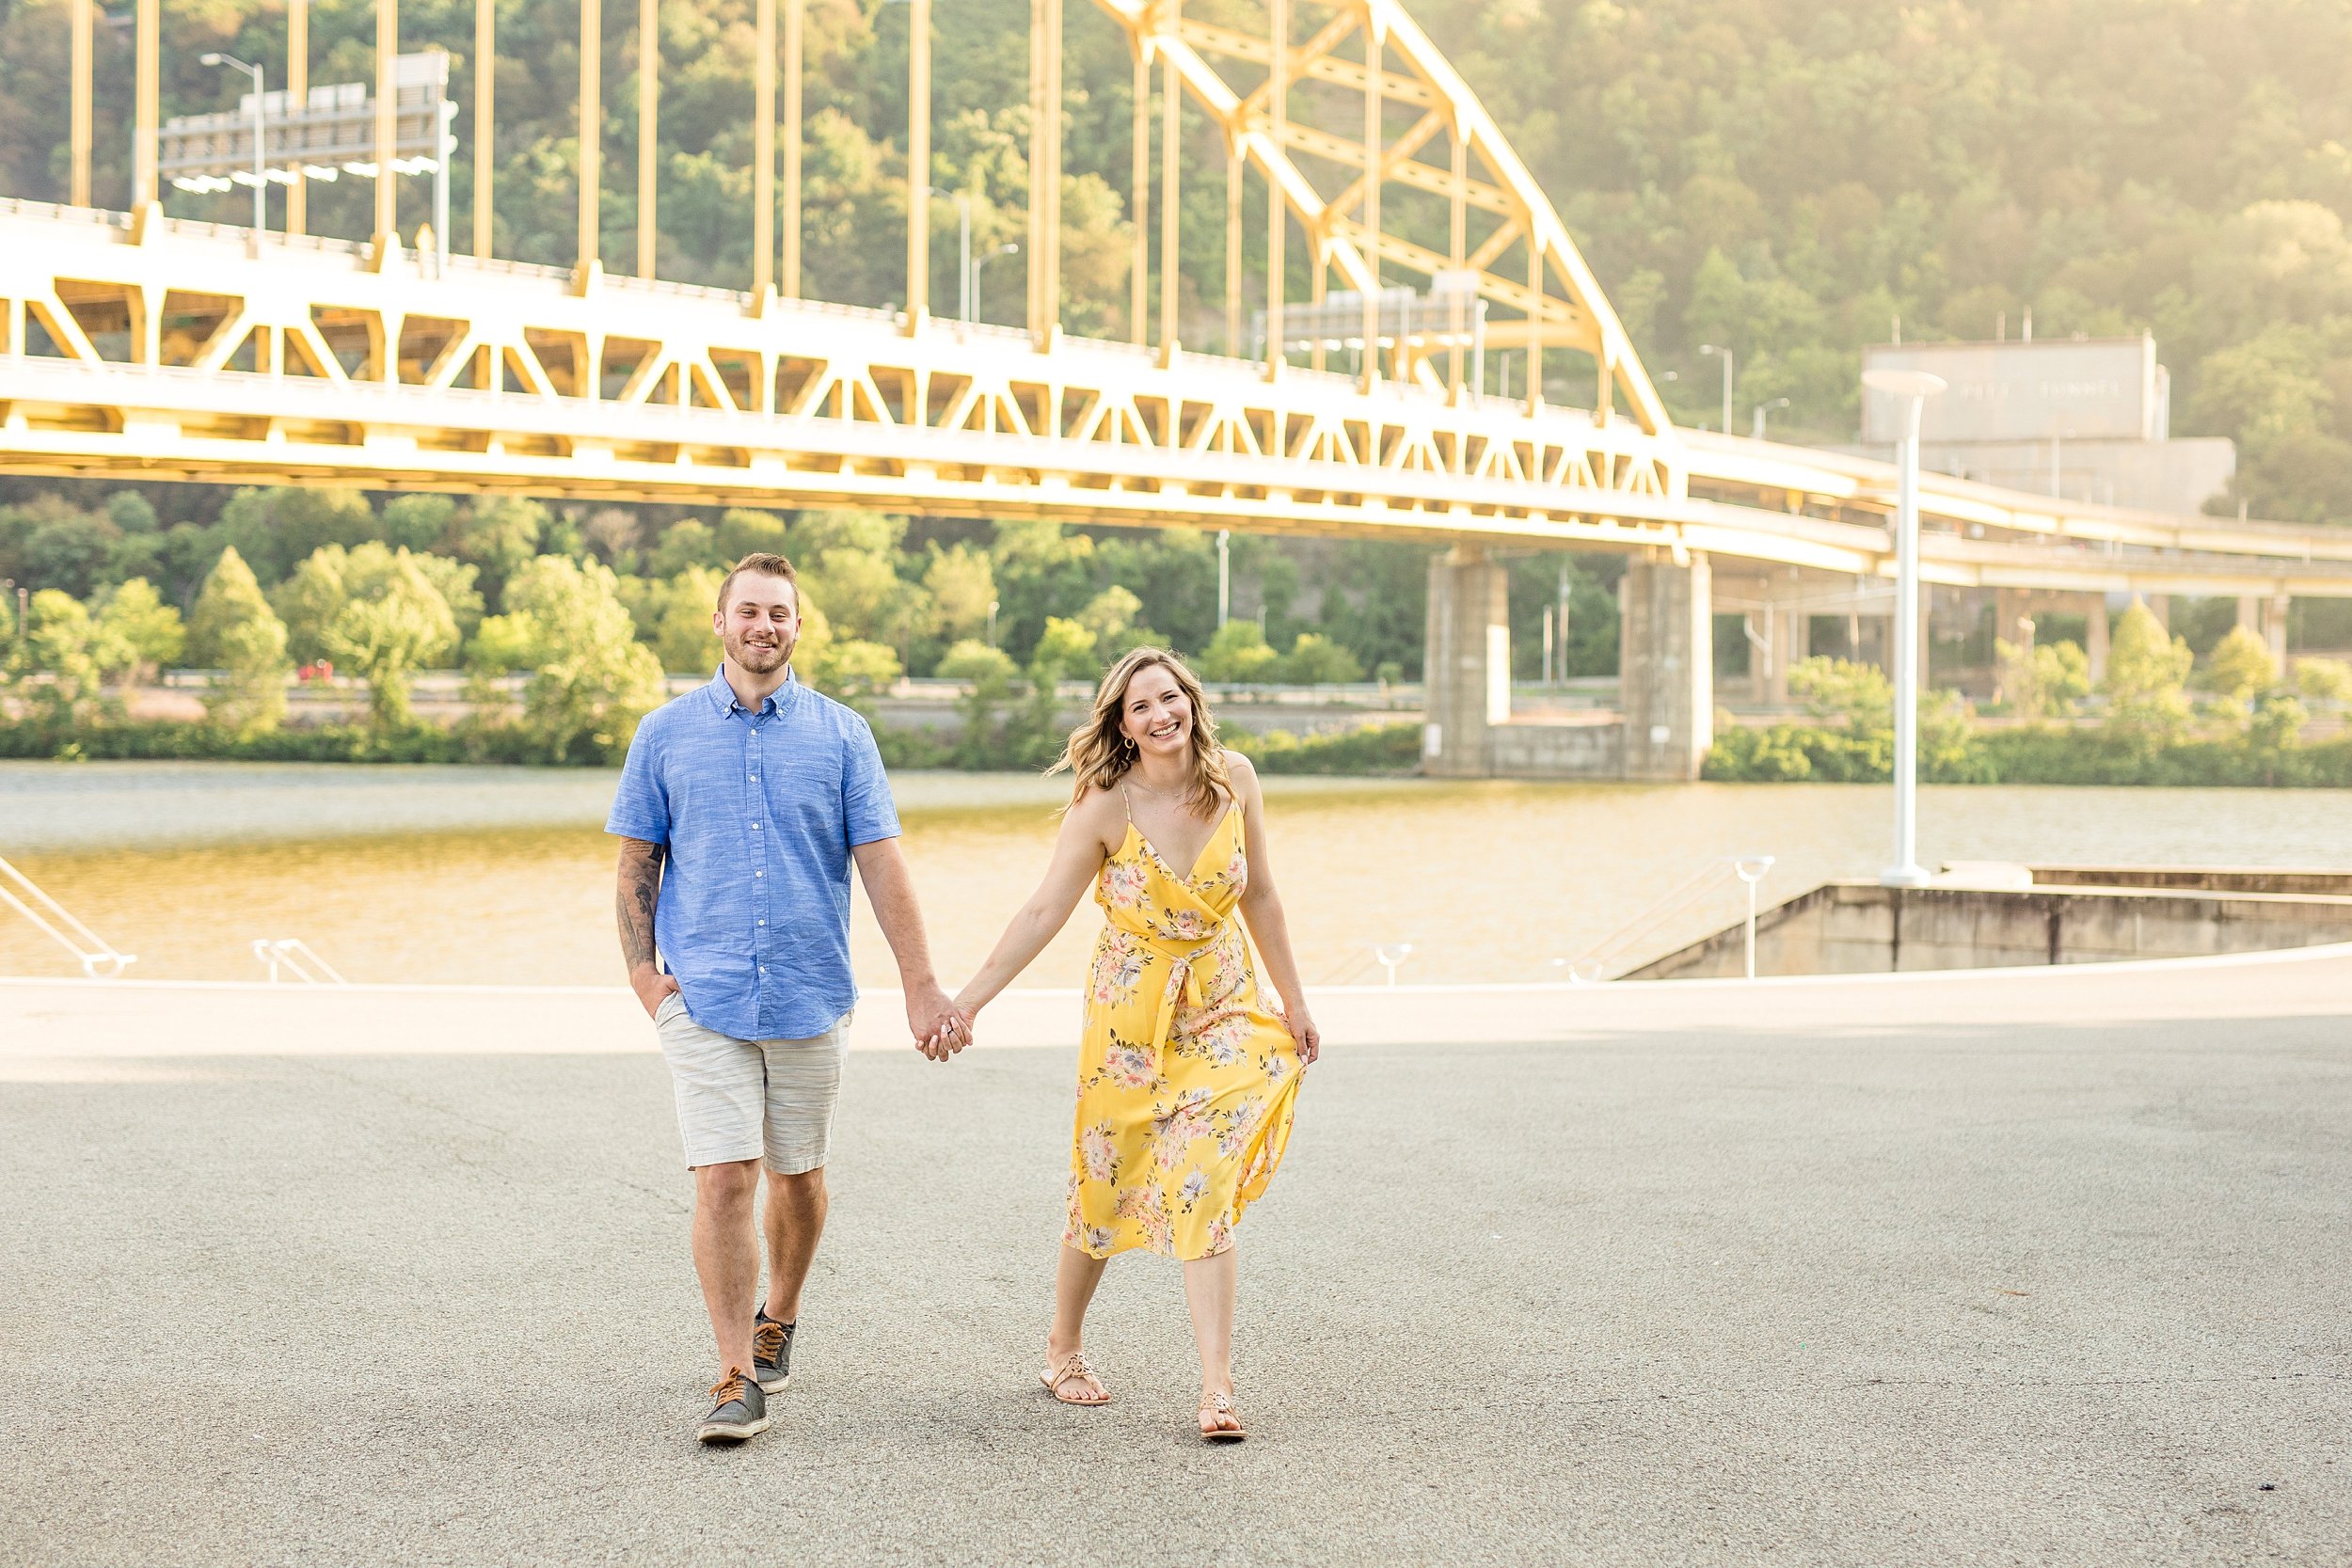
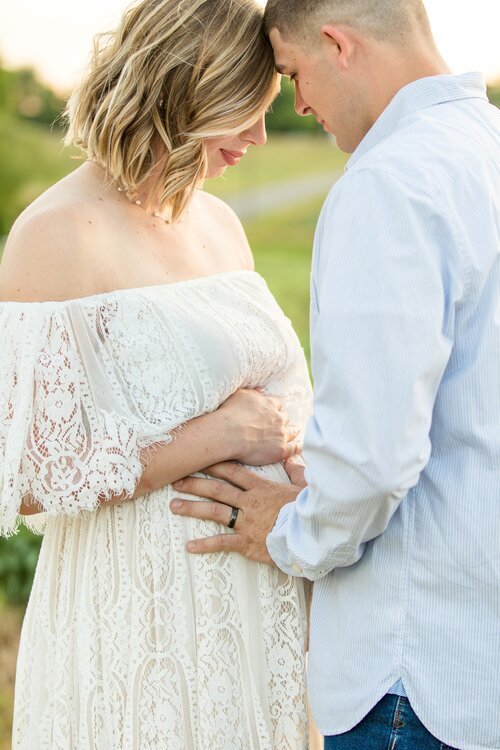
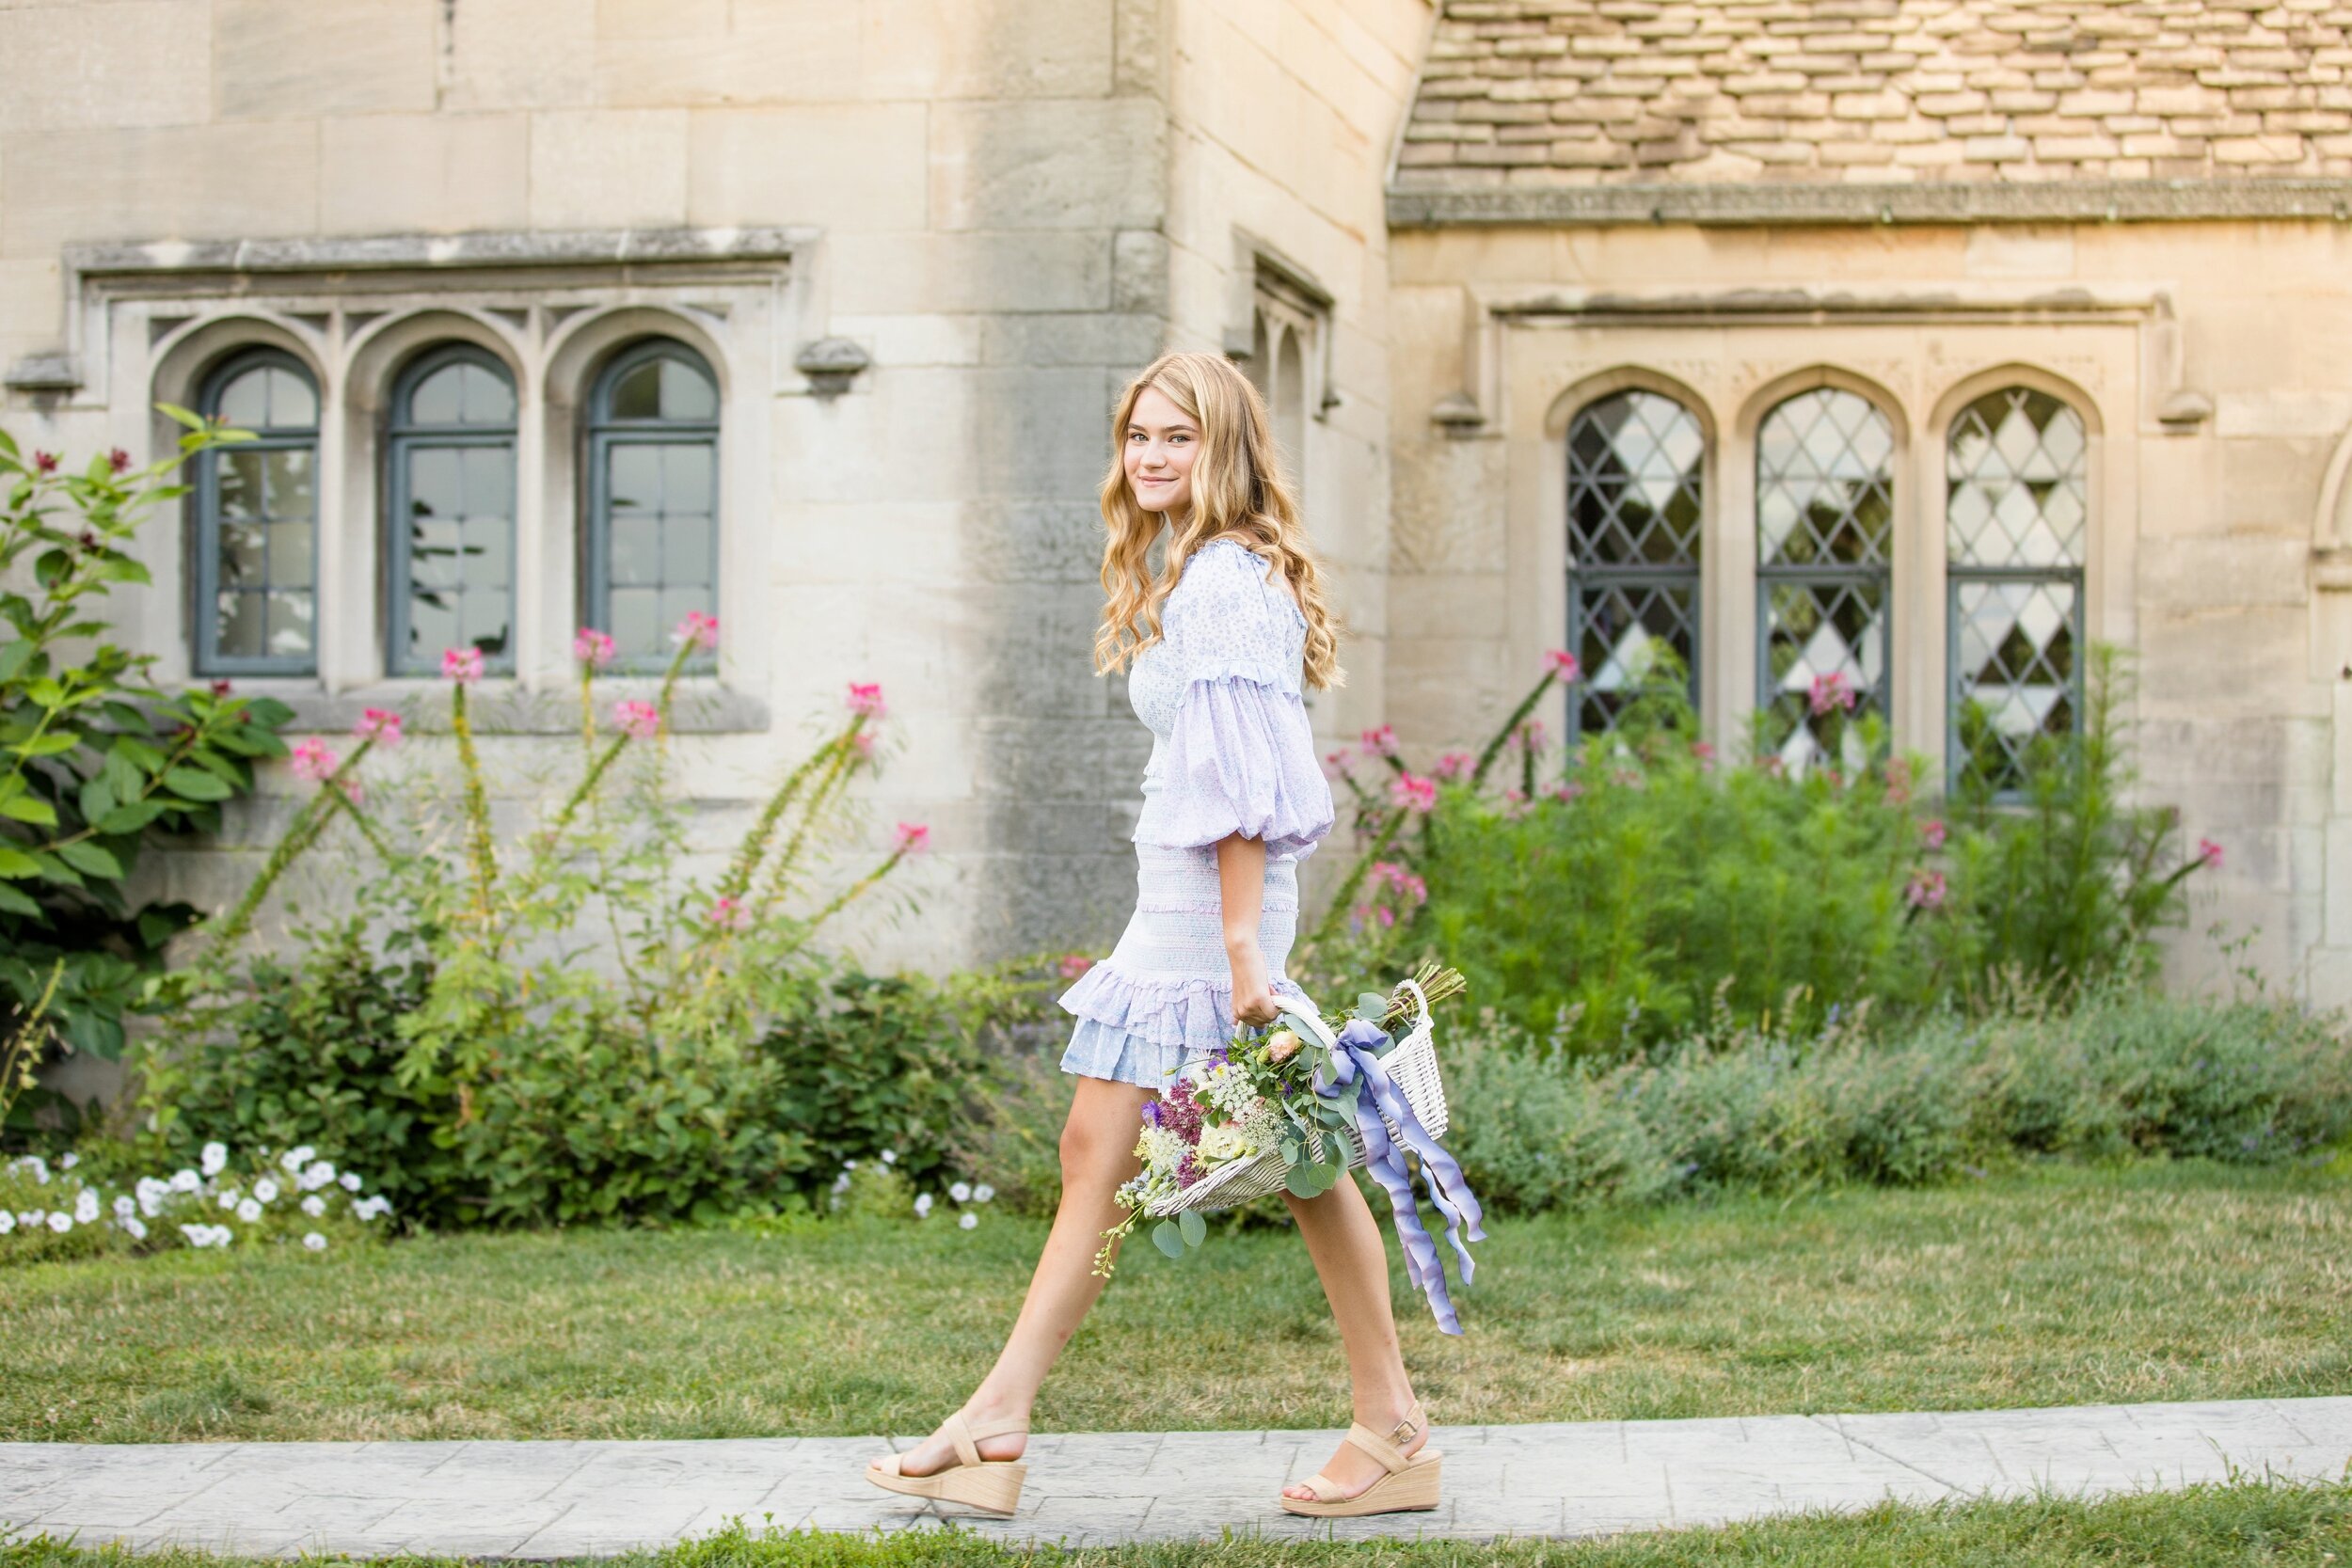
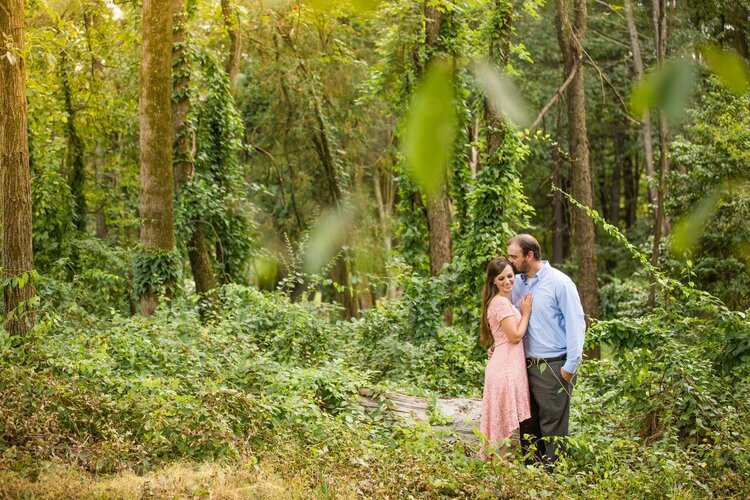
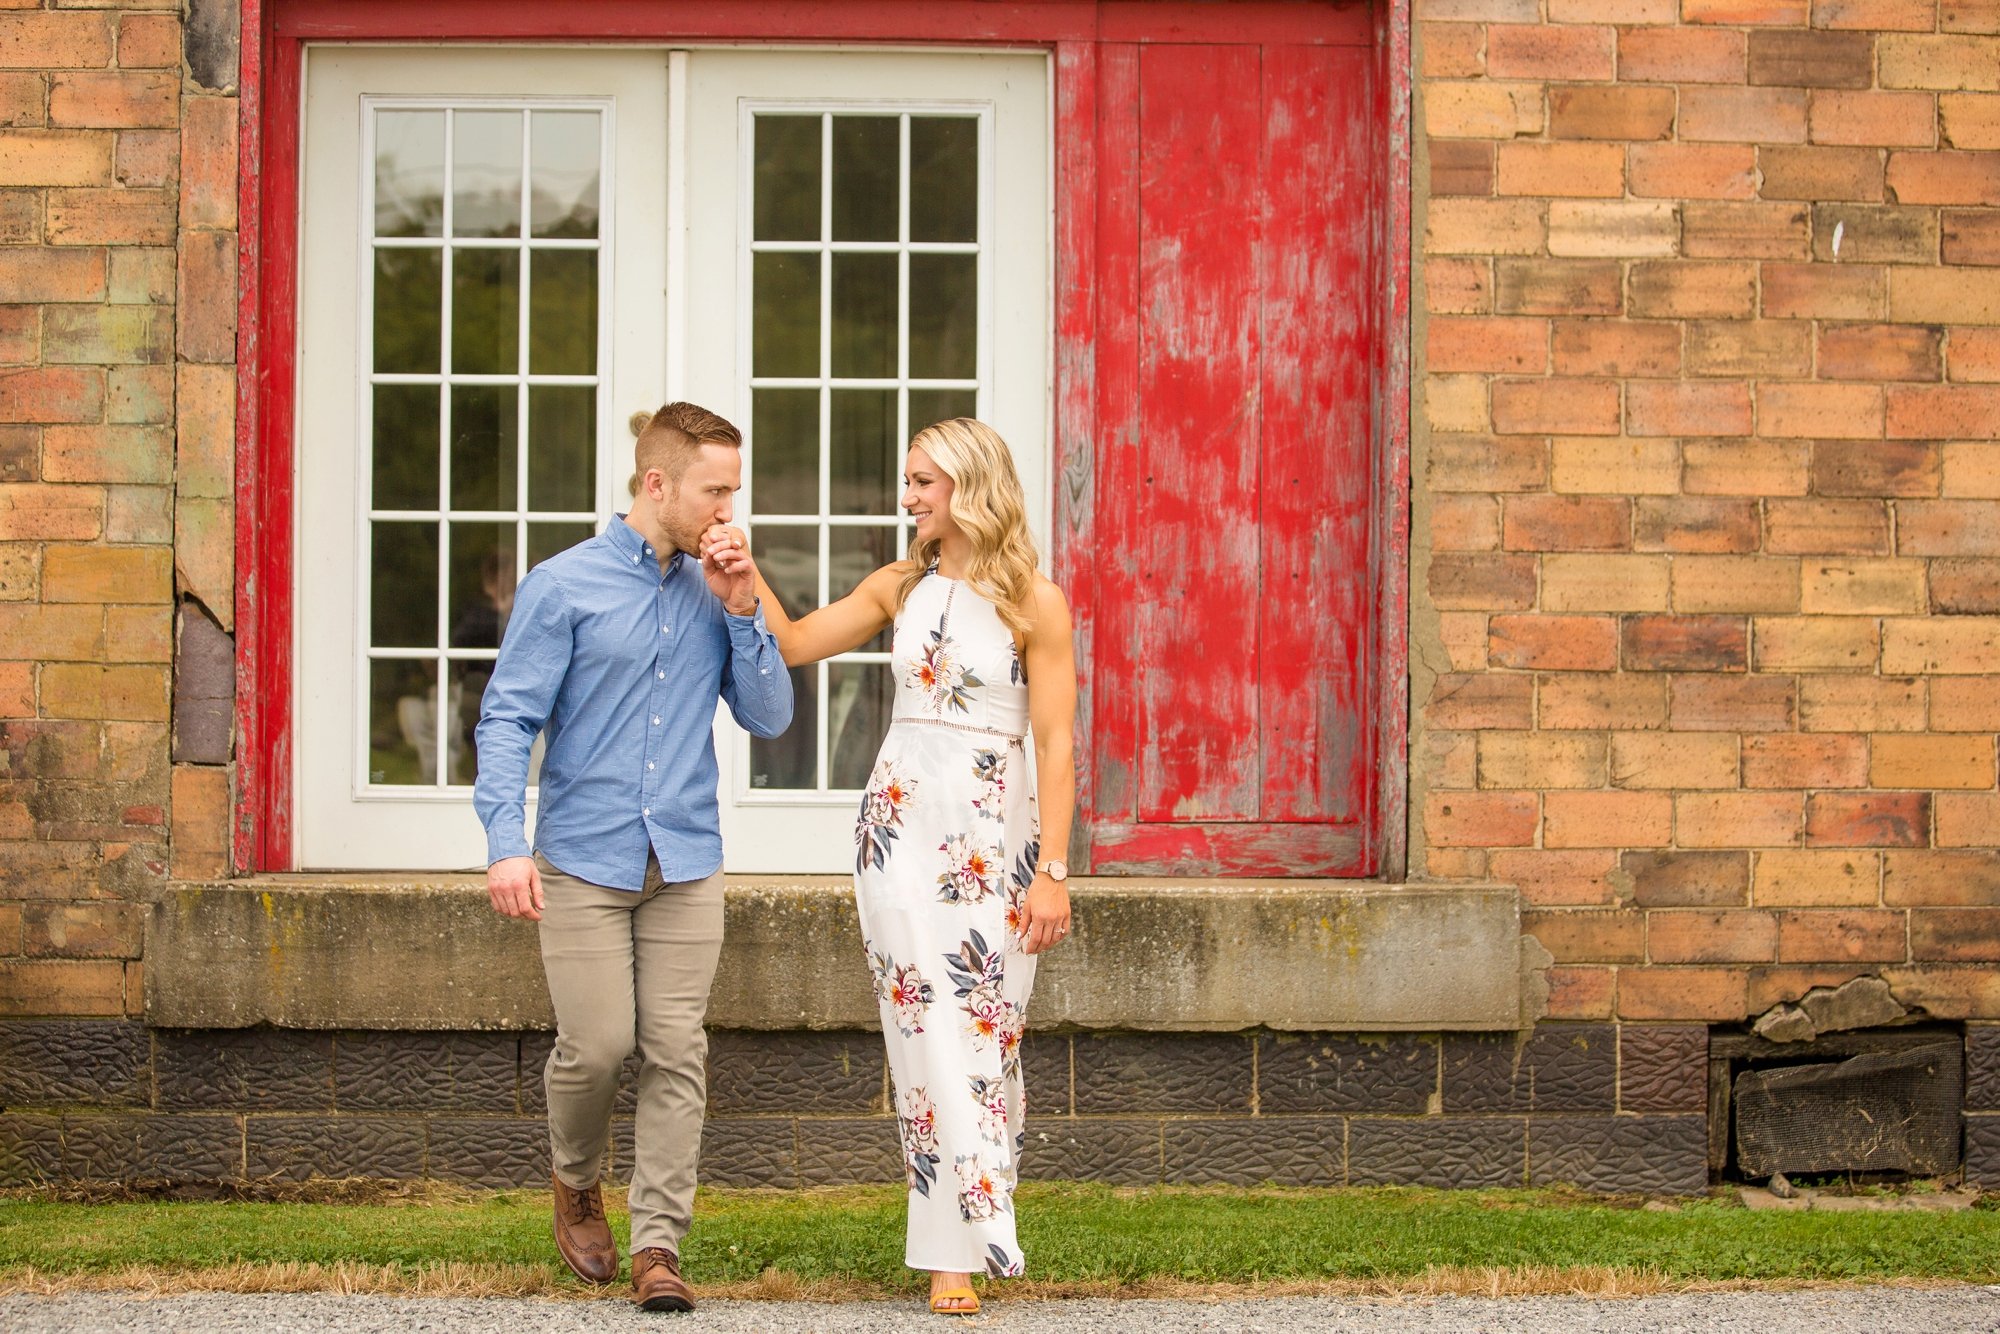
  • Dresses - ladies, this one is for you! Dresses, short or long, are a great way to stay cool during your summer session. Extra airflow is always a good thing!

  • Open toe shoes - I wouldn’t always recommend an open toe shoe for men for photos, but for ladies, they are certainly permissible!

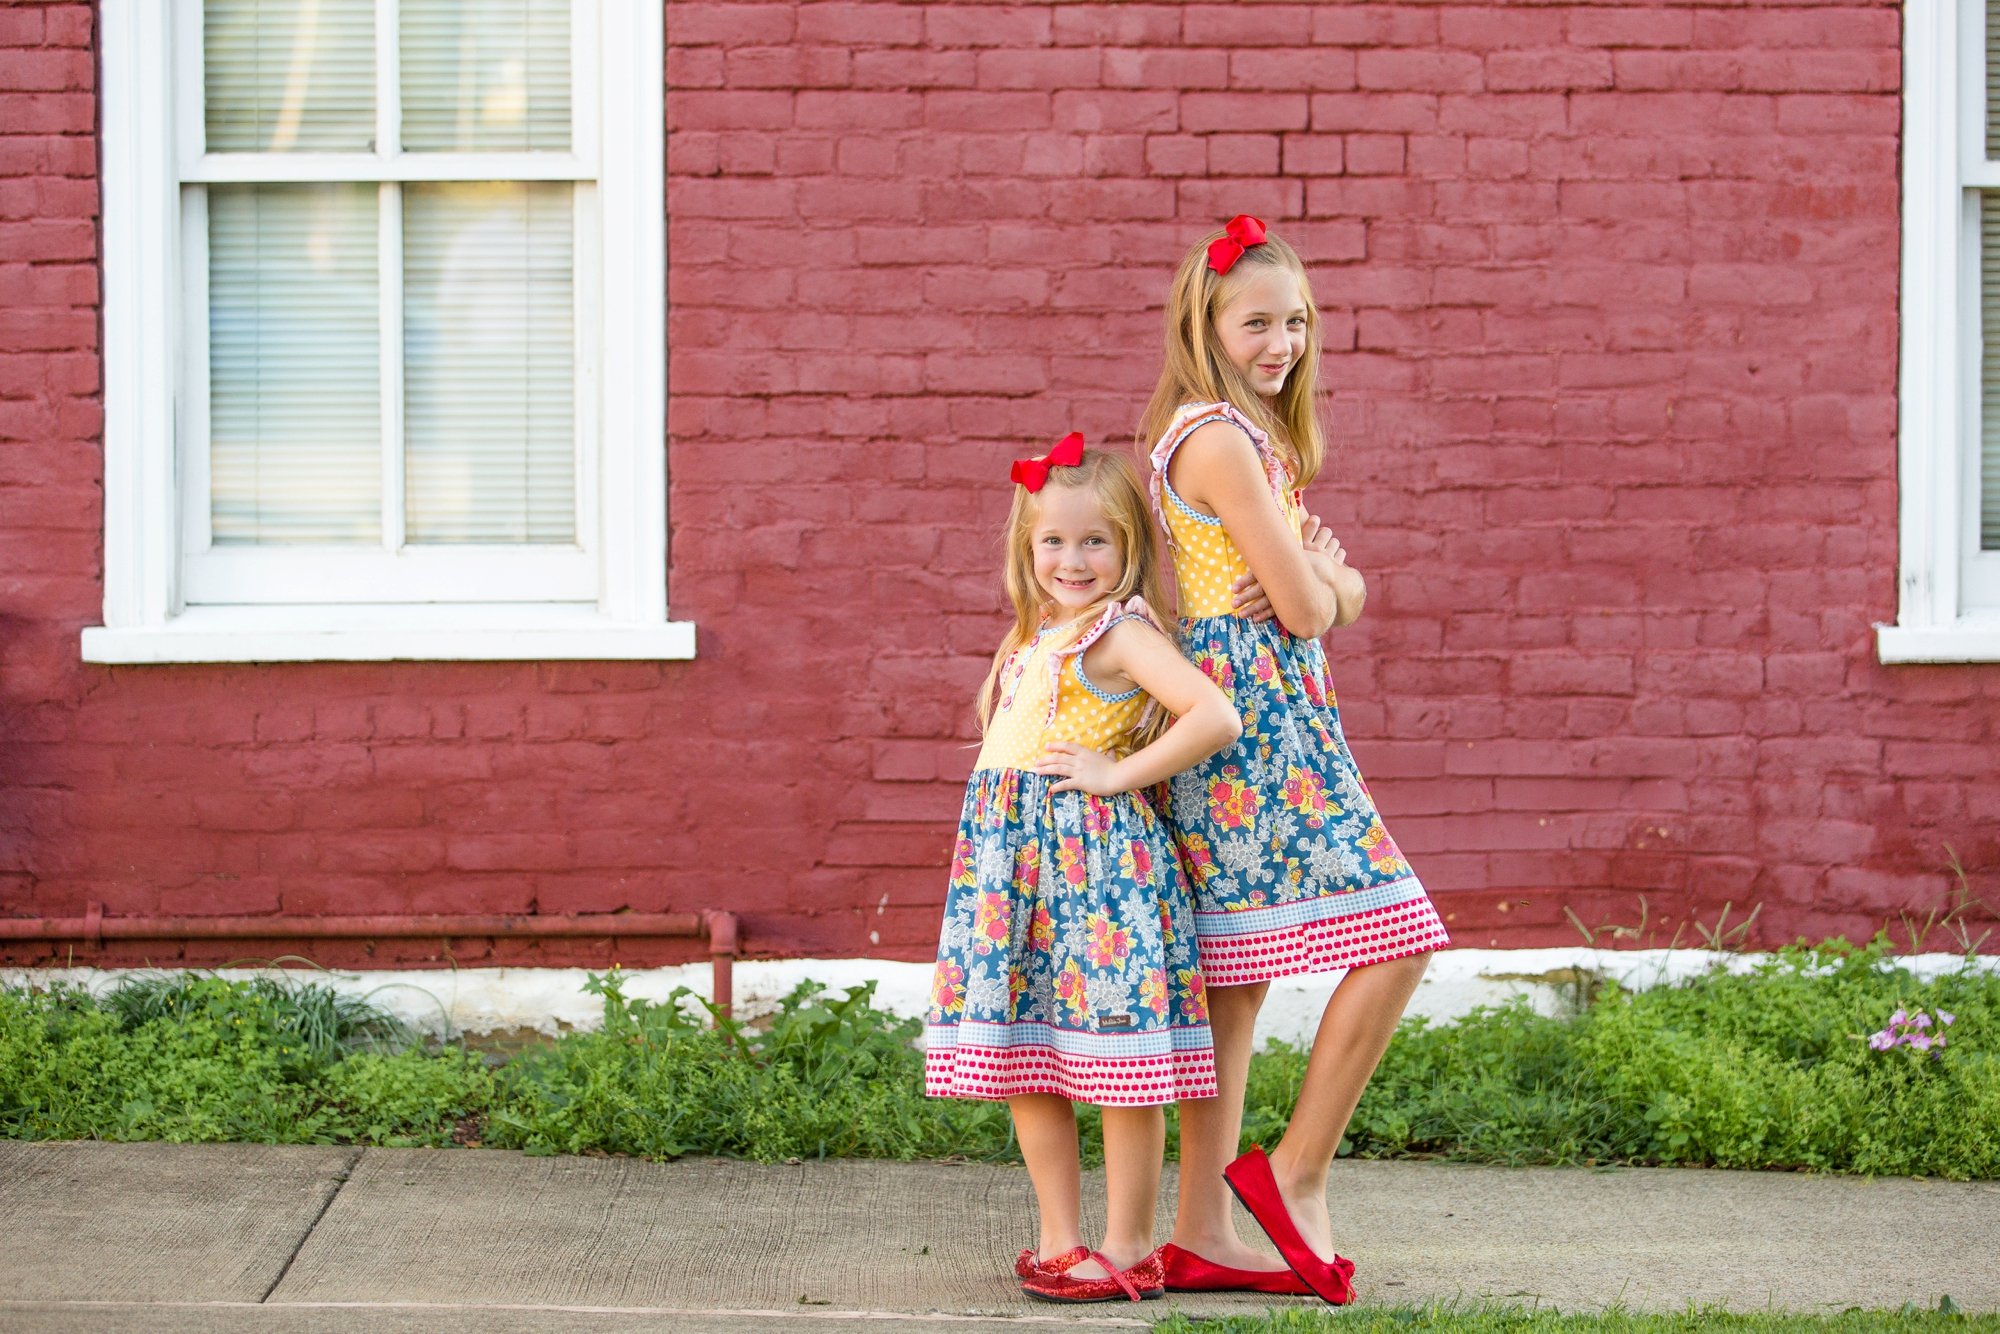
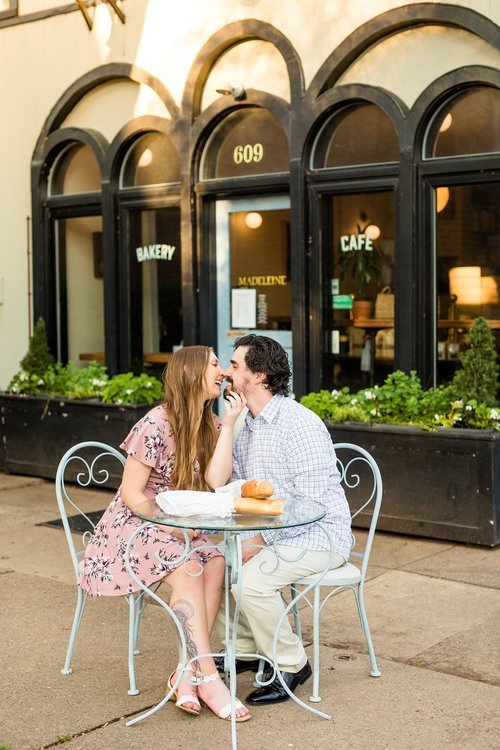
  • Patterned fabrics - patterned fabrics often hide sweat (and pit stains) better than solid colored fabrics.

  • An outfit change - if your first outfit gets super sweaty mid-photo session, you can always change into a second outfit!

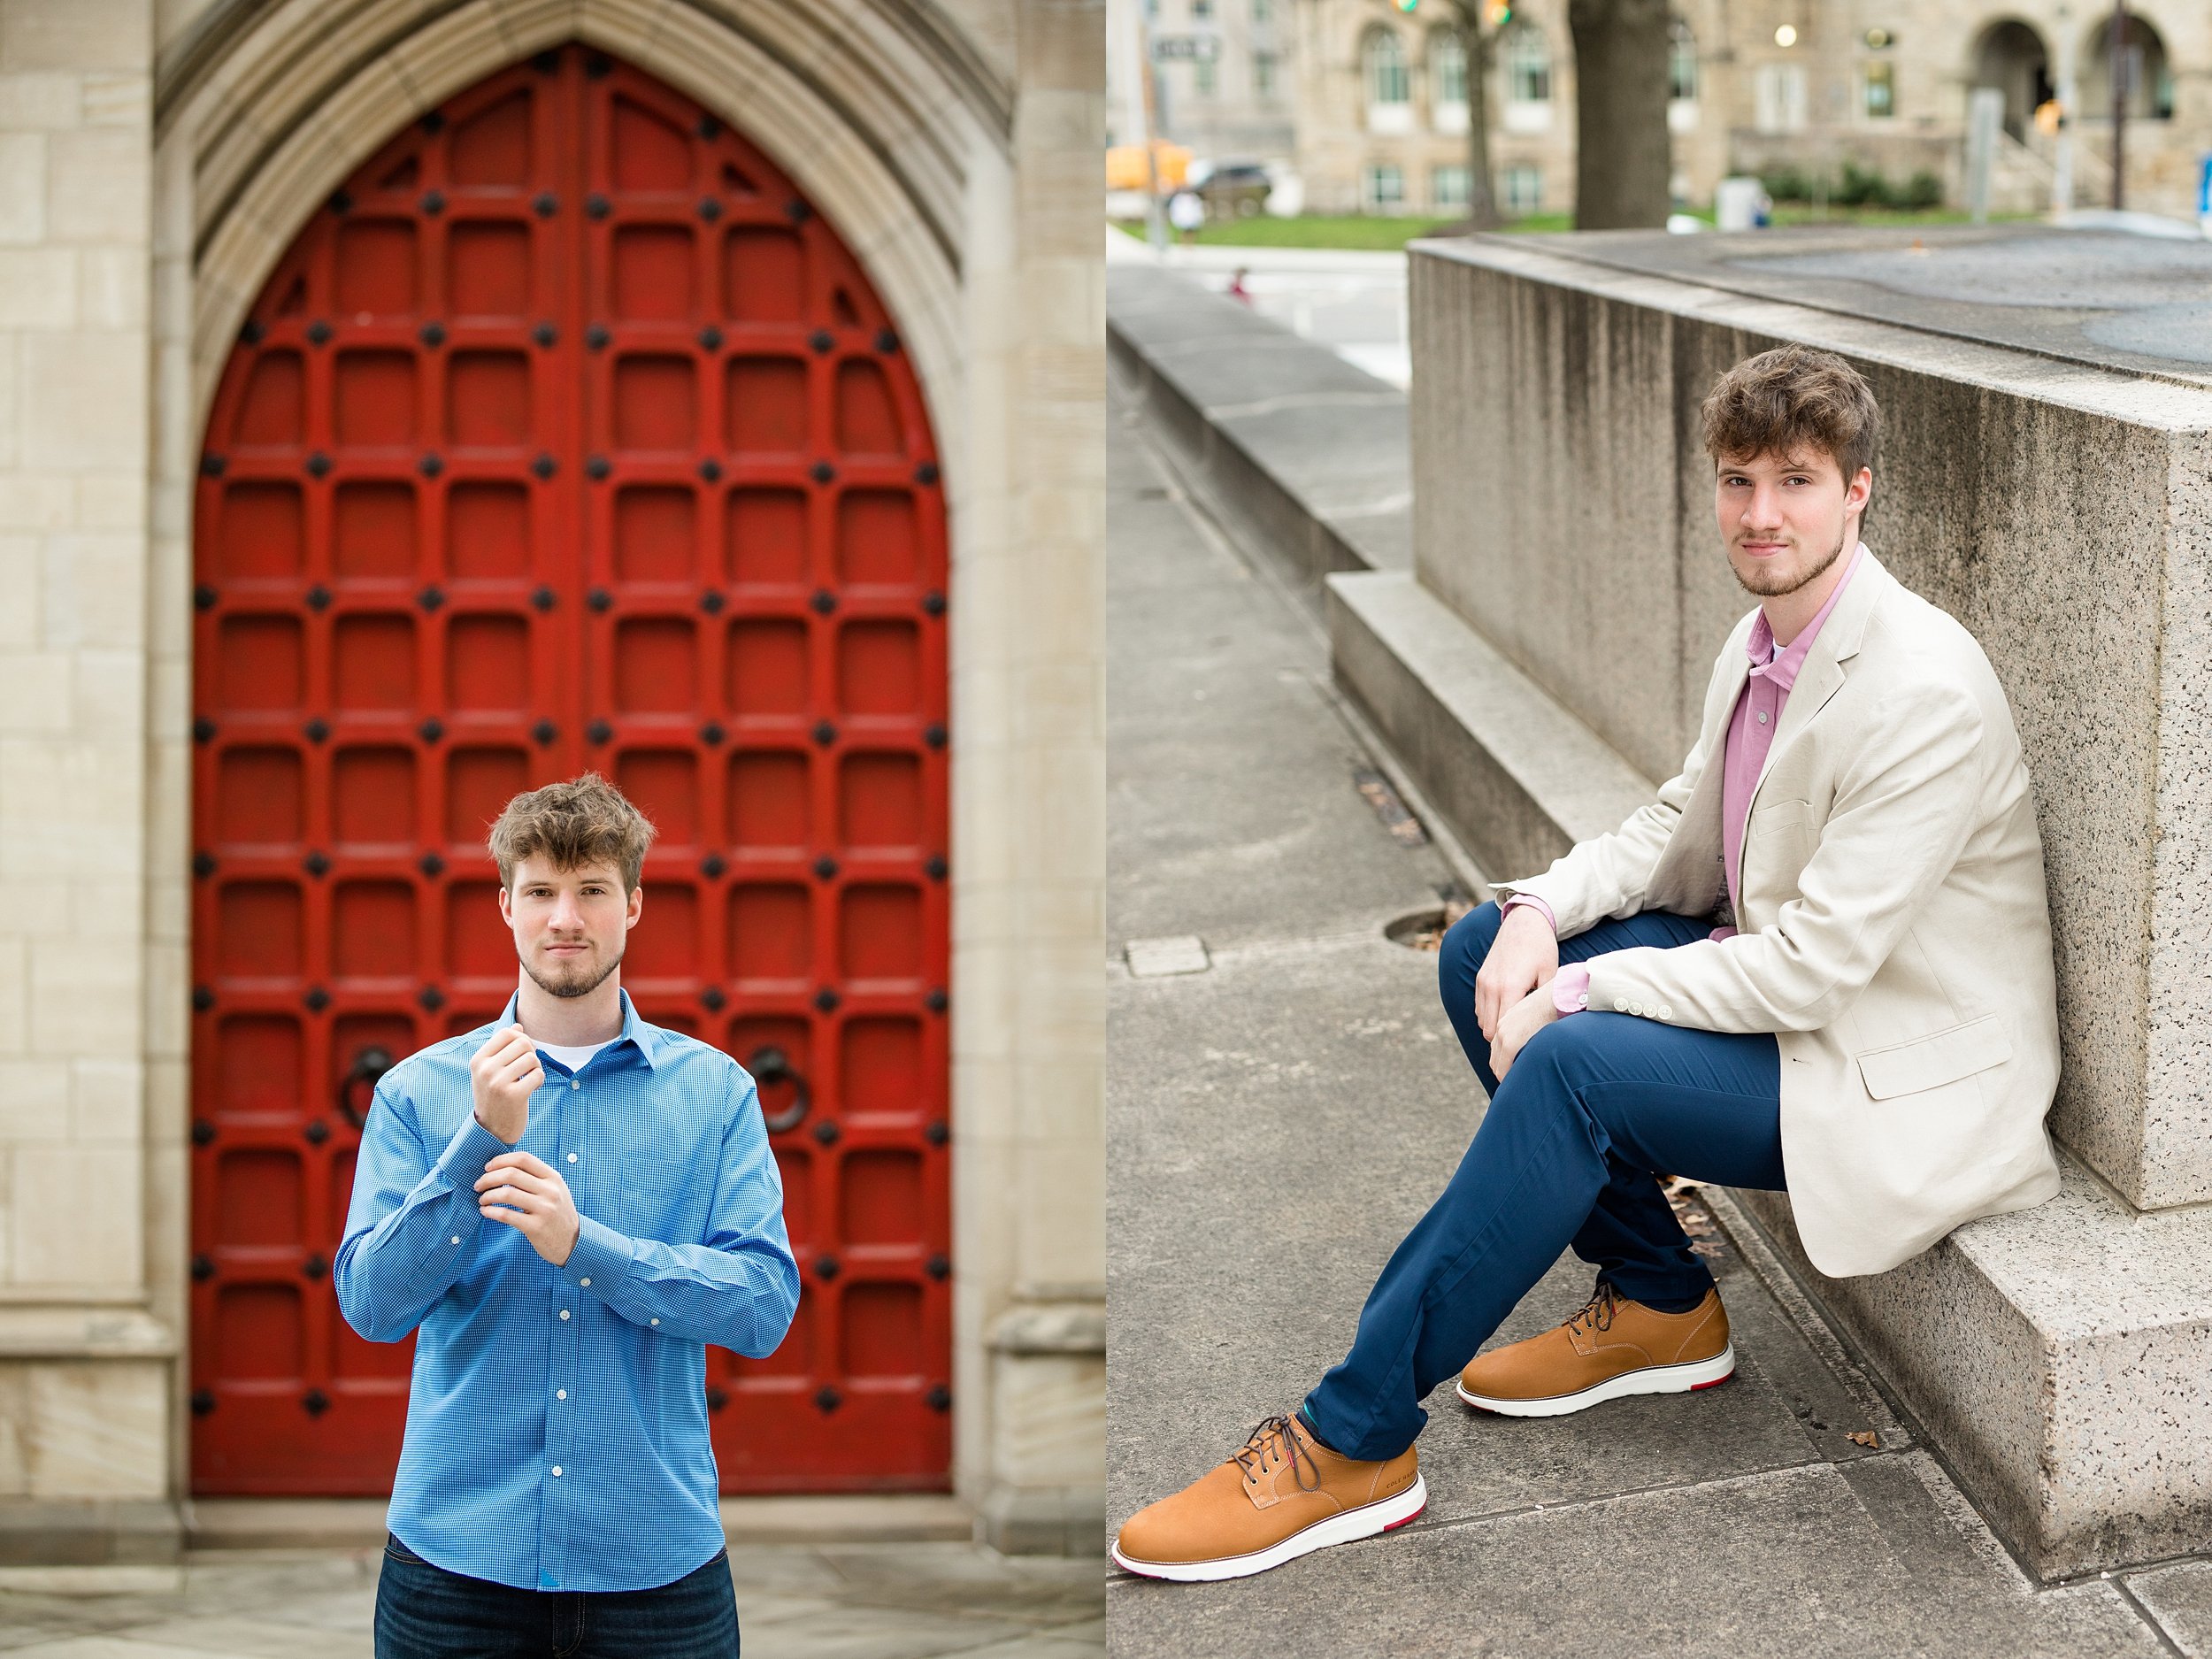
  • An undershirt - especially for guys who plan on wearing a button down to their session, it might seem counter intuitive in the summer, but wear a white undershirt. This will help pit stains stay at bay for longer!

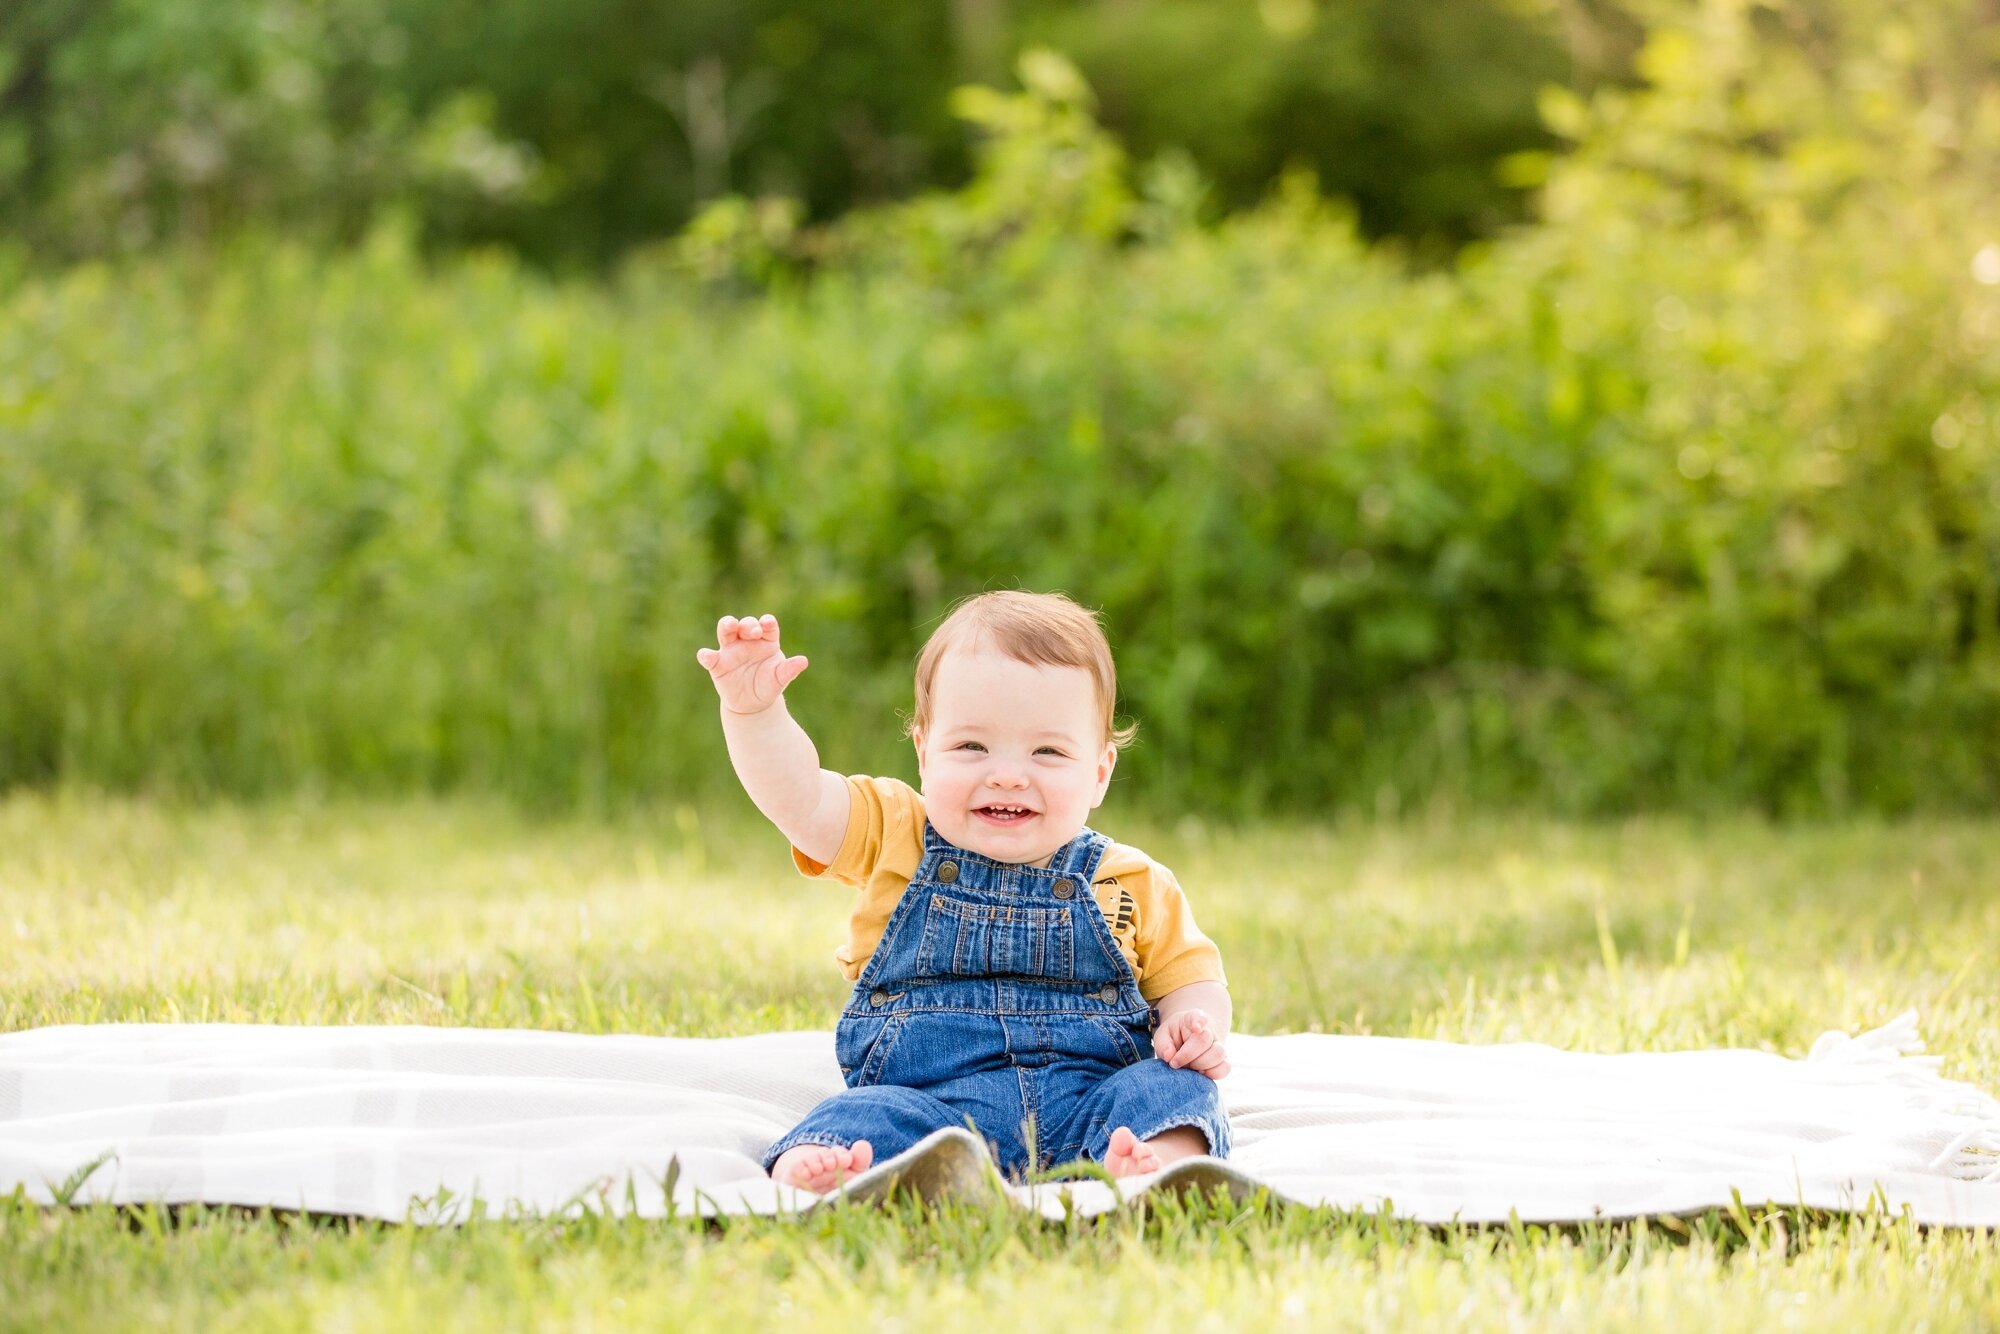
  • Summer themed props & accessories - a cute sunhat? Some ice cream cones? A cold beverage? A picnic basket and blanket? Maybe even just a bouquet of fresh flowers? These can all be cute additions to a summer session!

CONSIDER PASSING ON…

  • Dark colored fabrics - dark fabrics will drawn in the heat and make you warmer faster!

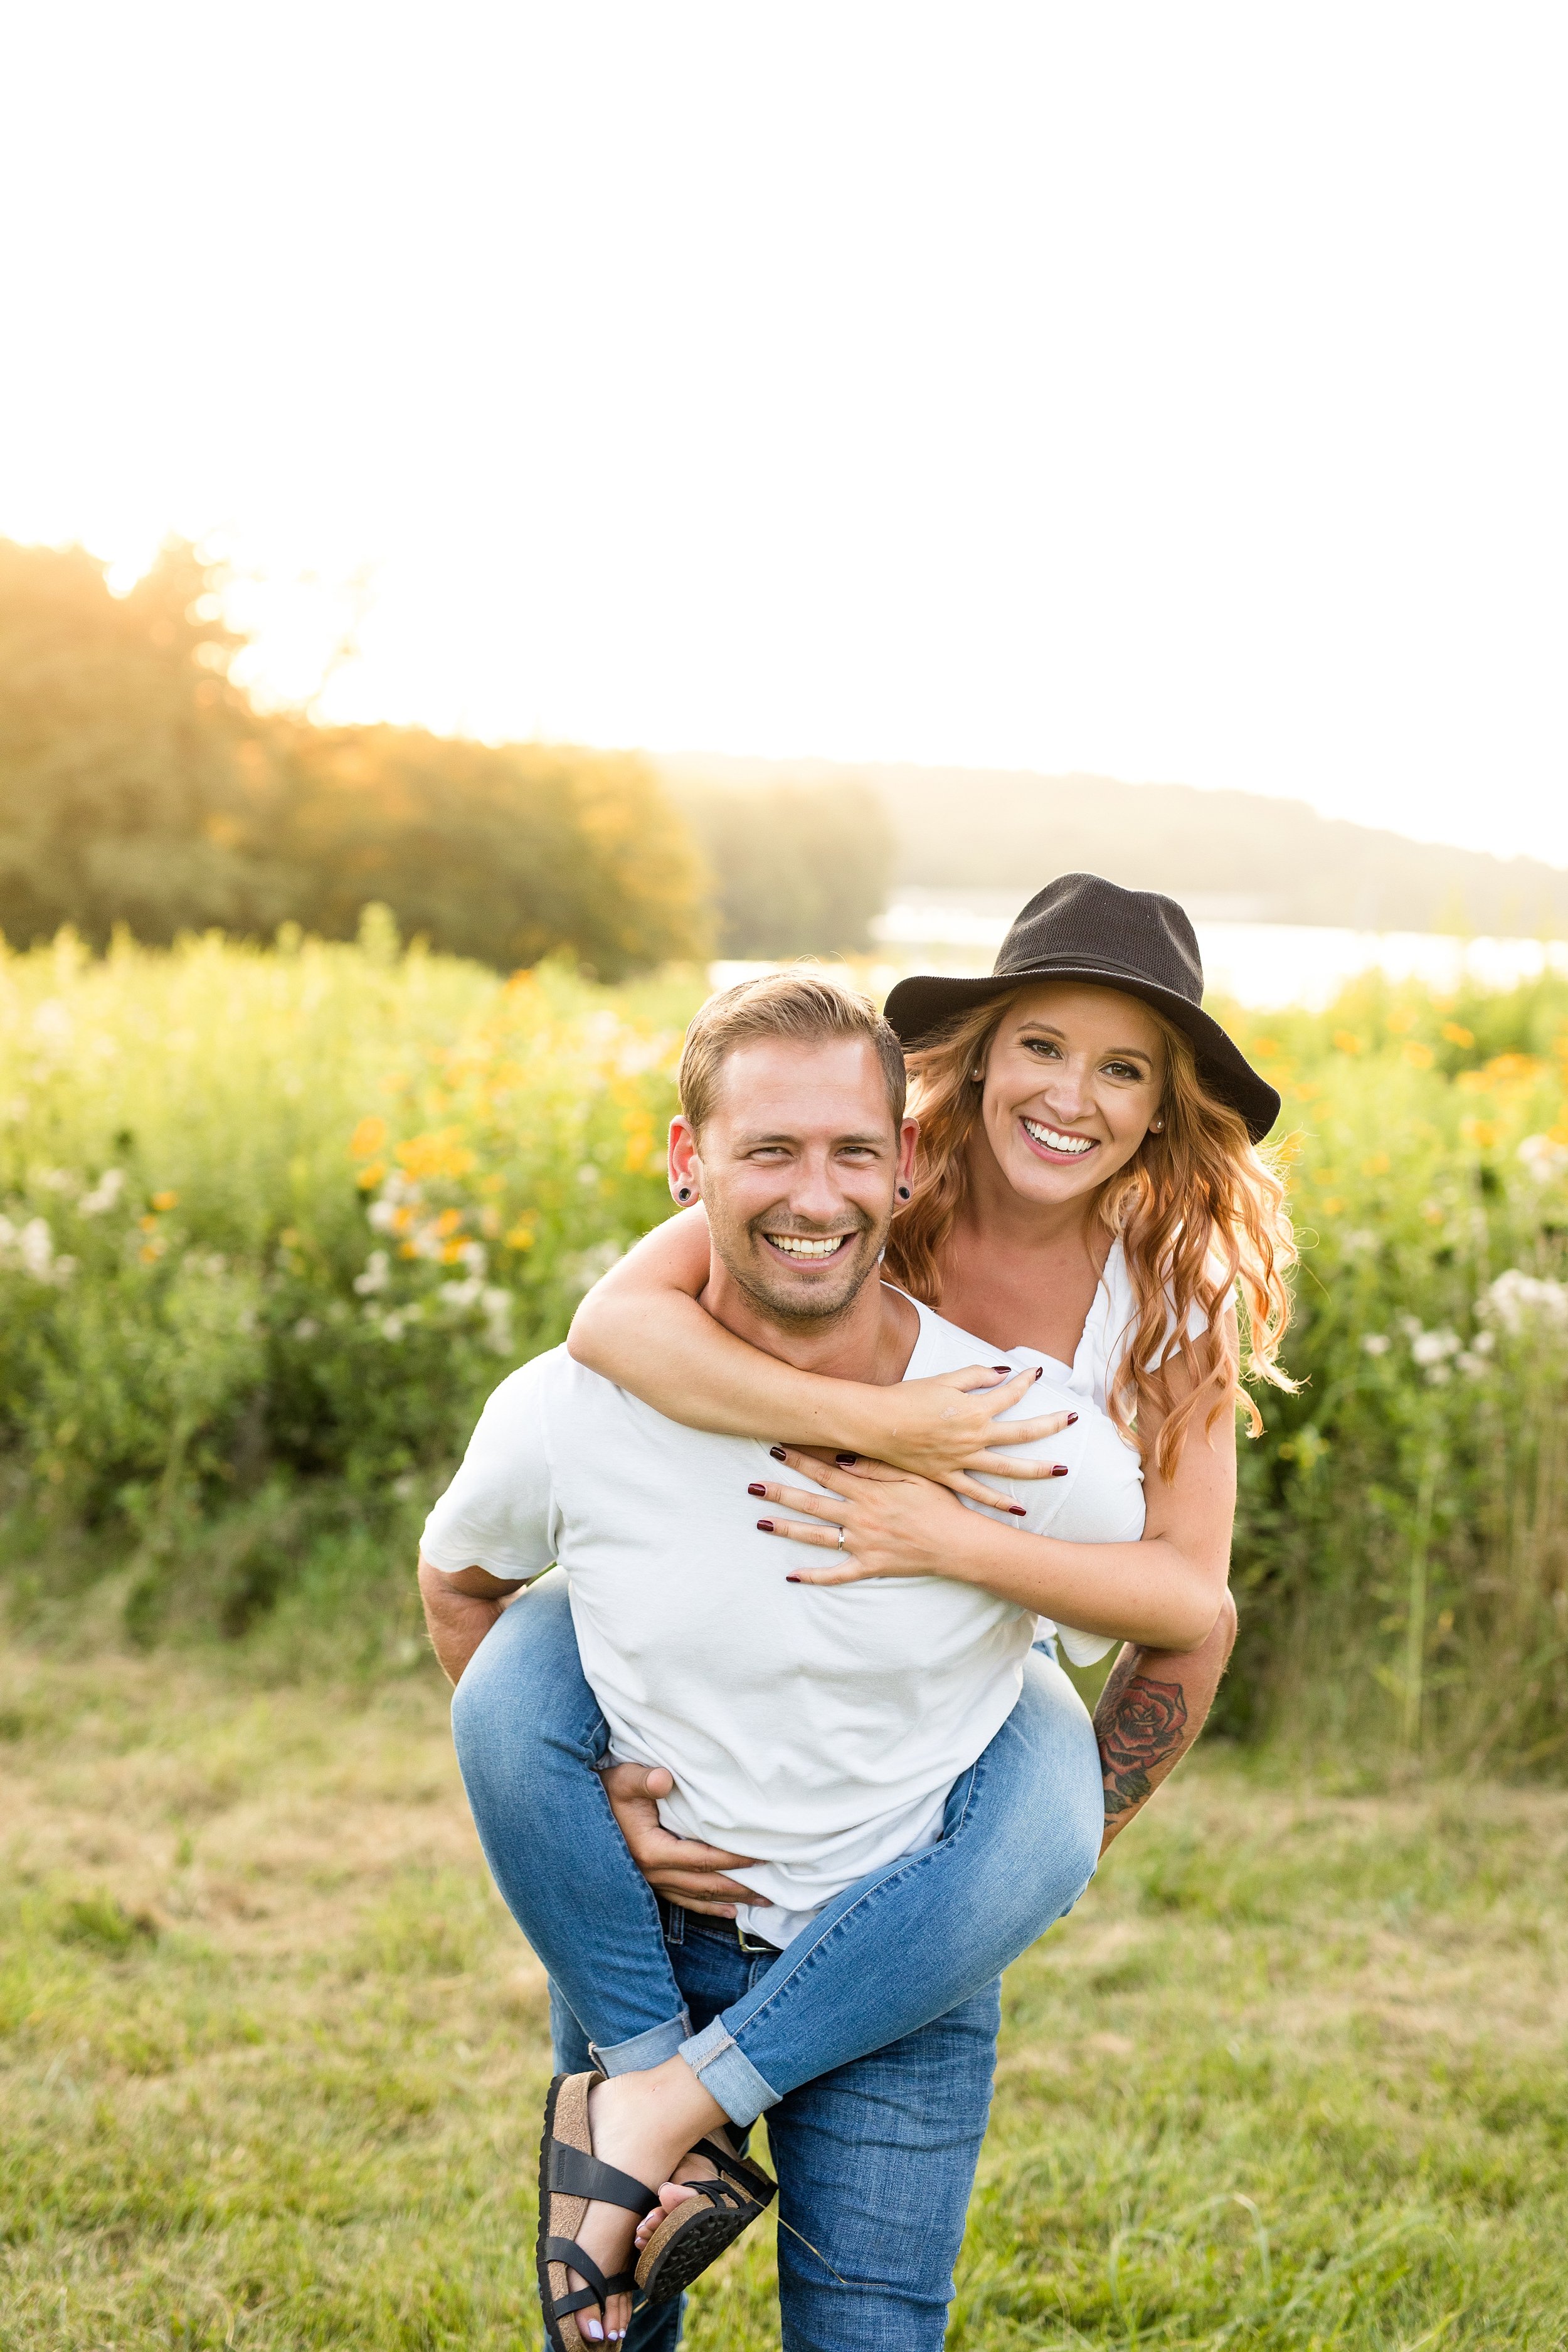
  • Heavy fabrics - heavy fabrics, including denim, corduroy, and suede can feel heavy and are usually a bit too insulated for a comfortable summer photo session (if you want to wear jeans, you could always plan for them to be your second outfit for a sunset-timed photo session, when things are a little bit cooler!)

  • Too many layers - summer is not a time to wear lots of layers. Keep anything you wear light and simple!

  • Sunglasses leading up to your session - when you’re used to wearing sunglasses and then suddenly have to be outside in the bright light for an hour to an hour and a half, you will be very squinty. This is something very common that happens ALL the time. Put those sunglasses away for the week leading up to your session so your eyes are used to the brighter summer light!

A FEW MORE RESOURCES:

If you’re looking for some more help preparing for your summer photo session, check out the posts below!

VIEW SOME OF MY FAVORITE OUTFITS FROM PAST SUMMER SESSIONS BELOW!

Comment

Answering FAQ's: How do you choose locations for photo shoots?

Comment

Answering FAQ's: How do you choose locations for photo shoots?

One question I get fairly frequently from clients as I’m taking their photos is: how do you choose locations for photo shoots?

Most clients who come to me either 1) have a location picked out in advance that they want to use for their session, or 2) tell me the style of backdrop they’re looking for, and I make suggestions for potential locations based on their specifications. Either way, once a client chooses a location (either on their own or with my direction), my job is to find spots at that location that I can use to achieve the style and look of images that clients see on my website.

It’s important to me that a client knows the style of work they are going to get when they choose to work with me. The vast majority of images on my website are vibrant/colorful and bright, so when a client chooses a location for their photo session and chooses me to be the photographer based on the work they’ve seen on my website, my job is to create work for them that is consistent with the work they’ve seen on my website - even at a location I’ve never shot at before.

So, how is this done? How can consistency be maintained across a multitude of different types of locations?

Before every session - either days in advance or an hour in advance - I location scout wherever I will be taking photos. Location scouting is essentially just checking out the light and location of where a session will be taking place to see what spots are suitable for creating bright & vibrant imagery, and what spots are not.

While I’m location scouting, I’m looking for a few specific things. First and foremost, position and quality of light.

1 - Position & Quality of Light

As a photographer who primarily uses natural light for outdoor photography, it’s important for me to know where the sun will be during the timeframe that the photo session will be taking place. My goal is to almost always have my subject facing away from the sun. Because of this, I have to make sure that any specific spots I choose to use during a session are working in cooperation with the available light and with the look I am trying to achieve.

I will choose different locations when photographing an evening photo session versus a morning one, because the sun switches spots in the sky throughout the day. On an overcast day, however, I am able to use MANY more backdrops because the light is much easier to work with - it falls softly across my subject no matter which direction I have them facing, which means we are able to use a wider variety of backdrops.

The light is the first determining factor when figuring out what locations can be used for a photo session.

2 - Natural Reflectors

Because my clients are often facing away from the sun, I want to make sure they have enough light bouncing back onto their faces (filling their features, as I like to say!) so that they look illuminated and bright. You might have experience this struggle before if you’ve ever tried to take a backlit photo of someone on a sunny day on your phone - their face might not be very well light, and it probably lacked contrast. One reason is because phones just don’t always have the capacity to expose a subject well when backlit, but another reason is because there might not be any light bouncing back into your subject’s face - it’s all coming from behind.

Here’s how I fix this problem: by utilizing “natural reflectors.” (And sometimes artificial ones, too!)

Let me explain - a “natural reflector” is any light that bounces off of the scenery around my subject (the ground, a wall, etc.) onto their faces. Whatever surface is below my subject reflects trace amounts of light onto their faces, especially on a very bright day (the brighter the sun = the more intense reflection of surface light). This means that placing my subject on a large patch of green grass in the middle of the afternoon can create a green color cast on their skin, making them look a bit sickly. Putting my subject next to a large, red brick wall on a bright day means that some of that red will reflect onto their face. However, putting that same subject on a white or cream colored cement or cobblestone means that they will have flattering light reflected onto their face - because a white or cream colored surface reflects “clean” light that doesn’t have a color tint.

I always look for natural reflectors when I am looking at locations, because they help my subjects look their best, and are easiest to work with. This is especially helpful when it comes to photo sessions with larger groups (families & bridal parties, especially) when I can’t use an artificial reflector to correct the color as easily. (If you’re wondering what an artificial reflector looks like, click here!). I will often use an artificial reflector to correct color casts from green grass and brick buildings when I really want to use a location that doesn’t have an optimal natural reflector!

3 - Variety of Backdrops

After first and foremost considering the light, then natural reflectors, I finally move on to considering specific backdrops at a location. For me, specifically, I tend to gravitate more towards lighter colored and colorful backdrops. This means looking for light colored architecture, bright flowers, white cobblestone pathways, trees with lighter green shrubbery, and the like. It’s easiest for me to achieve the “look” of bright, vibrant, and colorful when I choose backdrops that coincide with the style that I am to consistently achieve.

Some locations have more potential for getting an increased amount of different “looks” than others. If you choose a simple park for your senior session, most of your photos might look very similar - trees, grass, maybe a bench, maybe some flowers. But if you choose something more dynamic - say, a park that has some additional features to it, such as a dock, a field, a lake, etc. - you will get more variety in your overall gallery!

Some of my favorite spots to shoot are locations that combine nature with architecture - locations in Pittsburgh like Mellon Park & Hartwood Acres come to mind first, because they have so much more than just grass and trees to work with!

4 - Variety of “Posing Opportunities”

I always like to look for a variety of “posing options/opportunities” to maximize the poses I can direct my clients into when scouting a location. For example - is there somewhere they can sit? Something they can lean on? Something they can lay on? Squat in? Walk through? Peek out from behind? Or is there really only an option to stand in some grass for the majority of the session? That can get very repetitive and limits the amount of poses we’re able to accomplish.

Benches, stairways, railings, doorways, steps, chairs, fences, gates, trees, archways, bridges, and the like all help add not only variety of scenery, but variety of poses that can be achieved during a given session.


I hope you enjoyed this little peek into how I location scout for sessions! I love being able to come into each and every session prepared, knowing where my best light & natural reflectors will be, as well as what backdrops and posing opportunities we have to work with.

if you enjoyed this post, you might also enjoy…

Comment

Introducing Spring 2022 Mini Sessions at Moraine State Park!

Comment

Introducing Spring 2022 Mini Sessions at Moraine State Park!

I’m excited to announce that I’ll be hosting a round of Spring mini sessions this year at a favorite park of mine, Moraine State Park!

These sessions will be 15 minutes in length and will take place at the Pleasant View Picnic Area on the South Shore of Moraine. These mini sessions will include 10 digital files (that you will be able to choose from your online gallery!), and will be priced at $275, +6% sales tax. We’ll be using a natural, forest-y backdrop for the photos (see example photos below!)

If you are interested in booking or in checking out what timeslots are still available, click here!

If you are someone who might be interested in a JHP mini session in the future, I’d love to encourage you to sign up for my email list! People on my email list are the first to know about upcoming mini sessions, and when my full session time slots are released, seasonally. Plus, I only send a few emails per year (I promise! 👏). Click here to join the mailing list!

Comment

8 Tips for surviving a photo session in the hot & humid summer weather

Comment

8 Tips for surviving a photo session in the hot & humid summer weather

Summer is one of my favorite times for photos, and one of the most popular - for good reason! Everything is green and beautiful and blooming. But there are two things that can make a summer photo session very uncomfortable… the heat & humidity!

Thankfully, there are some steps you can take to better prepare for a photo session in the heat & humidity. Below are a few of my top tips!

1 - Dress for summertime weather!

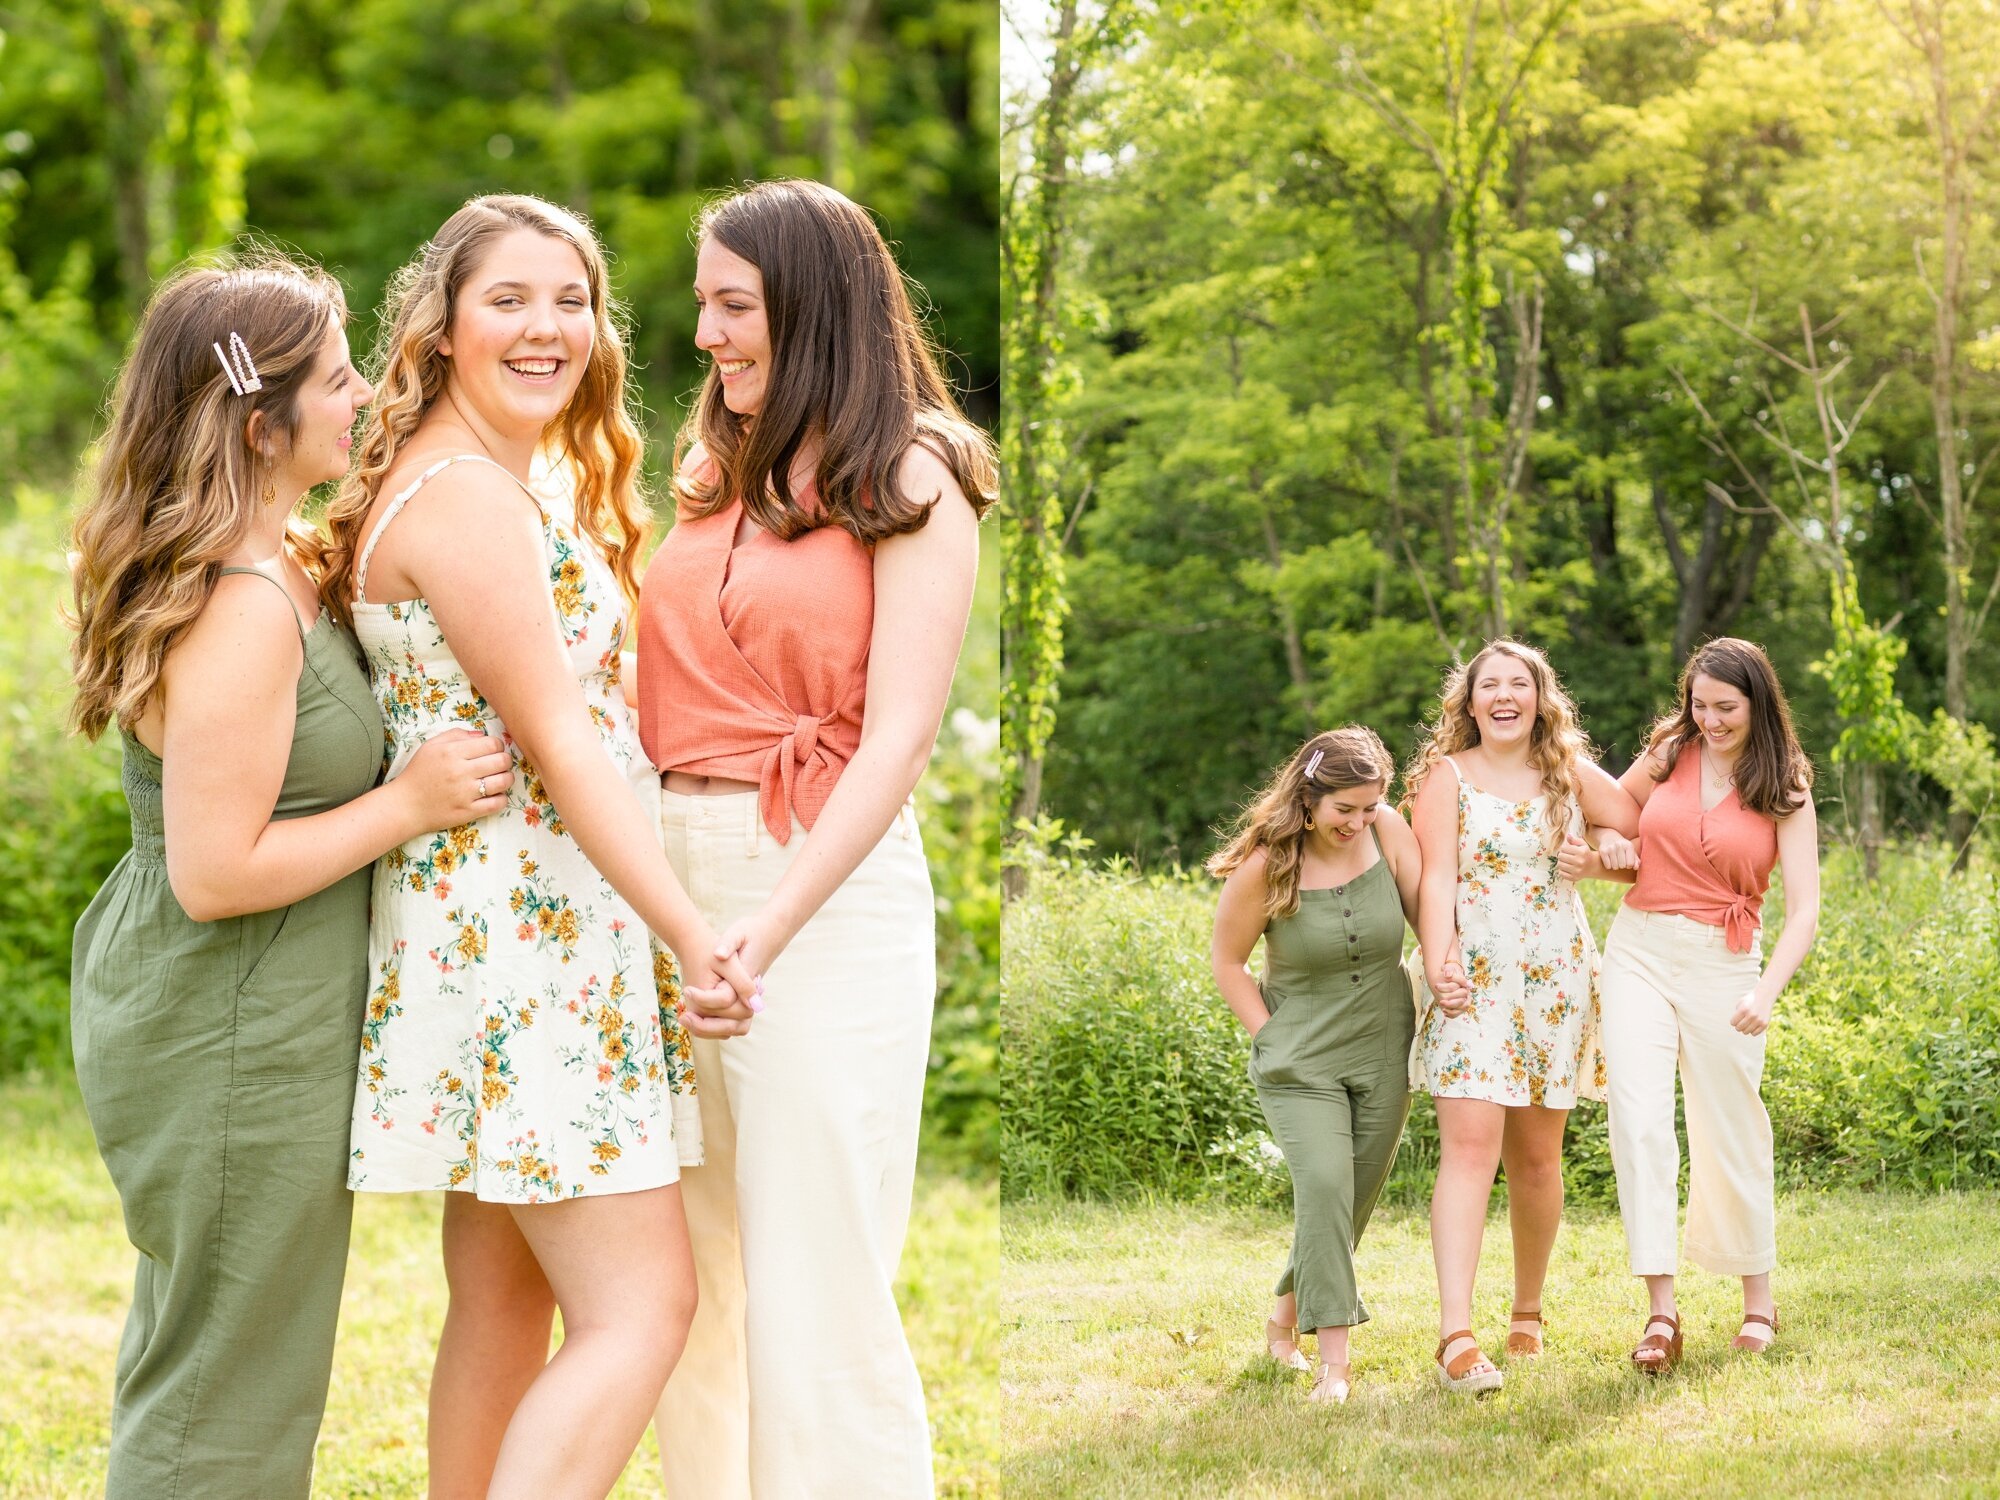
This one might be the most obvious, but make sure you dress for the summer weather! Light, breezy fabrics without too many layers are the way to go. The key is to keep you as comfortable (and not sweaty!) for as along as possible.

Ladies, consider dresses and skirts, or a cute romper. Guys, consider lighter linen pants and fabrics.

Patterned shirts and dresses can also often hide sweat - and there are some fabrics that just generally hide sweat better than others, so look for those!

Also, consider lighter colors over darker ones. The sun will reflect off of your lighter colored clothing, rather than trap the heat in darker colors!

2- Stay hydrated before, during, and after!

Make sure you are drinking a lot of water leading up to your photo session so you’re not already dehydrated going into your session! Bring a water bottle with you to your session as well so you can stay hydrated during the shoot.

3 - Consider an early morning session.
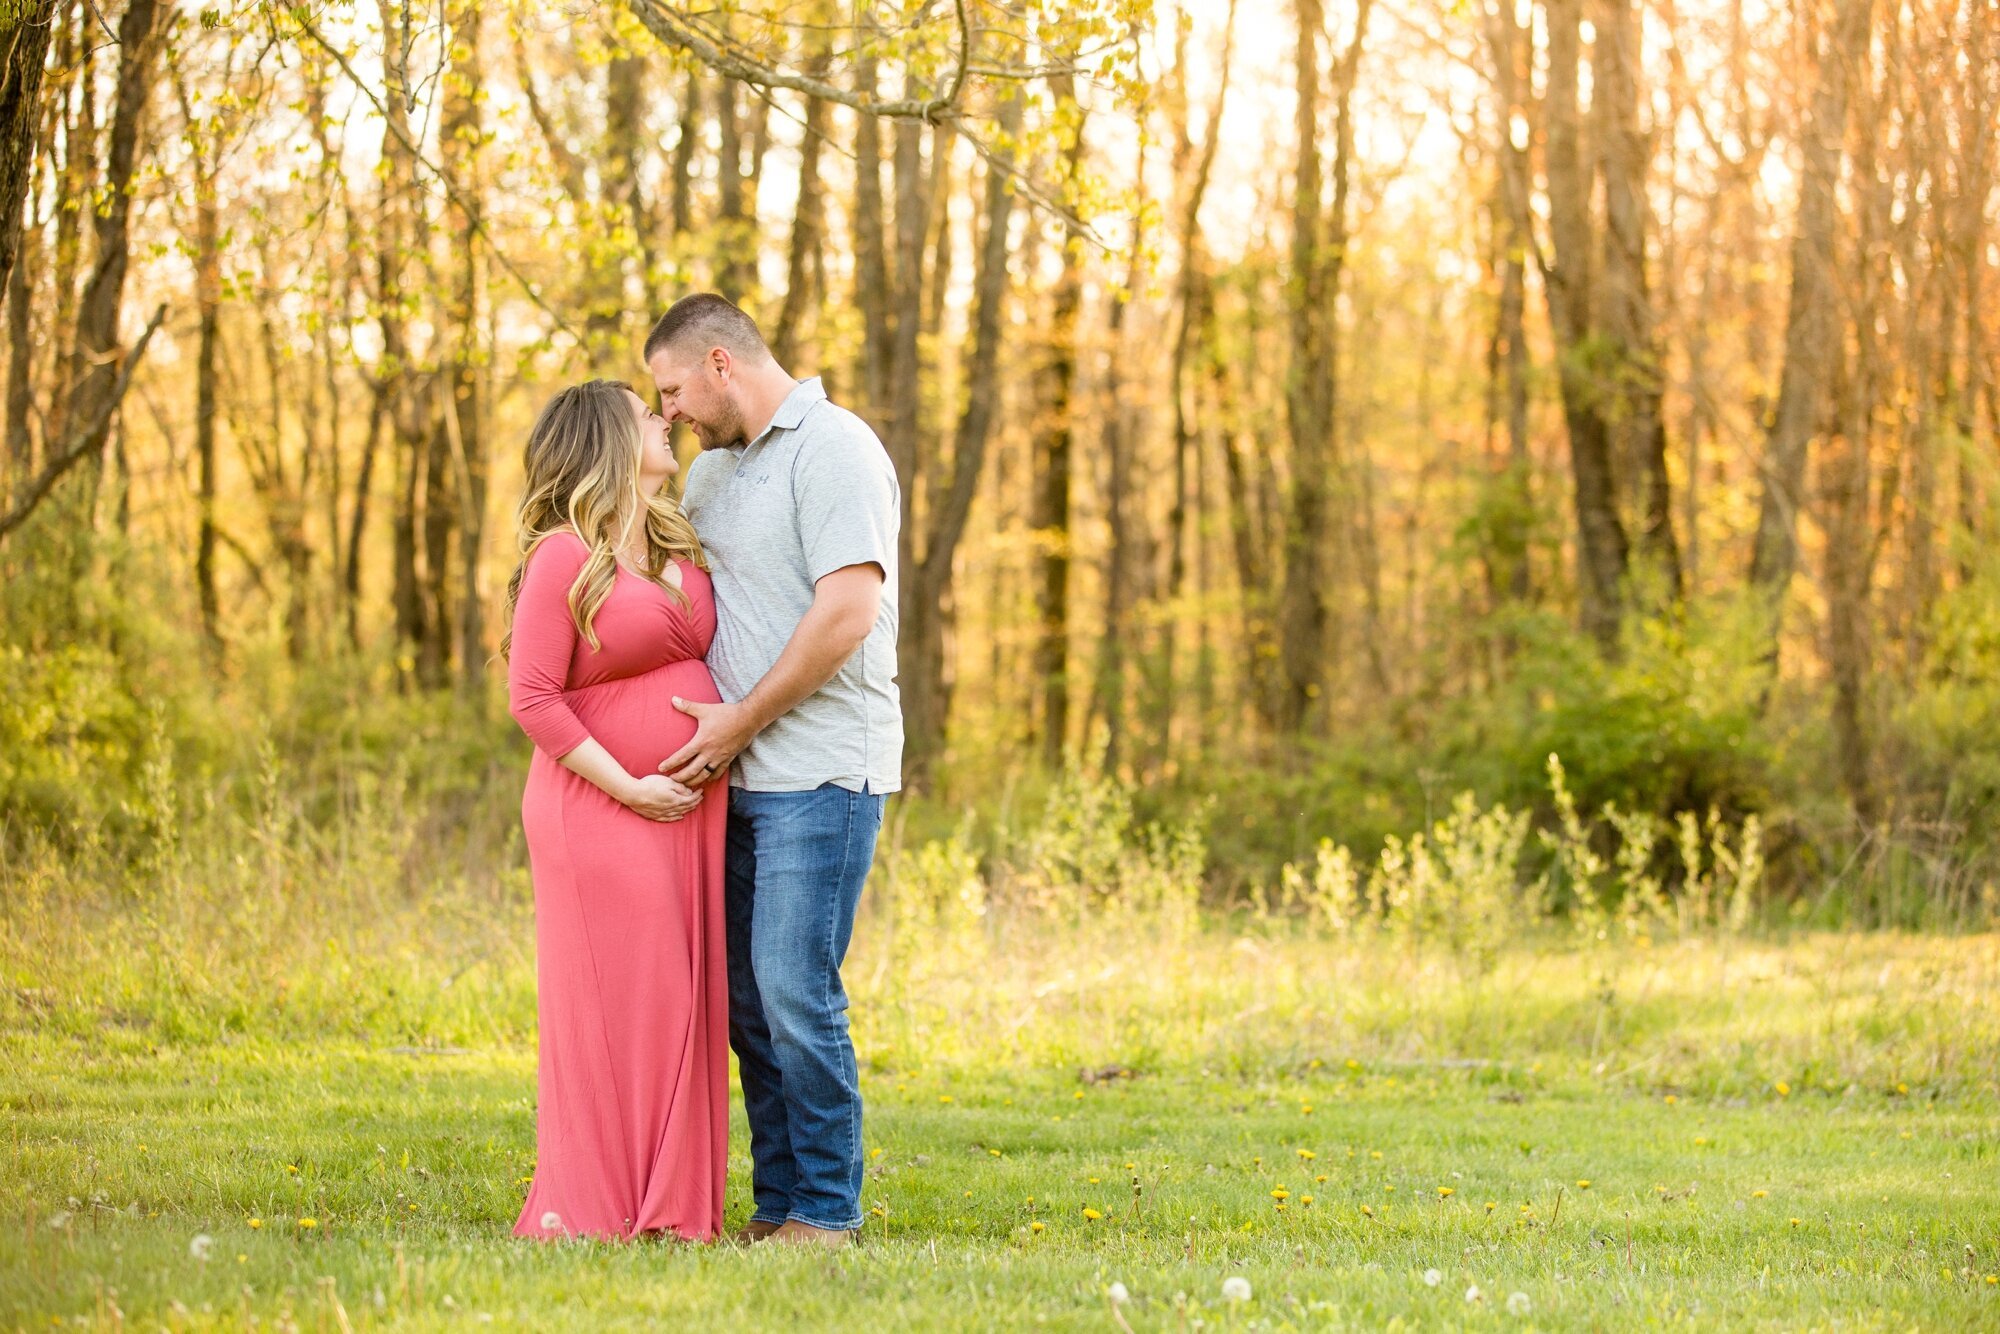
This one is certainly not for everyone, but for those who really want to beat the summer heat… this can be a great way to go! Generally, mornings can be a bit cooler than evenings, so if you really want to beat the heat, consider a sunrise photo session.
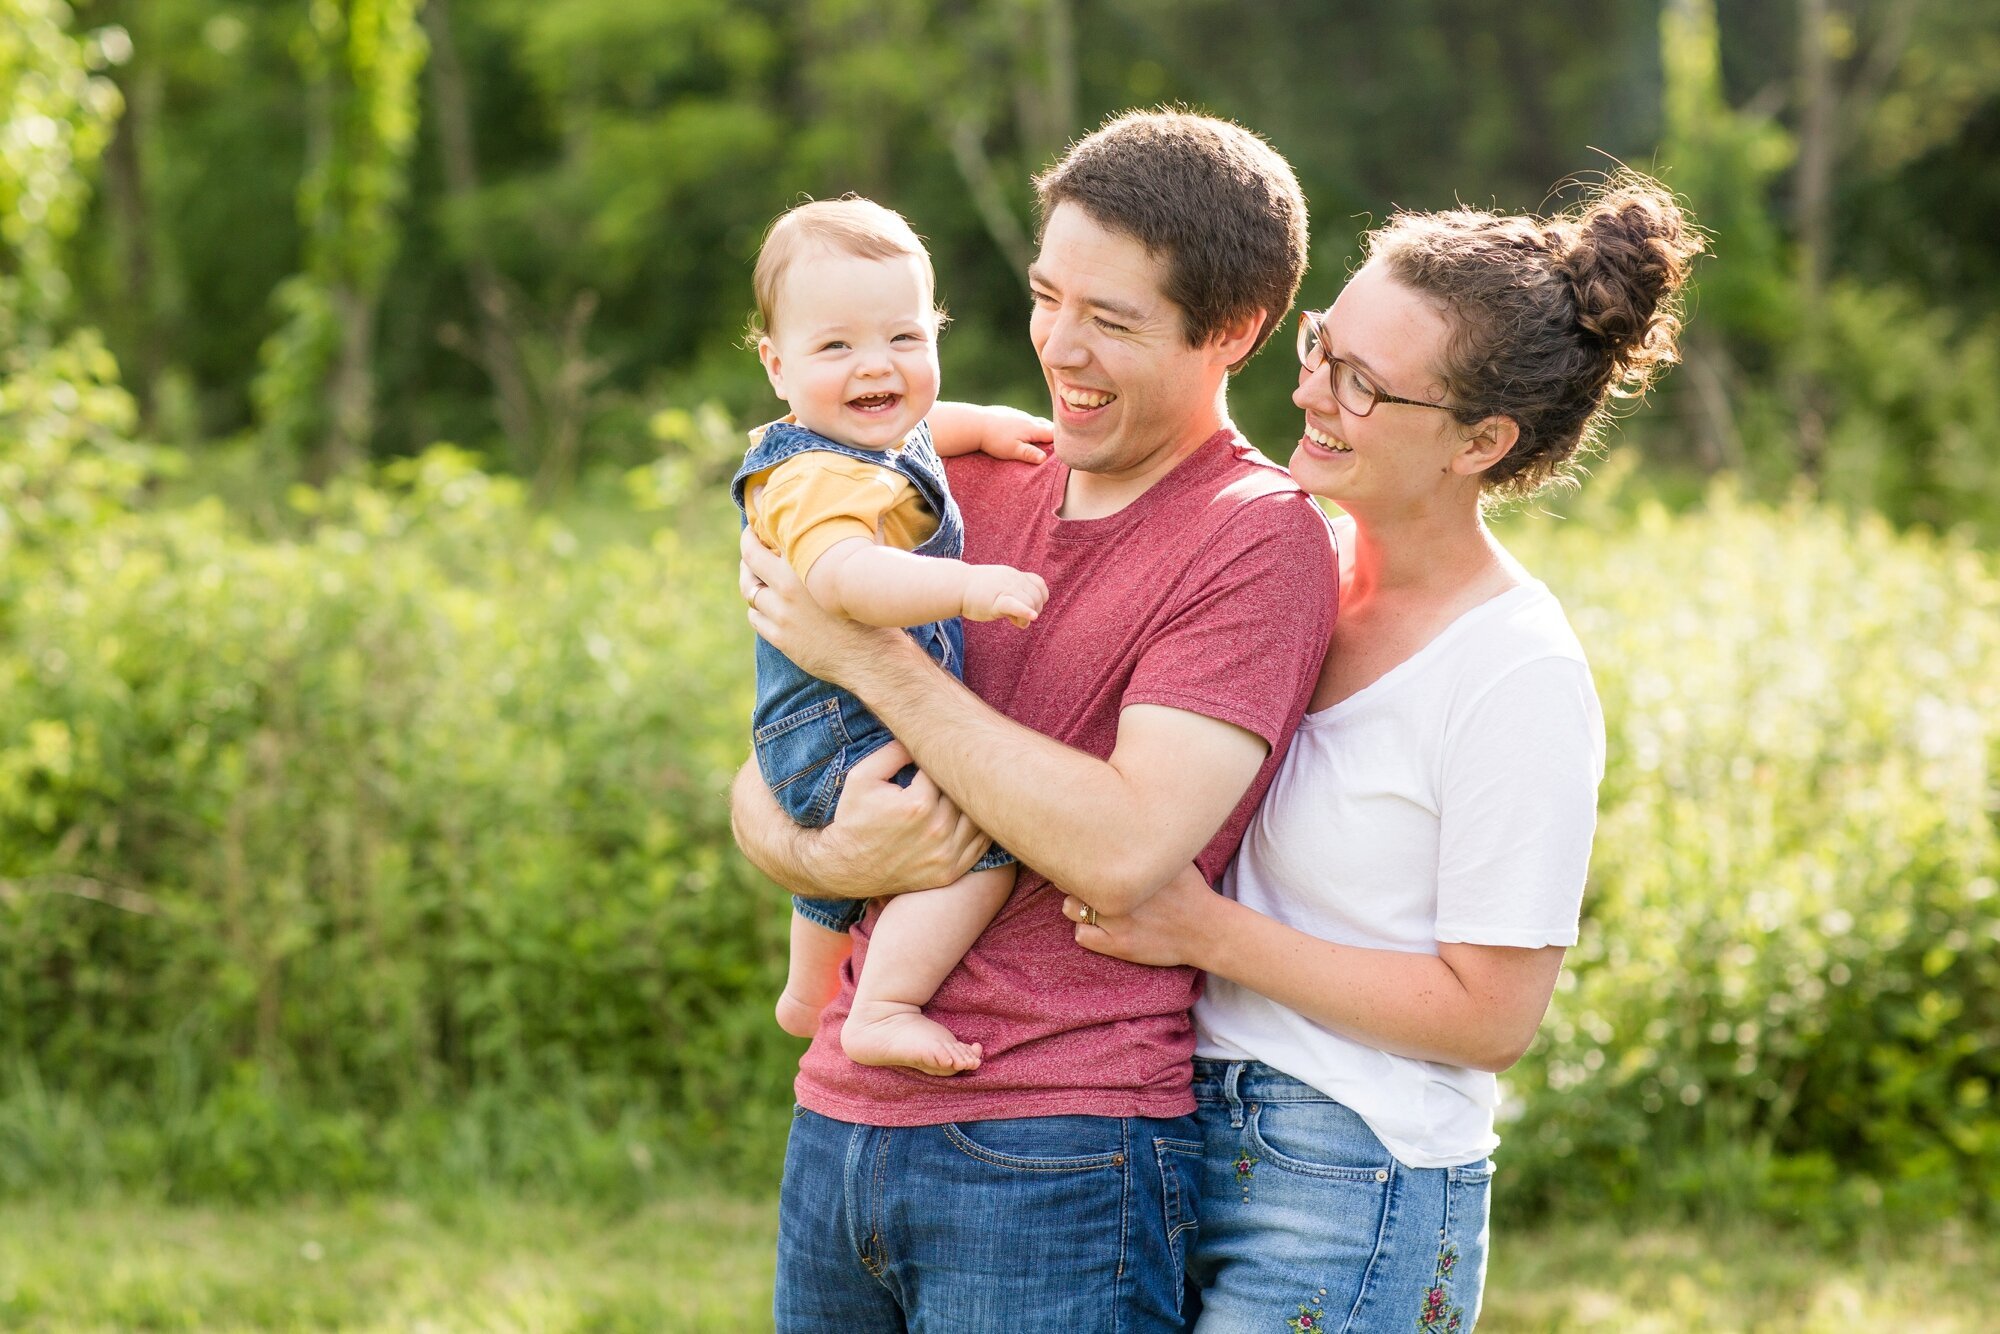
4 - Consider bringing a second change of clothes.

For a summertime shoot, this can be a game changer! If it’s really hot and humid and your clothing is starting to show the affects of that (hello, pit stains!), then having a second outfit to change into can be a breath of fresh air (literally ;) ).

5 - For the ladies, consider hiring a professional makeup artist.

Those of us who might not be super proficient in the art of makeup (including myself!), having a makeup artist that can help create a sweat-proof look can be KEY!

6 - For the ladies, start with tighter curls in your hair, or choose an up-do for the second half of your photos.

Tighter curls will loosen up as you’re out in the heat and humidity, creating a more natural look throughout your session. I’ve also had girls & women choose a secondary hair style for their photos - maybe a cute updo or braid? Or, you can just have a styled updo from the start if you don’t want to worry about how your hair may fade during your photos!
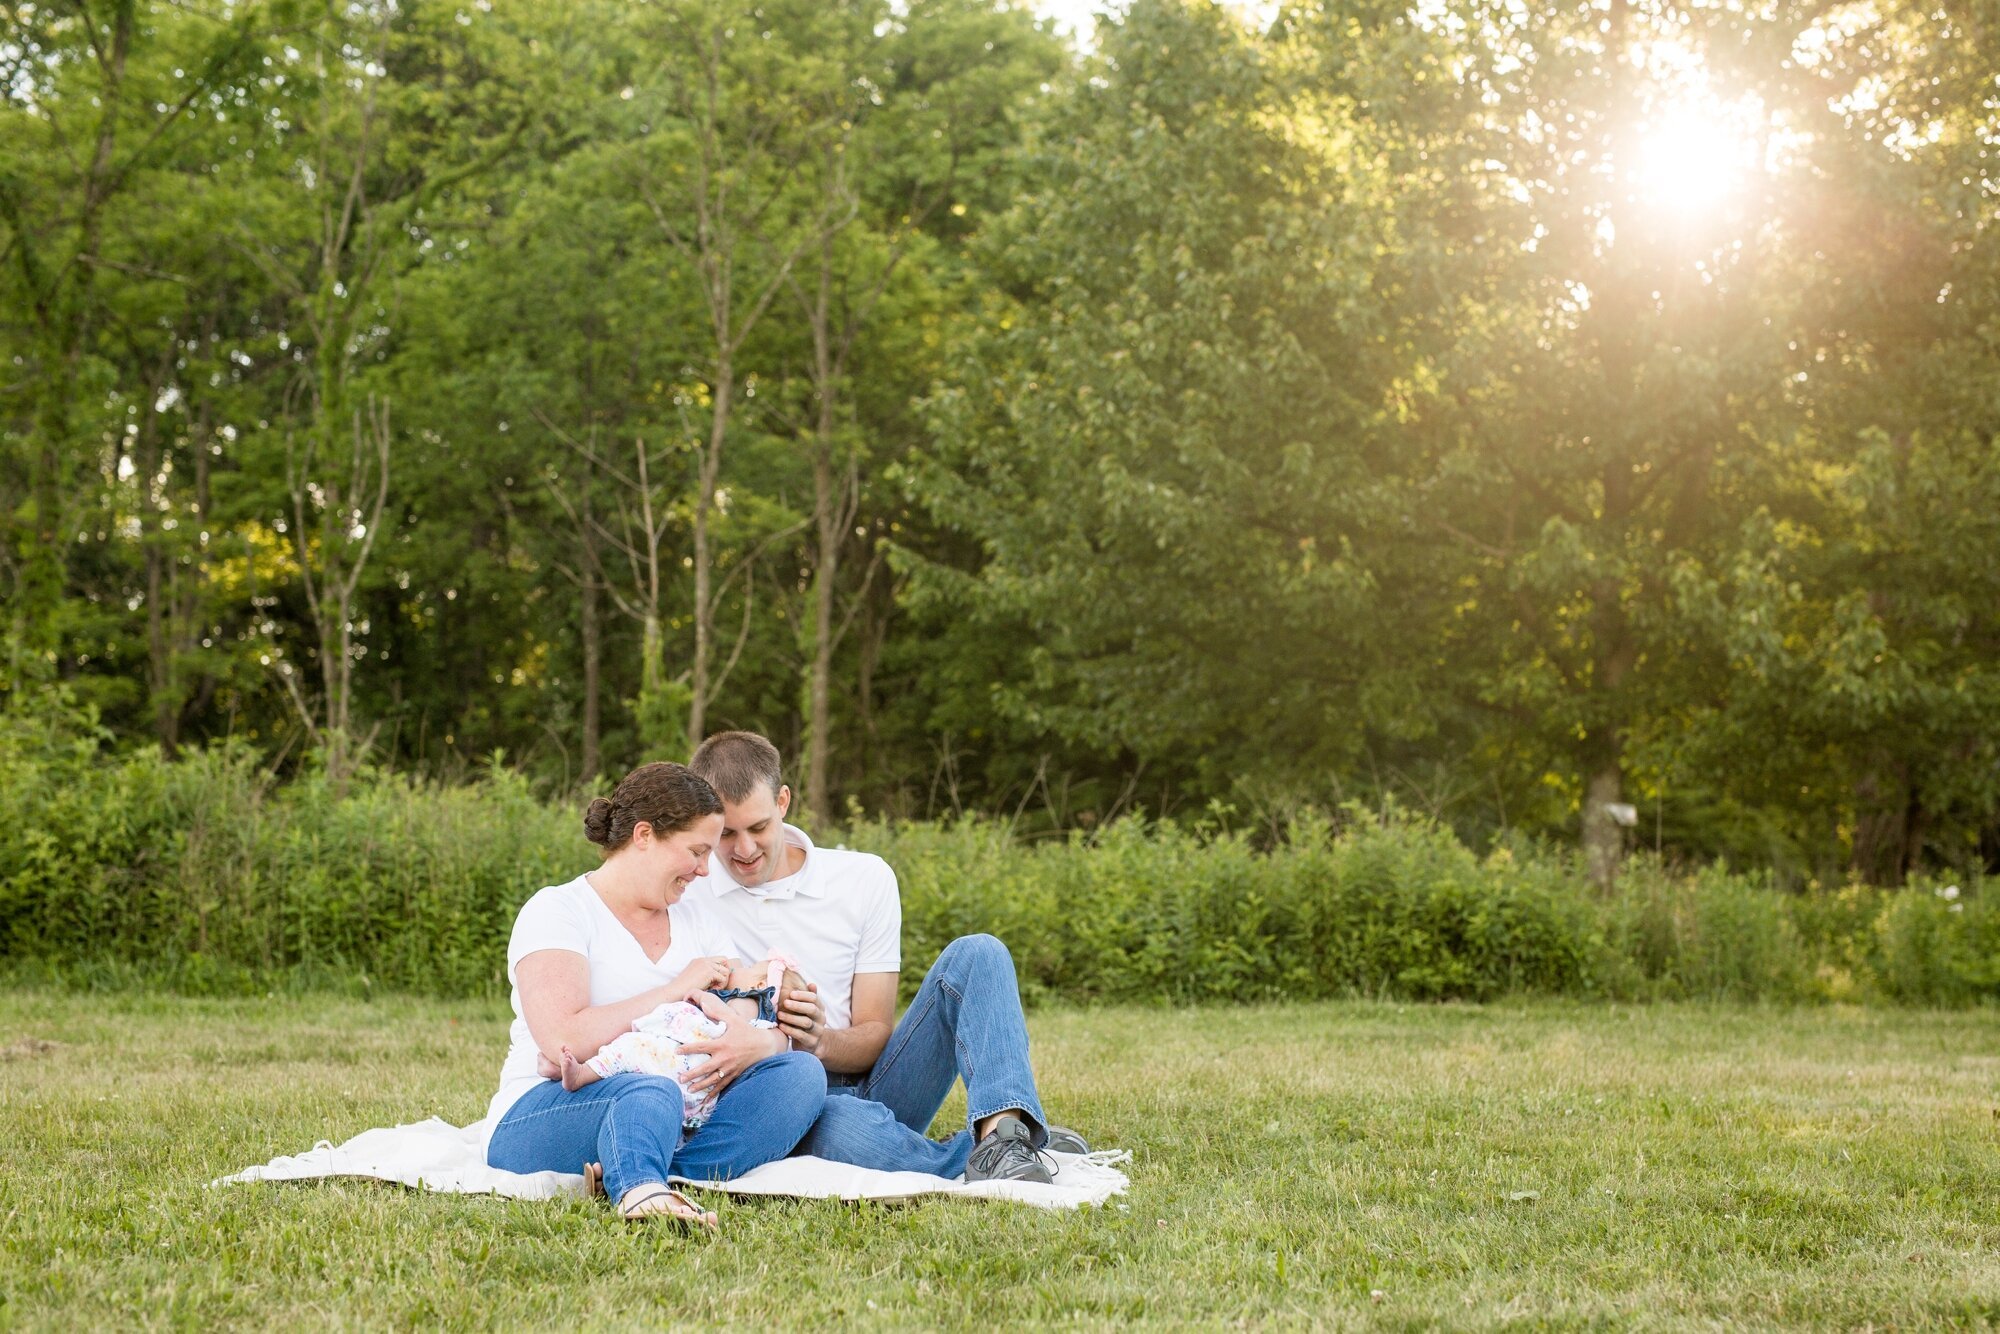
7 - Don’t wear sunglasses for the week leading up to your session.
When you’re used to wearing sunglasses and then suddenly have to be outside in the bright light for an hour to an hour and a half, you will be very squinty. This is something very common that happens ALL the time. Put those sunglasses away for the week leading up to your session so your eyes are used to the brighter summer light!

8 - Bring an extra towel with you.

This might sound kind of gross - but a towel or washcloth can come in handy at a humid photo session for all of the extra sweat that might accumulate. Even if we can’t stop the sweat, we can wipe it off so it’s out of the frame for a few shots!

Comment

Historic Harmony Family & Maternity Photos

Comment

Historic Harmony Family & Maternity Photos

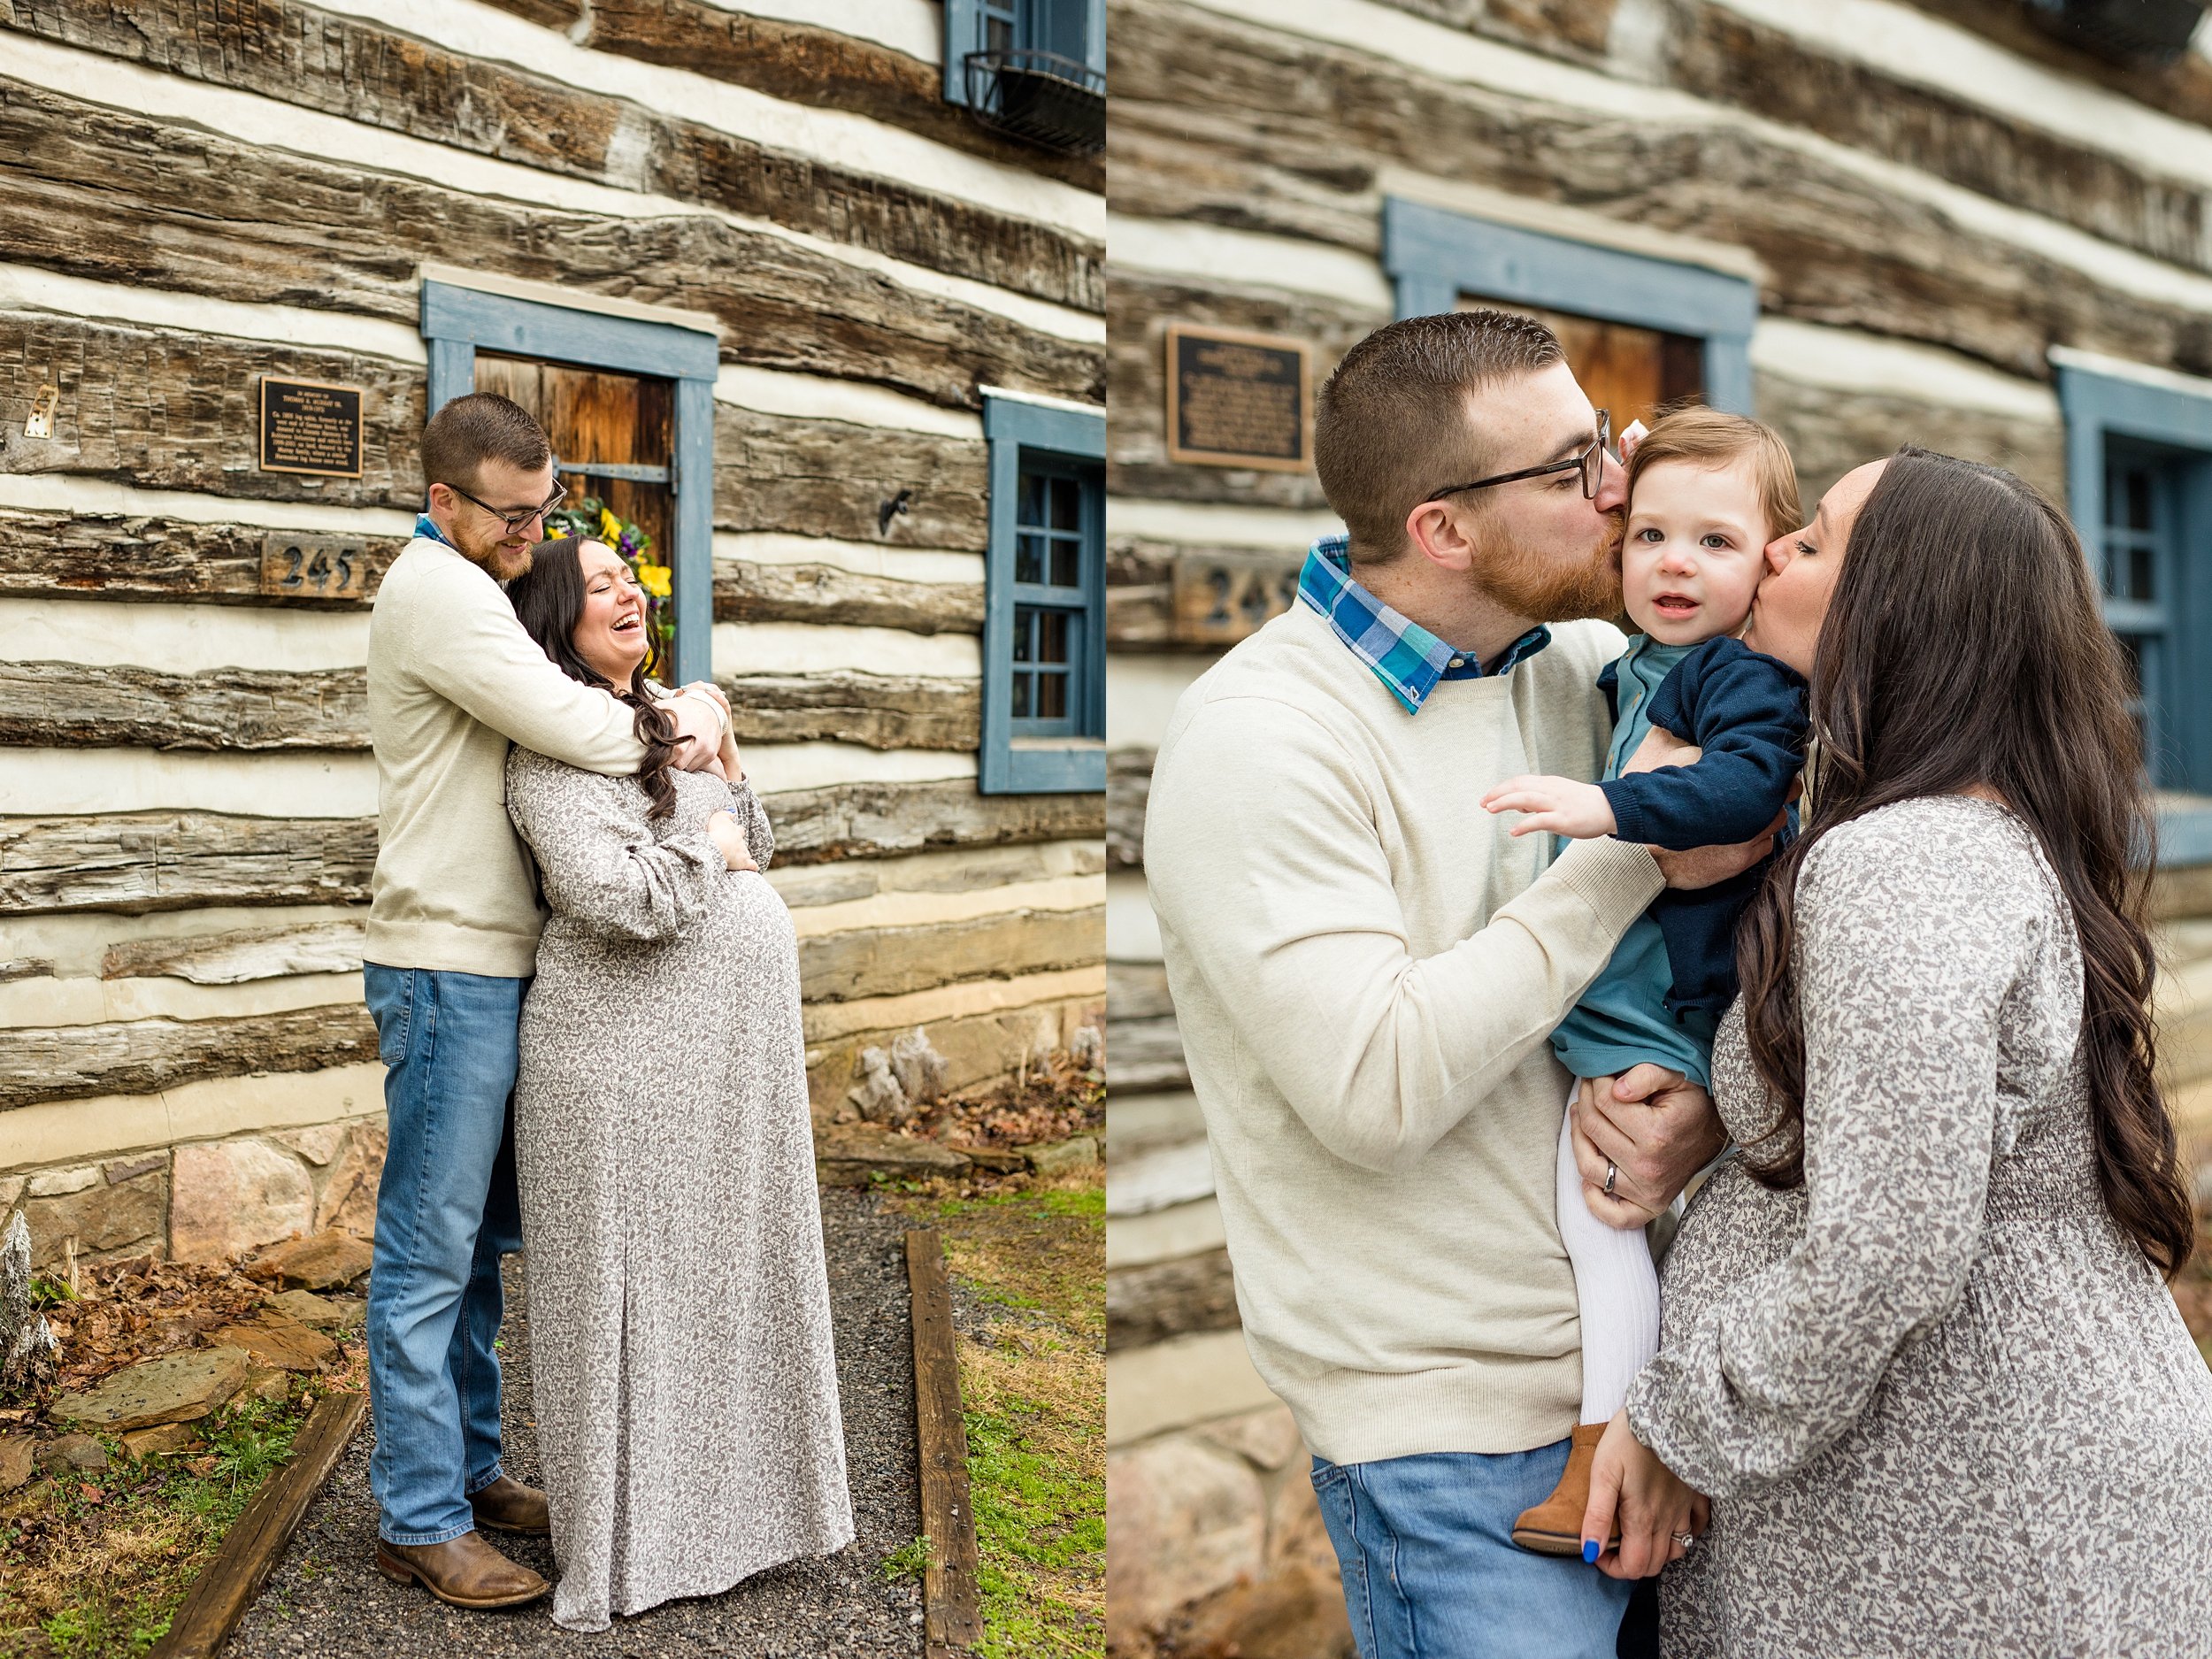
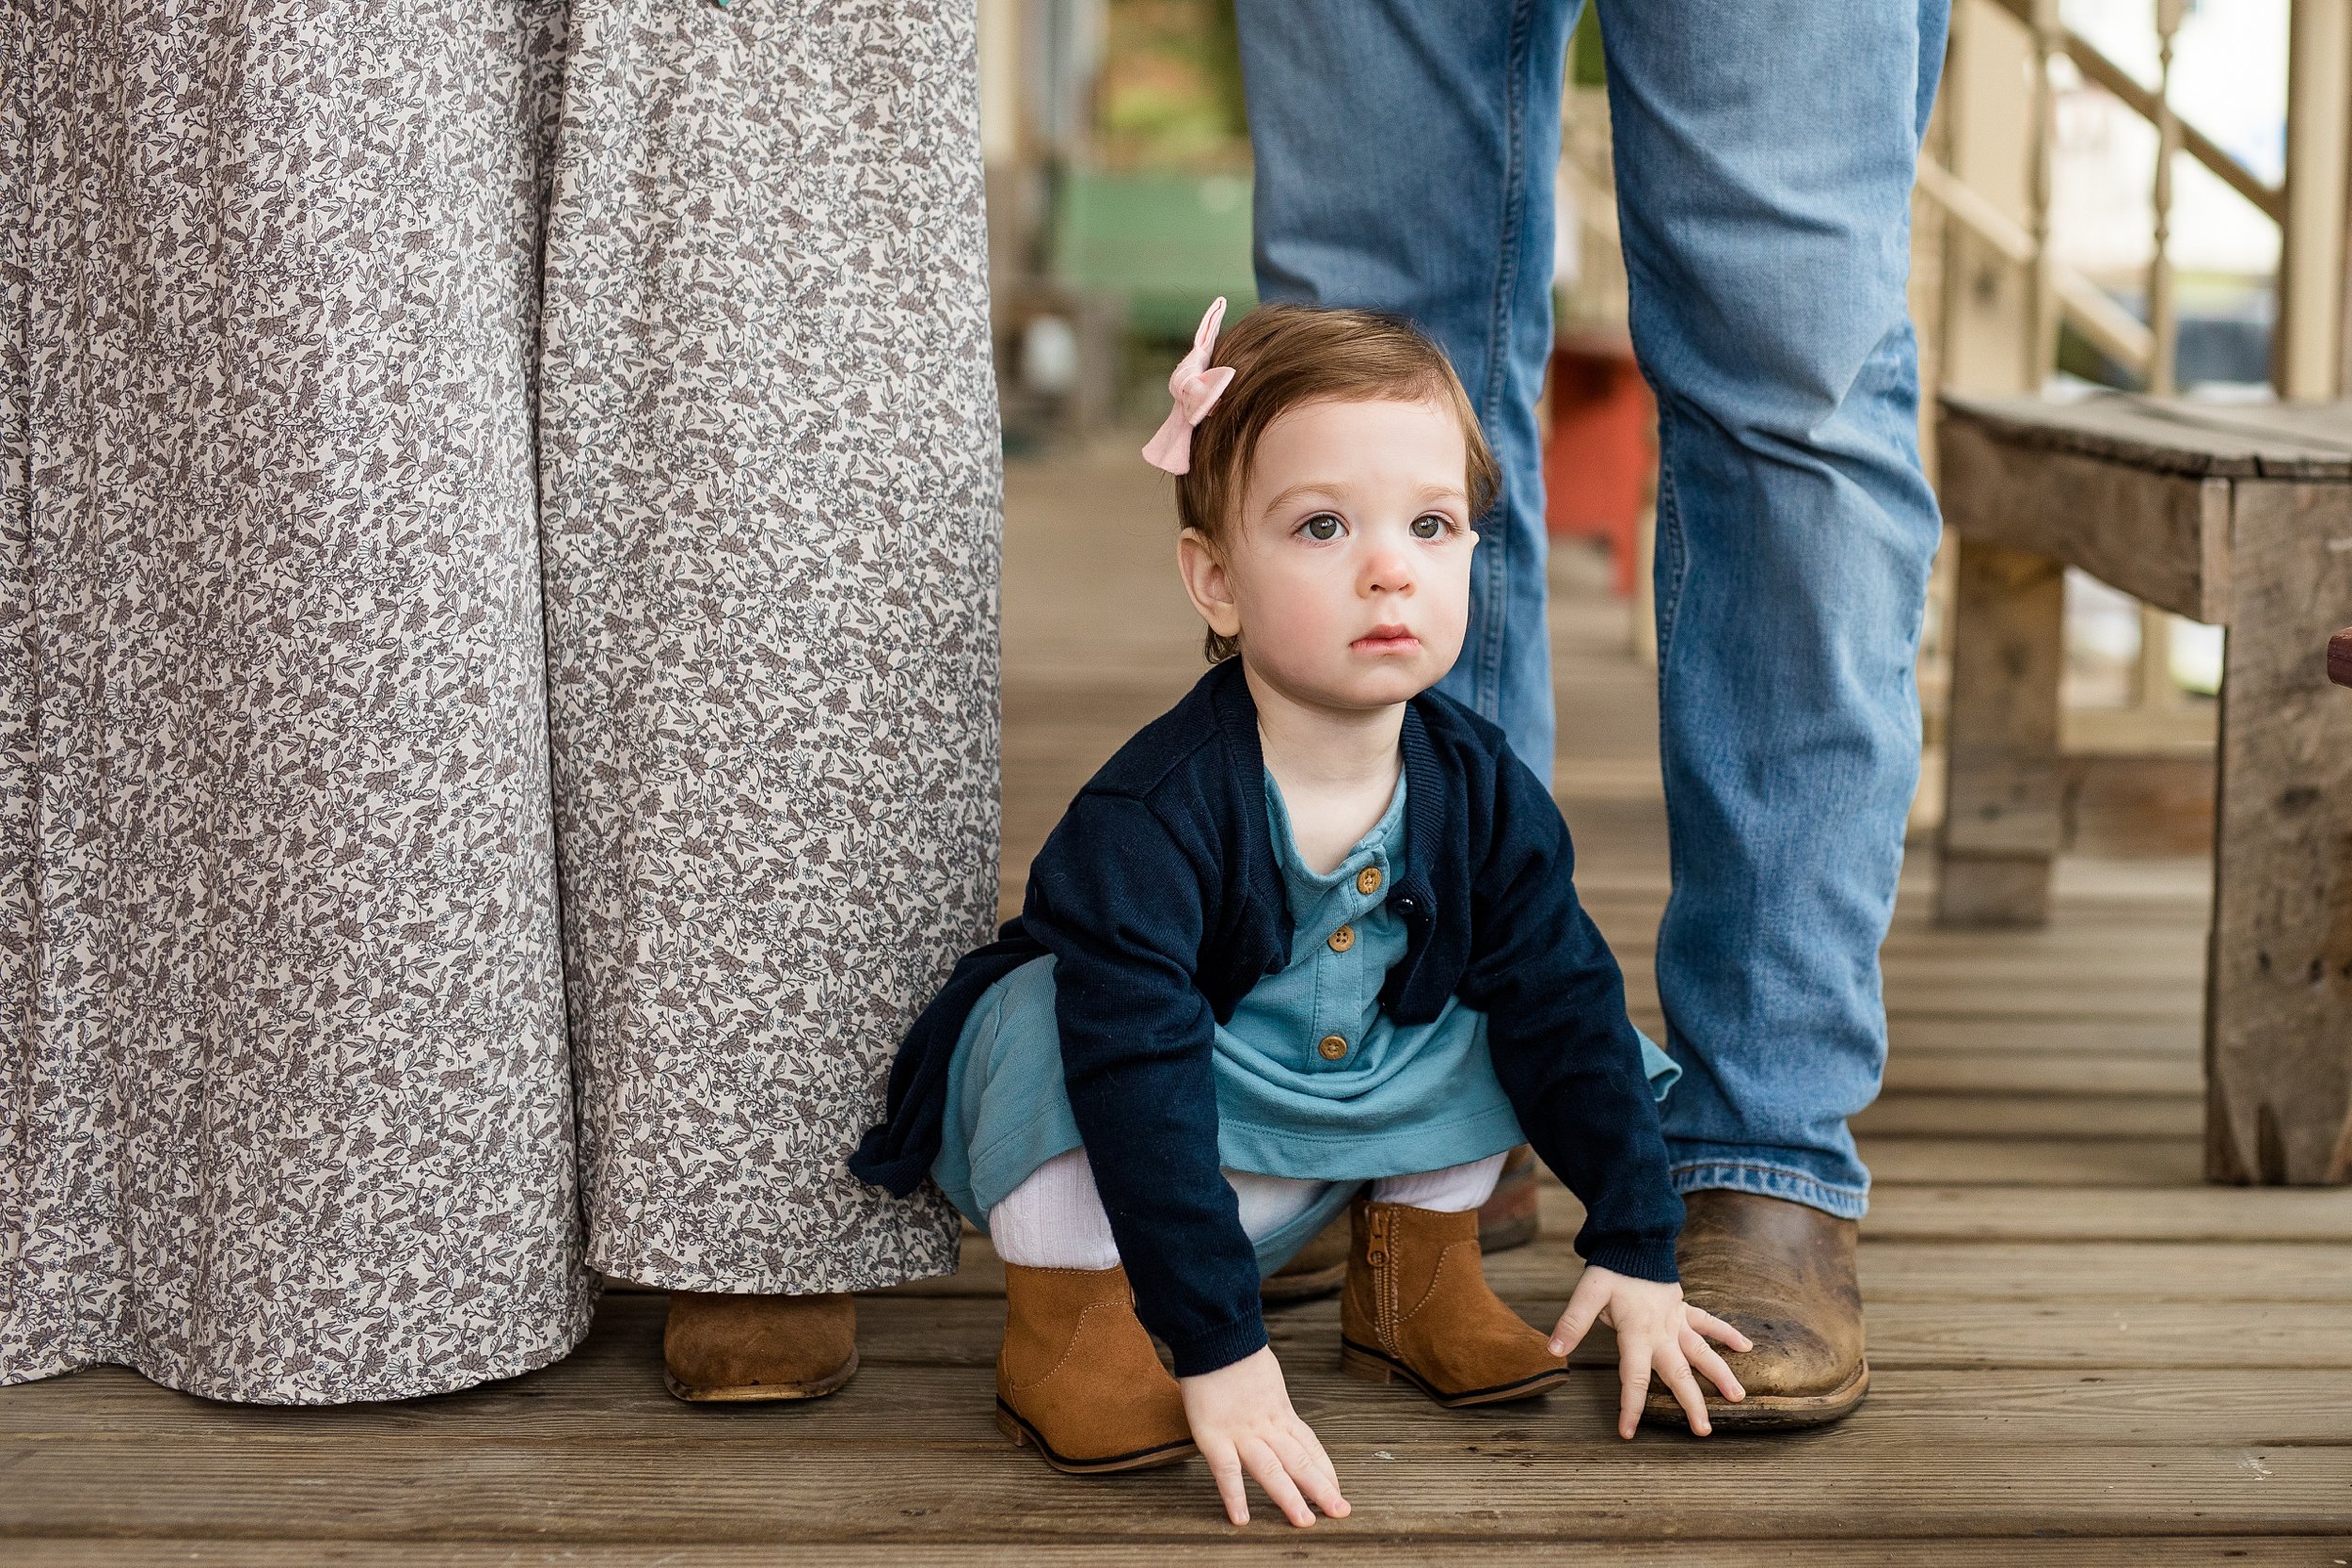
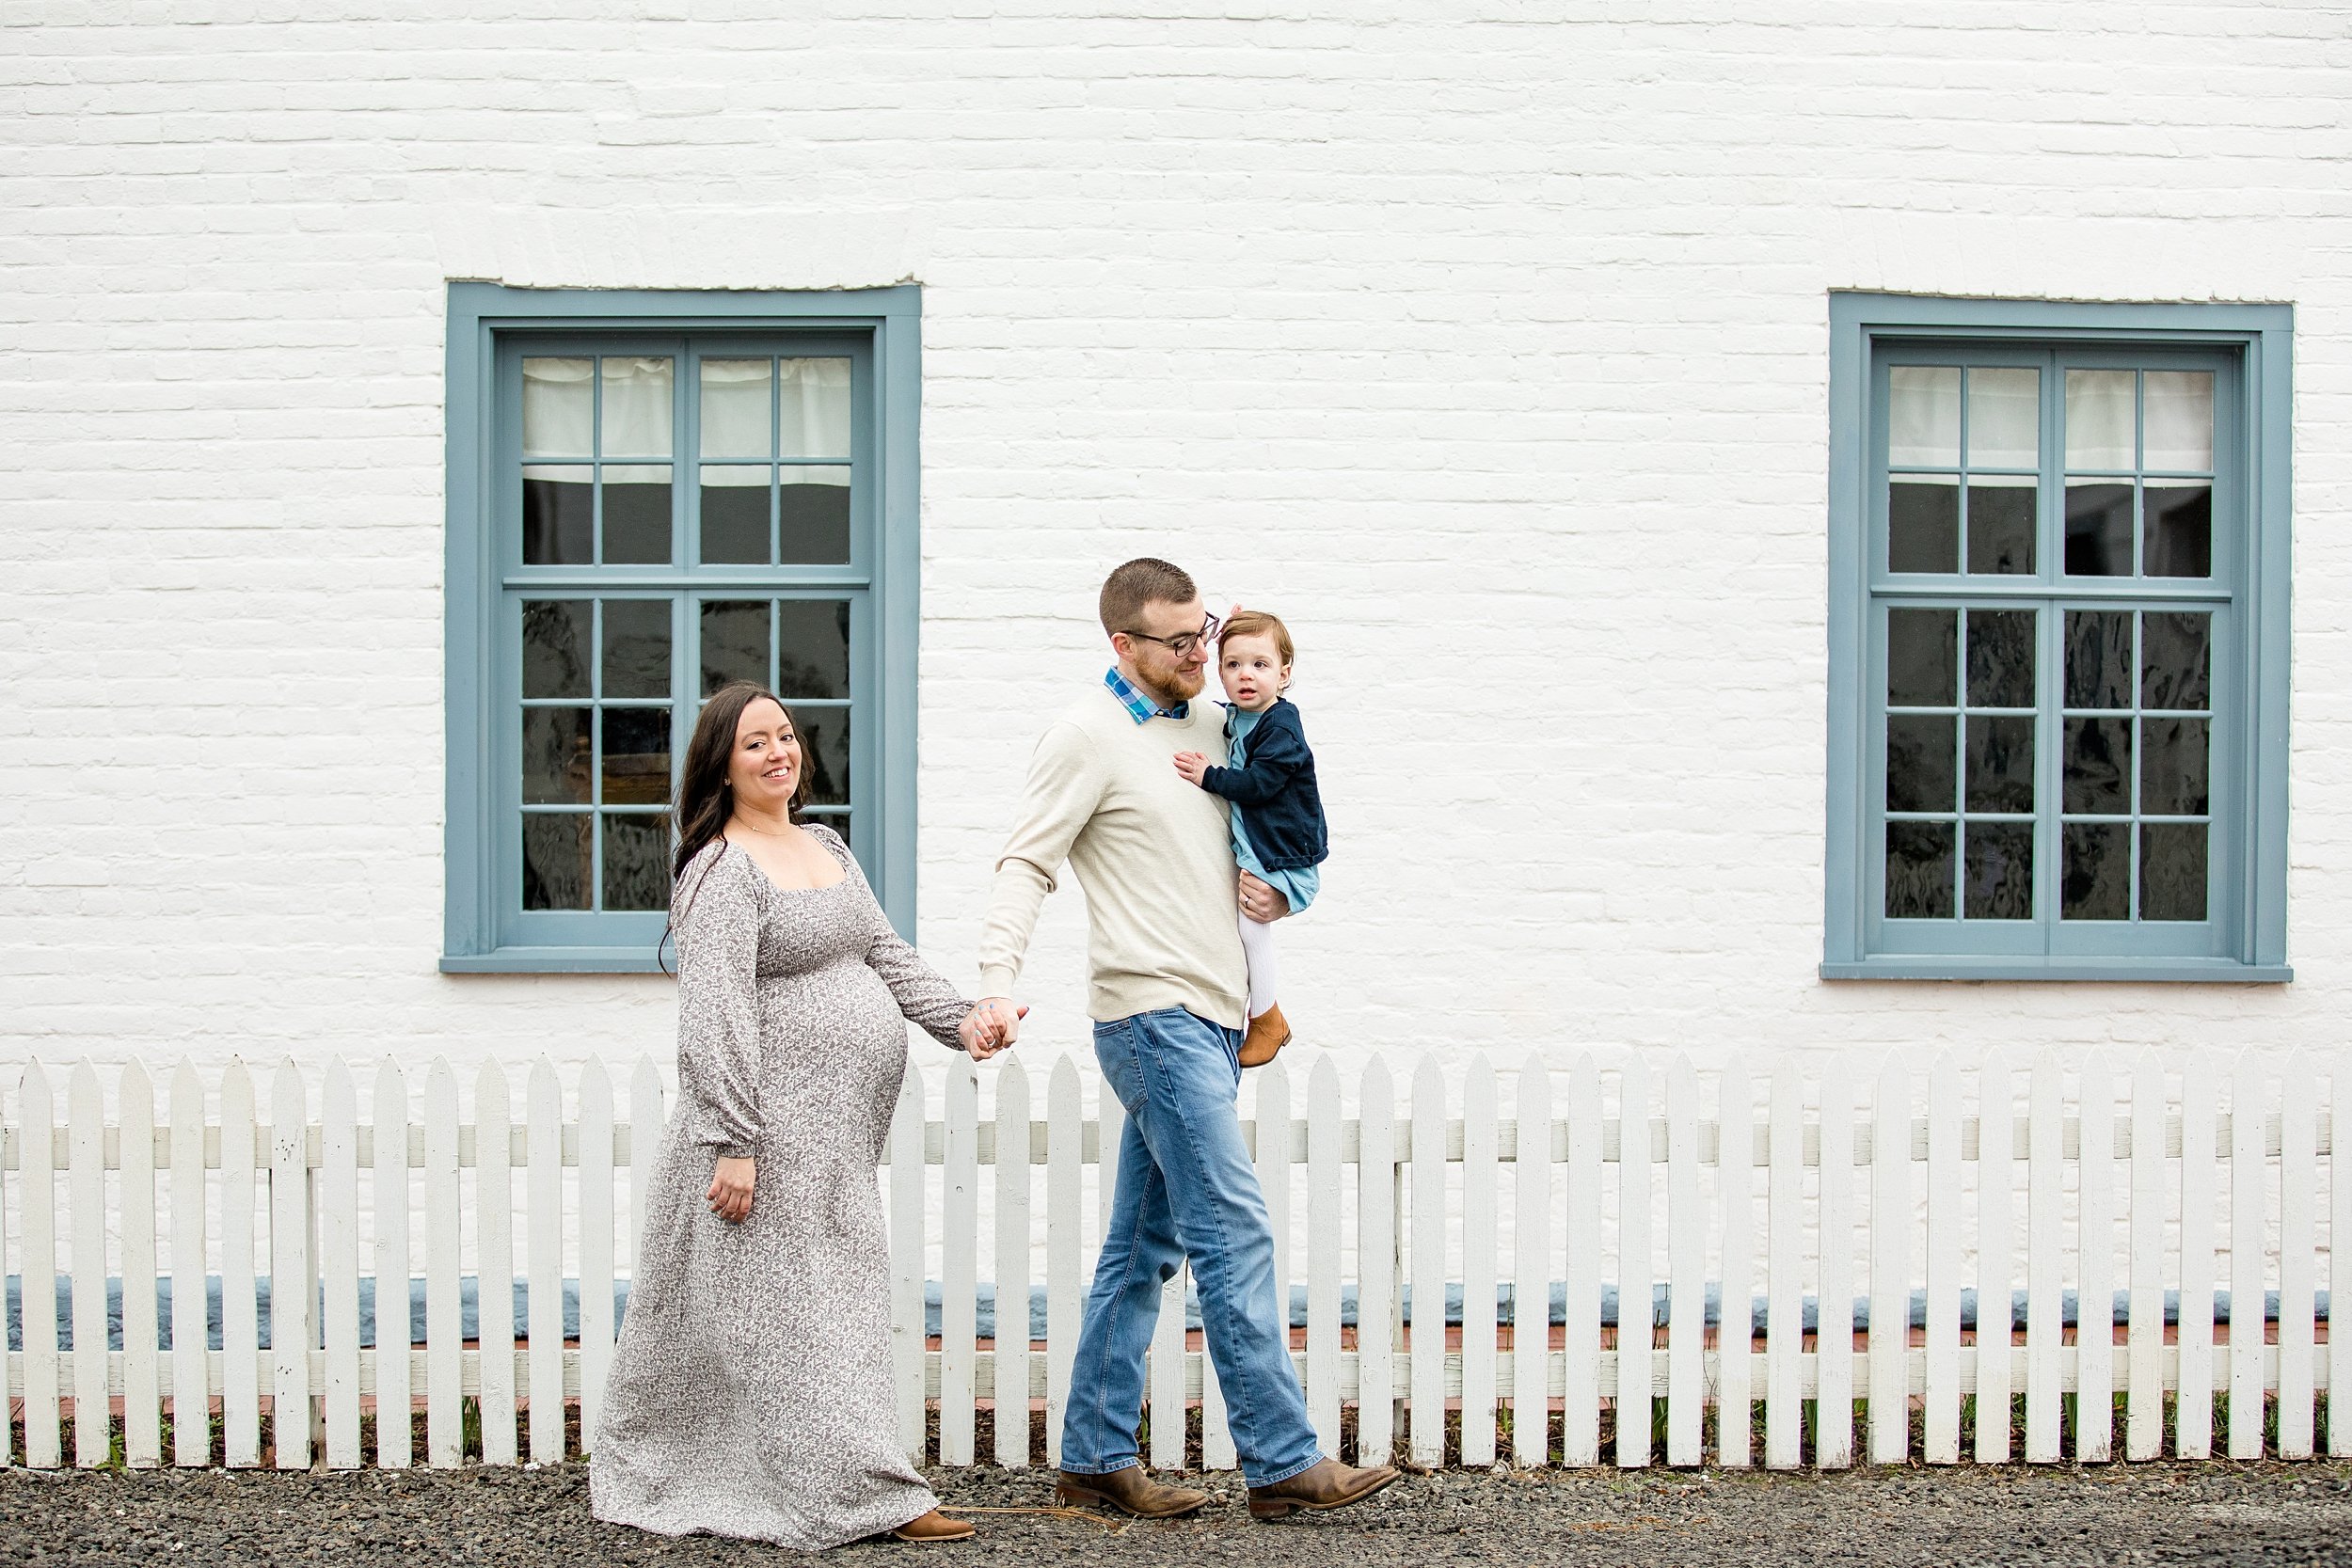
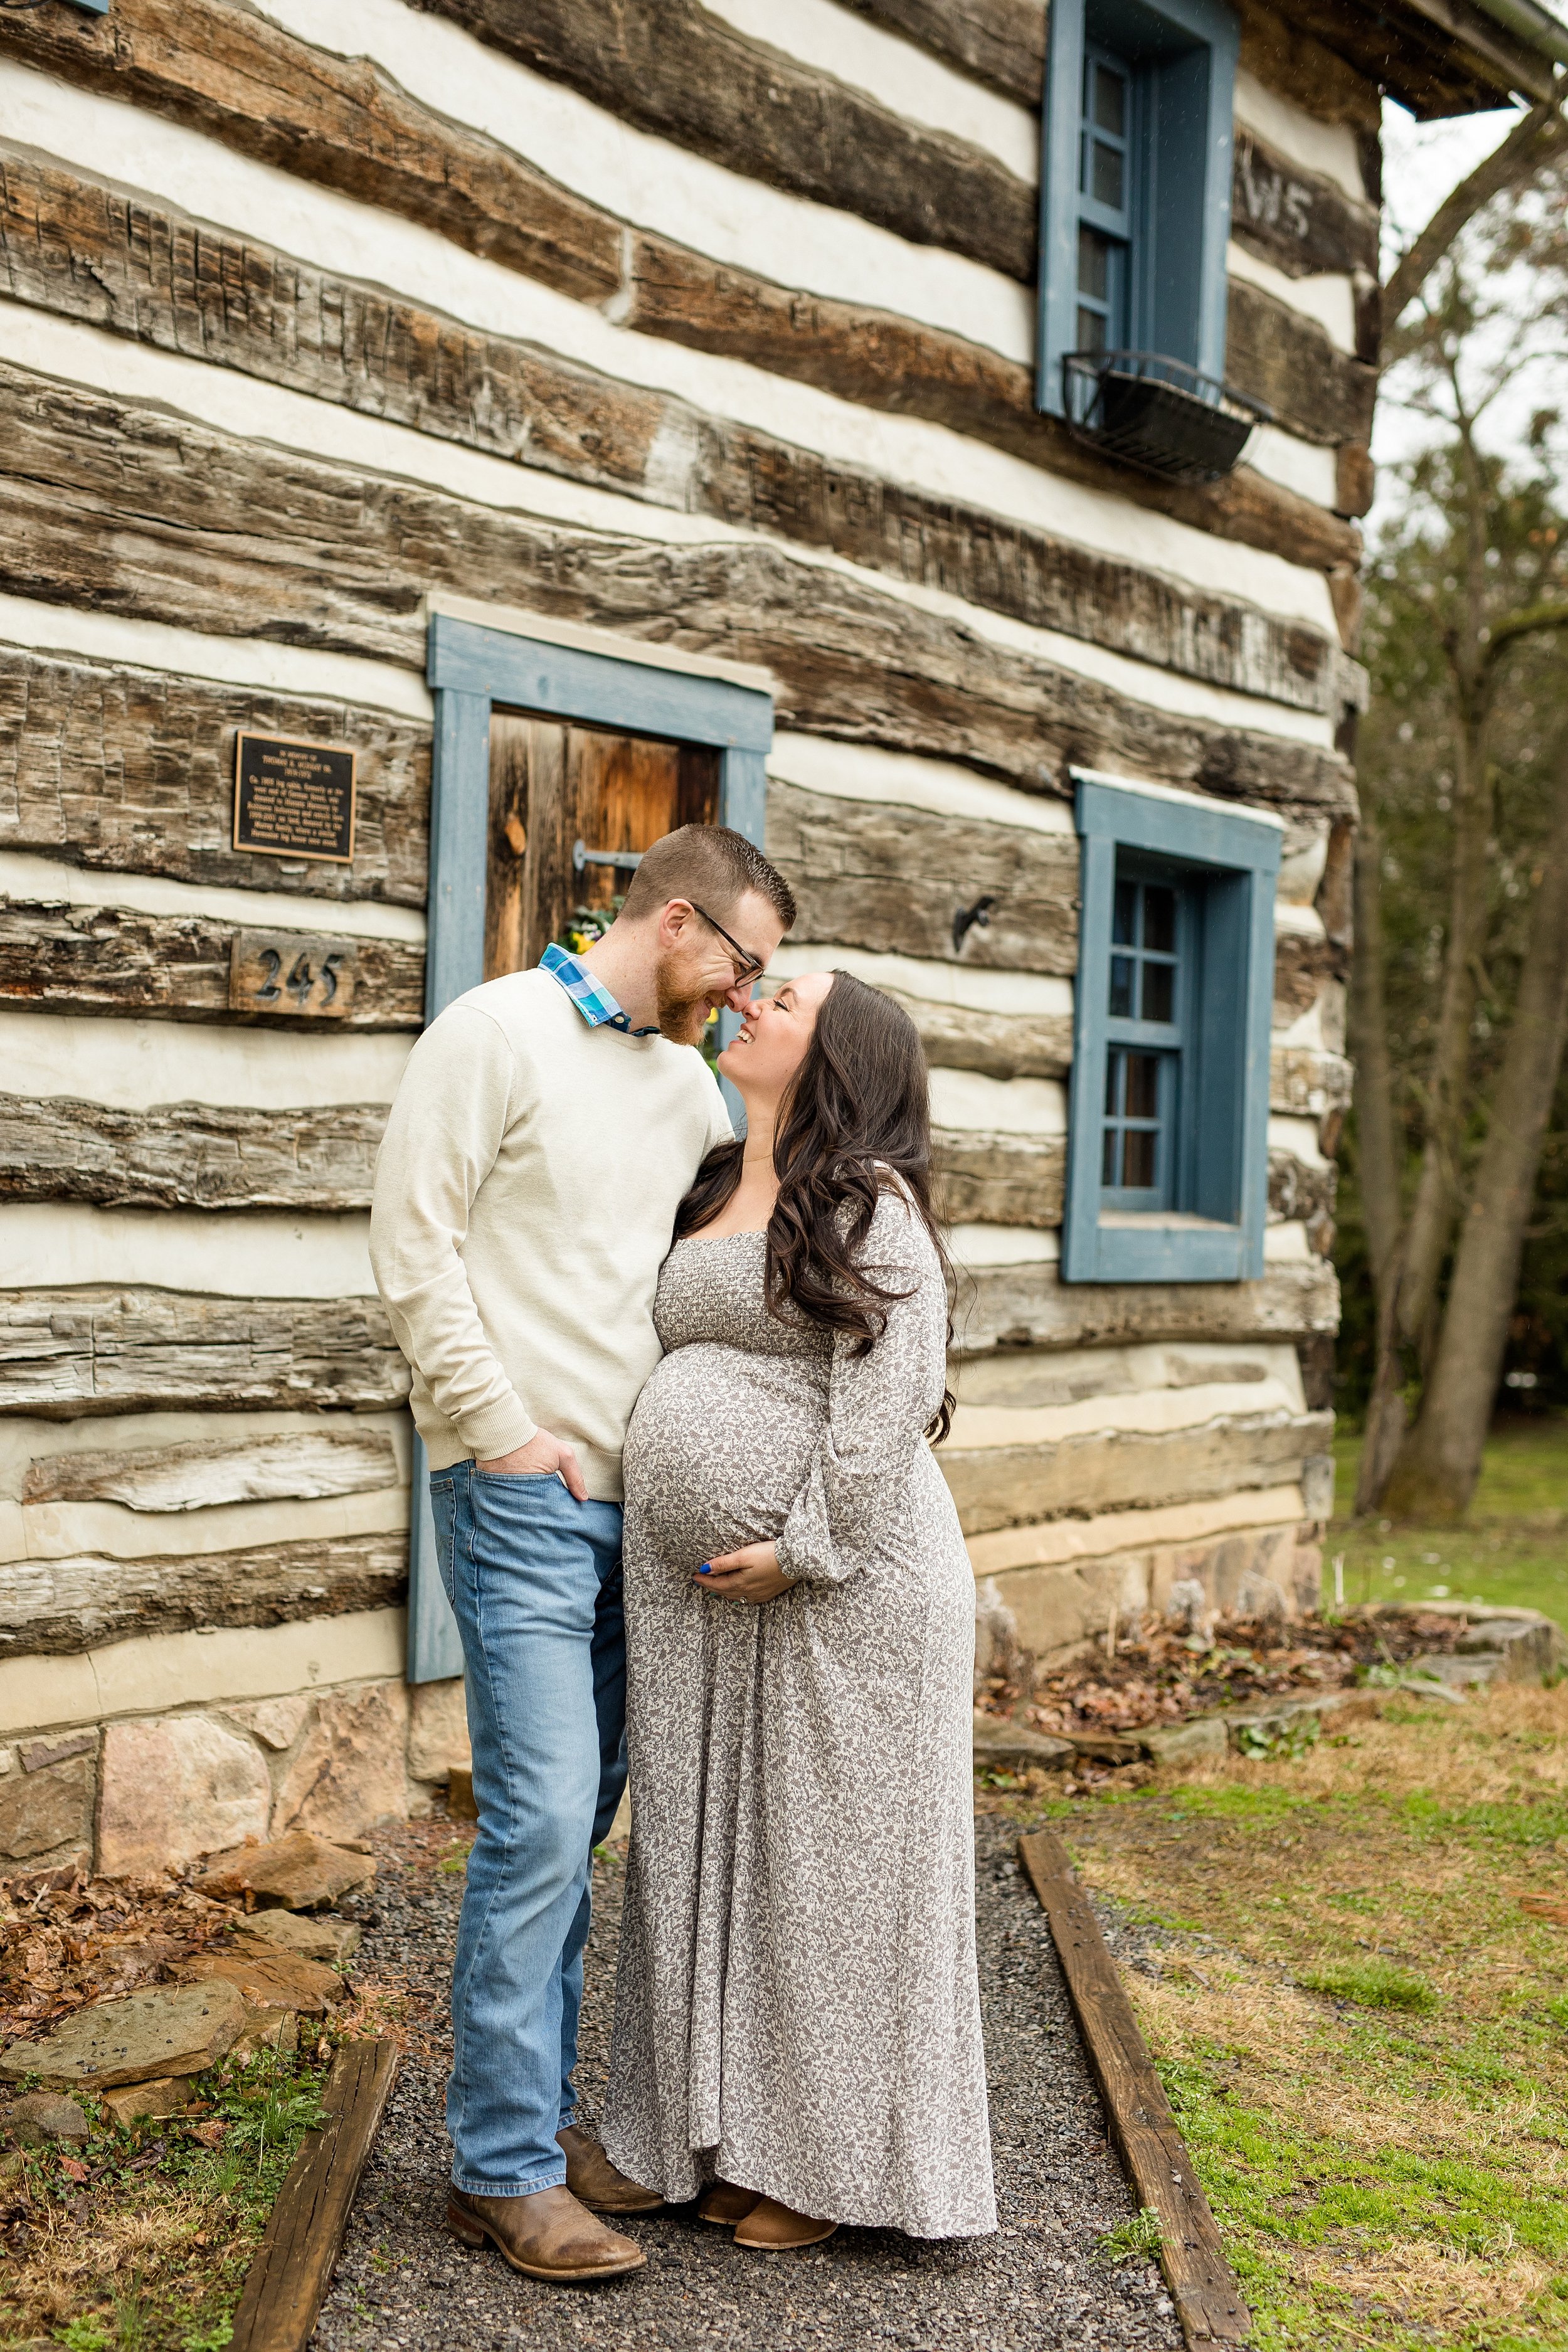
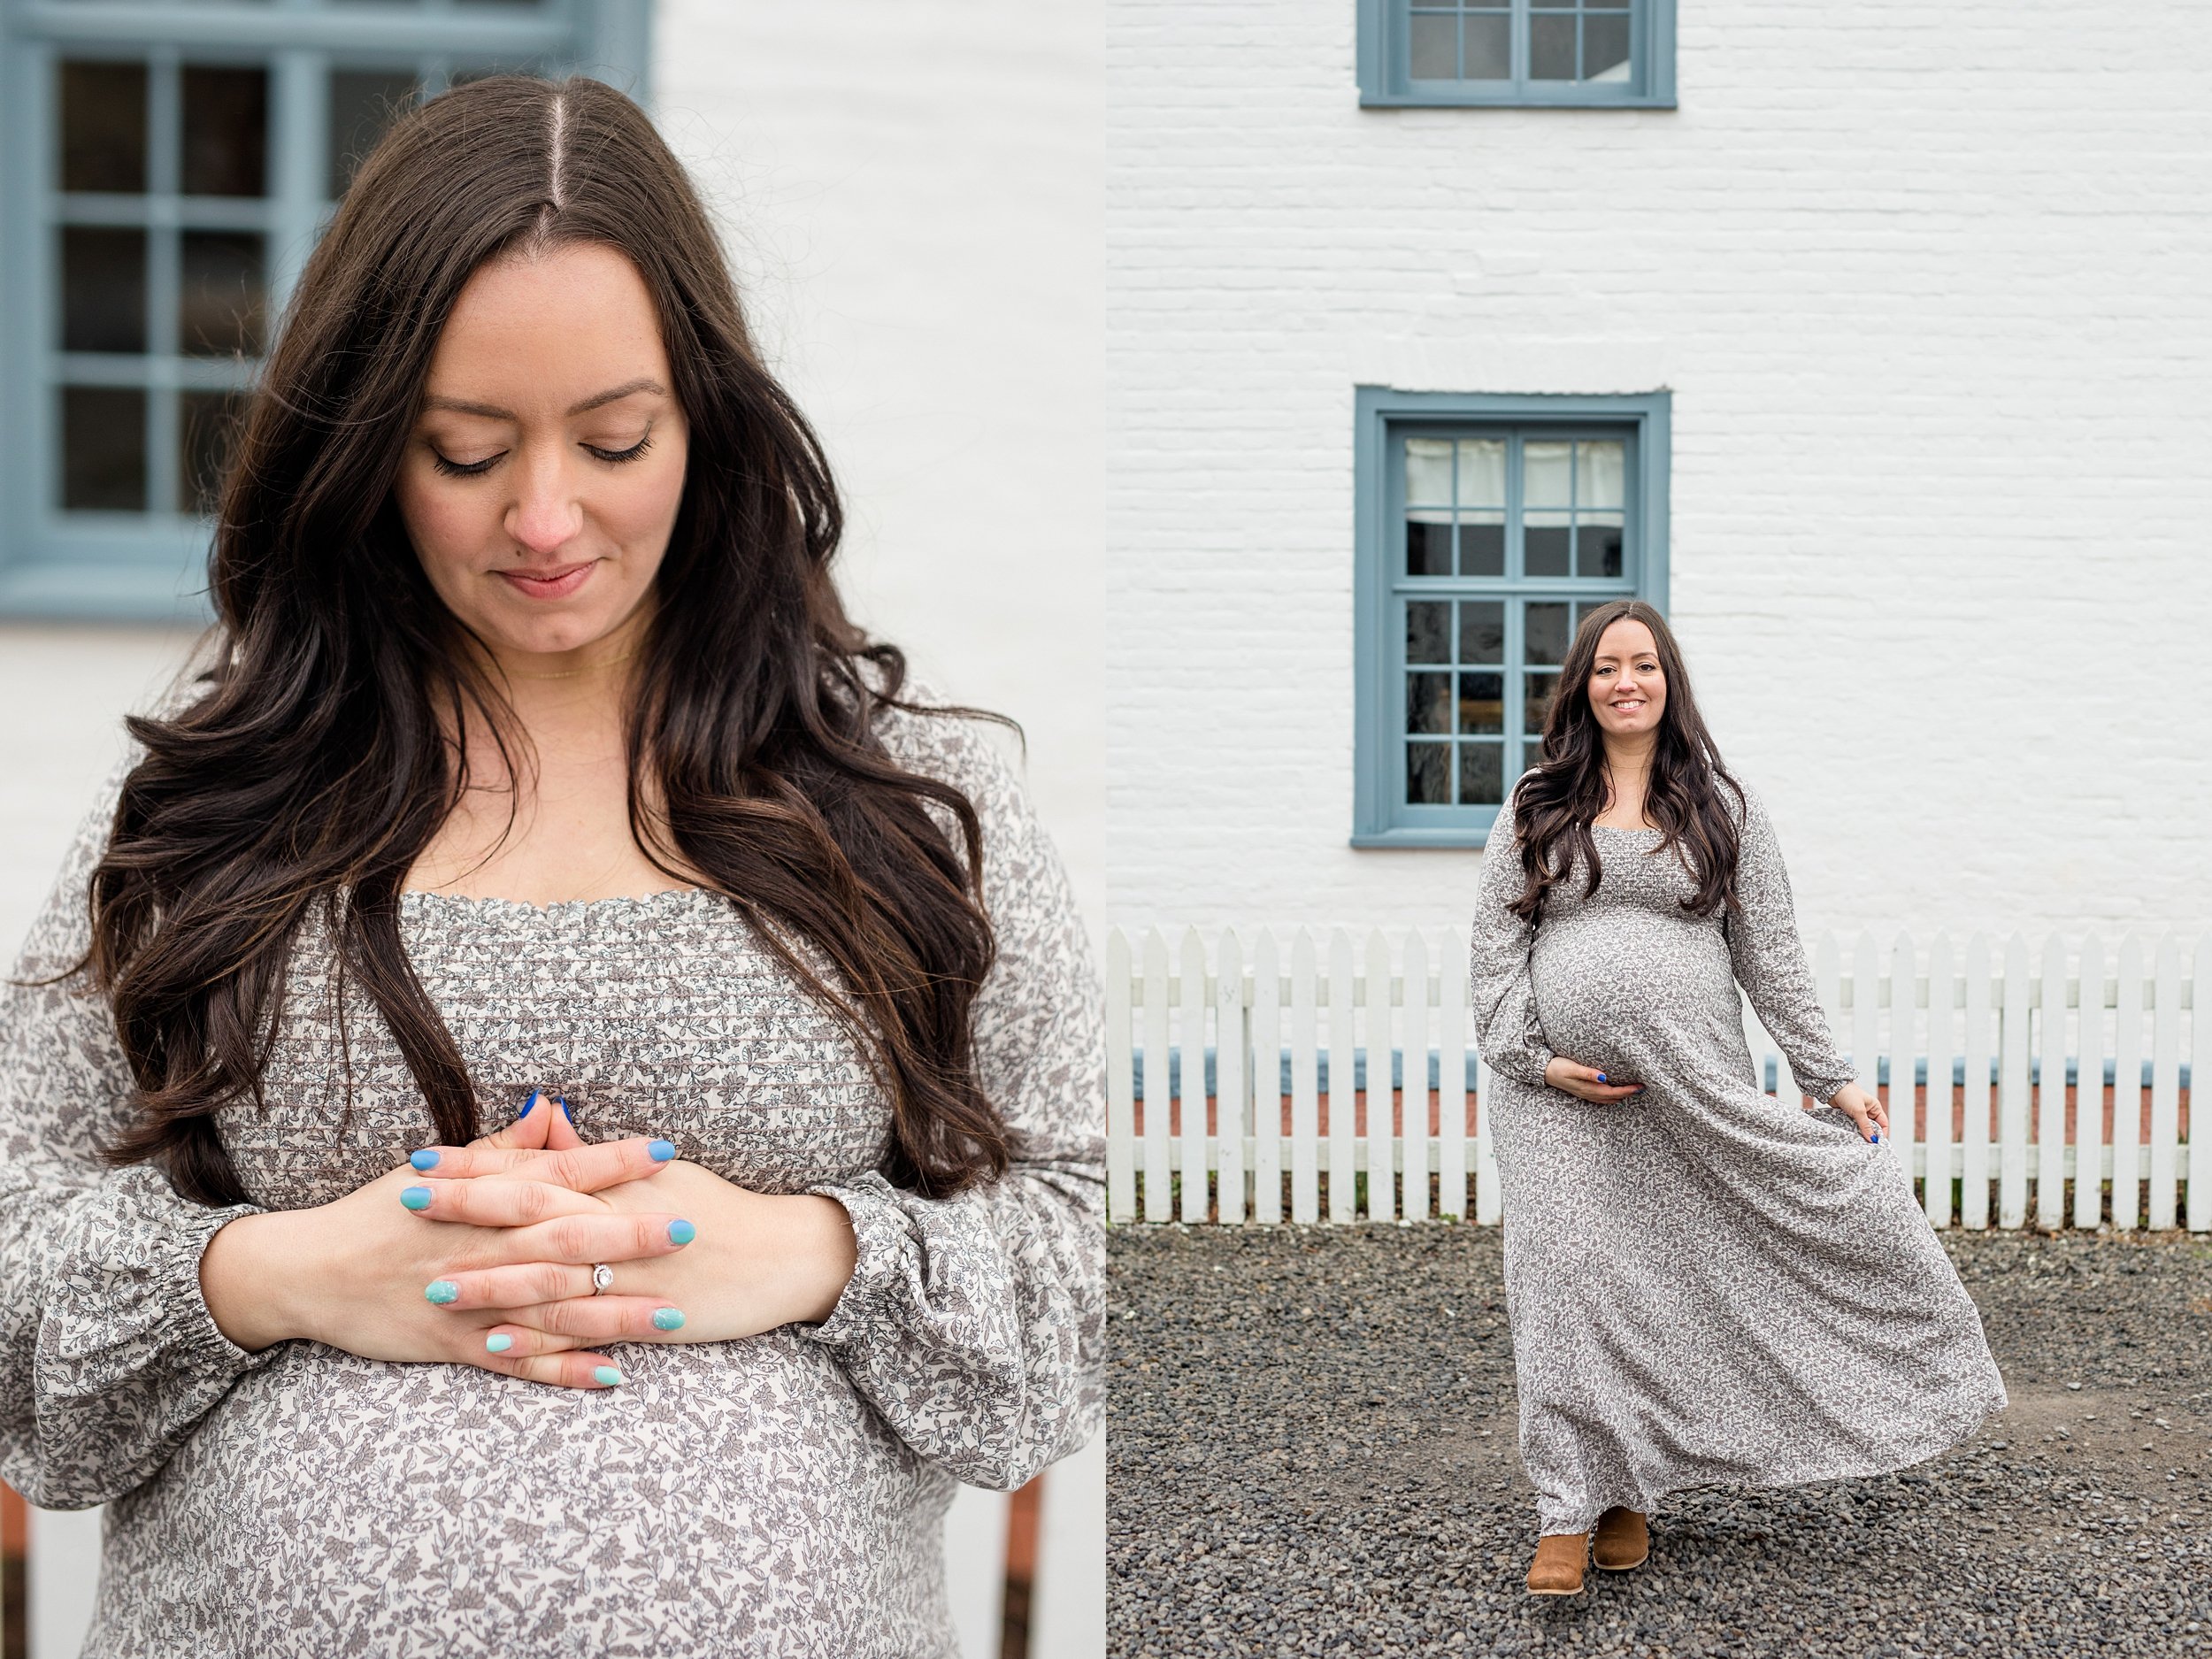
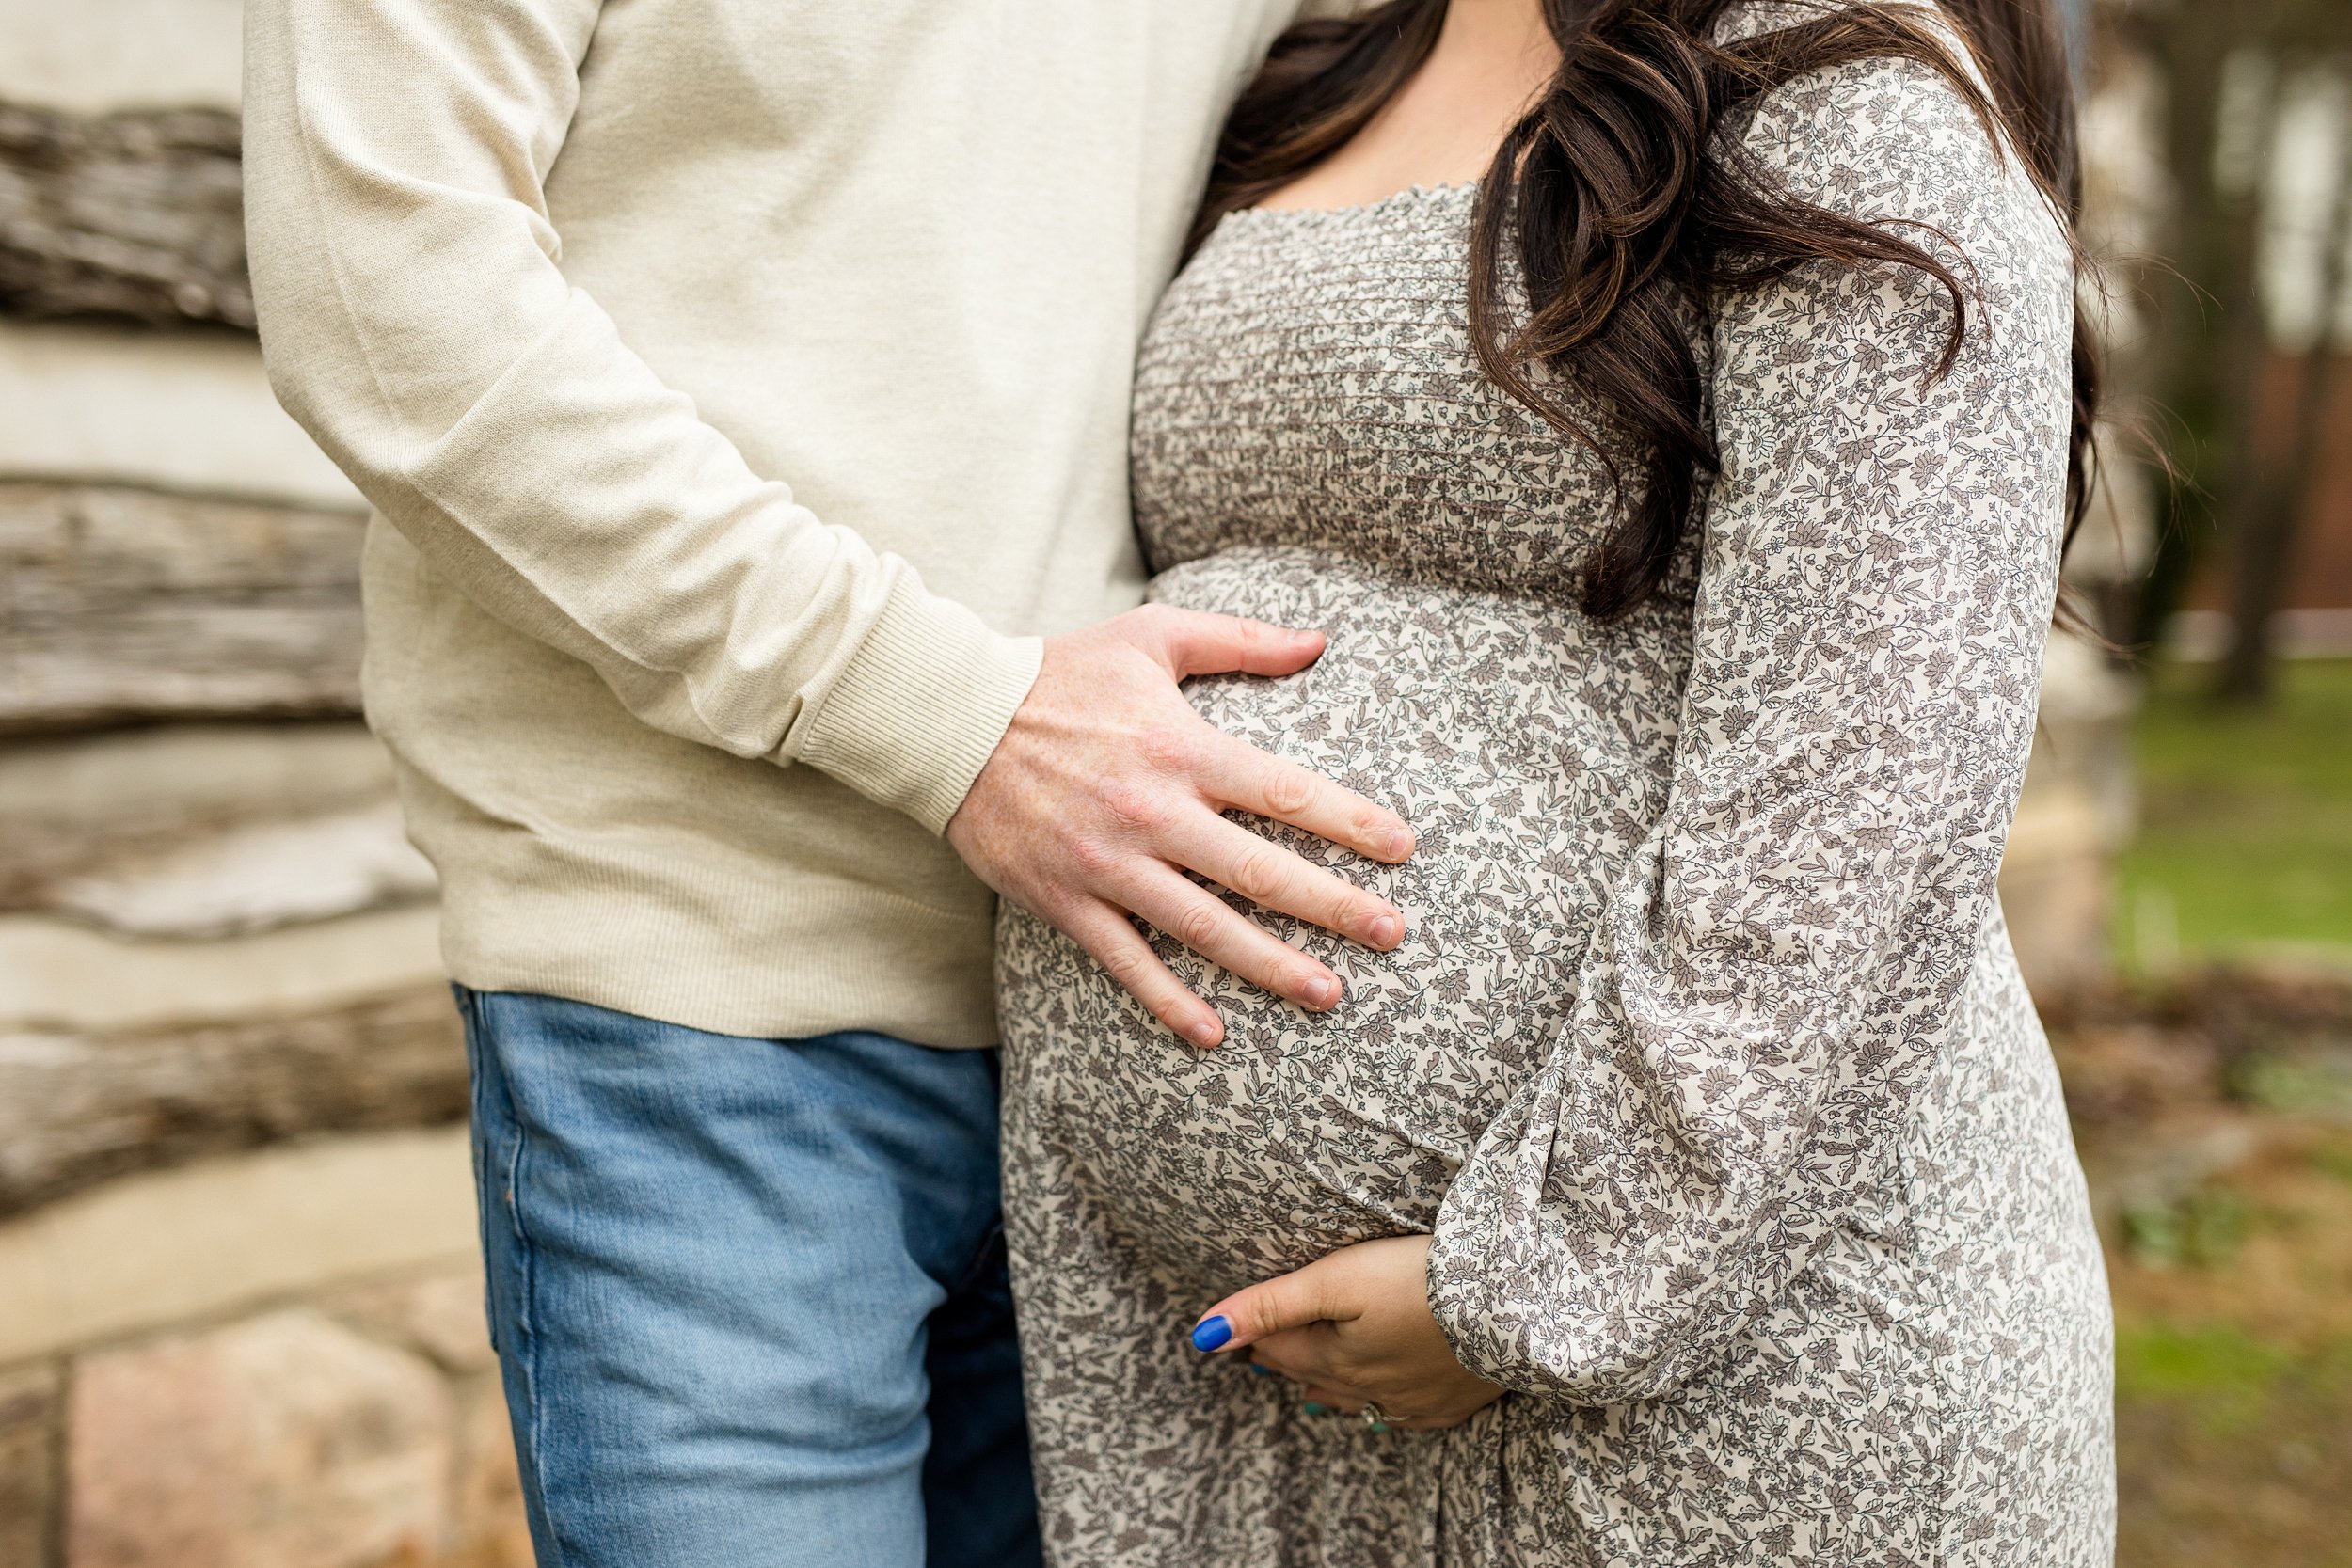
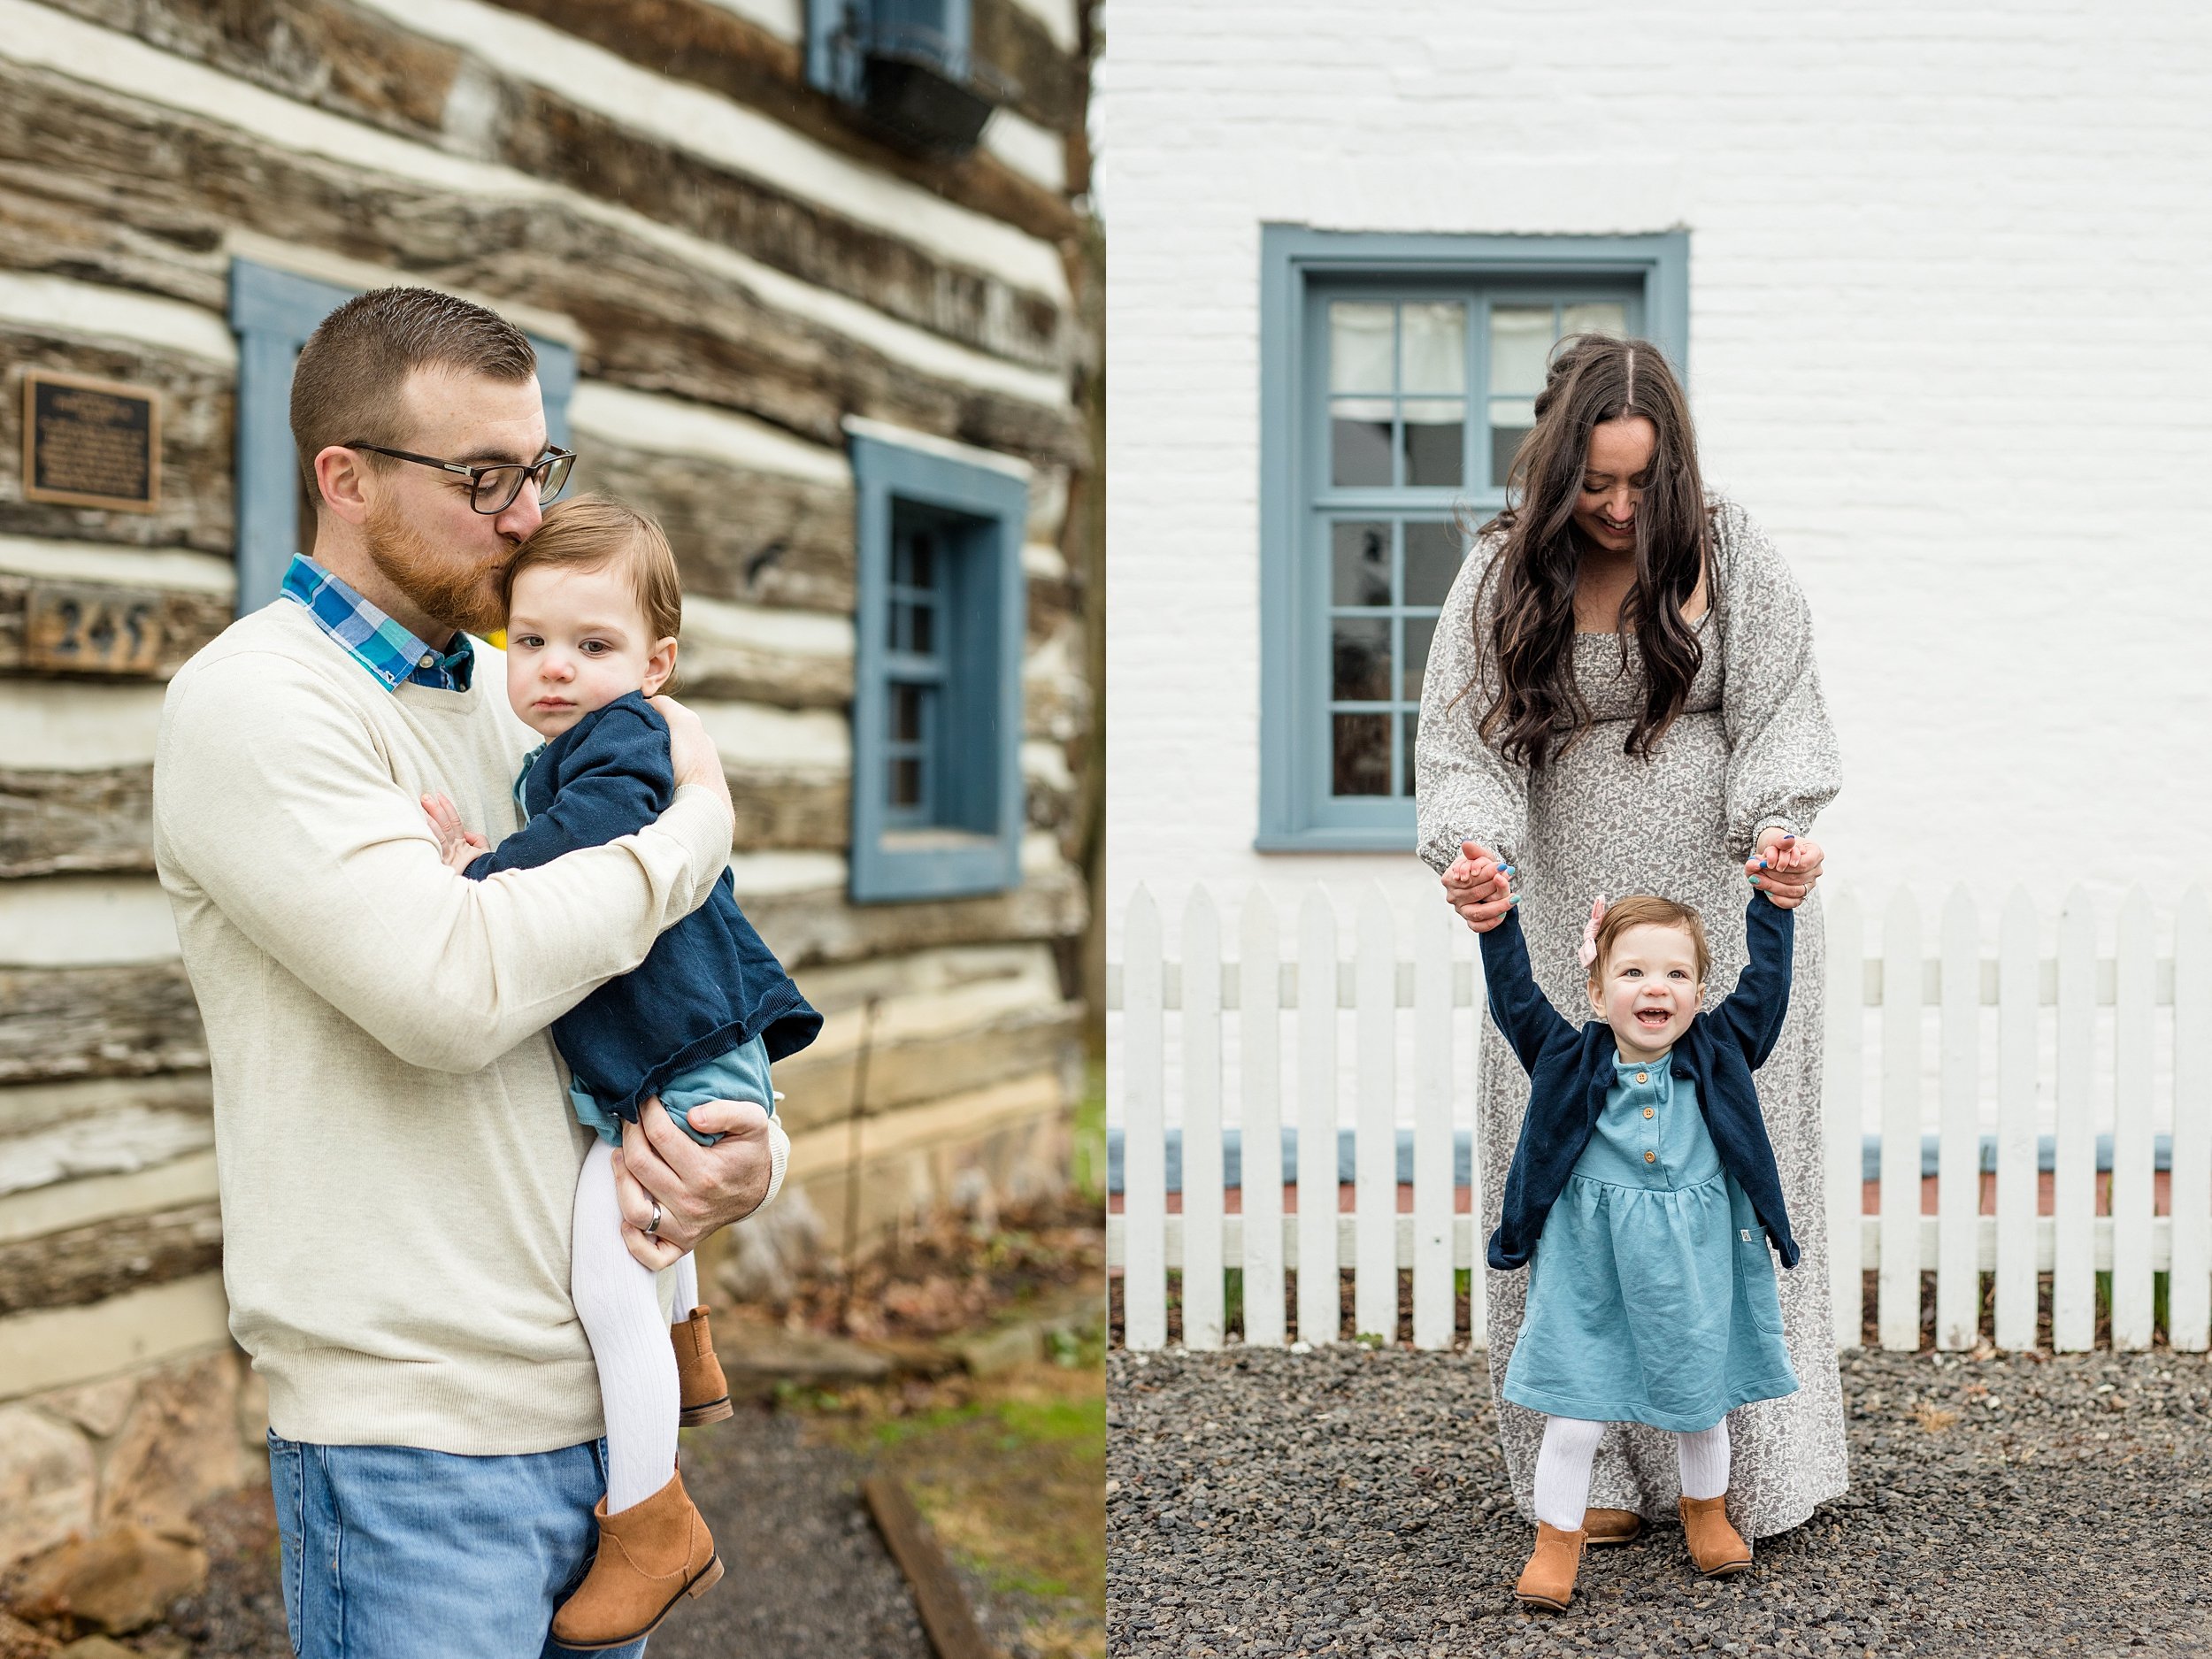
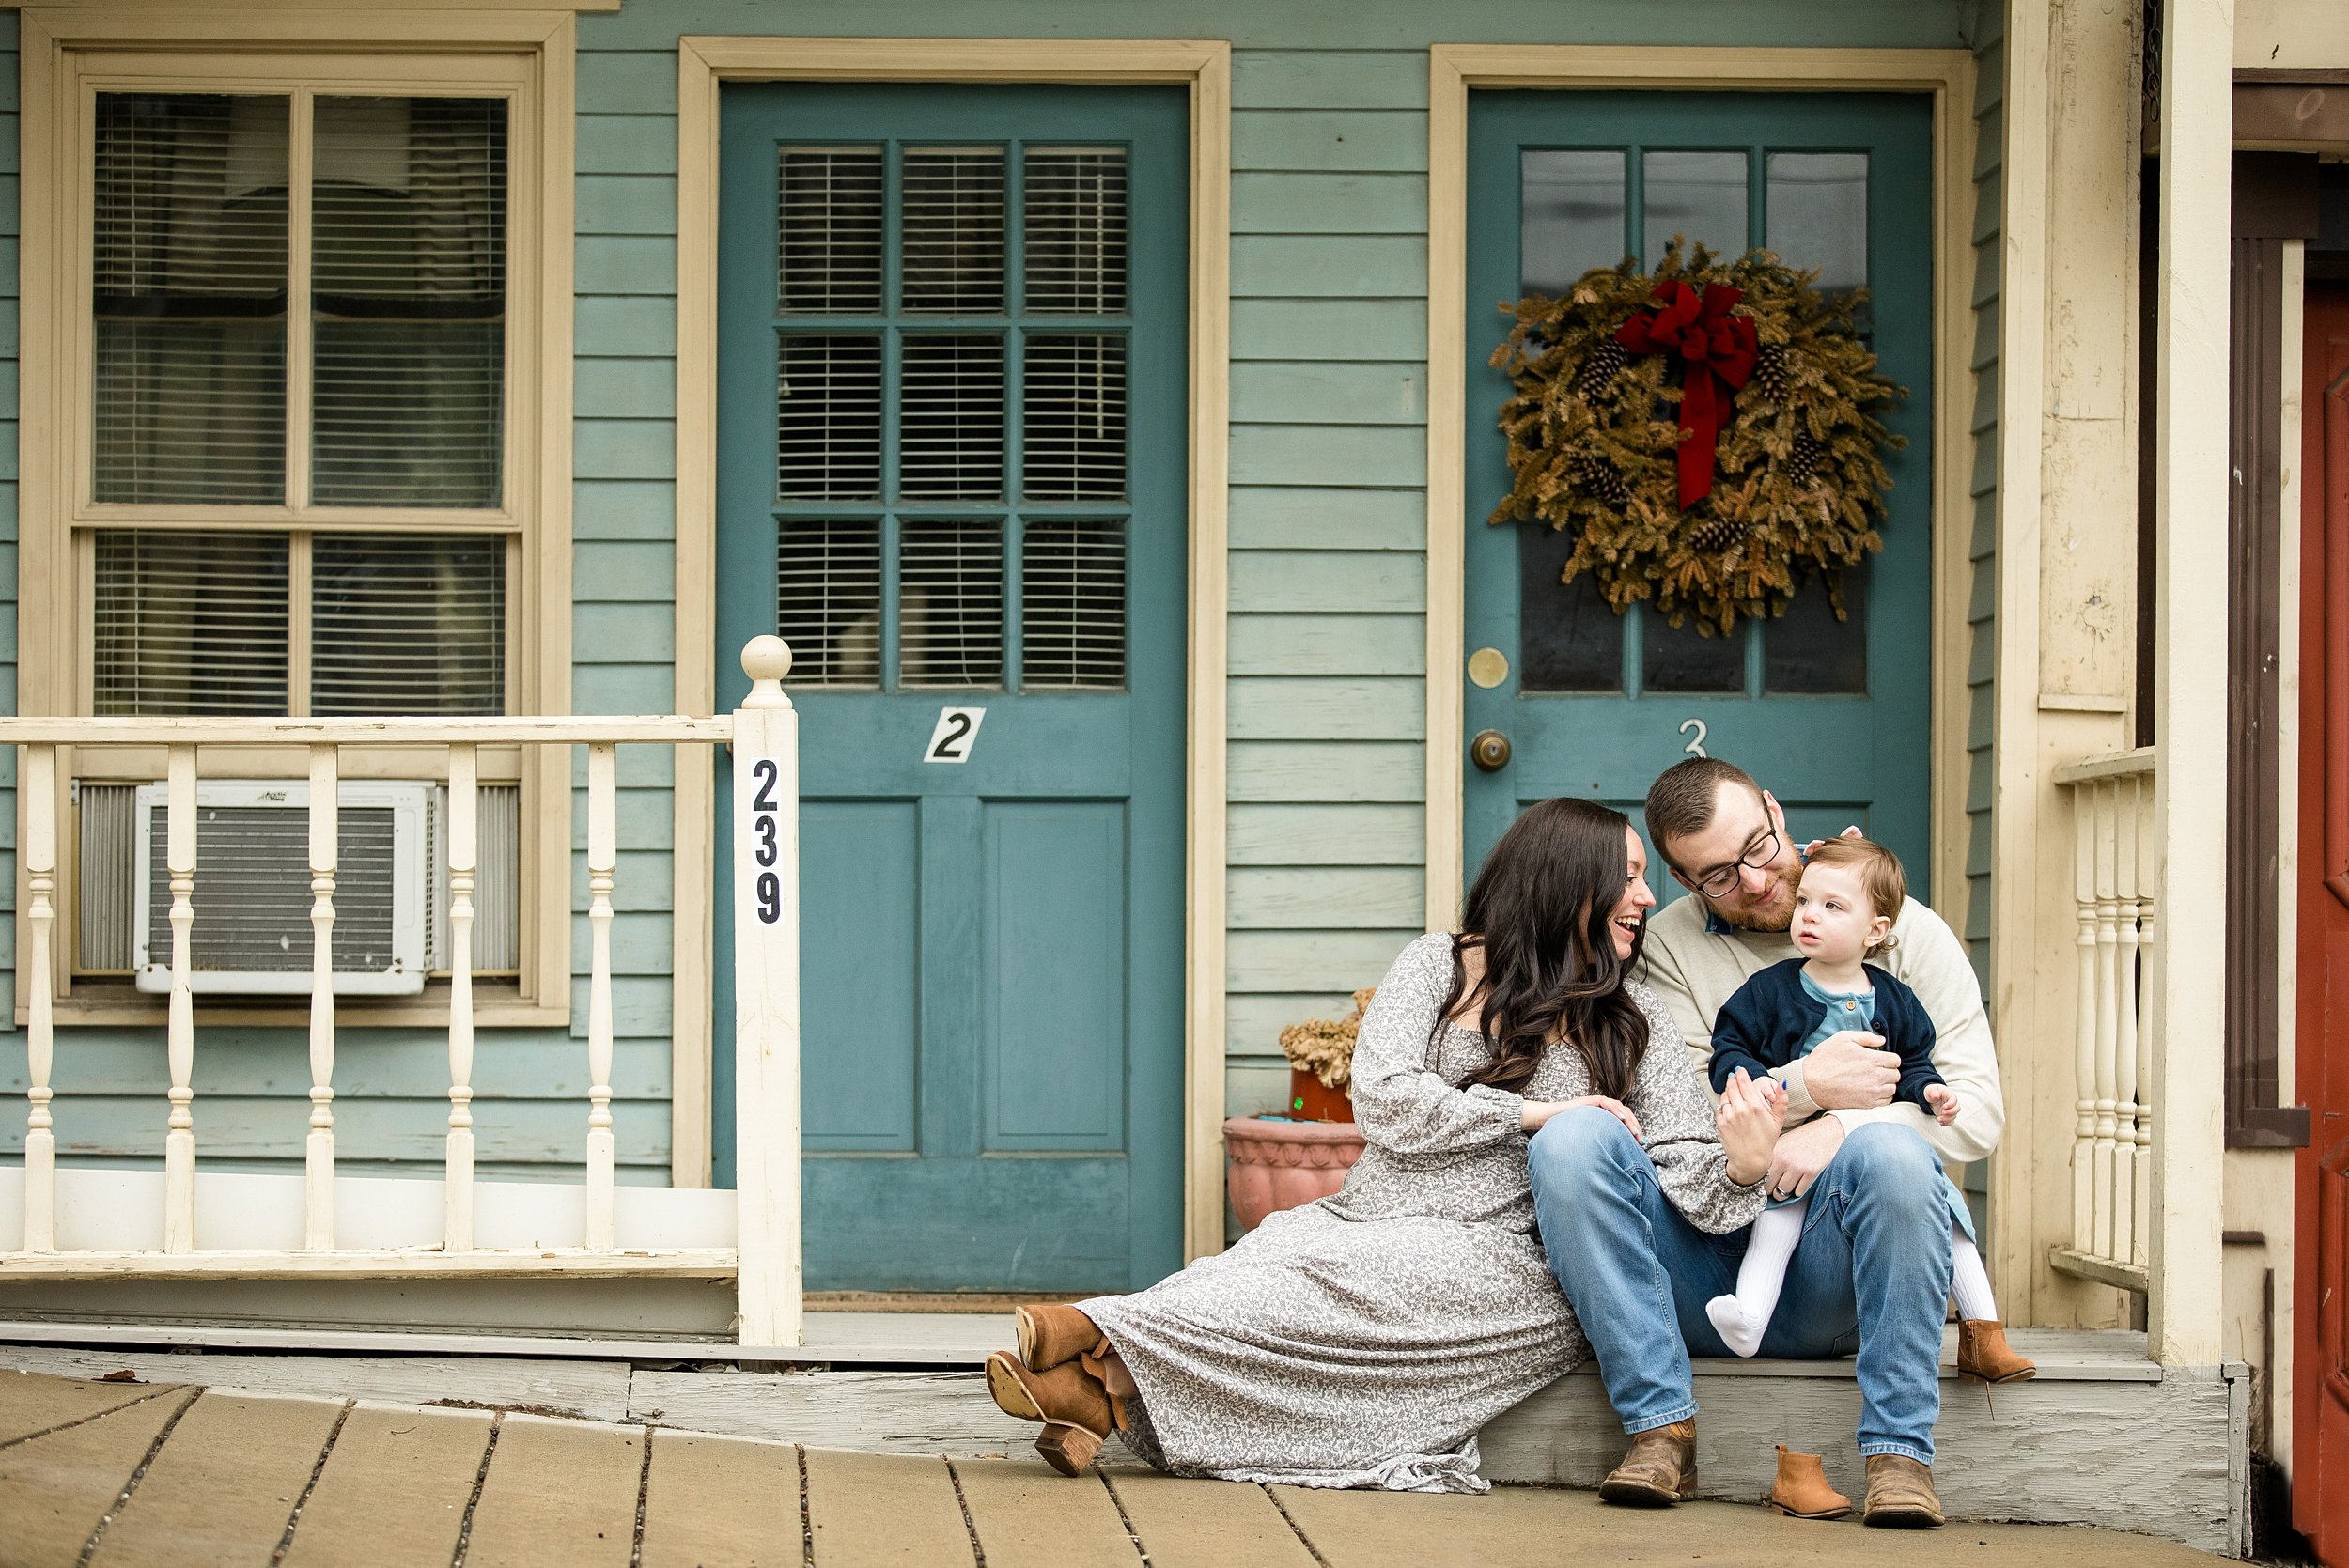
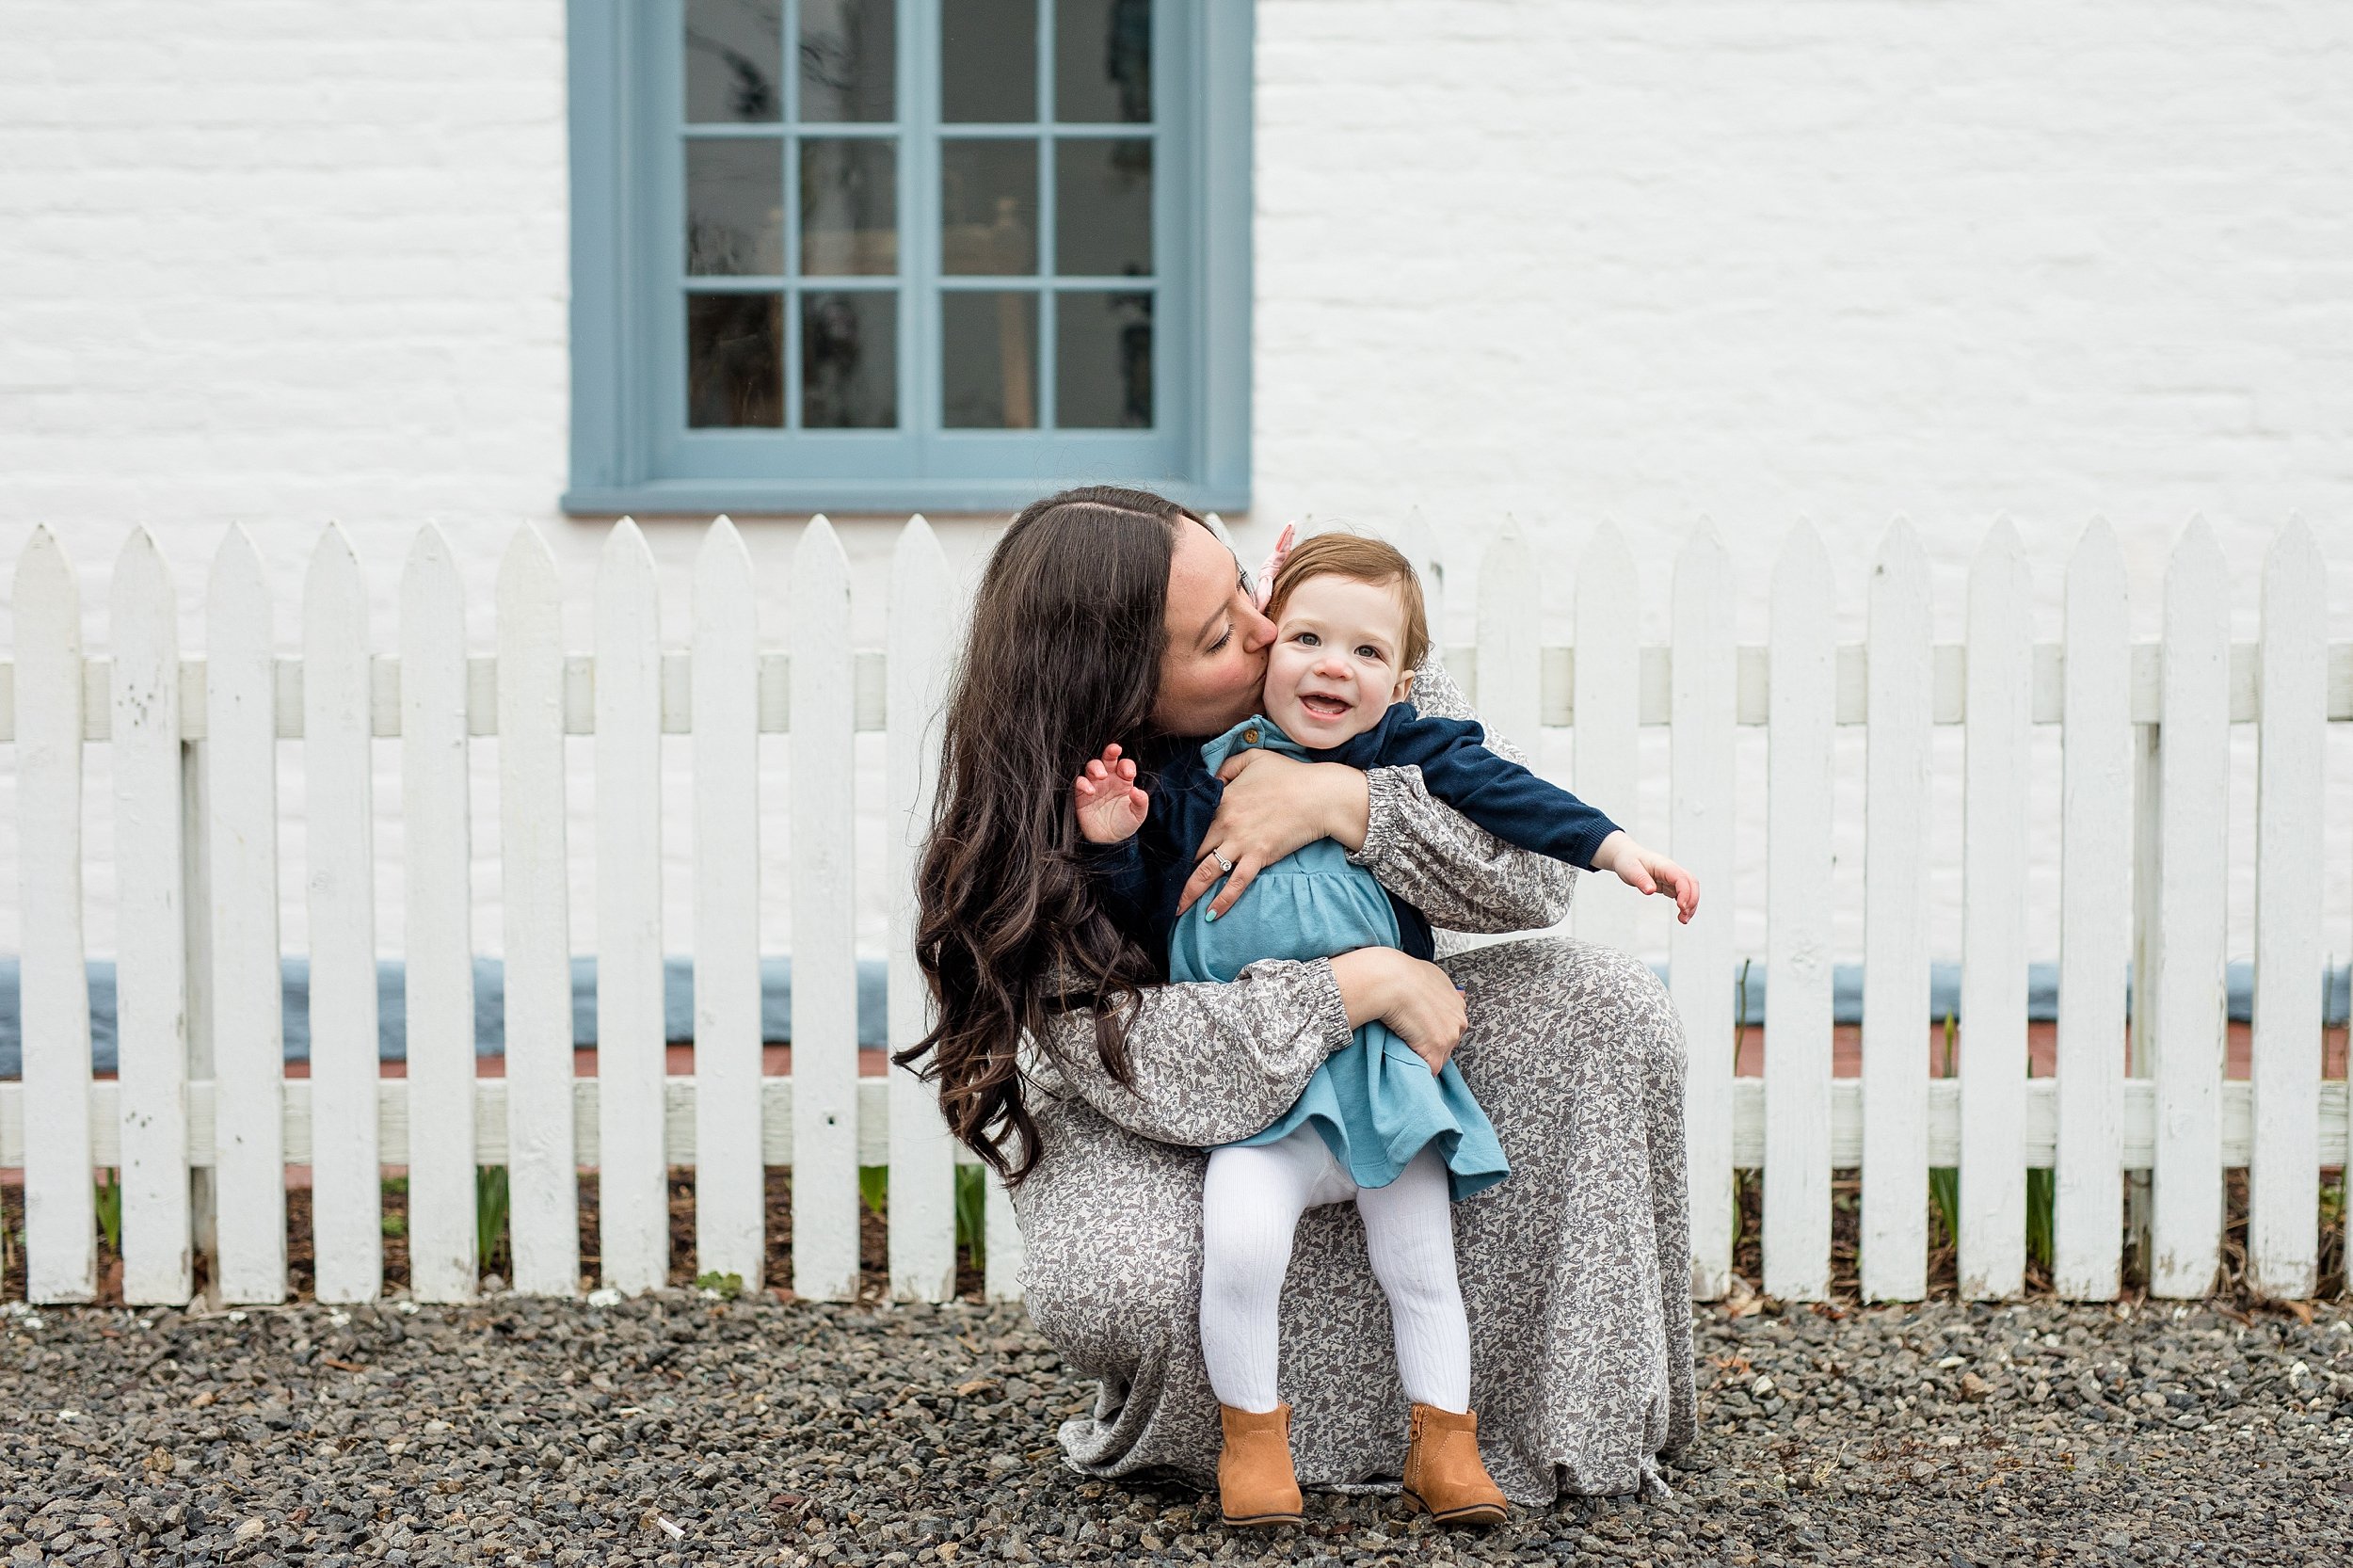
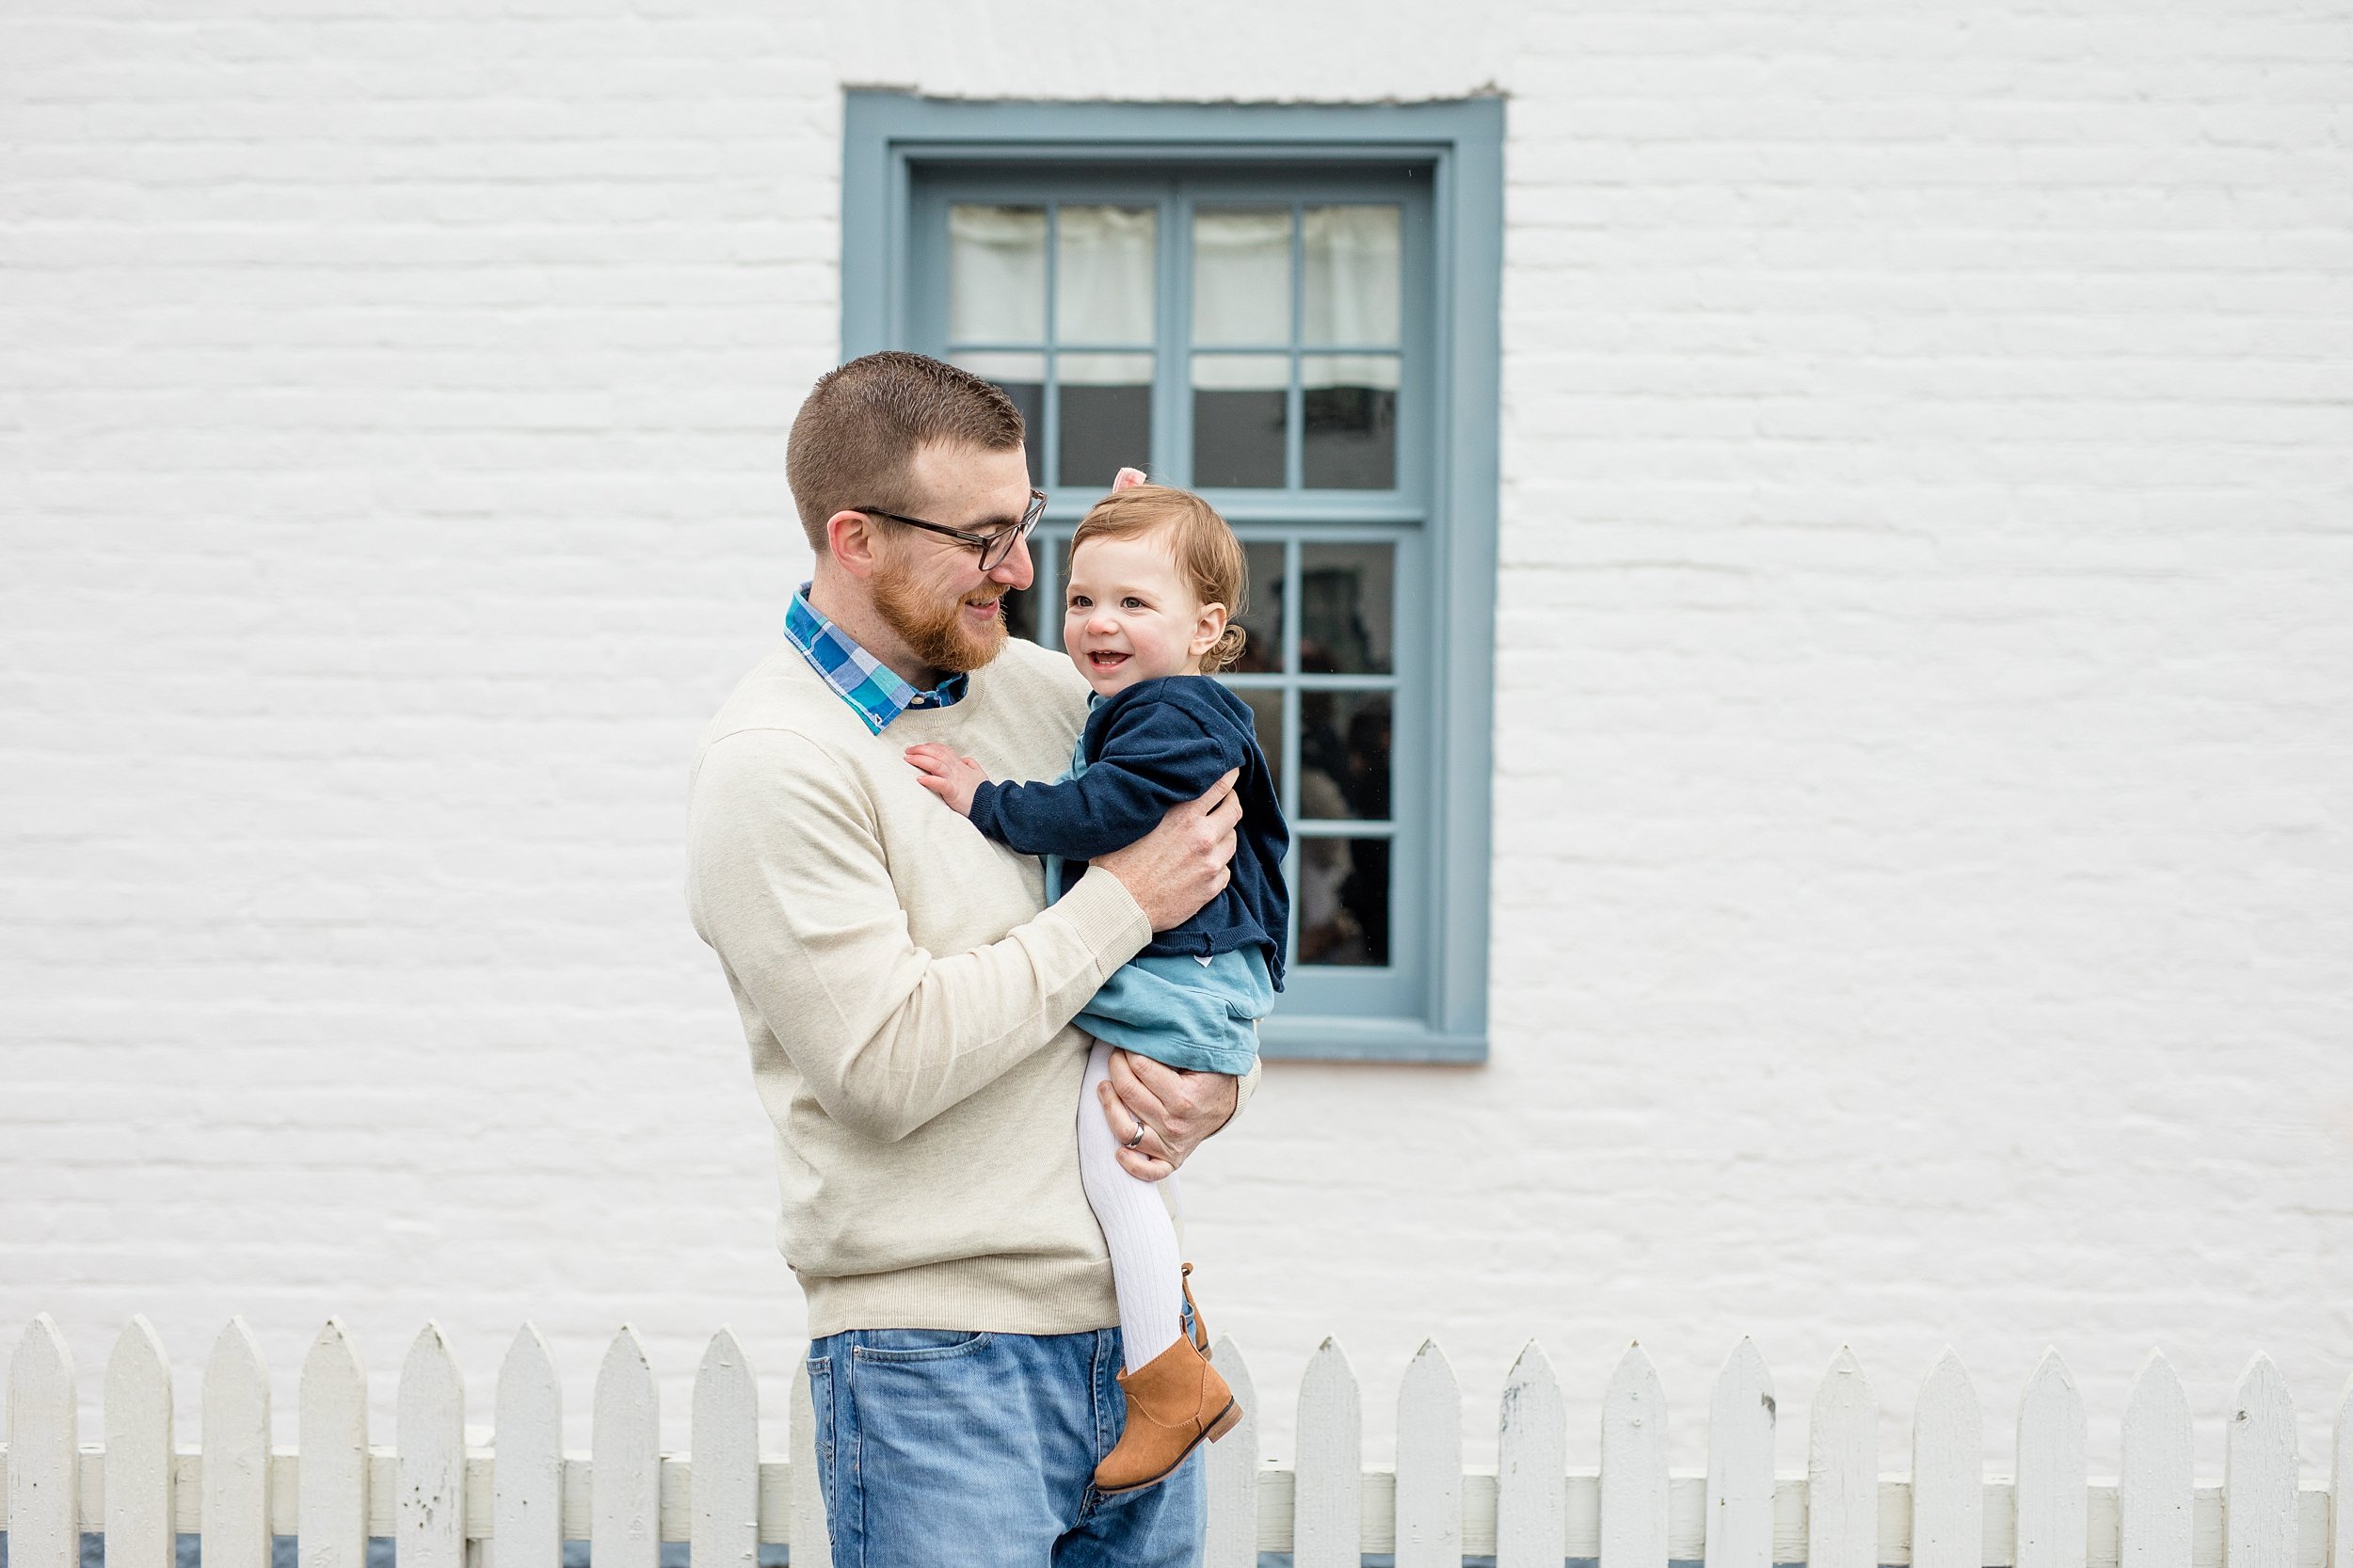
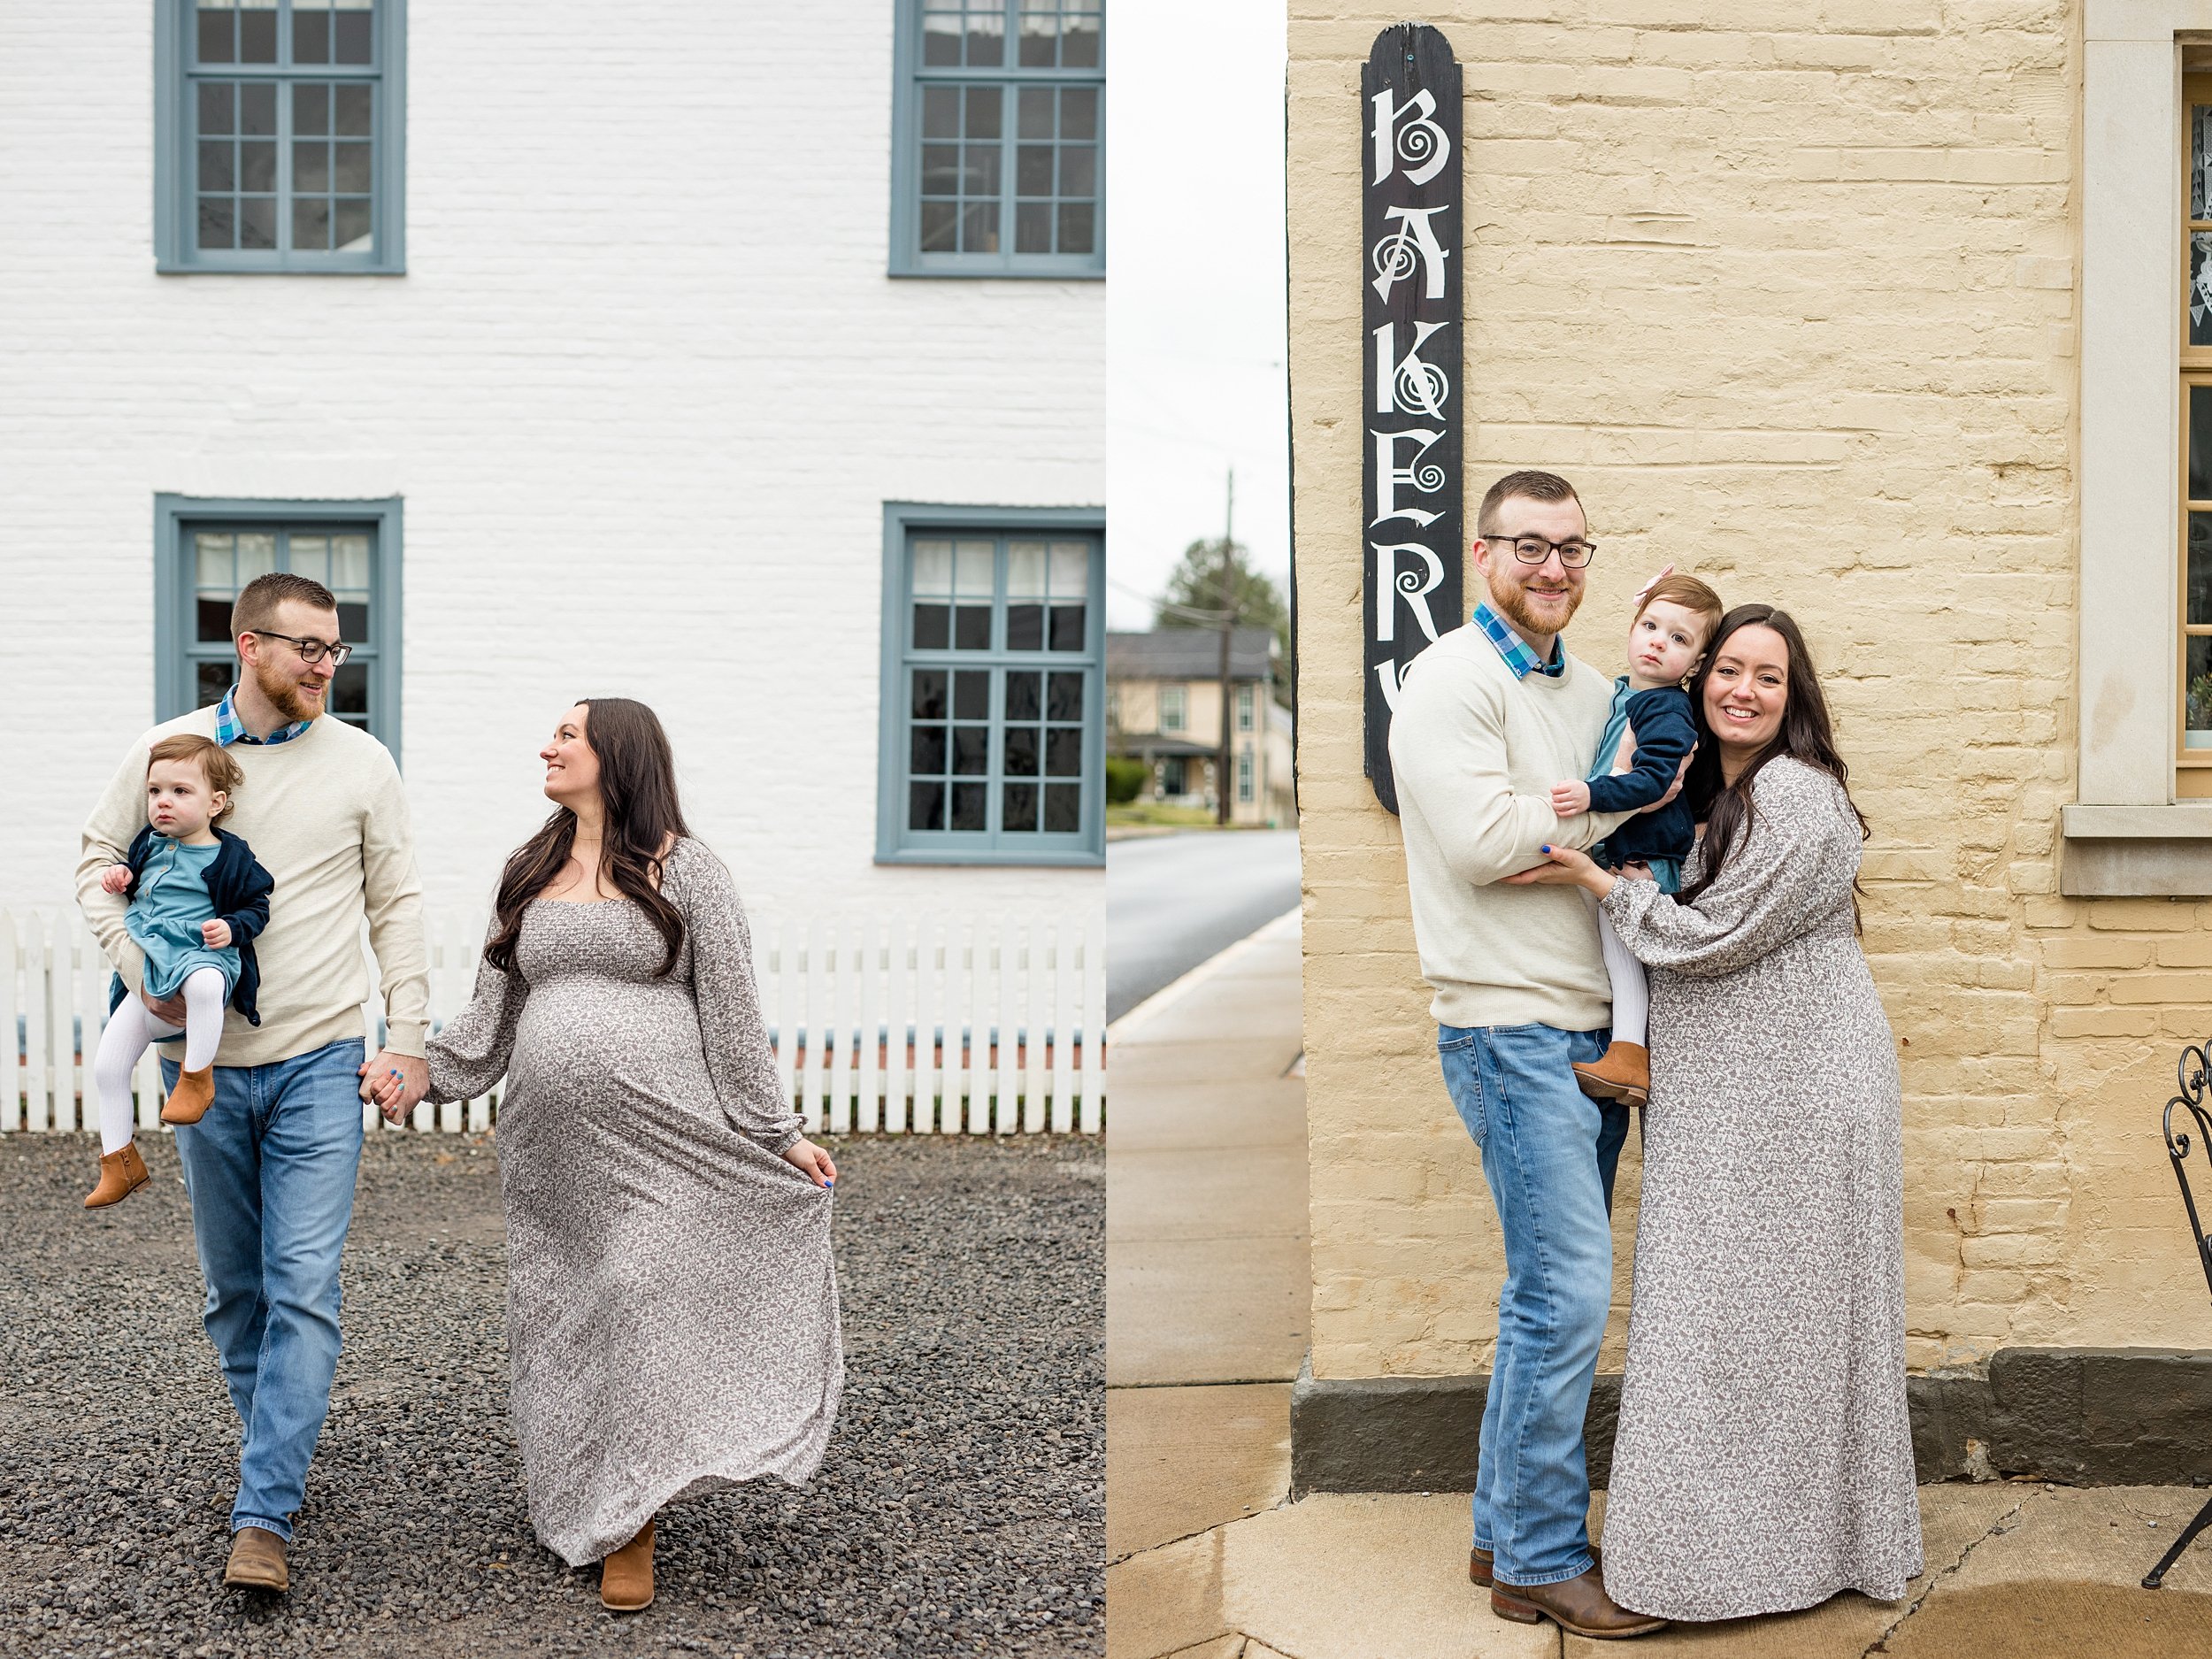
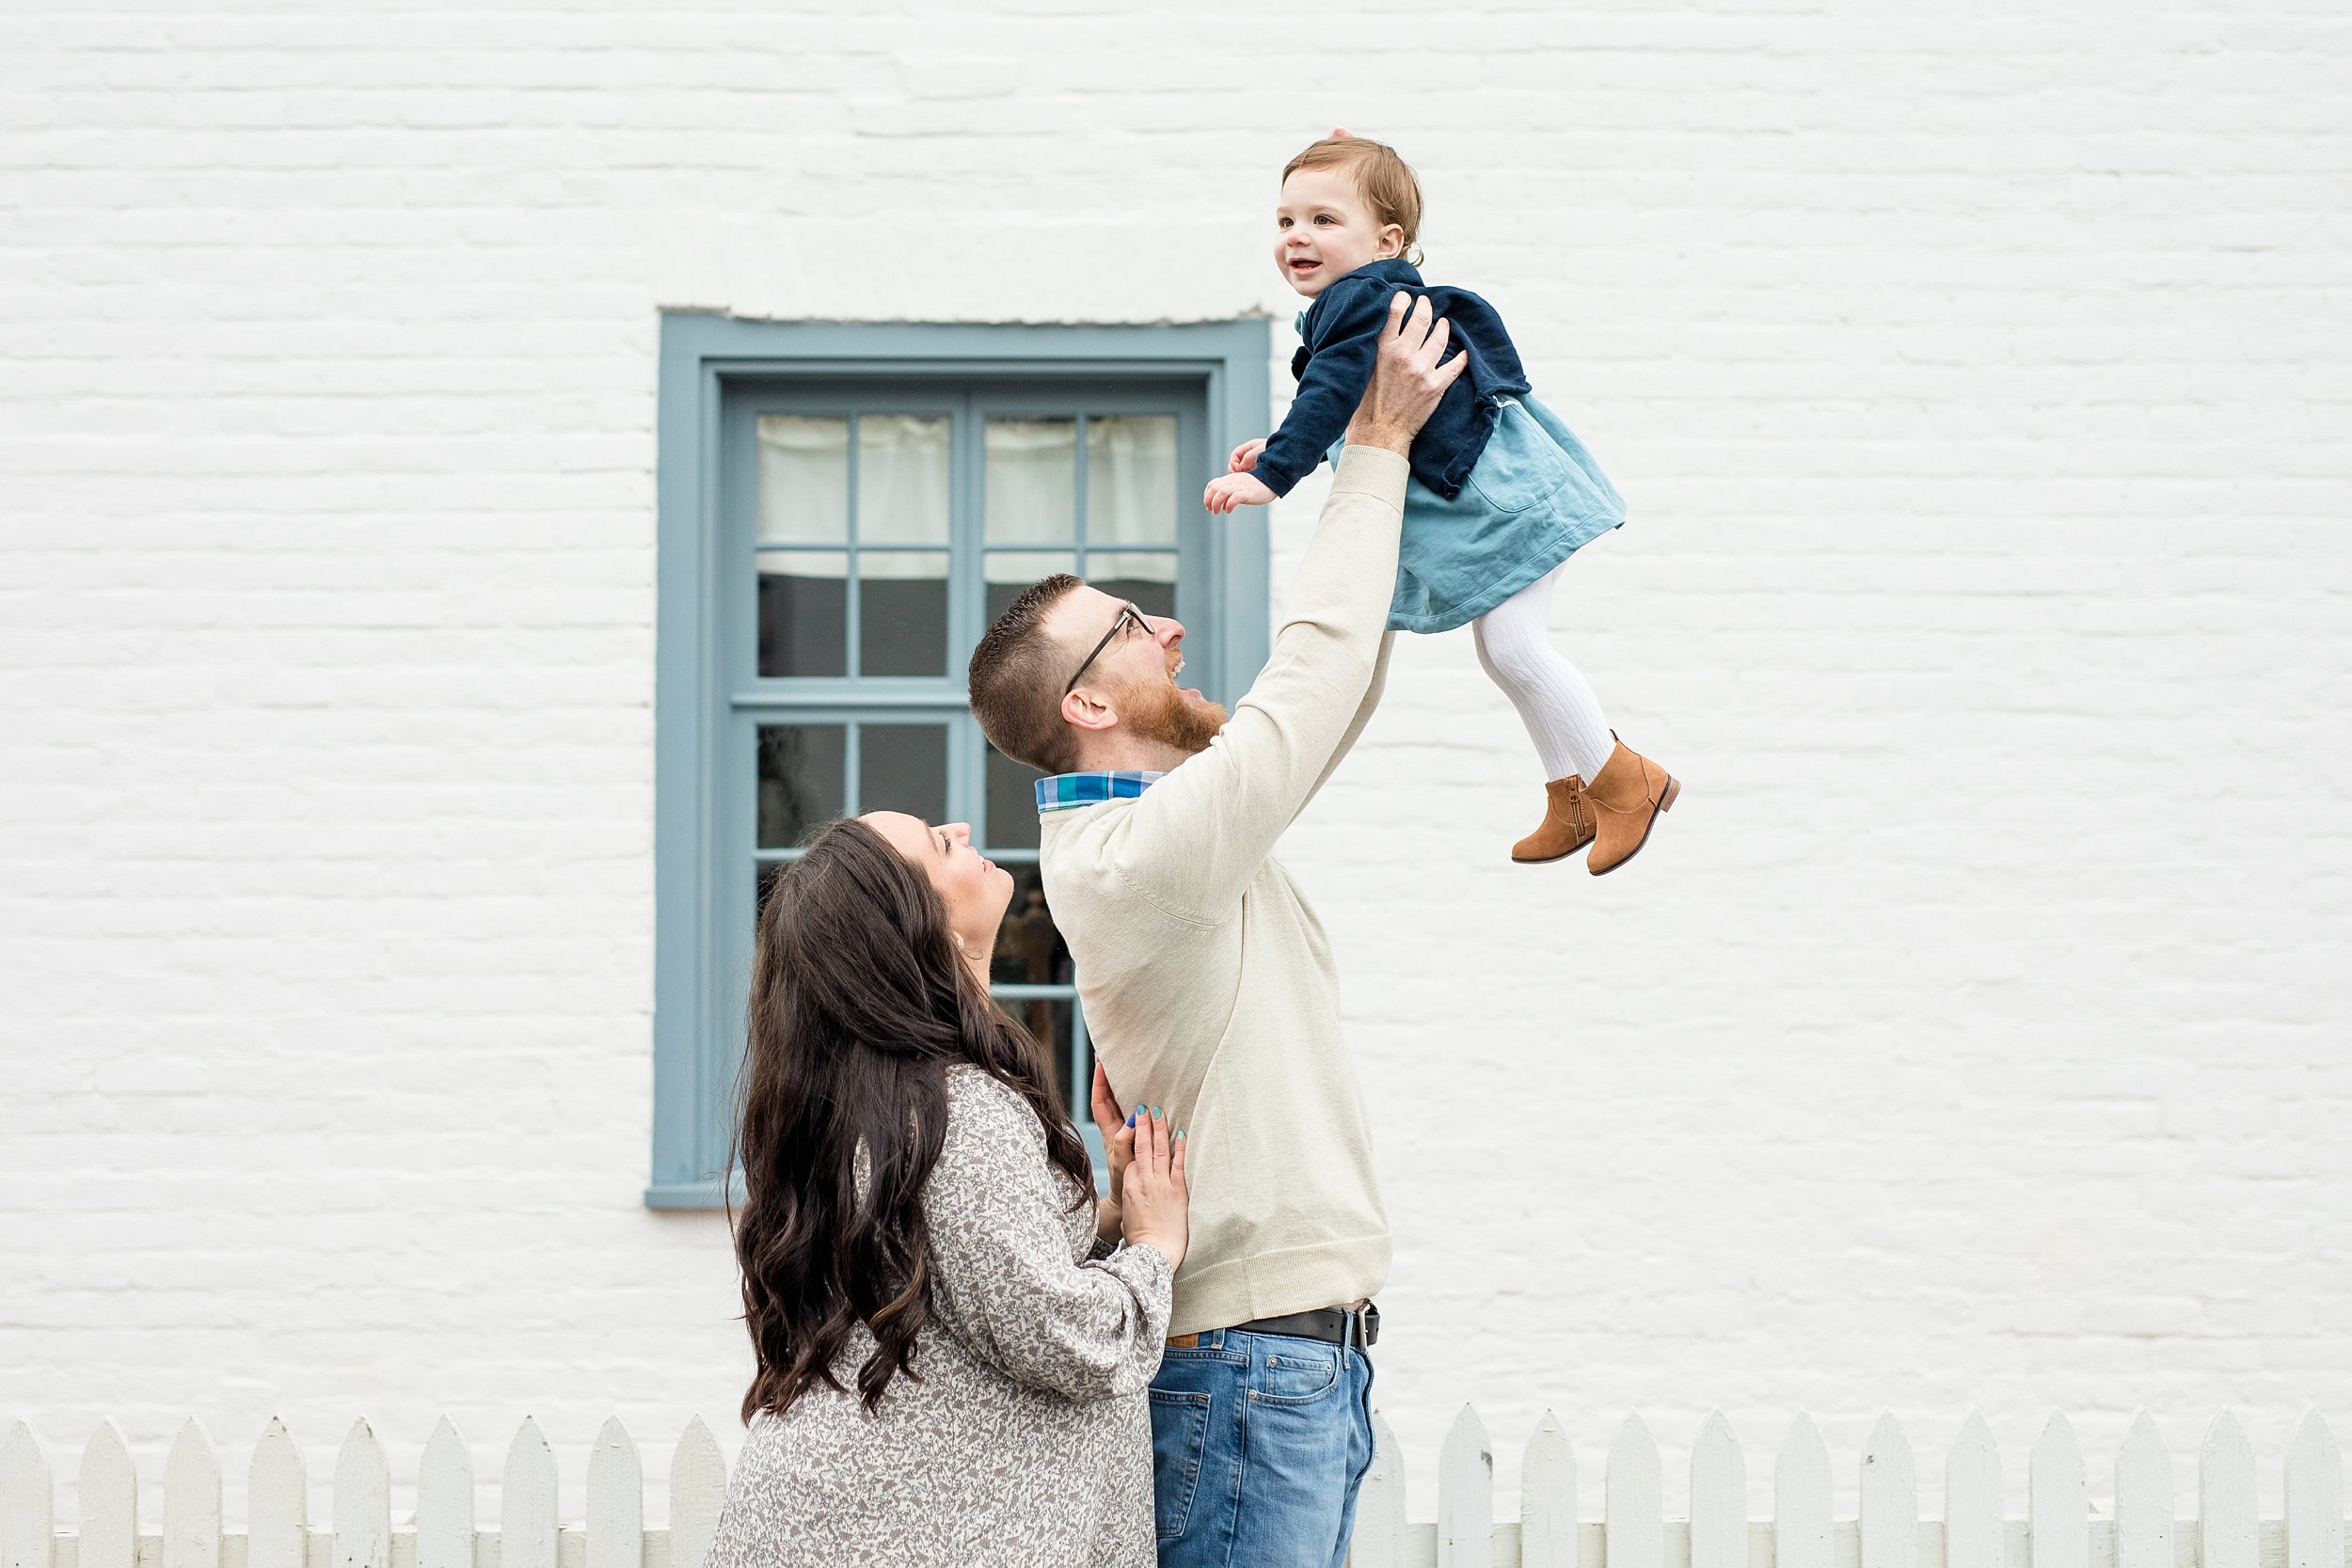
Oh how I adore this family! I've photographed Amanda & Chris for quite a few milestones - engagement, elopement, and when they were expecting their first child - and this Spring, I had the pleasure of photographing them once again, along with their sweet girl Kennedy, as they grow their family! It is such a treat to get to work with the same families as they grow!

And you may not be able to tell from these photos (because they hide it so well!!) but it was lightly raining for the majority of their session! And they pushed through it SO well, and we still got some lovely images for them to remember this season. I am so thankful!

We took these photos in one of my favorite locations, Historic Harmony! There are so many lovely backdrops within a short walking distance that can be used while taking portraits here.

Amanda & Chris, congratulations on the growth of your family! ❤️

Comment

Julia E: Phipp's Conservatory Broderie Room Senior Photos

Comment

Julia E: Phipp's Conservatory Broderie Room Senior Photos

Say hello to Miss Julia, who is a part of the class of 2022! Julia plans on studying Psychology after high school, and has such a sweet spirit! She loves reading, writing, and baking.

It was such a treat to be able to photograph Julia a few weeks ago at Phipp's Conservatory in the Broderie Room! If you didn’t know, the Broderie Room at Phipp’s is modeled after a formal French garden, and (in my opinion) it’s easily one of the most beautiful rooms they have!

Phipp’s ended up working out perfectly for Julia’s senior portrait session - her photos needed to be completed with enough time to use them for senior announcements this summer, so they couldn’t be scheduled too late into the Spring. But Julia also wanted some beautiful greens and florals as a backdrop, which usually begin to pop up in the Spring timeframe. So when I suggested renting a room at Phipp’s for her senior photos, I was so excited when she and her mom jumped on the opportunity!

Did you know that you can actually rent a room at Phipp’s? It’s true! Click here to find out more about a room rental at Phipp’s. A room rental at Phipp’s might be a great idea for a senior session for you if…

  • You don’t want to have to worry about inclement weather the day of your shoot! Phipp’s is a covered, enclosed greenhouse, making it a great indoor option - which would mean that you wouldn’t have to worry about rain, cold, or snow!

  • You want to have a more private space for your session. Public spaces & parks can be busy during the summer months. Phipp’s is a private space where people won’t be able to interrupt!
Renting a room is actually the only way to have a professional photo session take place there (just so you know!). But it really is a fantastic option, even a great backup rain plan!

Congratulations on your senior year, Julia! It was such an honor to celebrate this season with you!

Comment

Connor D: Franklin Regional High School Senior Photos in Oakland PA

Comment

Connor D: Franklin Regional High School Senior Photos in Oakland PA

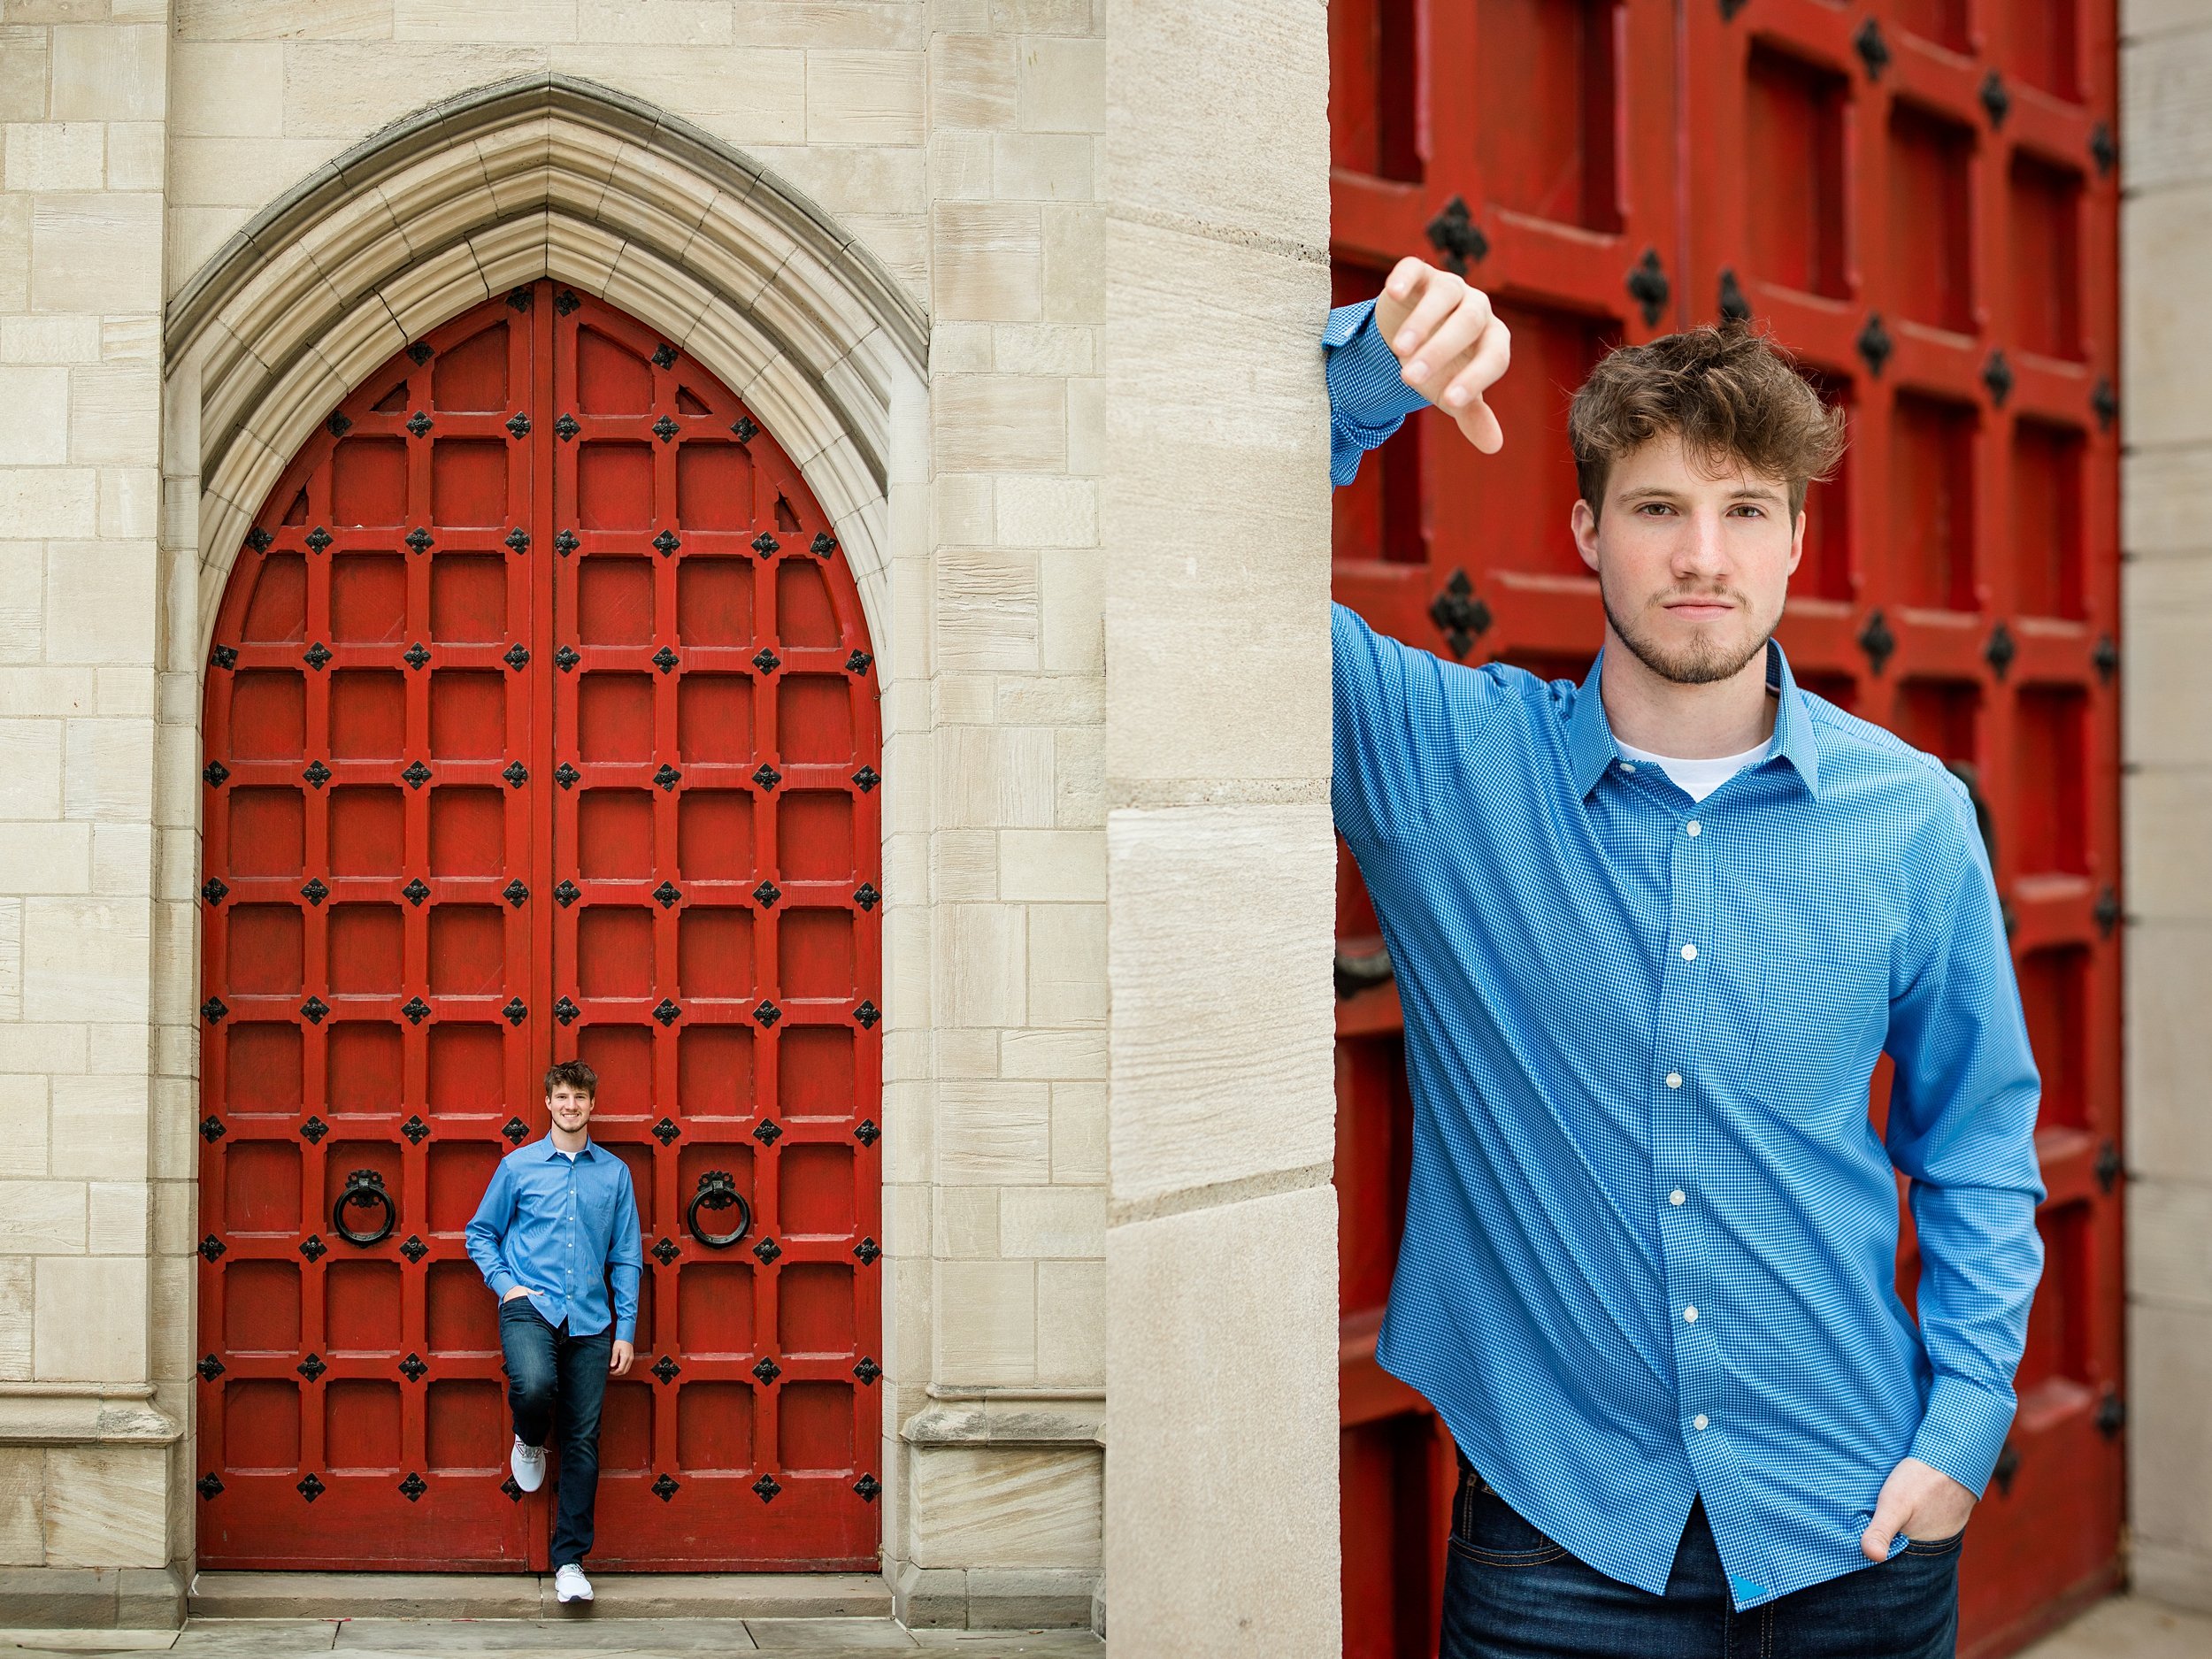
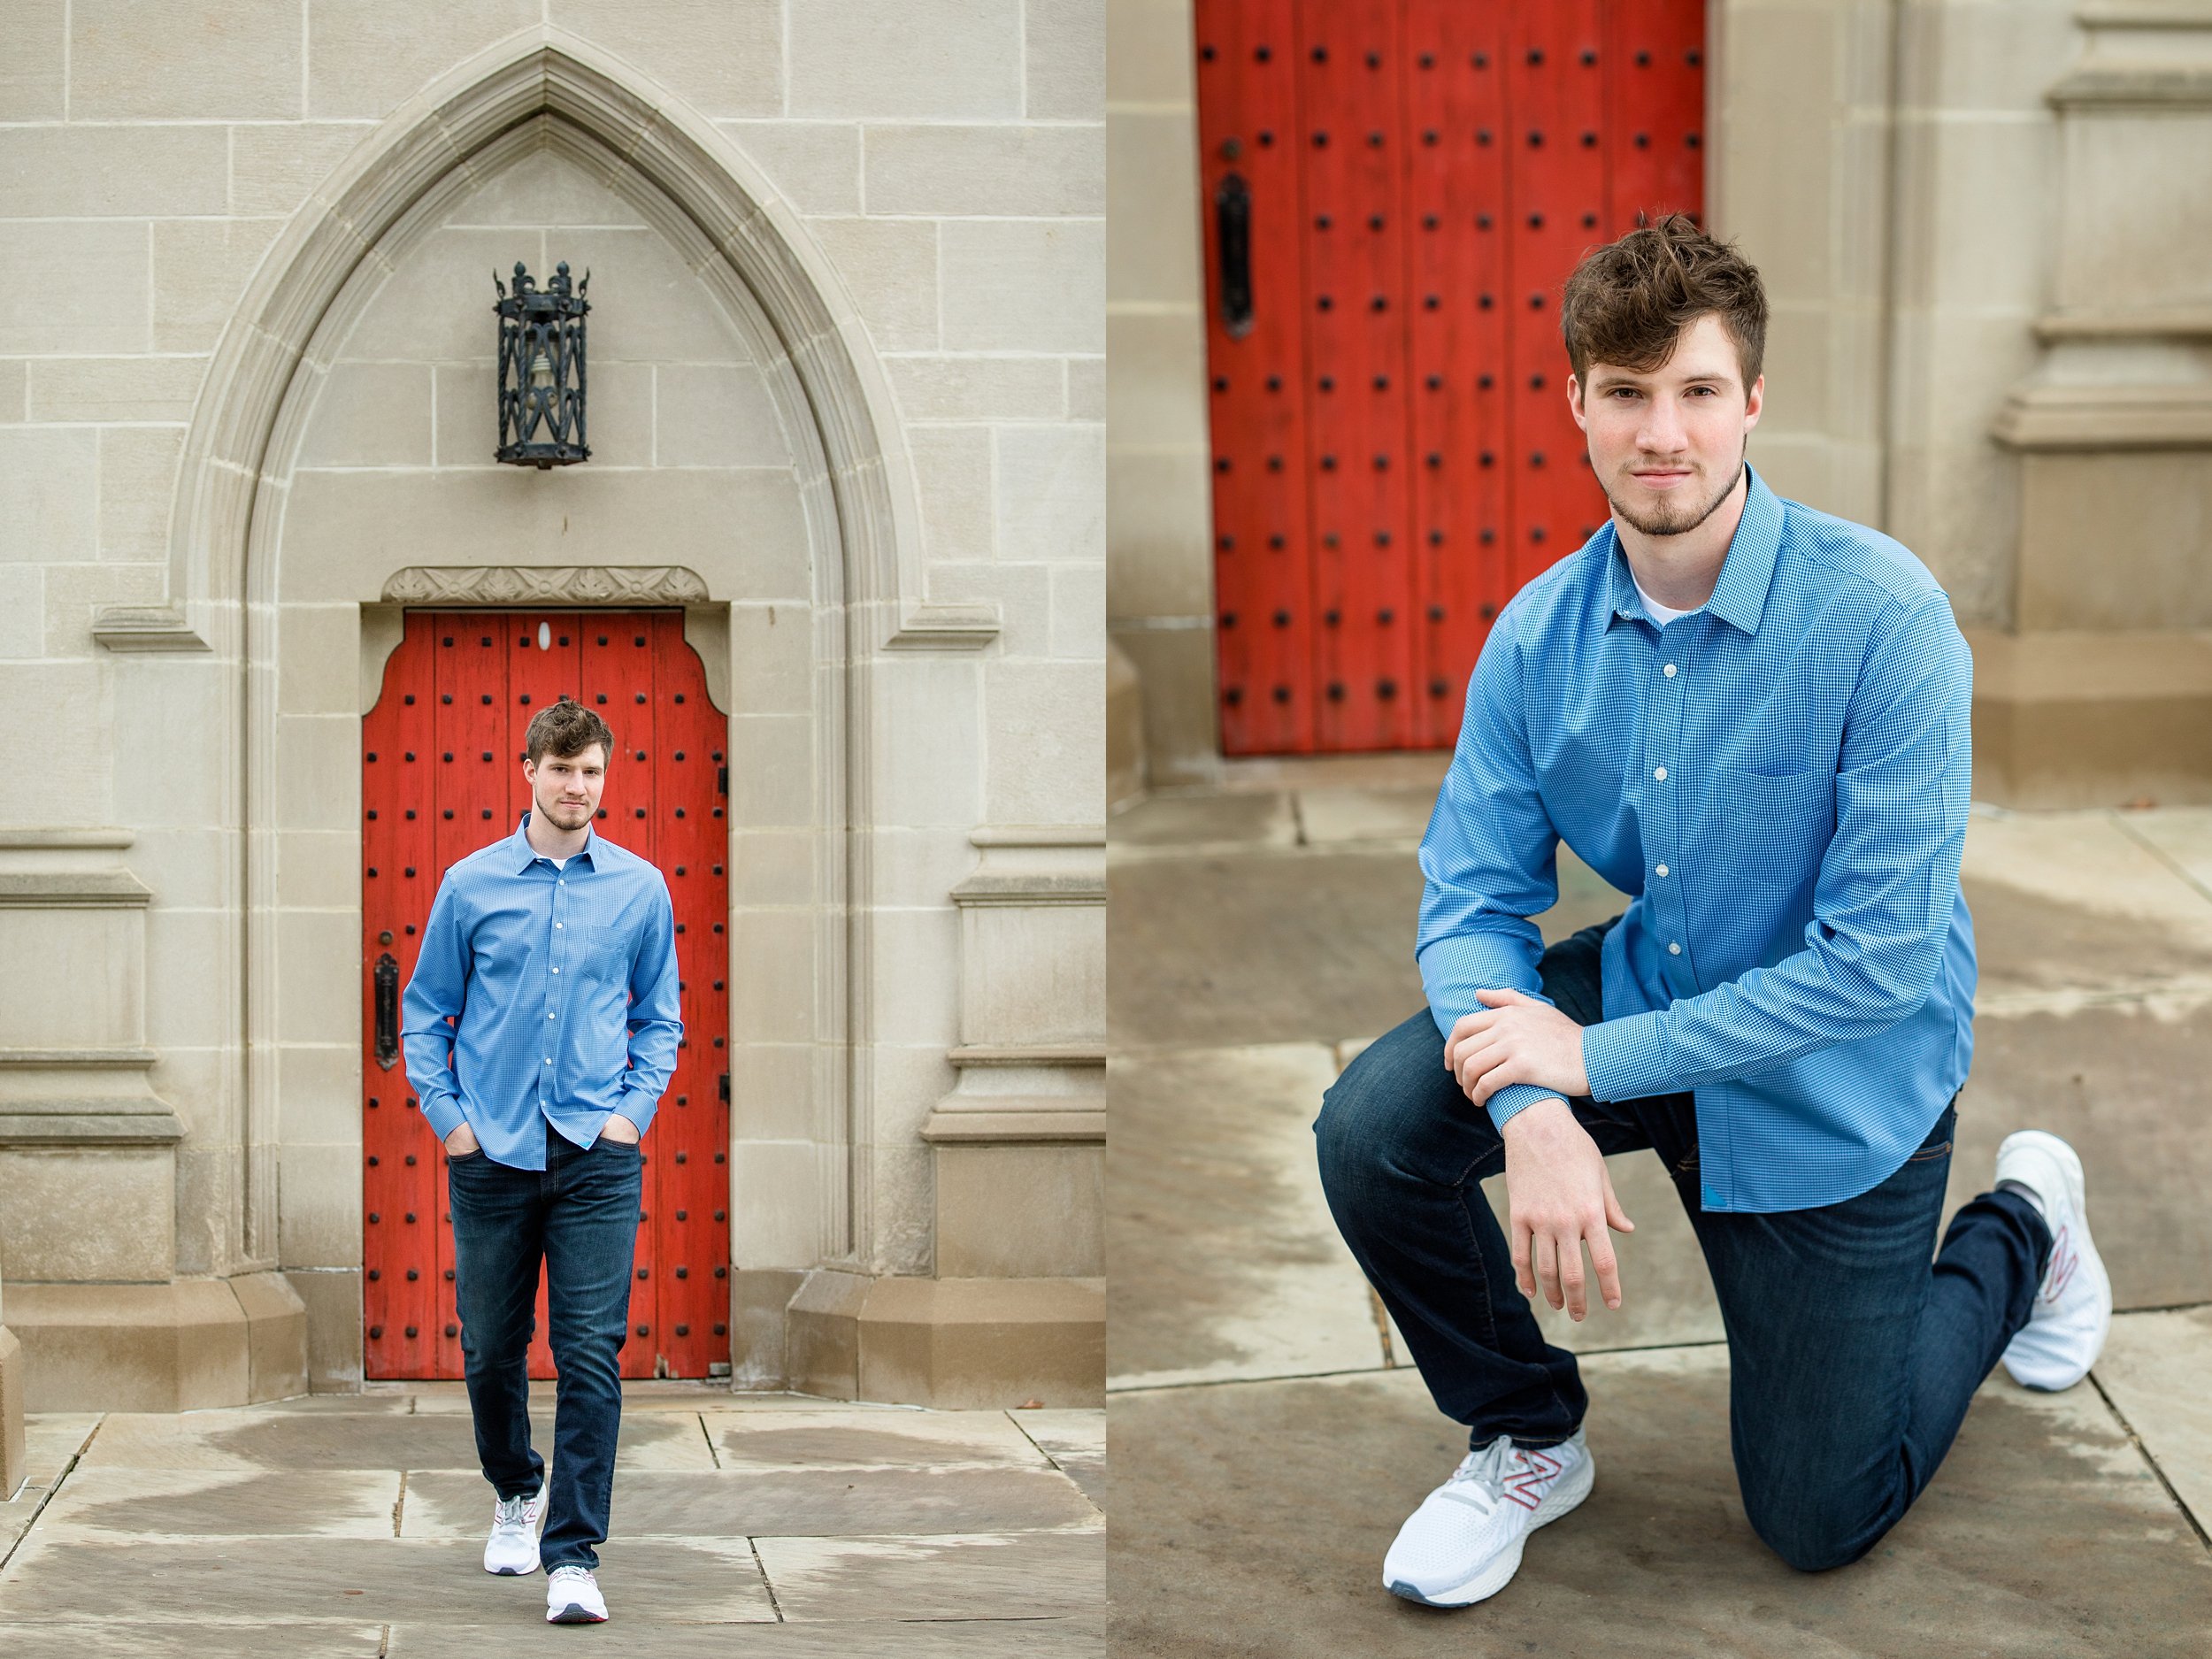
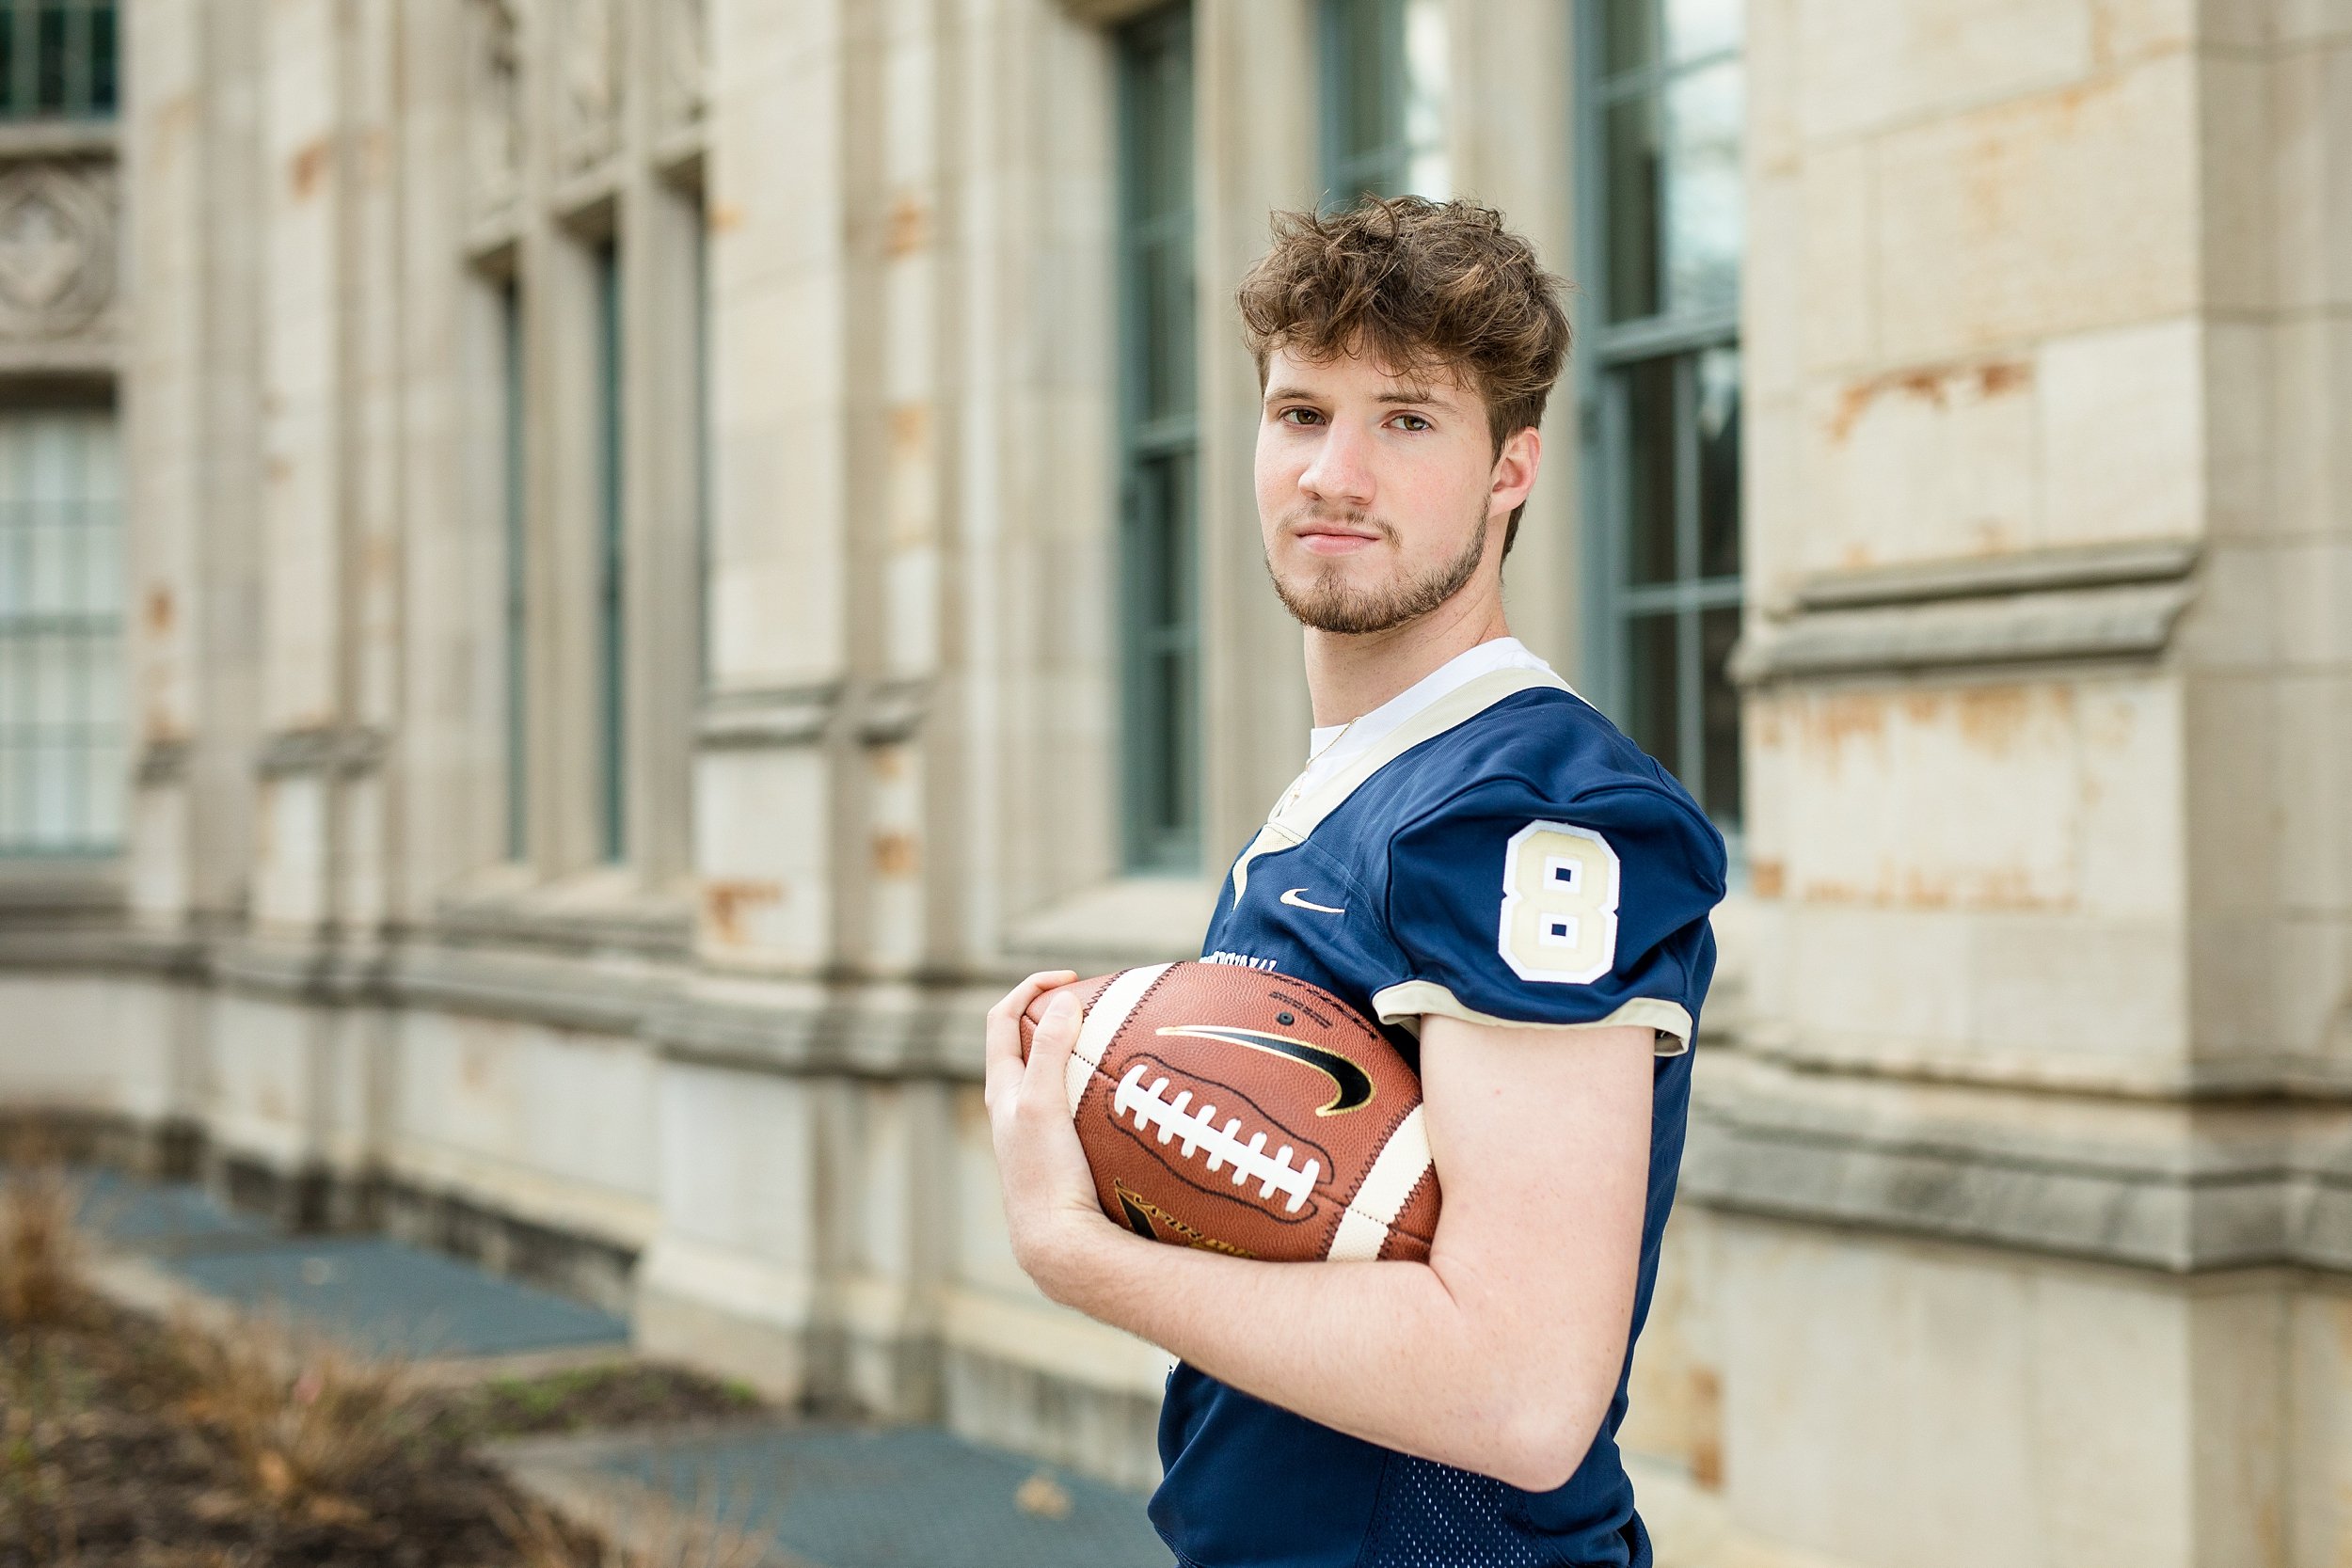
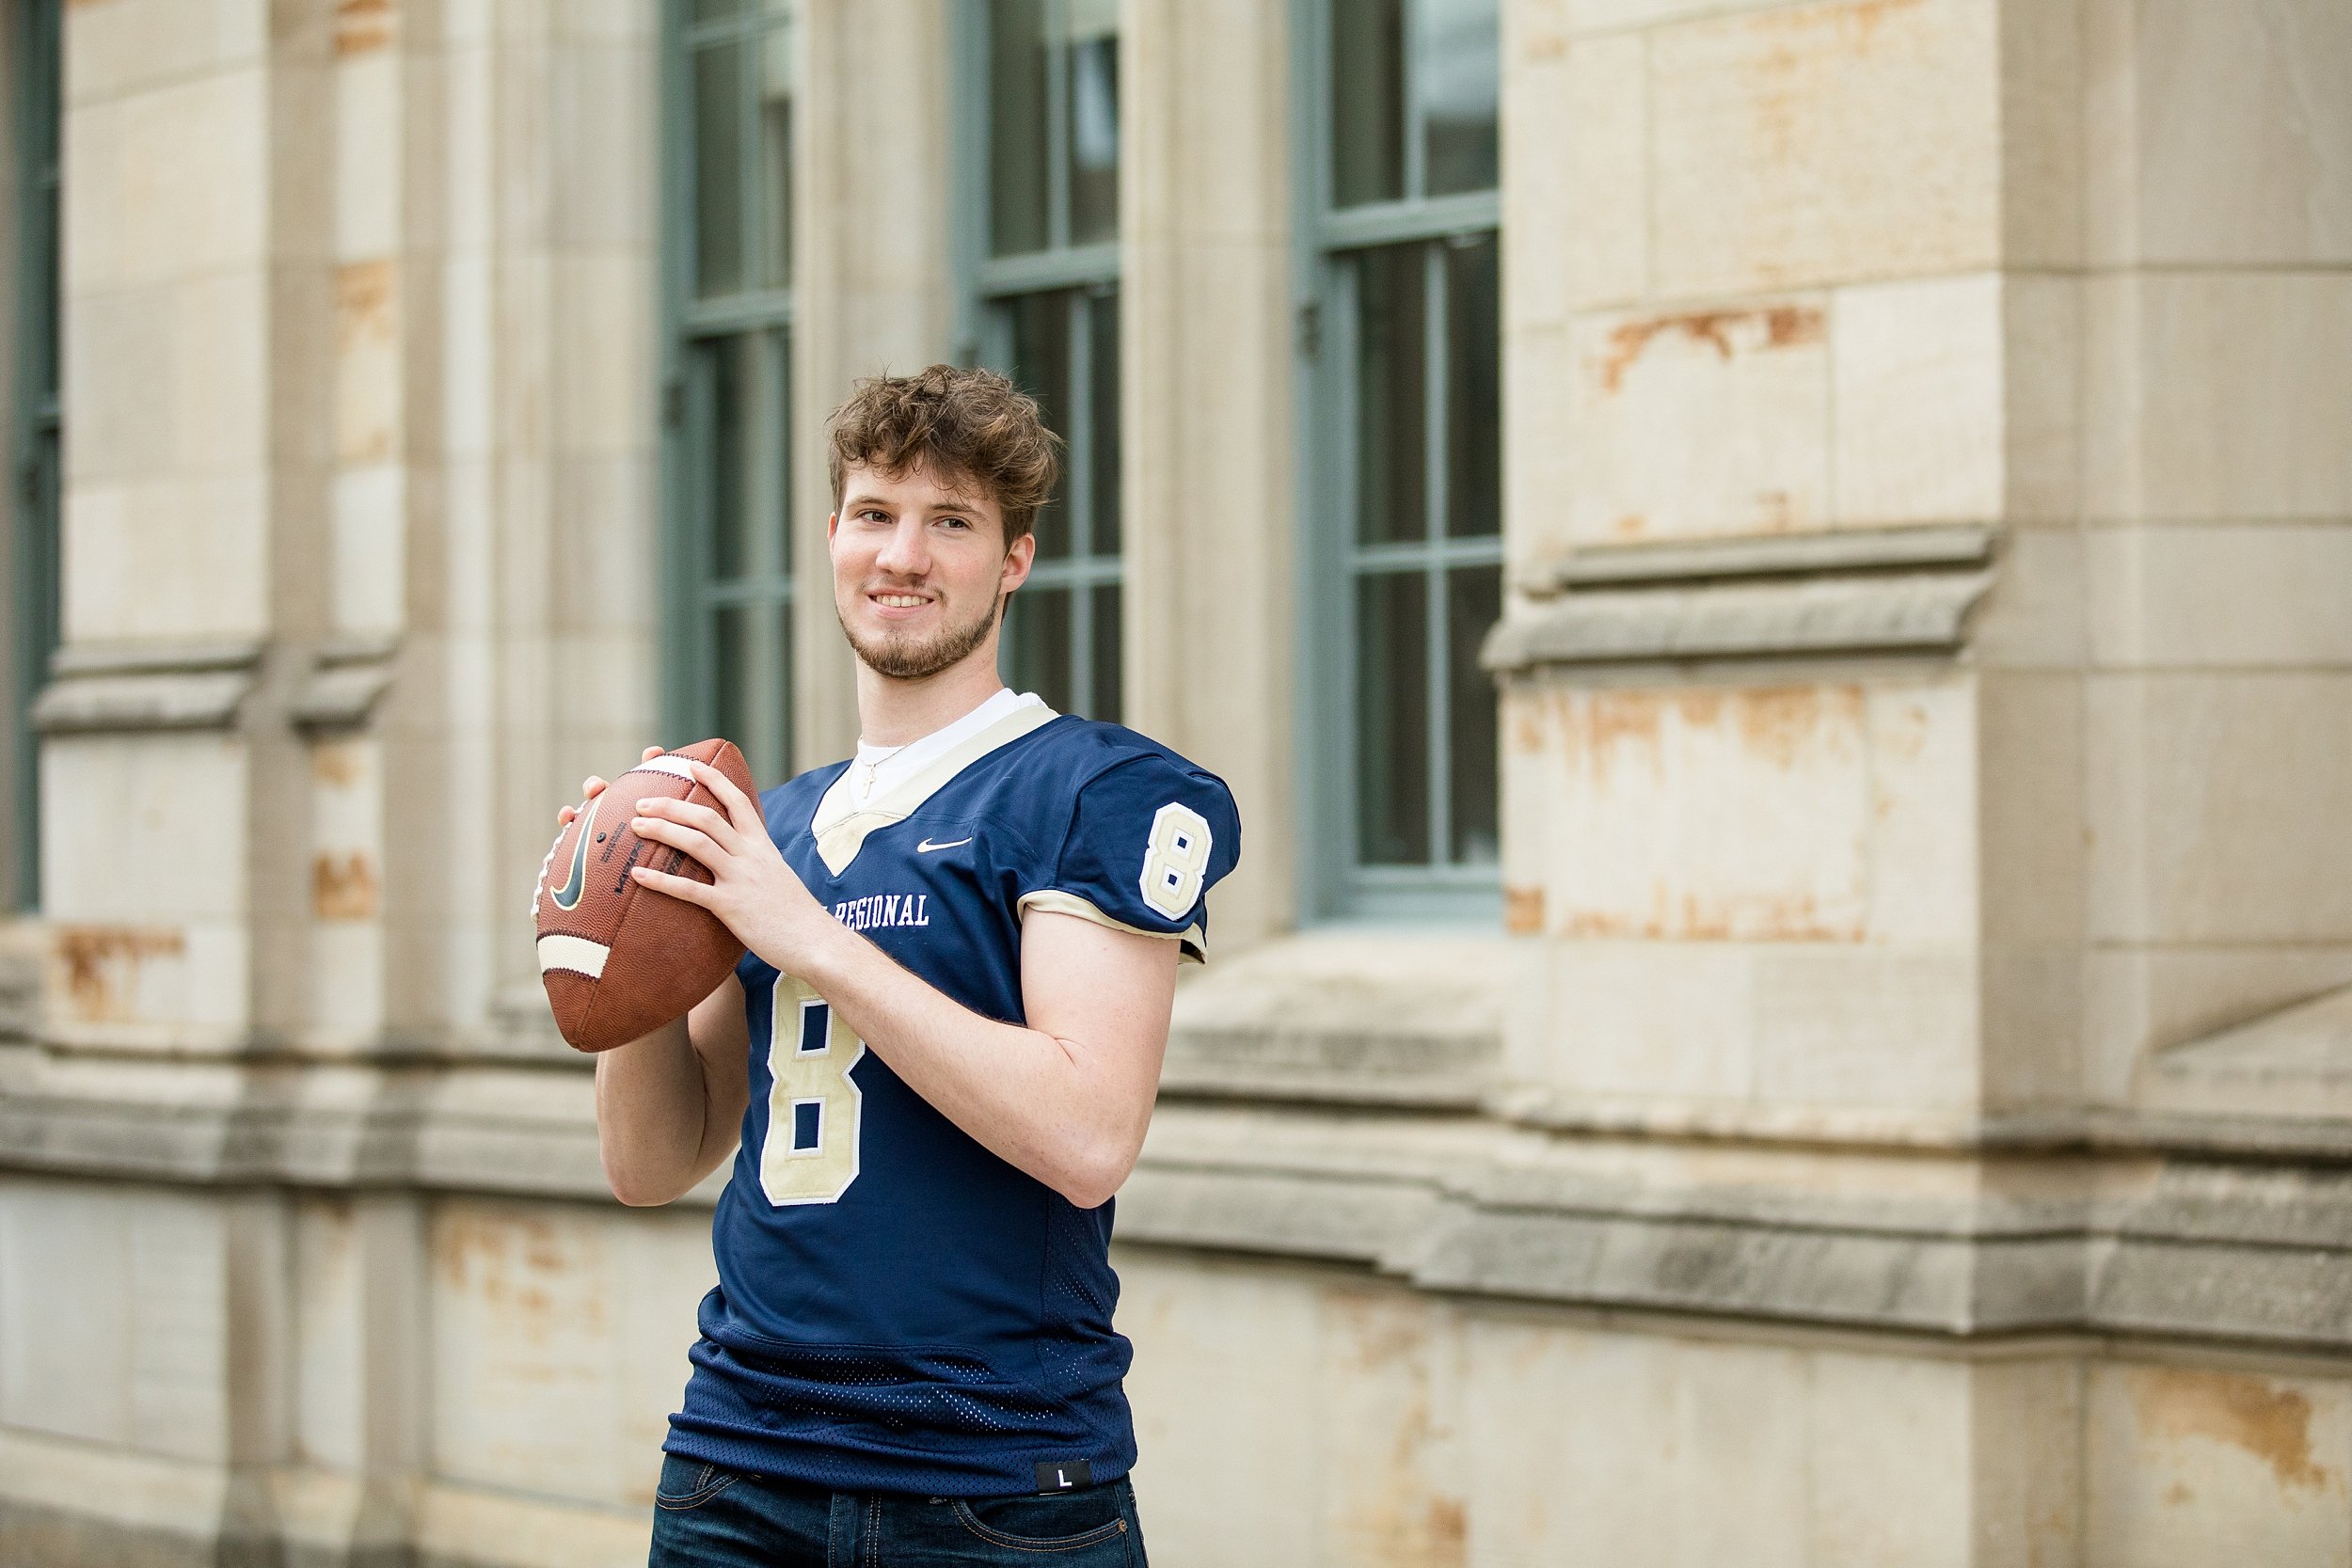
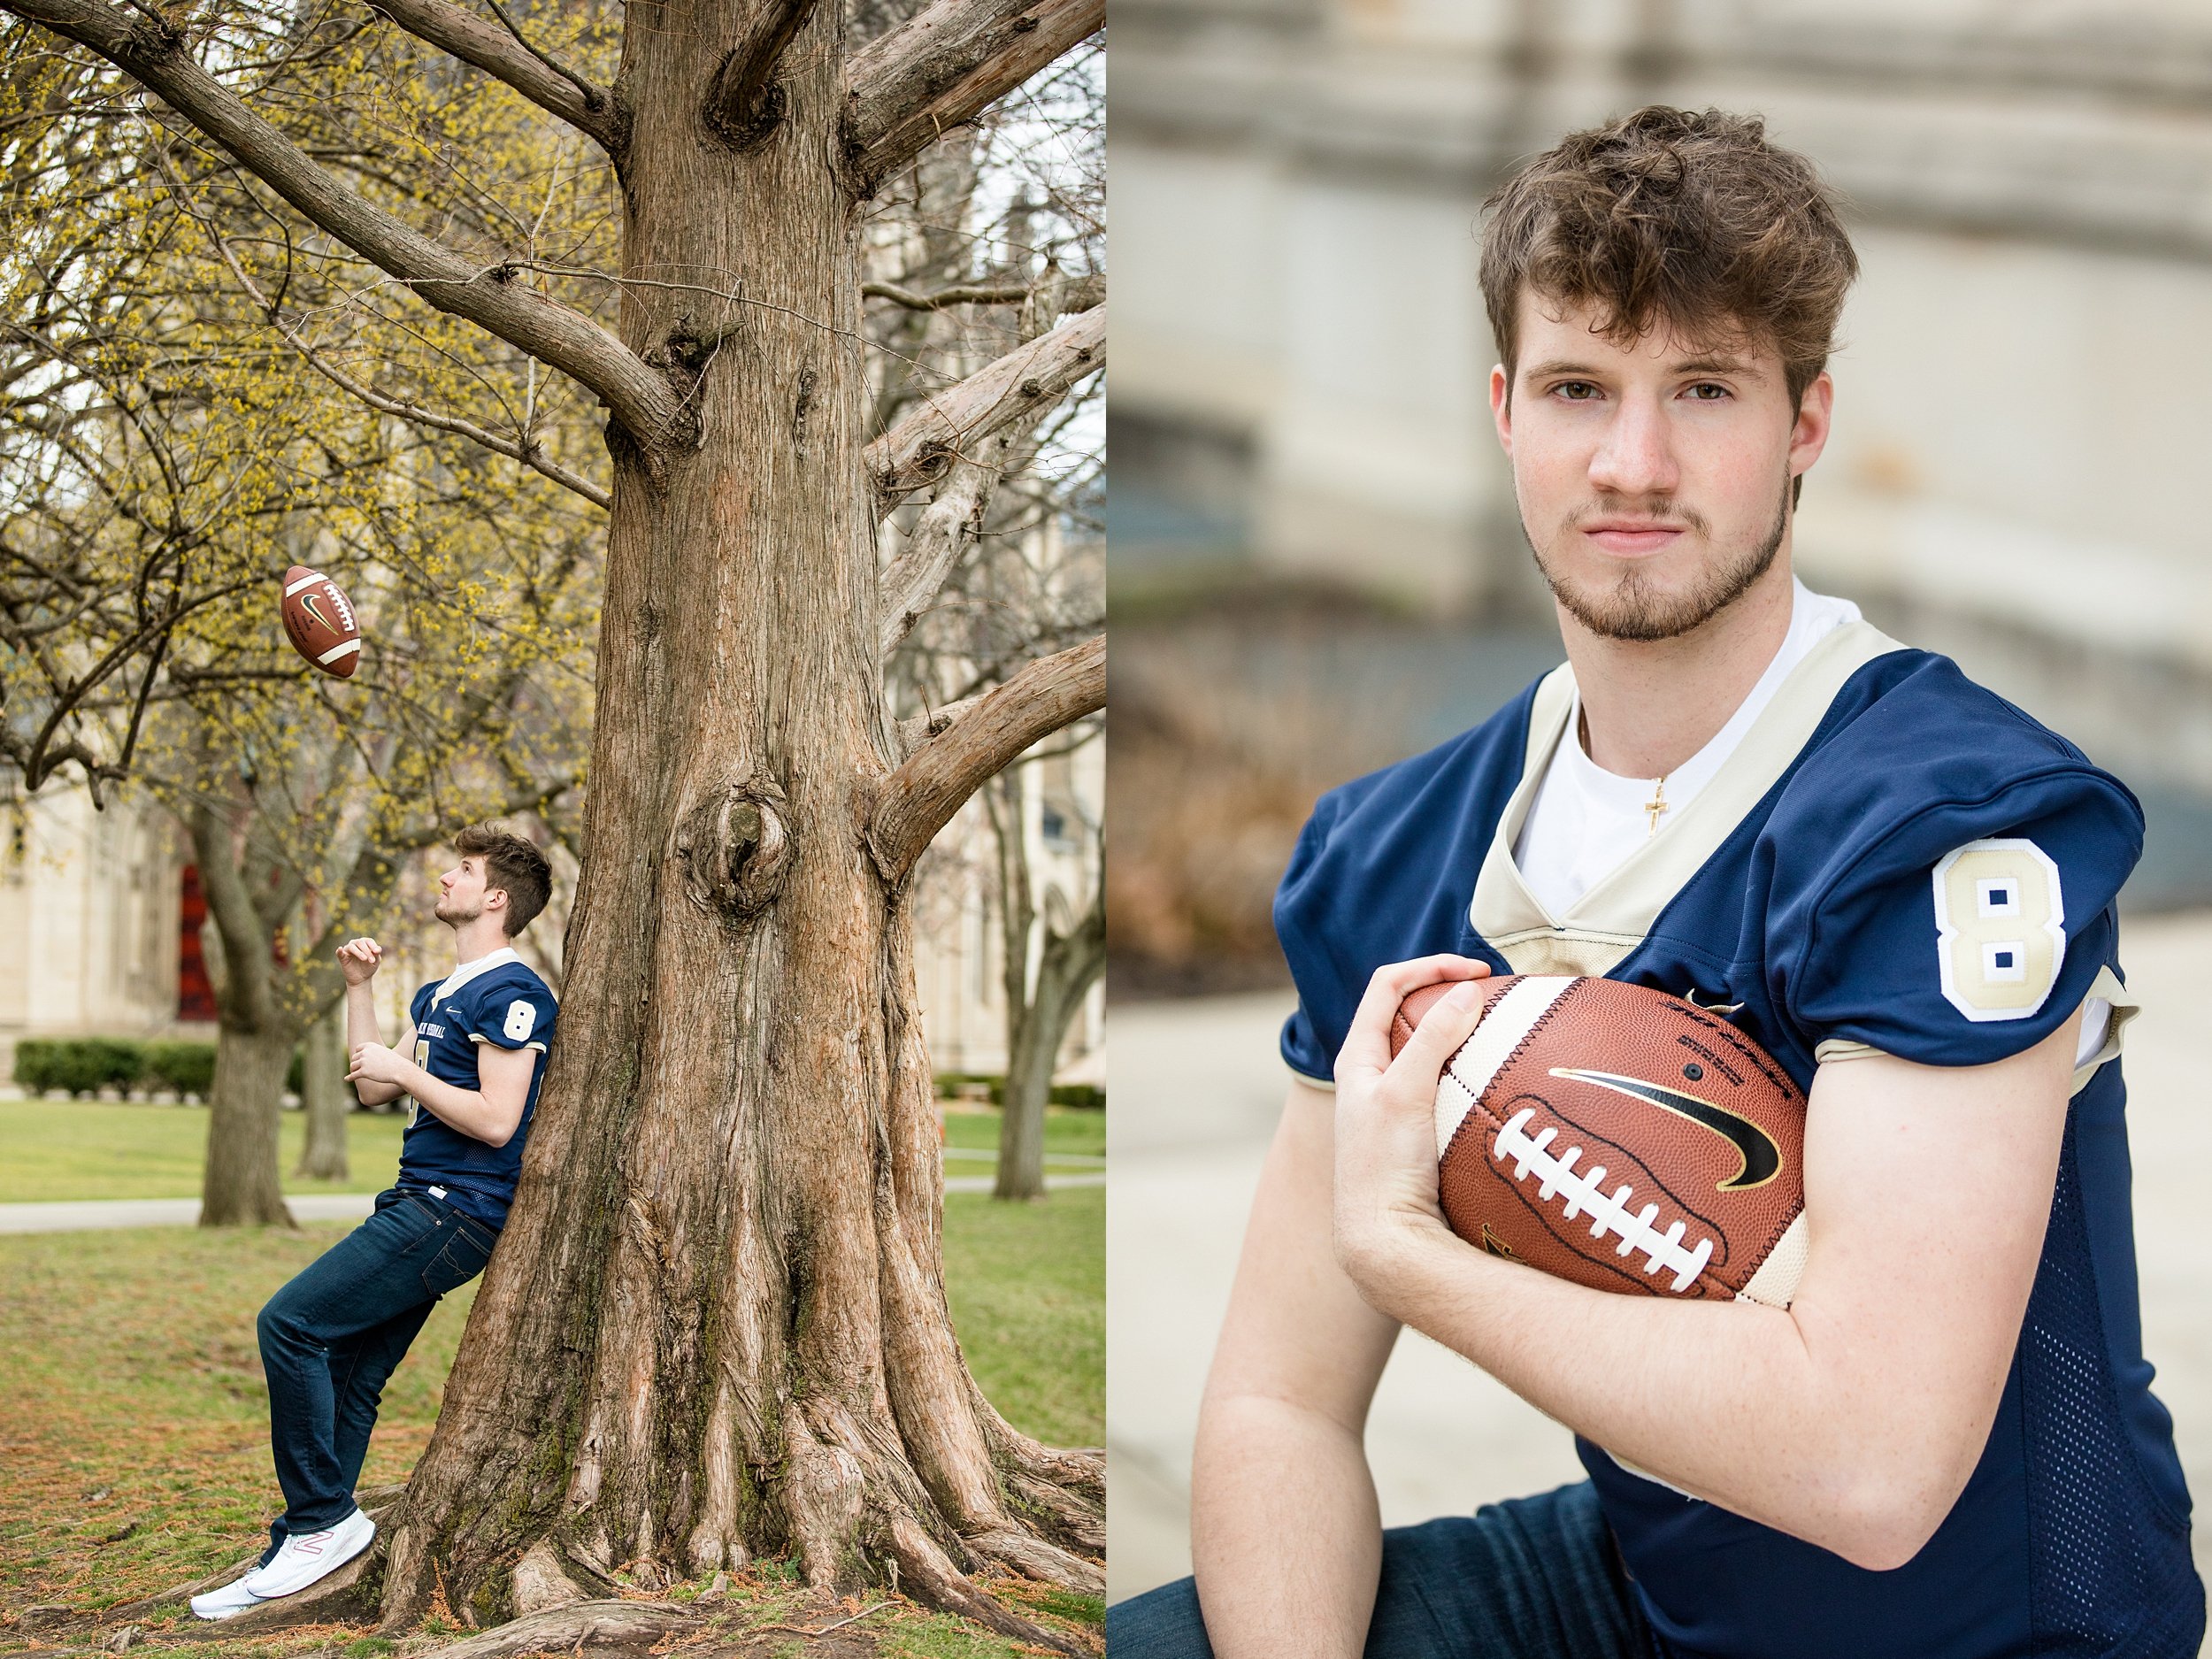
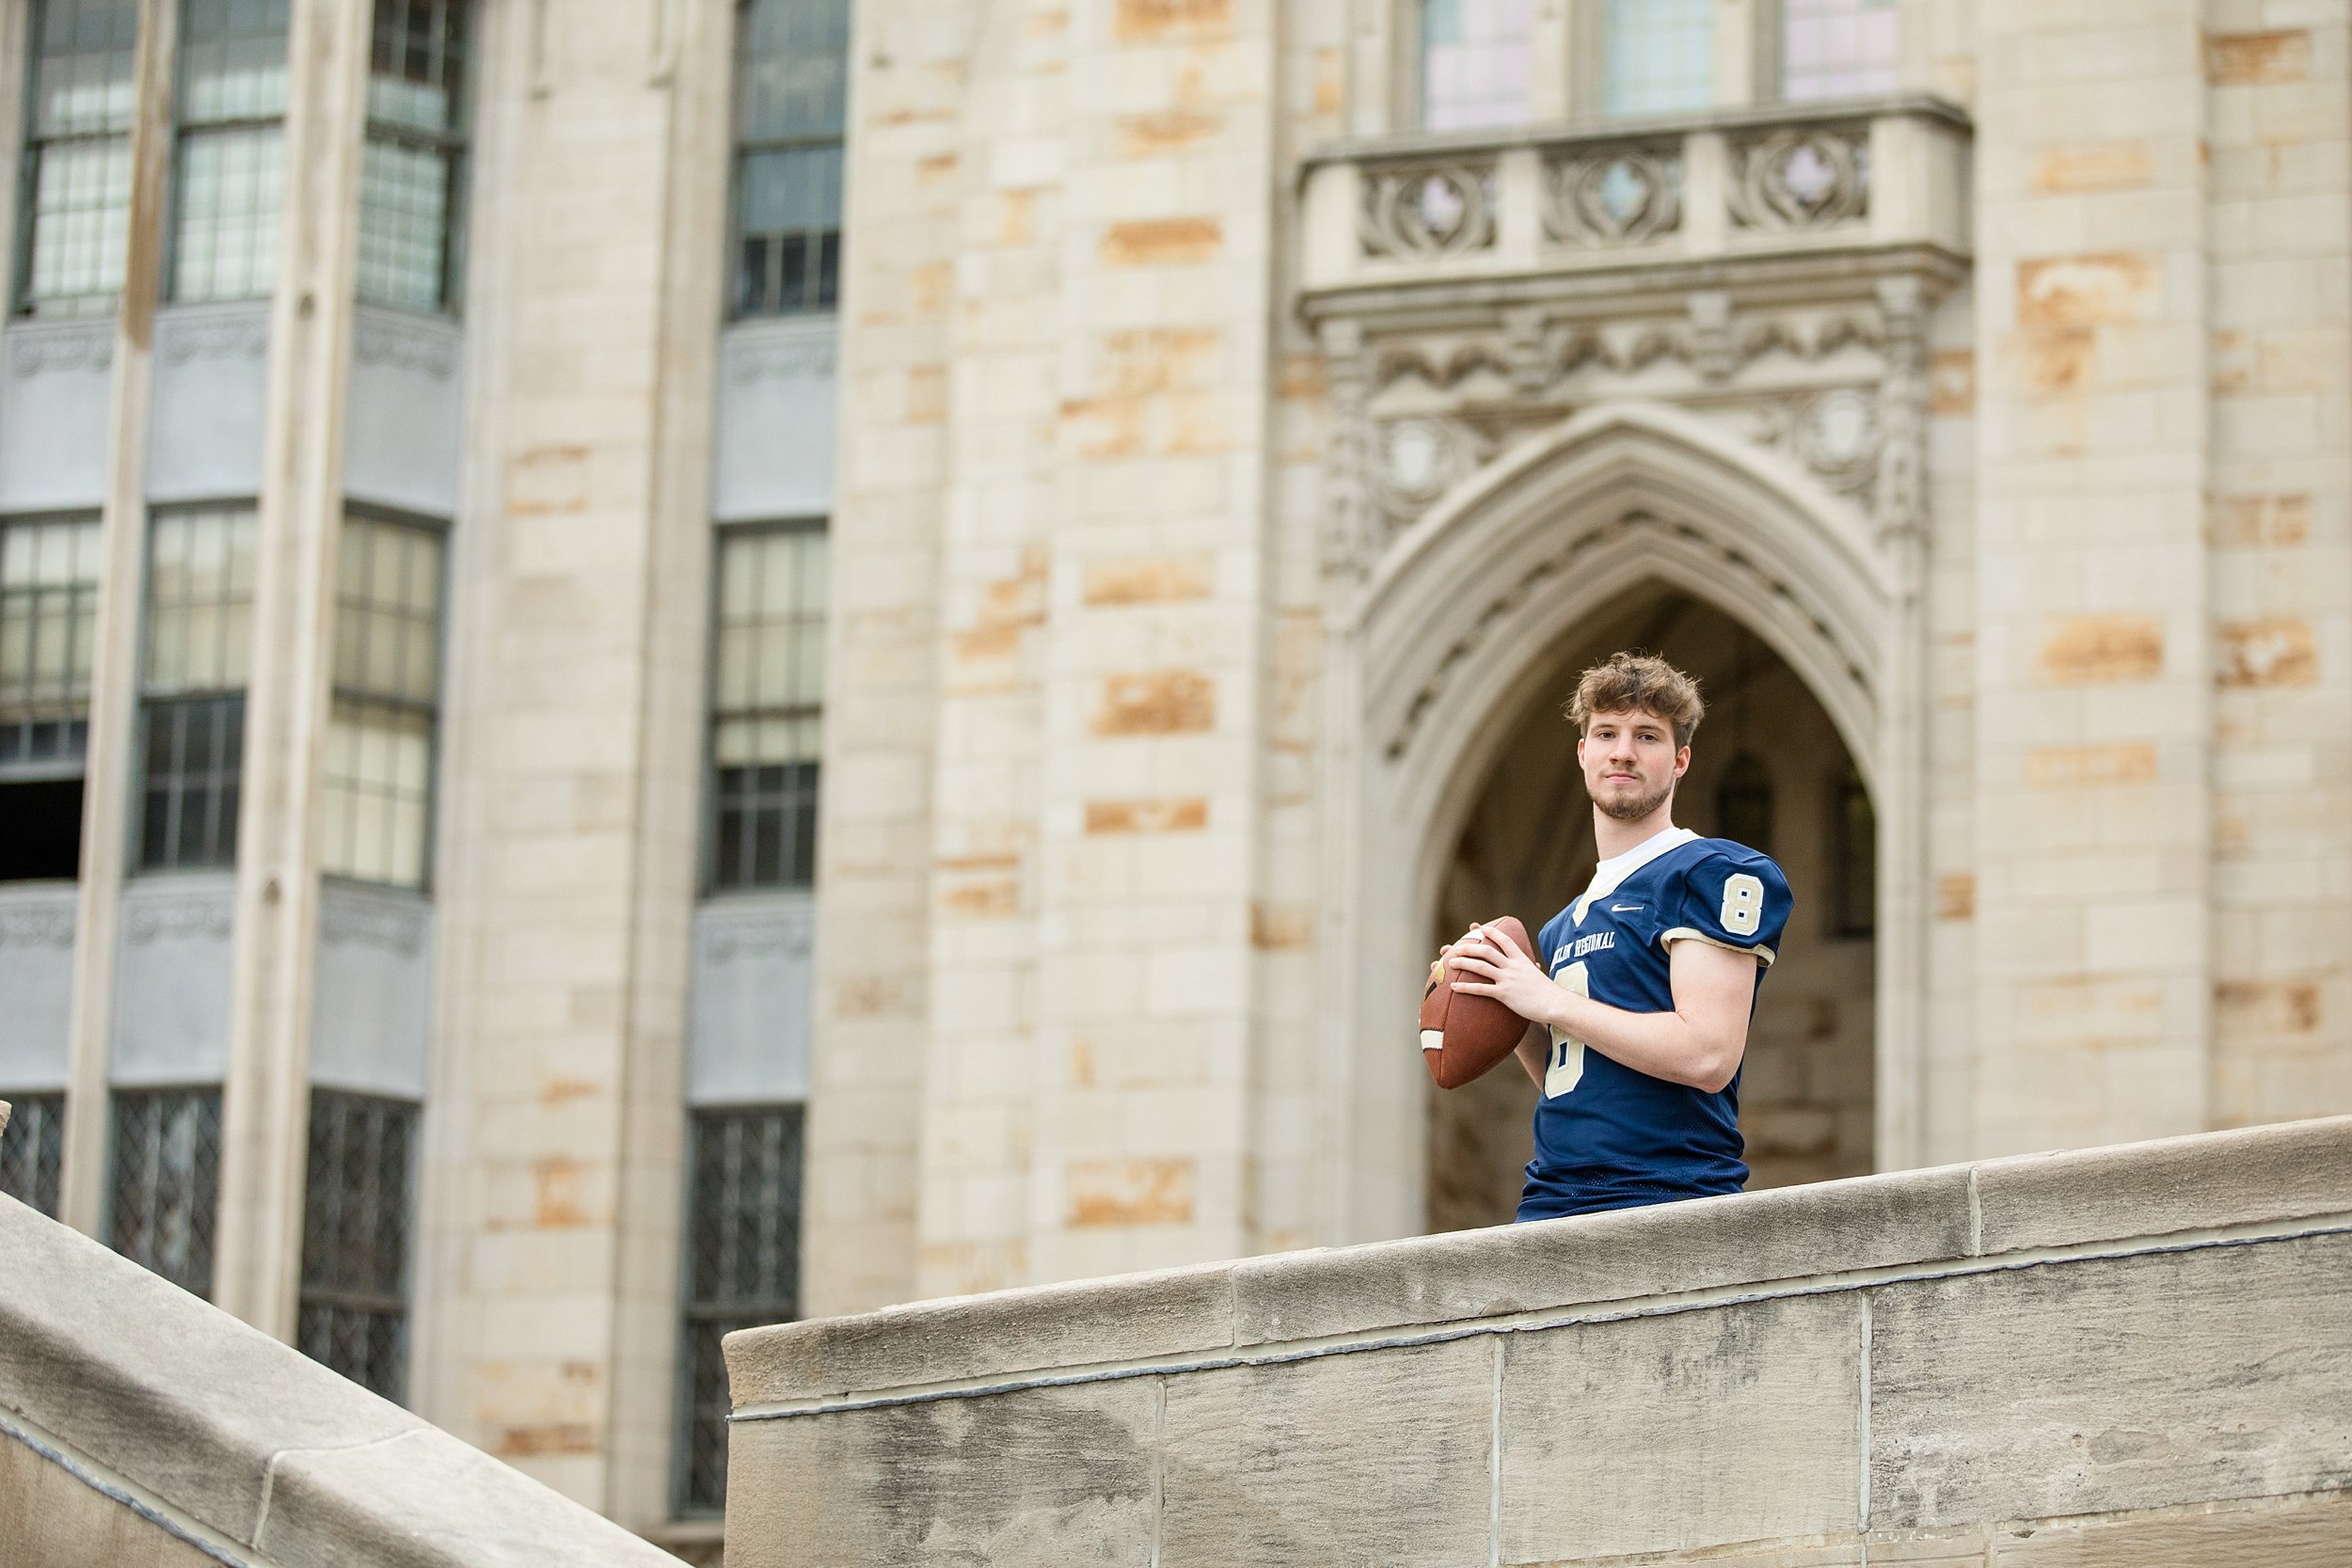
Connor is a senior at Franklin Regional High School who is graduating this Spring with the class of 2022! He is the quarterback for his school’s football team, and plans to study business post-high school.

Connor chose Oakland for his senior photos. We began at Mellon Institute, then worked our way over to the Cathedral of Learning. There are so many great locations in Oakland for senior photos right within that small area that encompass both architecture and nature!

Leading up to his session, we weren’t sure it was even going to be able to happen. Throughout the week, the forecast was calling for rain ALL day - literally! And then, when the rainy forecast finally cleared the morning of his session, a new forecast of strong winds showed up. Strong winds can sometimes be problematic during a photo session, unless you’re fully committed to that “Beyonce” wind-in-the-hair look. And while I’m sure Connor could’ve pulled it off, it wasn’t really the look he wanted to go for!

Ultimately, though - we did decide together to move forward with the session! And I’m glad we did. We had lots of buildings in Oakland to hide around, and tried to shoot between wind gusts. And Connor was a great sport through it all - we had a great time hanging out with him!

Congratulations on your senior year, Connor!

Comment

Pittsburgh Surprise Proposal Photography – Things to Consider When Planning a Proposal

Comment

Pittsburgh Surprise Proposal Photography – Things to Consider When Planning a Proposal

One of my absolute FAVORITE things to photograph are proposals! And when it comes to proposing, most people haven’t done it before. This blog post is meant to accomplish two things: one, to walk through the things that people might not think about considering when it comes to planning a proposal. And two, if you plan on having professional photos taken of your surprise proposal, how to set yourself up to get the best photos possible!

 1. Consider Having a Weather Rain Plan

If you’re from Pittsburgh or have lived here for any length of time, you know how crucial this point is! When planning a proposal in Pittsburgh, it is always important to consider the weather, and to consider having a backup rain plan.

If you’re planning an outdoor proposal, consider having a backup location that is shielded from the rain. This could be somewhere indoors, or an outdoor location that simply has an overhang or something blocking the rain. If you do plan to have an indoor backup location, and you plan to have a professional photographer there, consider talking to them about a location that still has good natural light. While photographers can bring artificial, off camera light to light a location, you will most likely want to keep the element of surprise, and will not want flashes firing, alerting your fiancé-to-be of what’s about to take place.

 There are lots of options to consider that would make excellent backup plans. For example:

  • Phipps Conservatory & Botanic Gardens: Did you know that you can rent a private room at Phipps for proposals? It’s true! And what’s great about Phipps is that you are shielded from the rain – and any other type of inclement weather - and there is great natural light. If you don’t want to have to worry about any sort of inclement weather right off the bat, this might be a great route to go in the first place! If you’re interested in renting a room at Phipps for a proposal, click here. And you can click here to view a proposal I’ve photographed at Phipps!

  • Mellon Institute: You may have seen the huge Mellon Institute columns in Oakland in a friend’s wedding photos or while driving by – but this spot makes for an excellent backup rain location! The architecture is beautiful and this location has a large area (in the columns!) that is shielded from rain. It’s also free to shoot there!

  • The Pennsylvanian Rotunda: Have you seen this place before?! There are few spots more beautiful in Pittsburgh than the rotunda at the Pennsylvanian! This train station turned event space & luxury apartment complex is what photo dreams are made of. You do have to pay to take professional photos in this space - but it meets all of the qualifications of a good rain spot! Covered, access to natural light, and oh-so beautiful. Click here if you’d like to contact them to inquire!

  • Coffee shops, bakeries, & restaurants: Many coffee shops and restaurants have large windows that give lots of natural light! If you plan on having the proposal photographed, you may just want to check with the coffee shop/bakery/restaurant ahead of time to make sure they’re okay with a photographer hanging around for a little while!

 2. Time of Day & Location Light

When it comes to photos, light is such an important factor. In fact, I would go as far as to say that good or bad light can make or break a photo! Of course, part of the fun of a proposal is that it’s candid - meaning that it’s usually unstaged and happens on the spot! But there are some things you can take into consideration if you want to have a more “picturesque” proposal!

The best time of day for natural light photography across the board (most of the time!) is 2 hours after sunrise, and 2 hours prior to sunset. Planning a proposal within one of those two time frames might help you have better overall light for photos!

Something else to talk about with your proposal photographer is how the light will look at the time of day at the particular location you chose. If you choose Point State Park fountain in Pittsburgh for your proposal spot, for example, you have a HUGE space to work with with so many different angles and spots to choose from. Your photographer can help give you some suggestions on what side of the fountain might have the best light at the time of day you’ll be proposing, as well as what angle of the fountain would make the best backdrop.

 3. Positioning on one knee

We’ve talked about rain plans, time of day, location, and now we’re here… the big moment - the moment you get down on one knee. What you’ll want to make absolutely sure of is that your photographer knows where you’ll be getting down on one knee so that they can know where to position themselves. If your photographer is in the wrong spot when you take a knee, they might miss the emotion of that special moment – which would totally be the worst! It’s so important to communicate ahead of time and have a plan that you can both be confident in, so you know without a shadow of a doubt that that moment (and the emotions that go along with it!) will be captured from the correct angle!

 4. Knowing Who You Two Are!

Chances are, if I’m photographing a surprise proposal, I’ve never actually met the couple I’m photographing - and I’m sure that’s true for many other proposal photographers. Because of that, I personally always ask for a few photos of my couple so I can pick them out of a crowd (if need be!). As well as a text to let me know that they are on their way to our meeting spot, which leads me to my last point…

 5. Communication

Communication is KEY! If you hire a photographer for your proposal, communicating in advance about where the proposal will be happening, as well as where you’ll actually be proposing, is crucial to the outcome of the images. In addition, it can be helpful to touch base with your photographer when you’re in the vicinity. Personally, I always ask my client who is proposing to shoot me a text to let me know when they arrive to the location, so I know to be looking for them.

For example, for a recent proposal I photographed at Phipps, Nate (who was proposing) sent me a text when he and his girlfriend left their house (about 5/10 minutes from Phipps), and when they arrive at Phipps. That way, I had a couple of minutes to get into position, and then start to watch for intently for them as they made their way to our agreed upon spot.

 6. Keeping Things Secret!

Lots of proposers ask me how I’ll “blend in” and go unnoticed by their soon-to-be fiance while I wait for the big moment. The great thing is, if you choose a public space, I’ll blend right in! With so many hobbyist photographers now-a-days, it’s easy to go unnoticed (or at the very least, blend in with the crowd) while waiting for a proposal to happen. I’ve even went so far as to pretend that I was with a group of tourists (for a proposal on Mount Washington in Pittsburgh) to keep my identity a secret! Overall, choosing a public location for your proposal will help your photographer blend in with the people around them, and keep things secret!

7. Choosing a Public Location vs. a Private Location

Piggy backing off of the last point, you may want to consider how receptive your soon-to-be fiance will be to getting proposed to in a crowd of people vs. in a more secluded/private location. Proposing in a public space will draw attention - which is great for those who love attention! But this method isn’t for everyone. If you feel like your fiance would prefer that moment to be more private and just between the two of you, consider choosing a low foot traffic location, or consider proposing during a time of day where a busy spot might not be so busy (for example, Point State Park in Pittsburgh isn’t as busy in the morning as it is in the evening).

I hope that this blog post was helpful as you prepare to propose to the love of your life! If you’re in need of a surprise proposal photographer in Pittsburgh, I would absolutely LOVE to help you out. Feel free to use the contact tab in the navigation above, or email me directly at jhidingerphotography@gmail.com to hear more about the proposal package I offer!

And if you liked this blog post, you might also like…

Shelby & Anthony’s Mount Washington Proposal

Allie & Nate’s Phipps Conservatory Proposal

Tess & Tyler’s Schenley Bridge Proposal

Comment

JR: Seneca Valley Senior Photos on the North Shore of Pittsburgh

Comment

JR: Seneca Valley Senior Photos on the North Shore of Pittsburgh

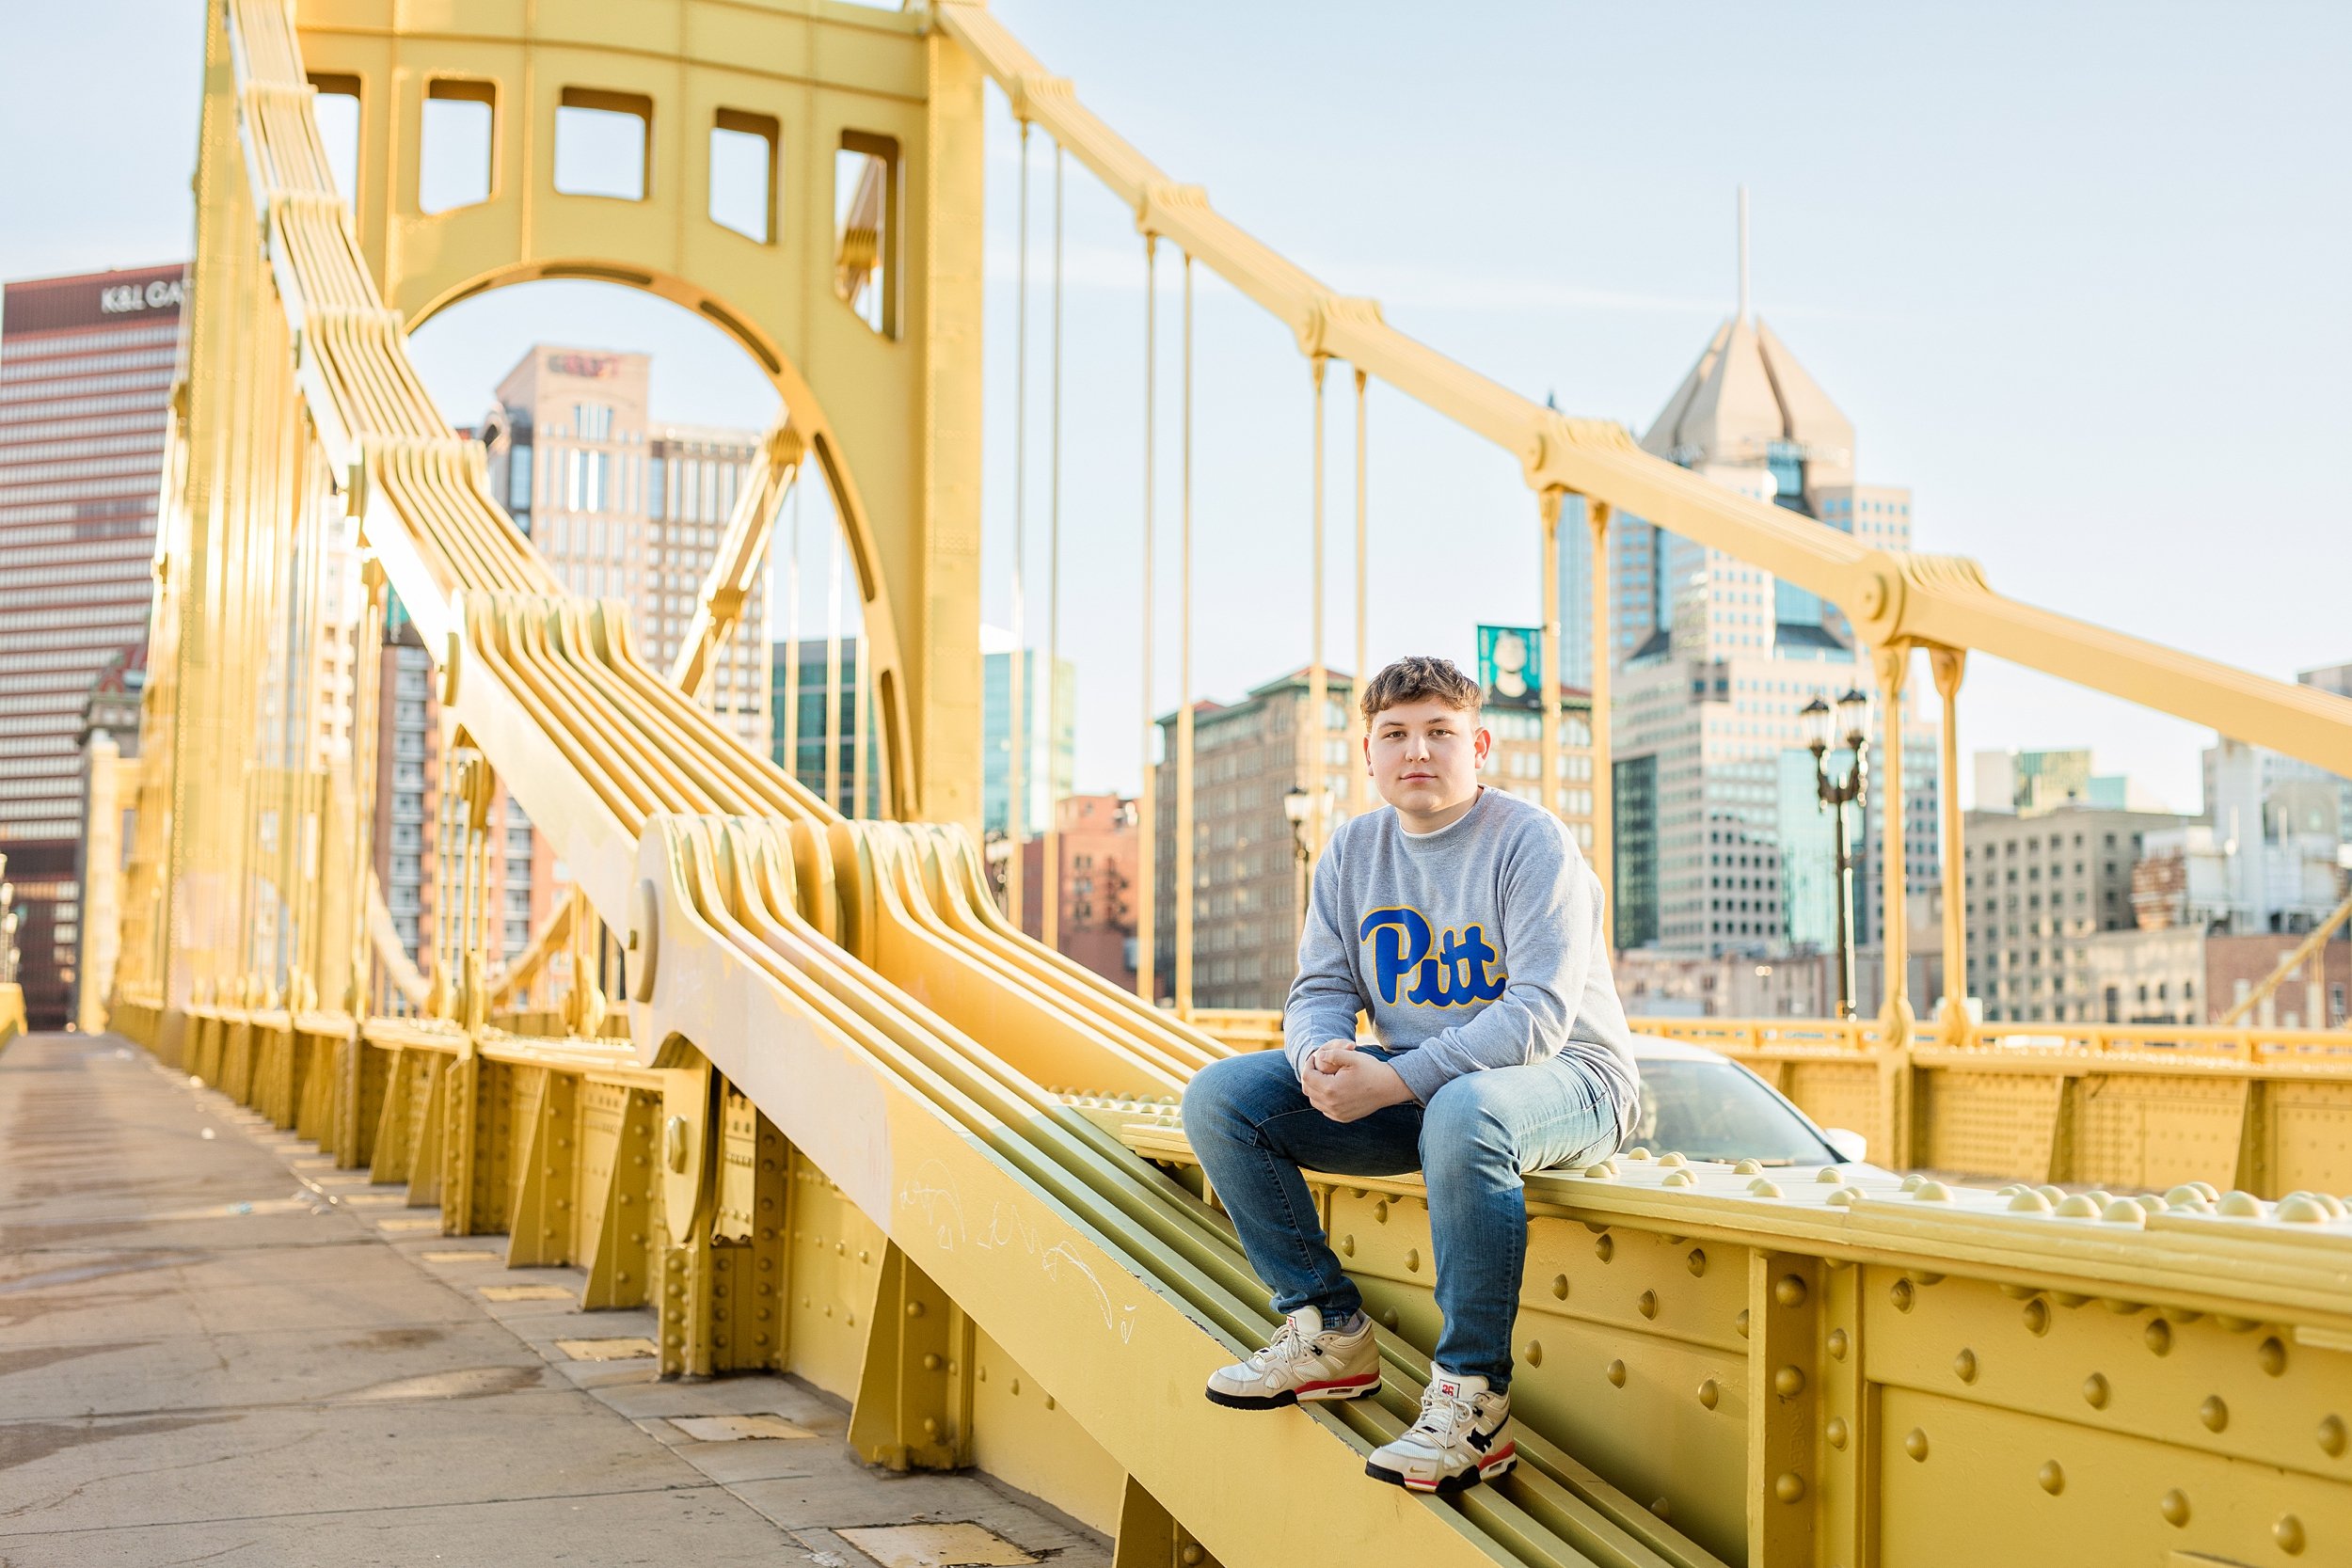
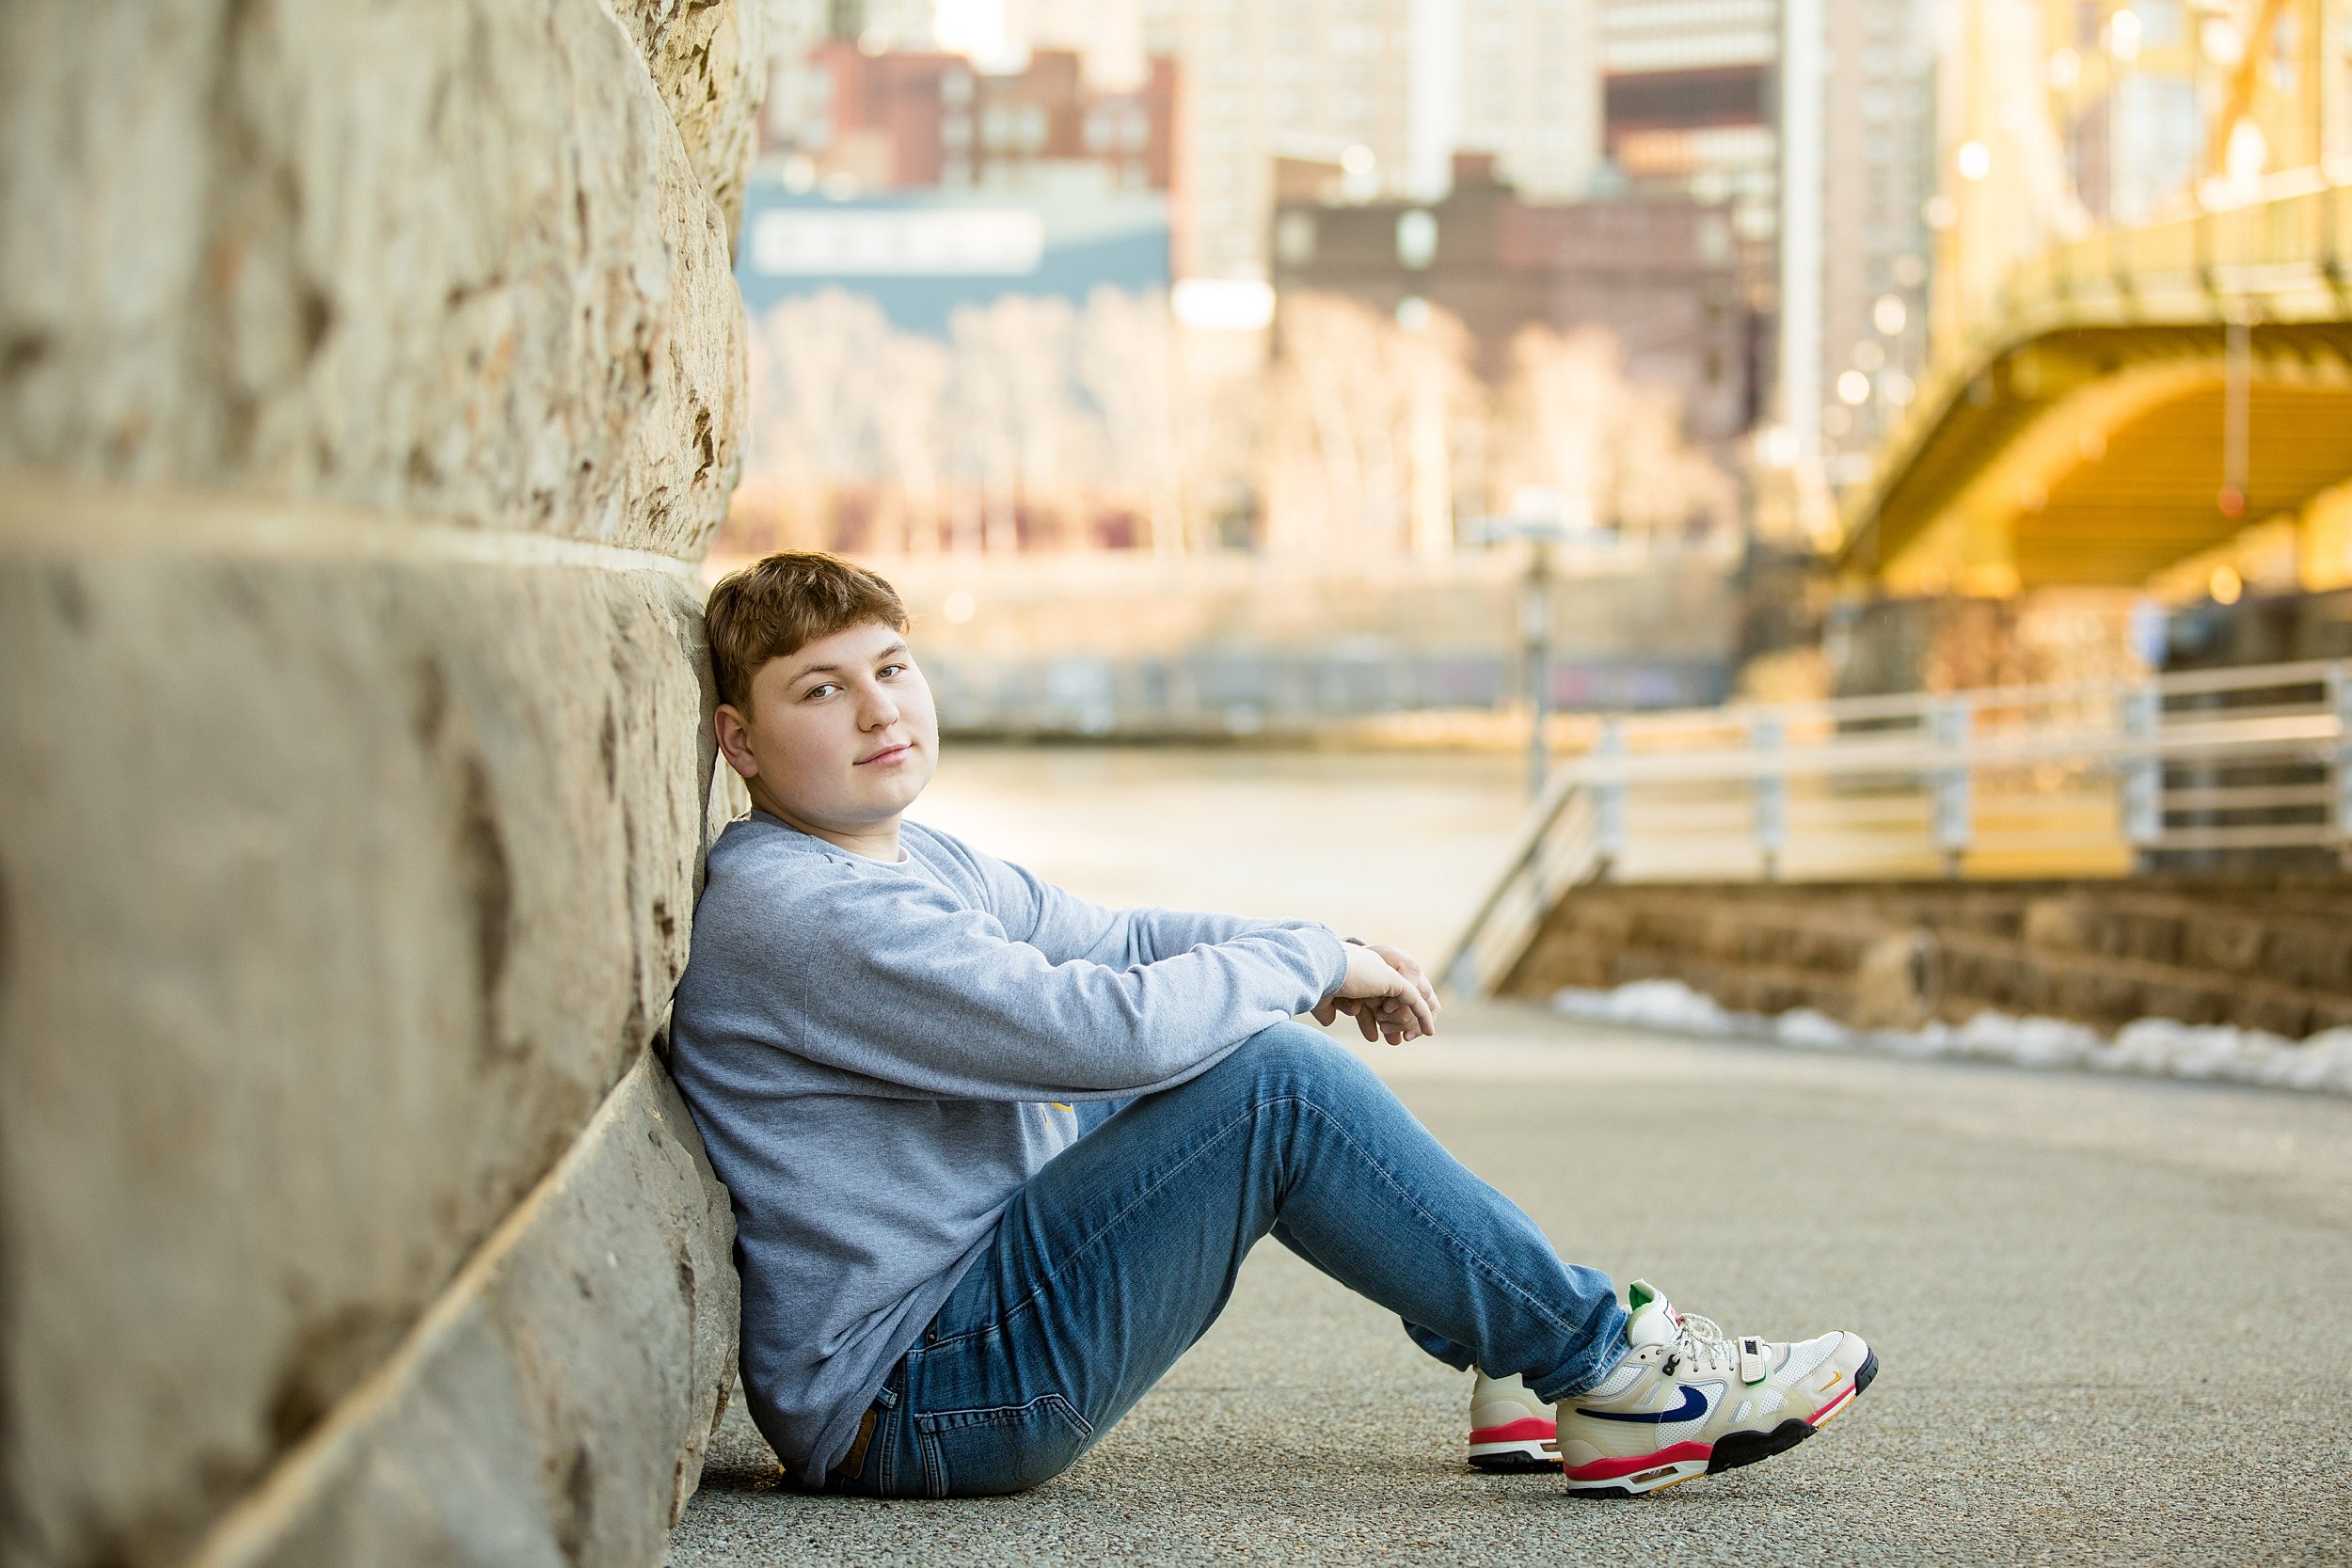
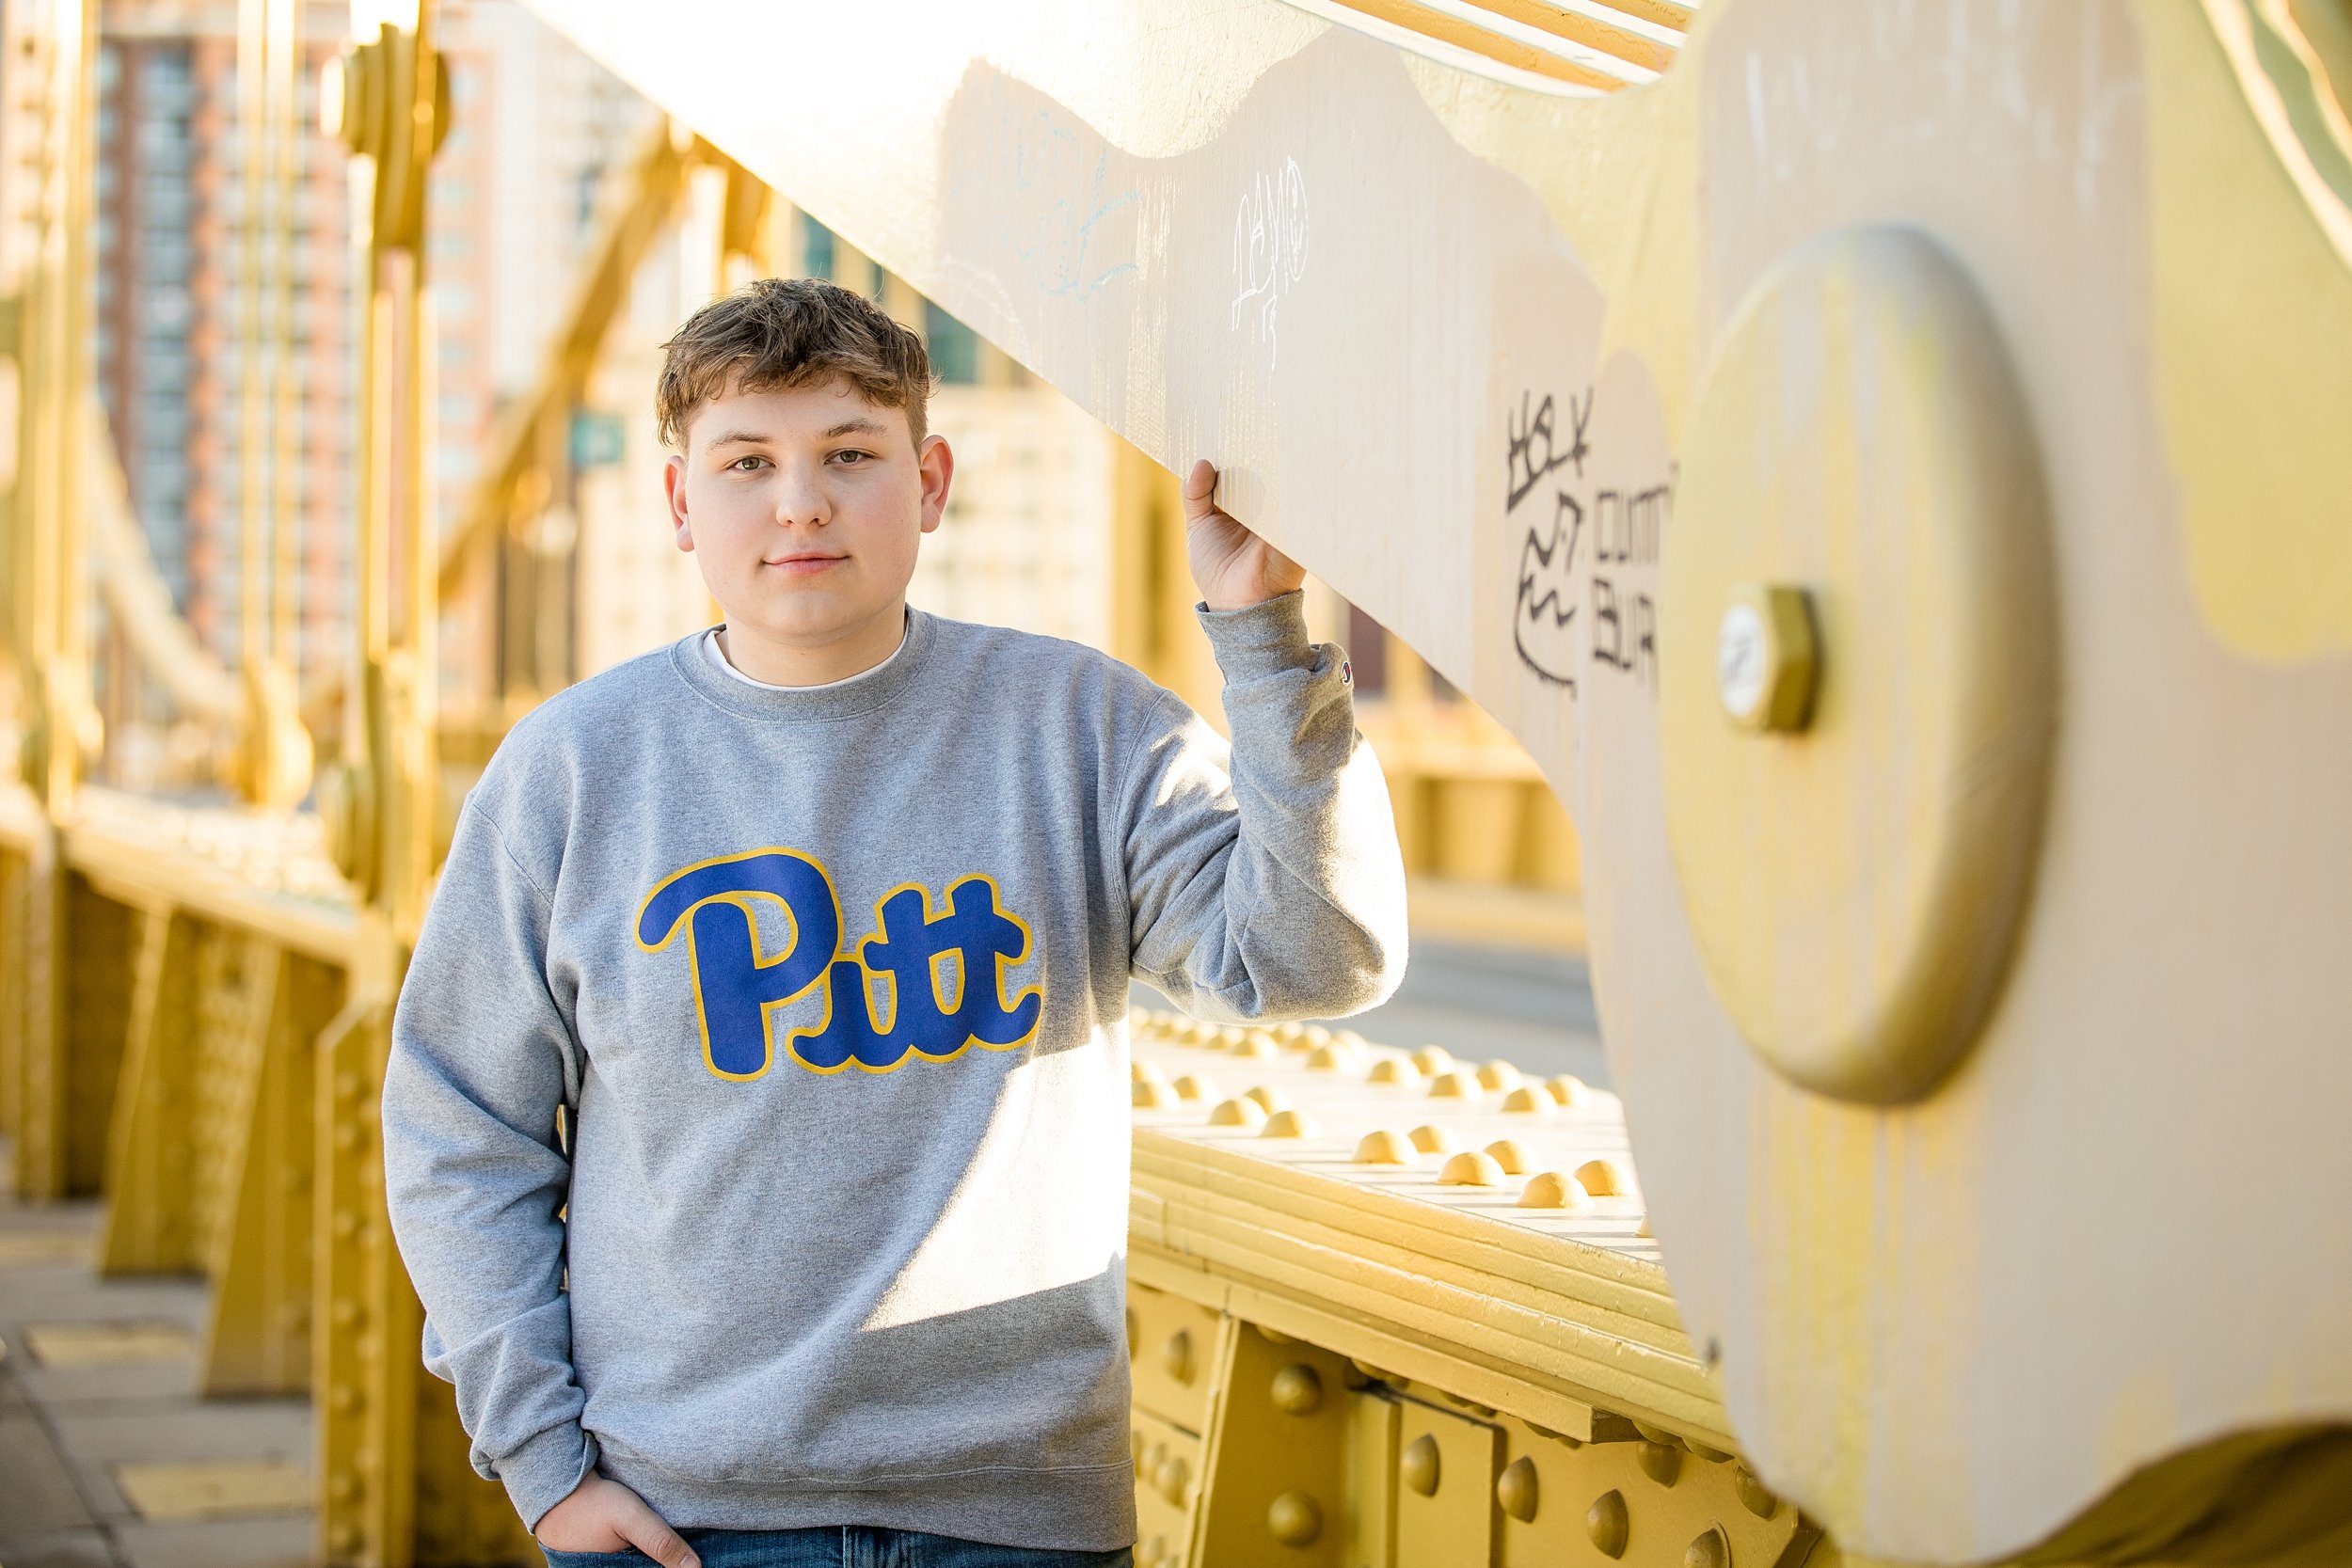
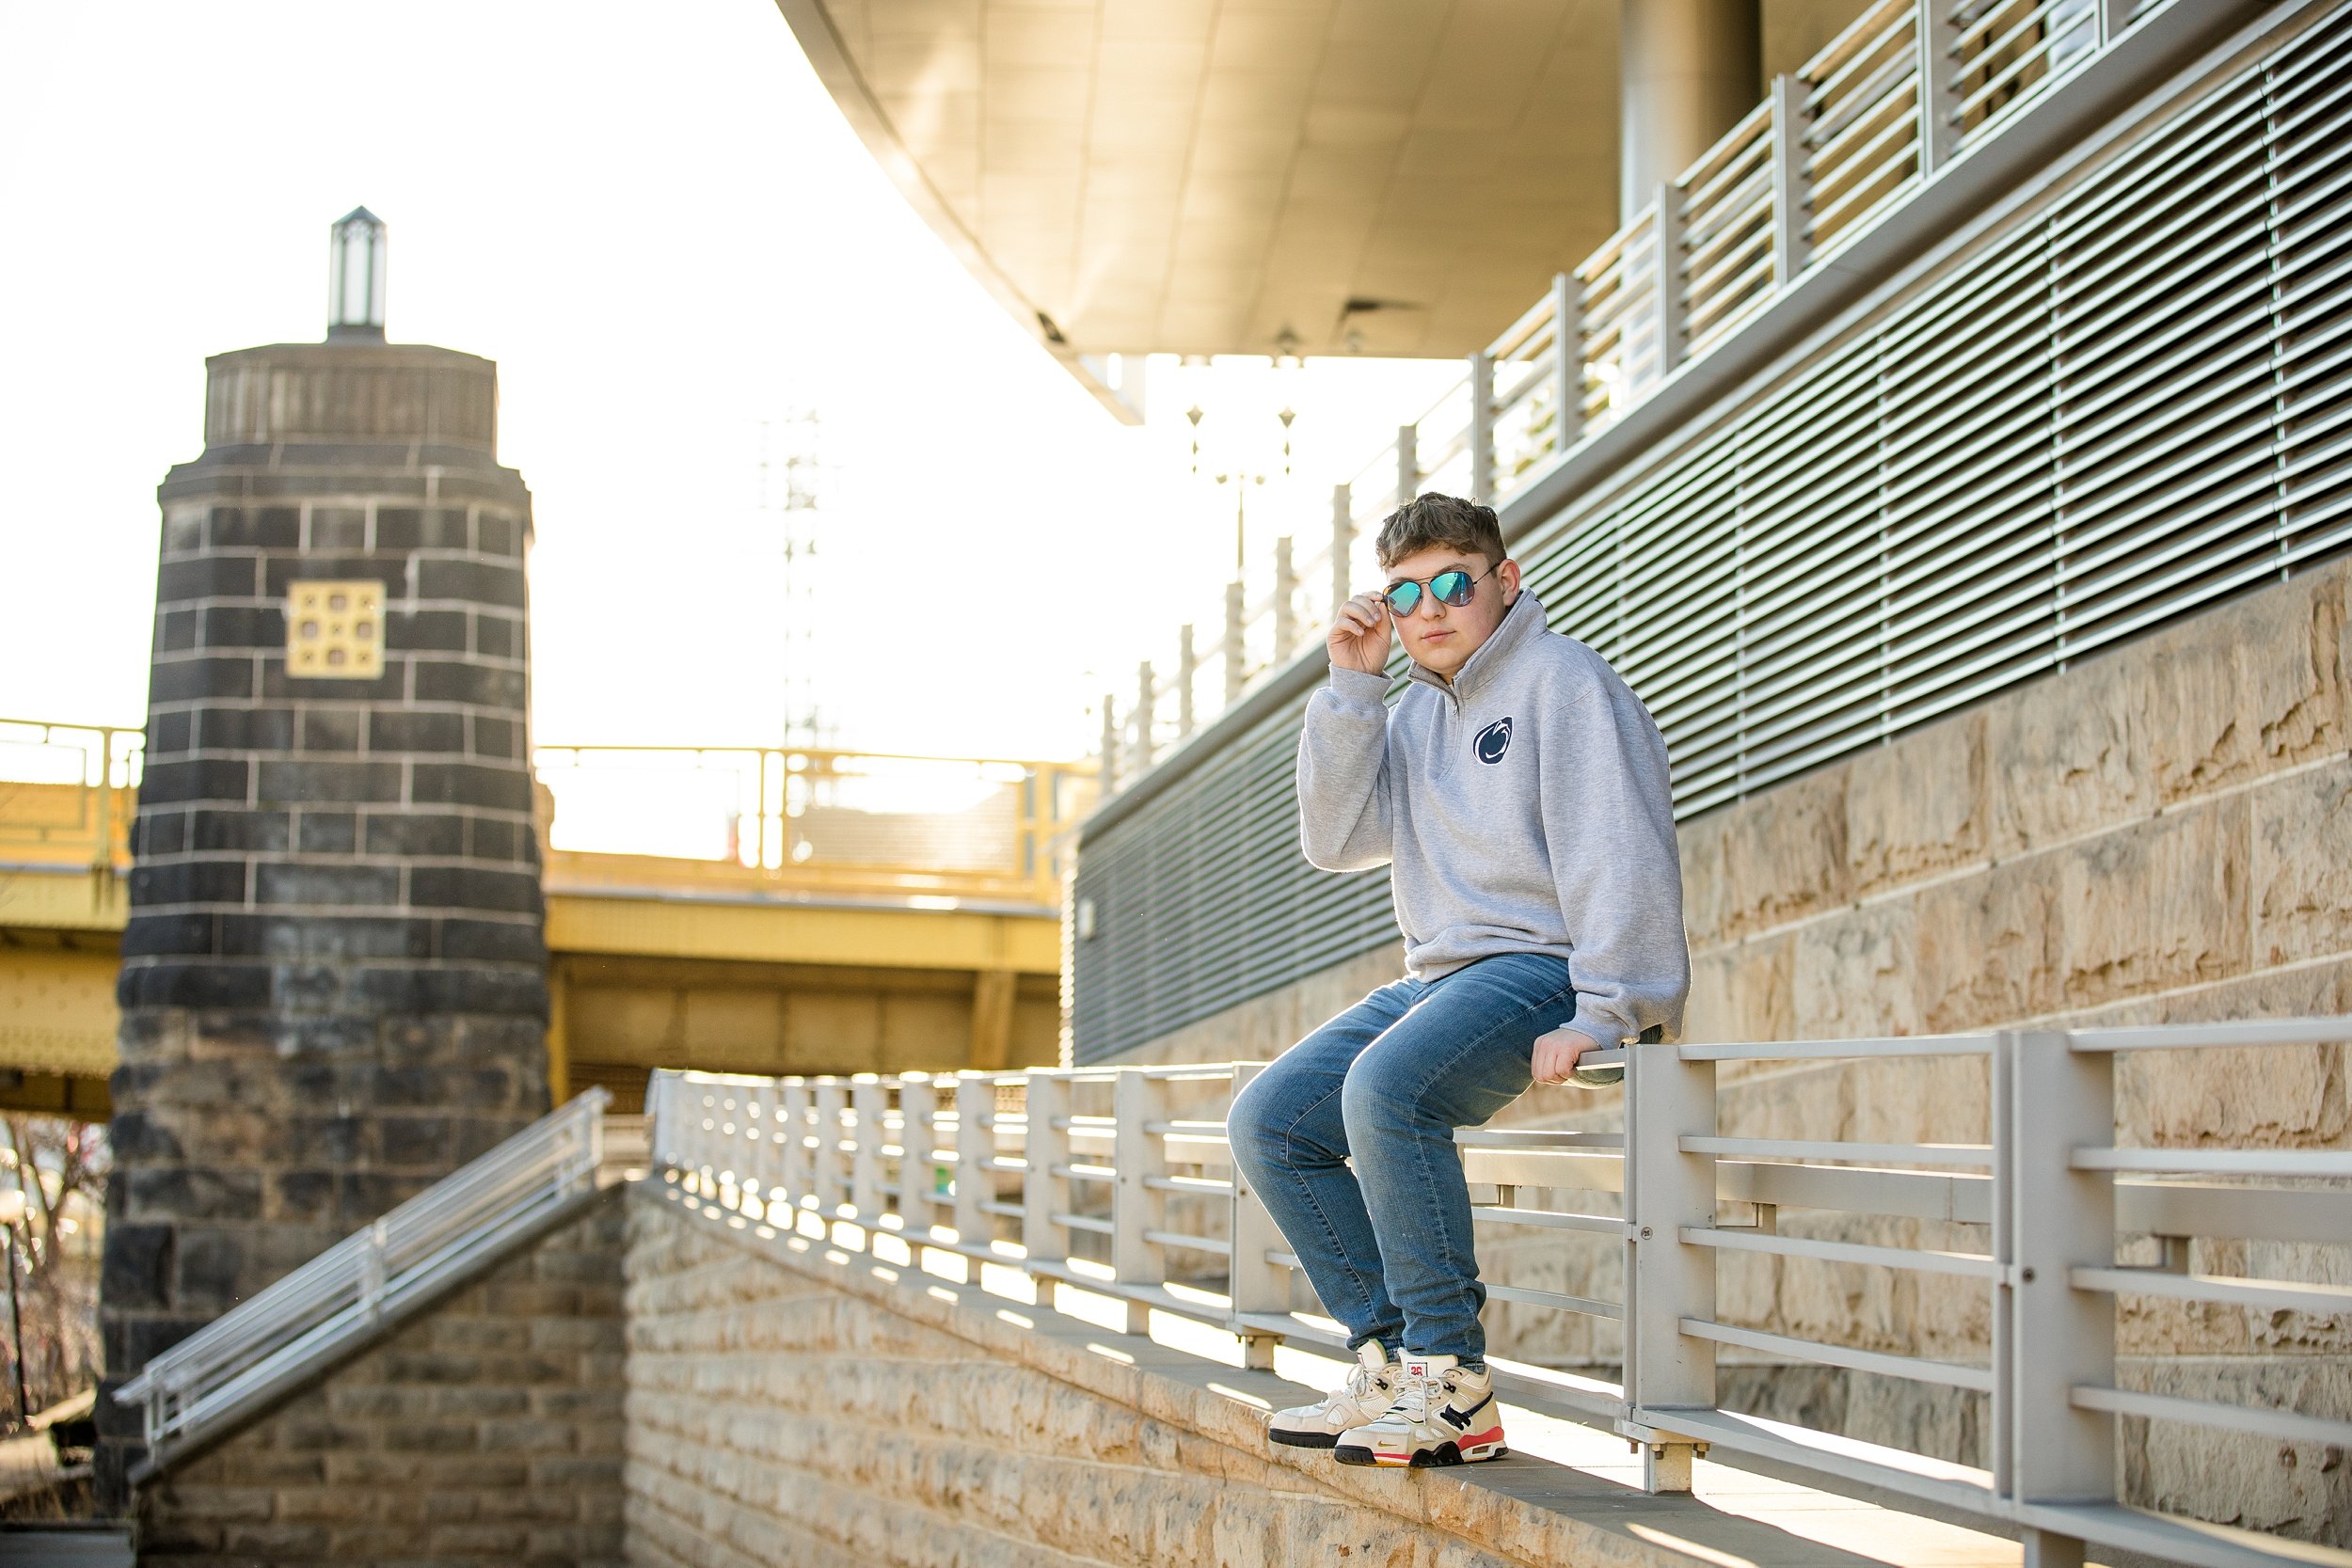
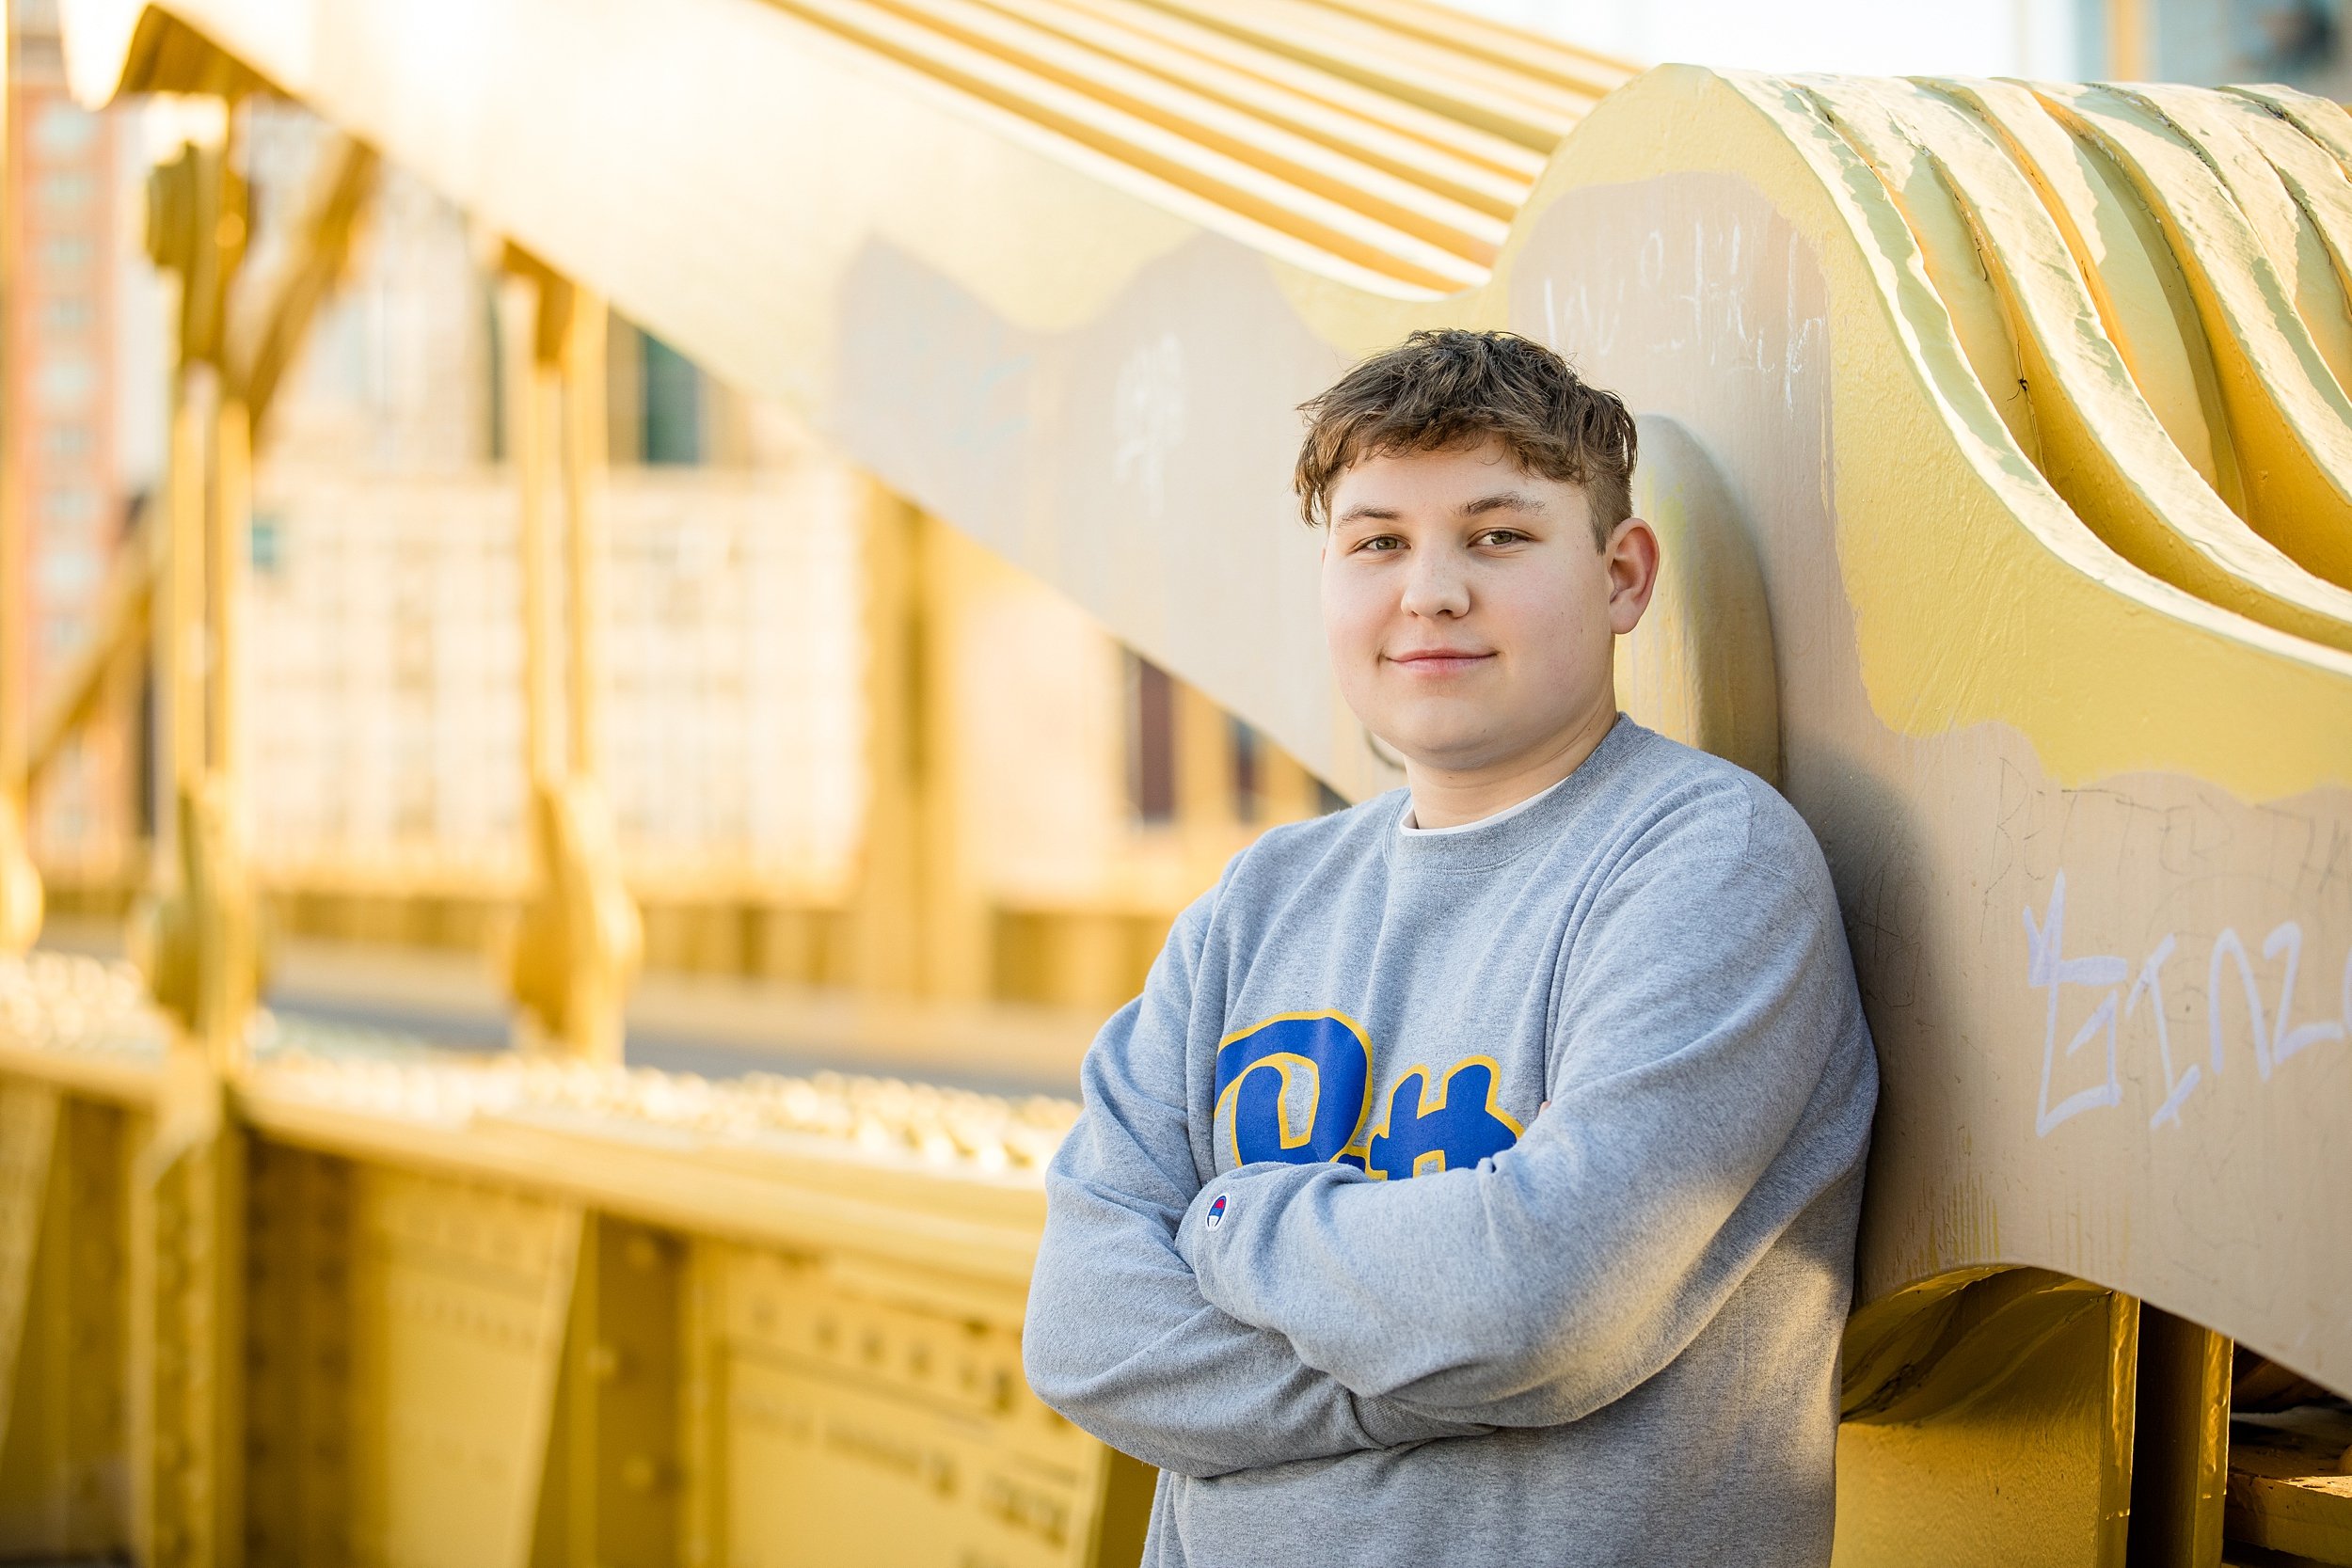
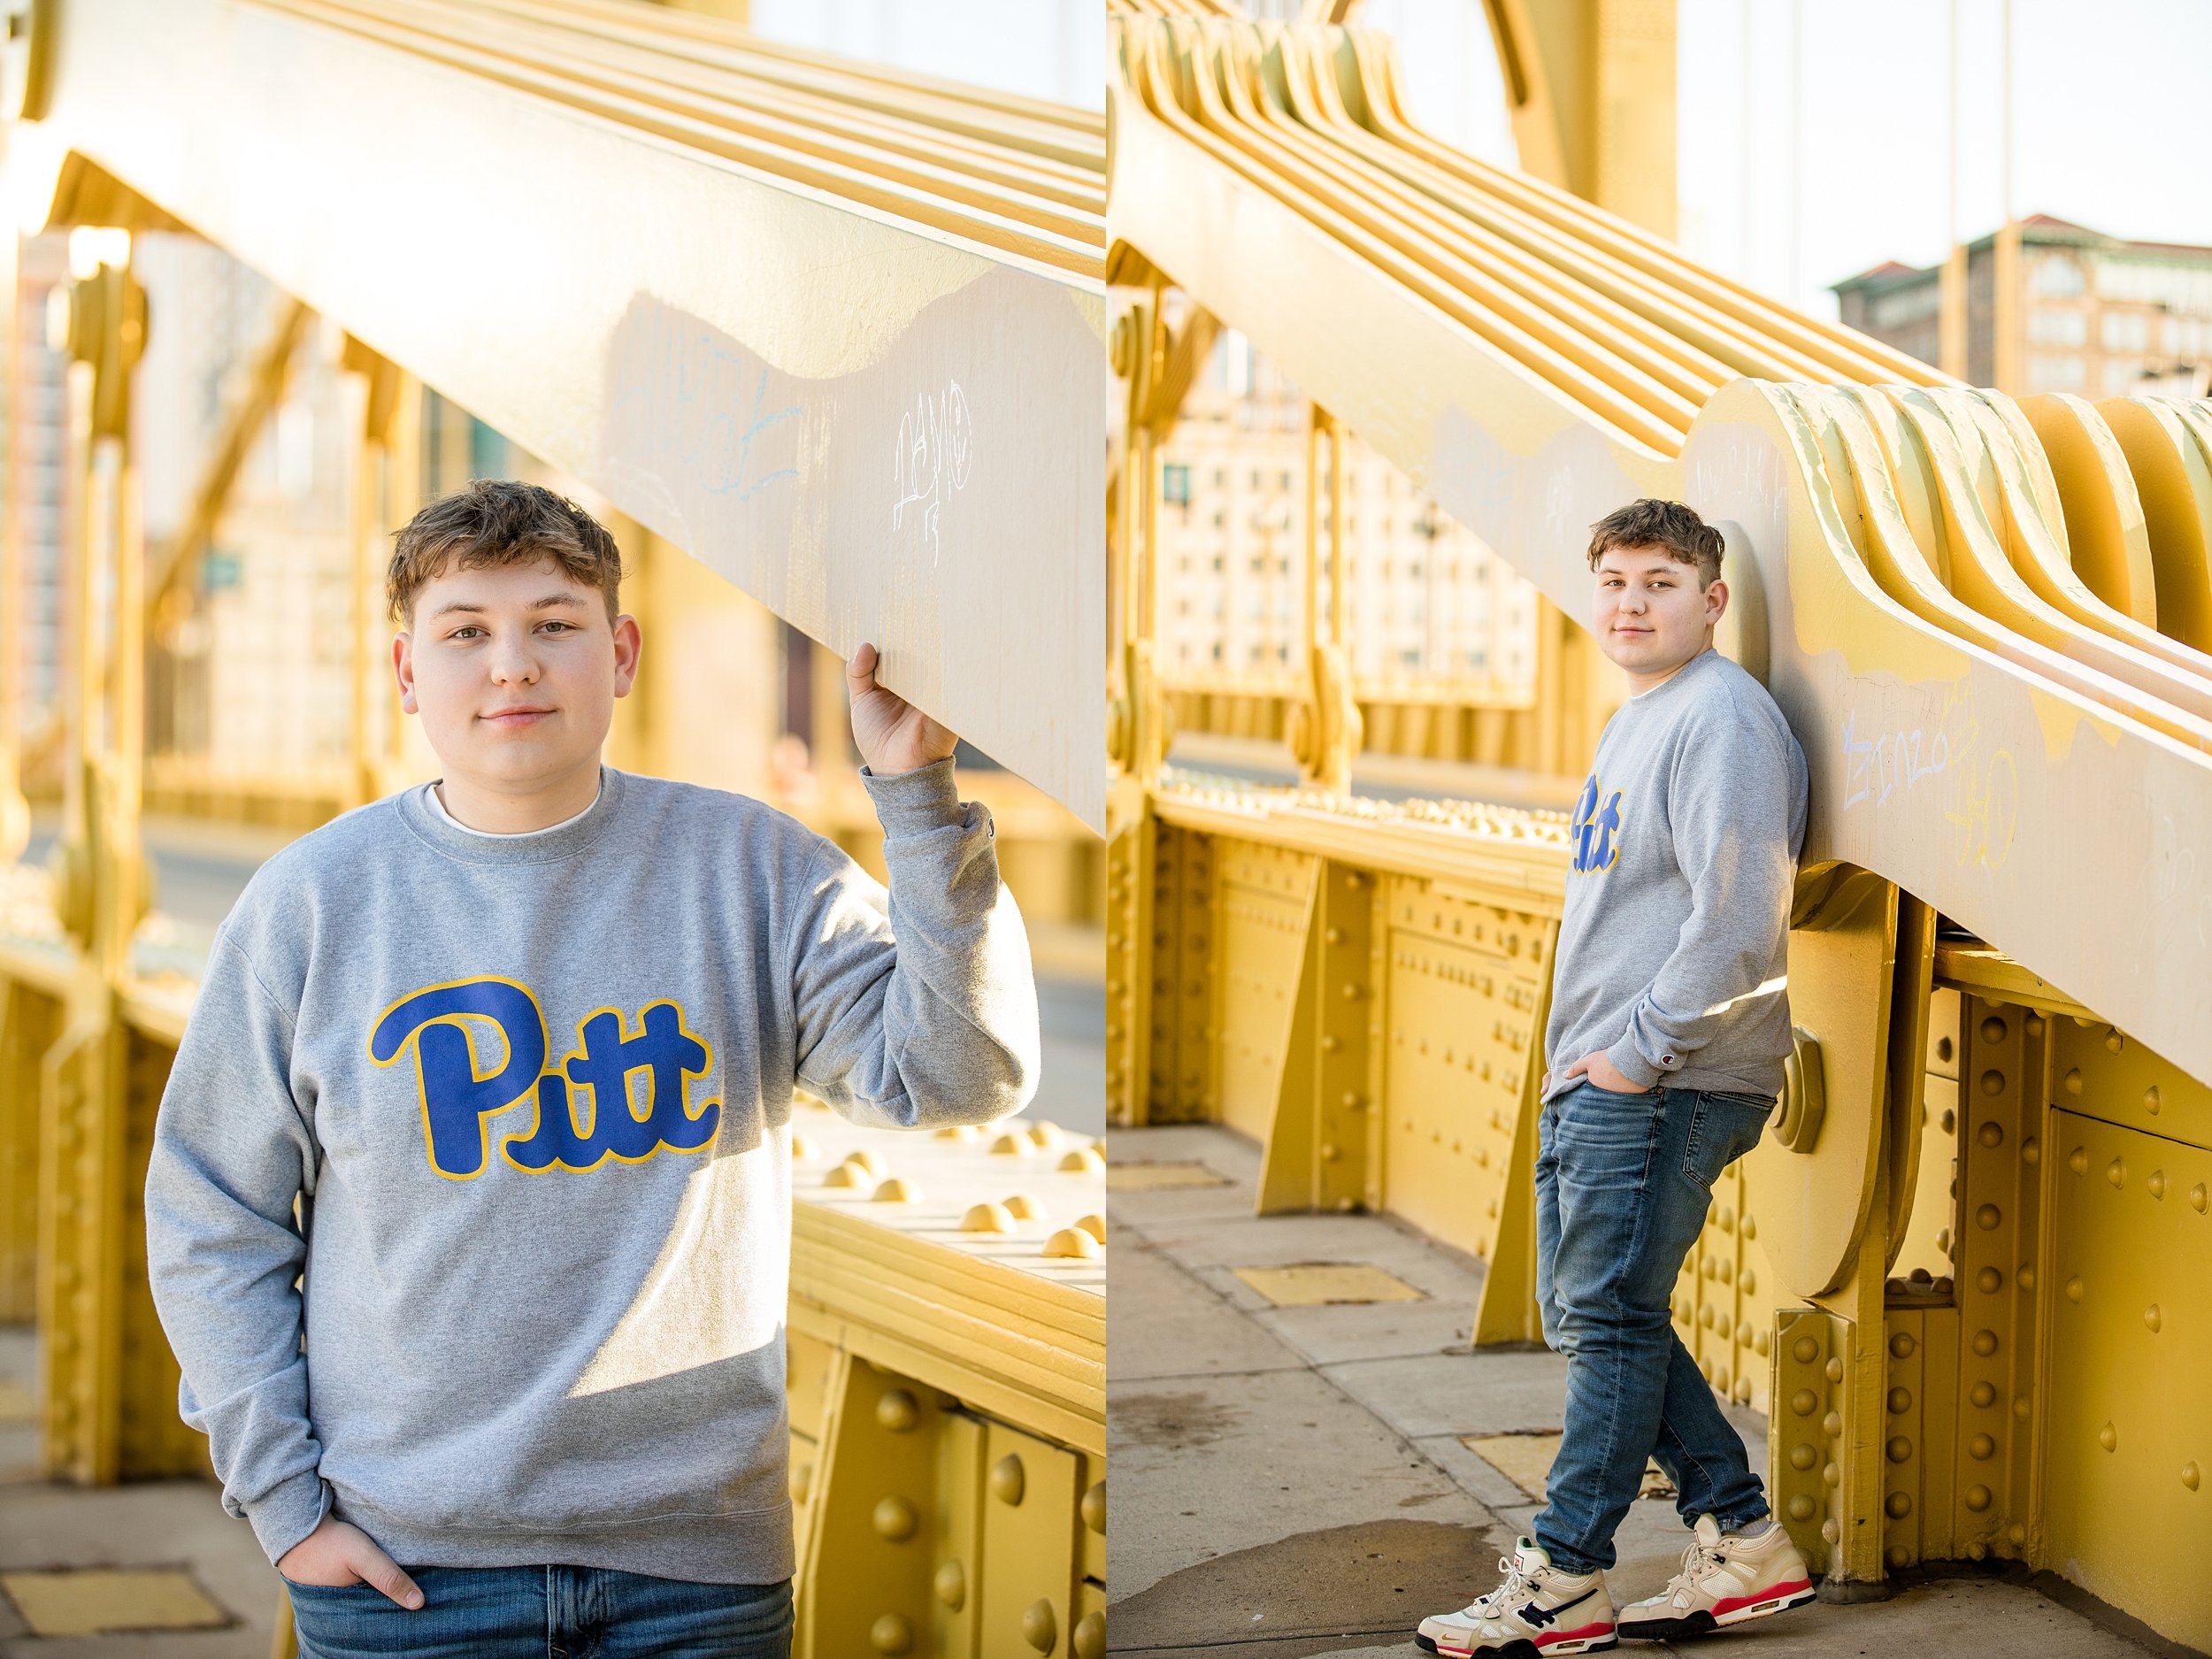
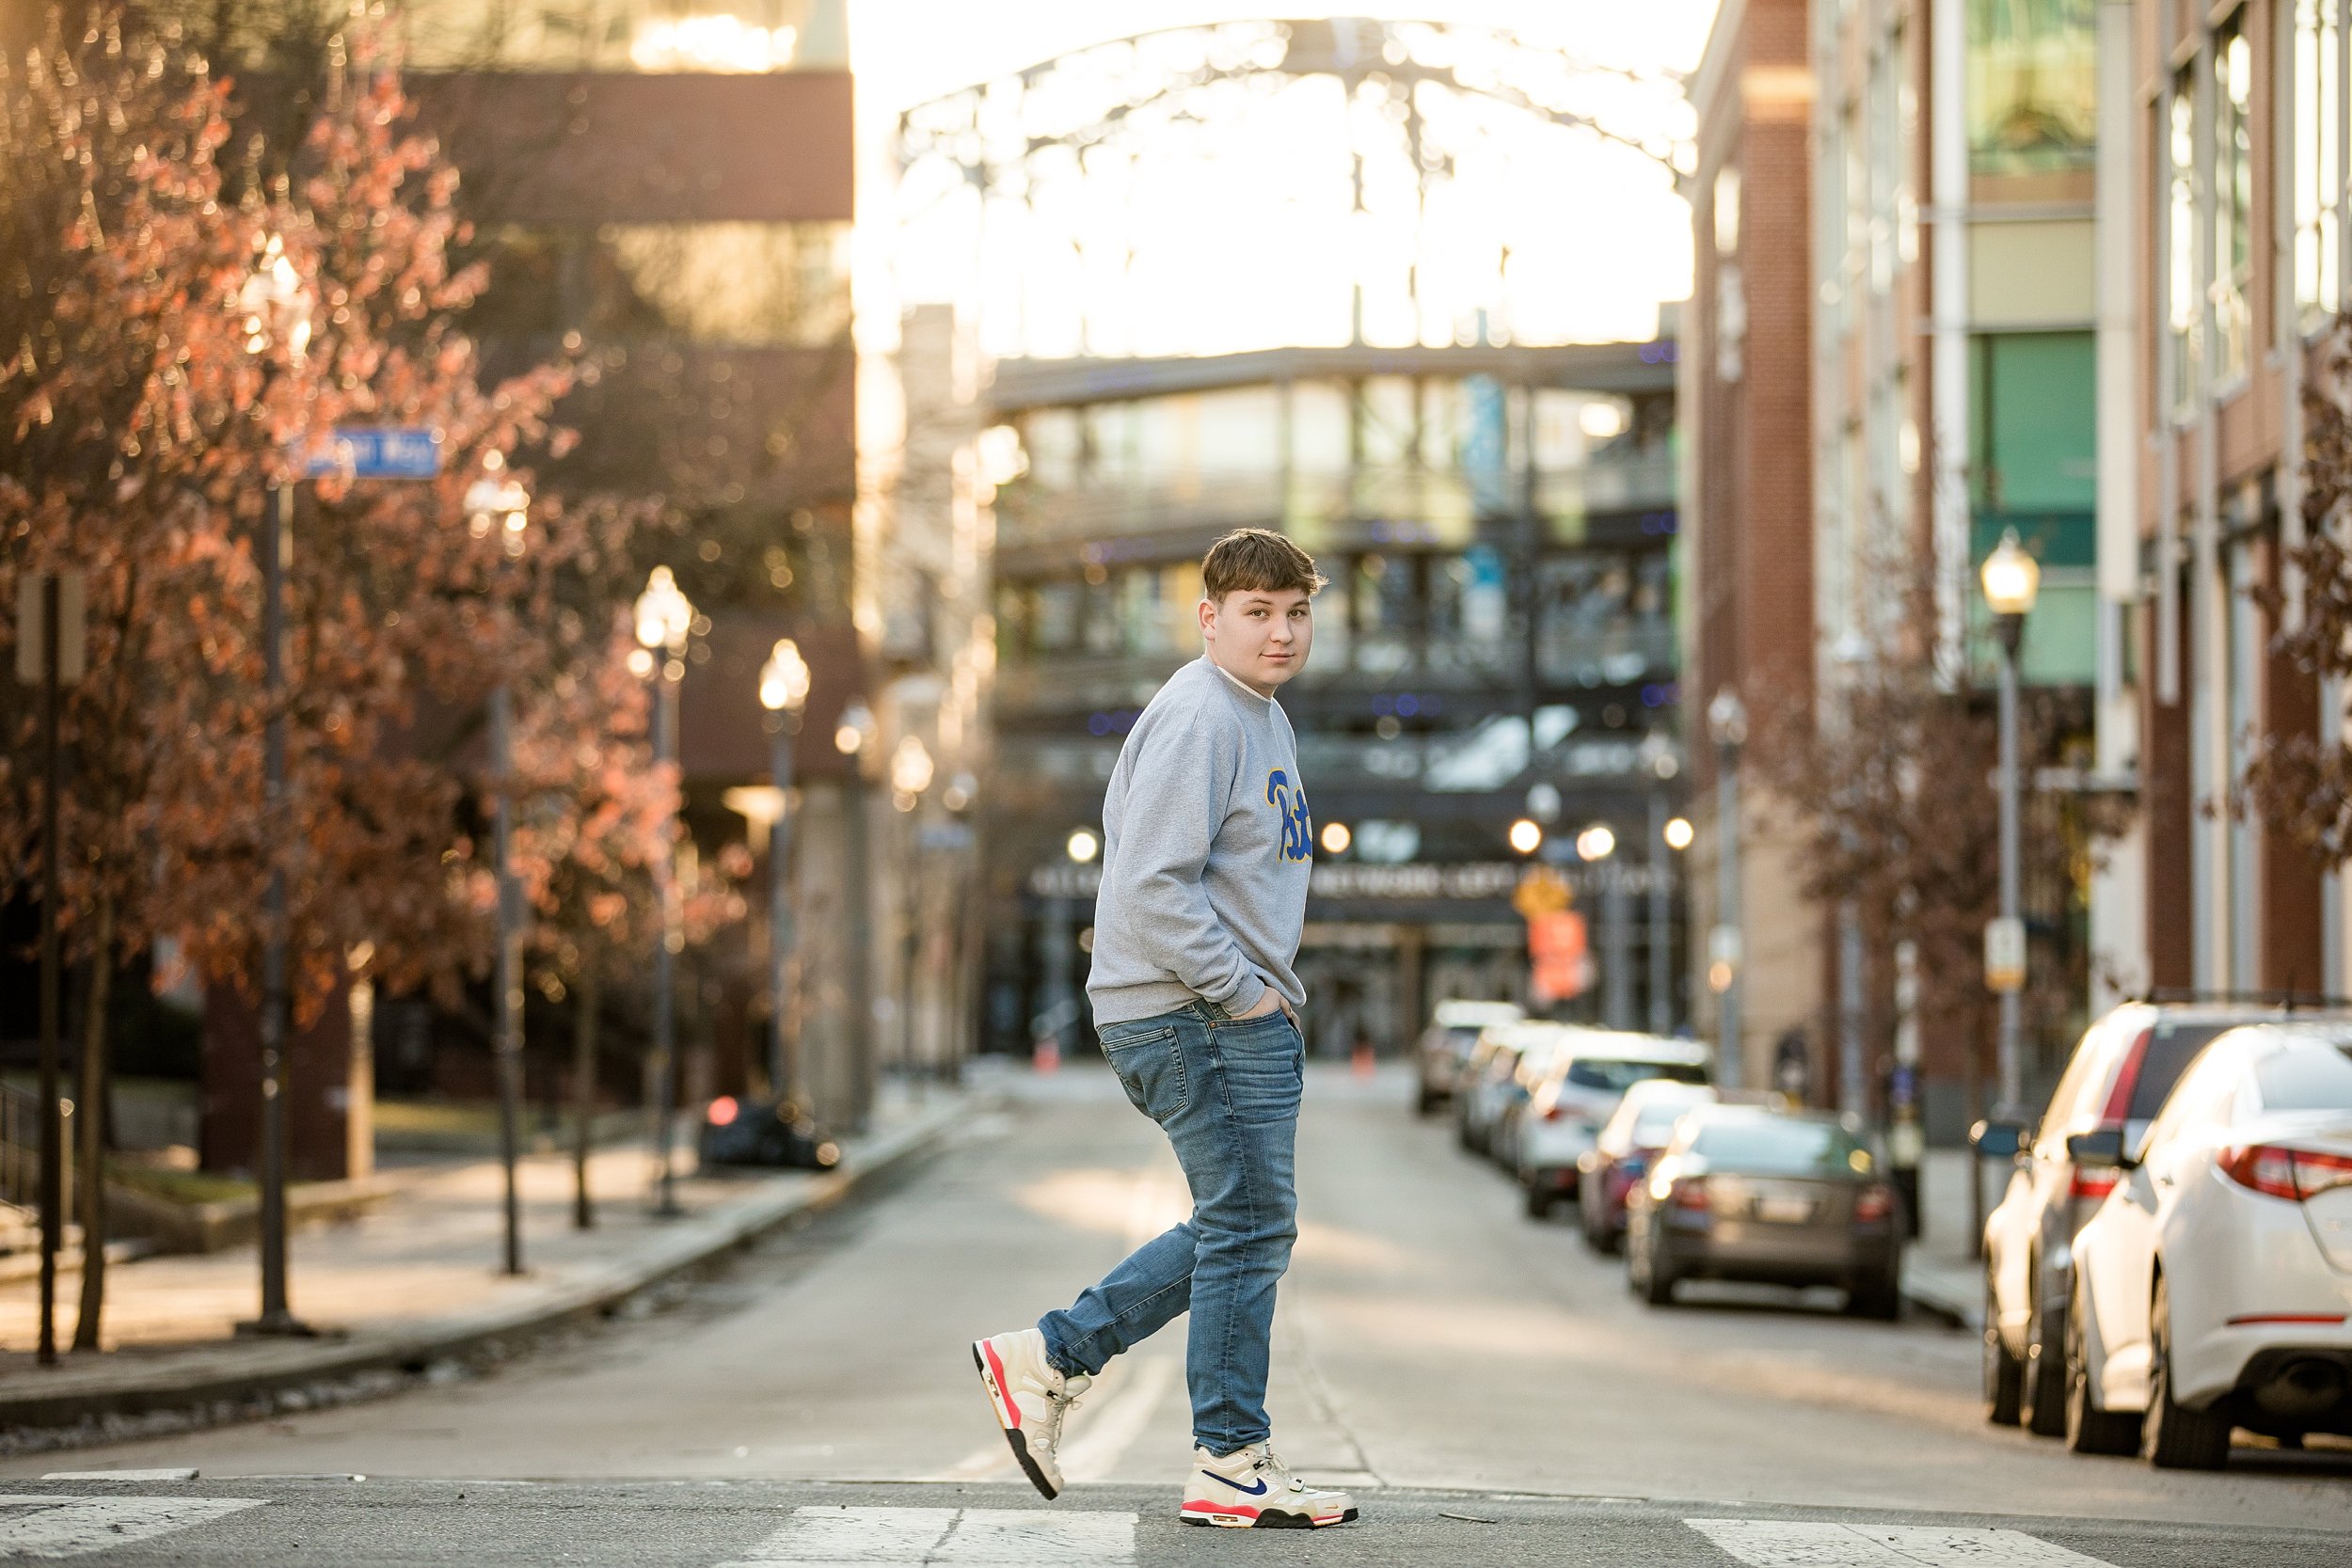
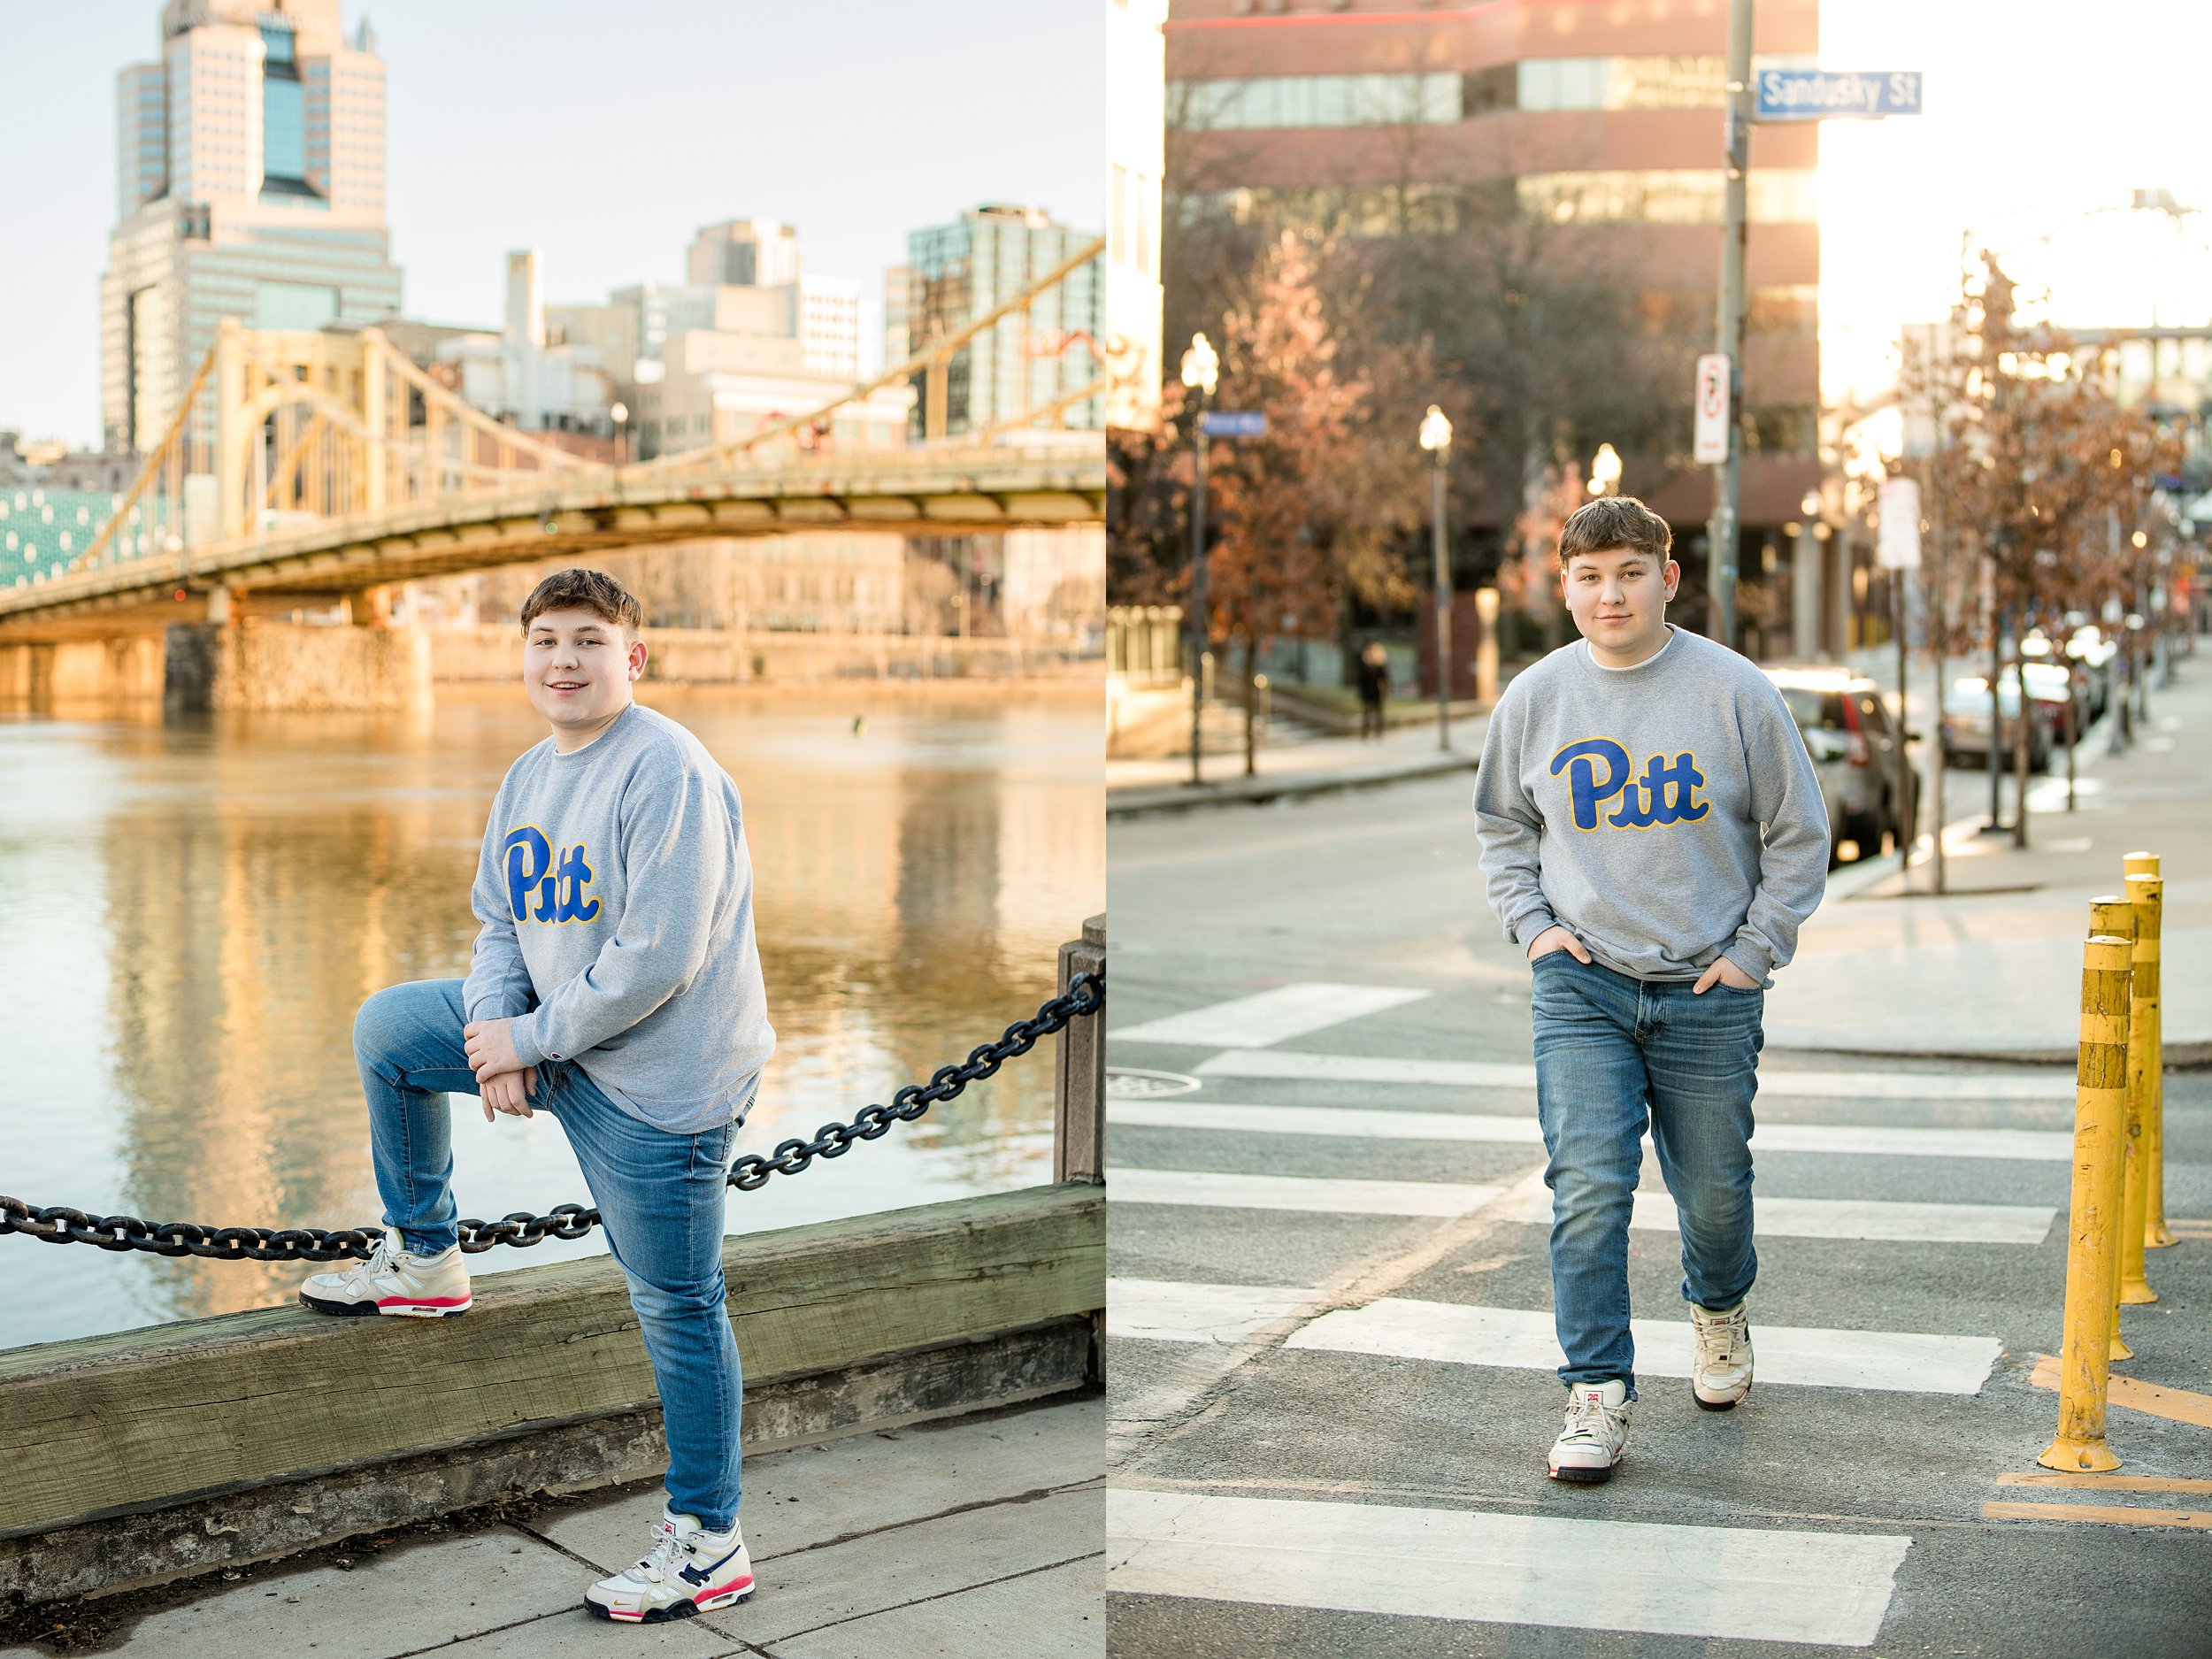
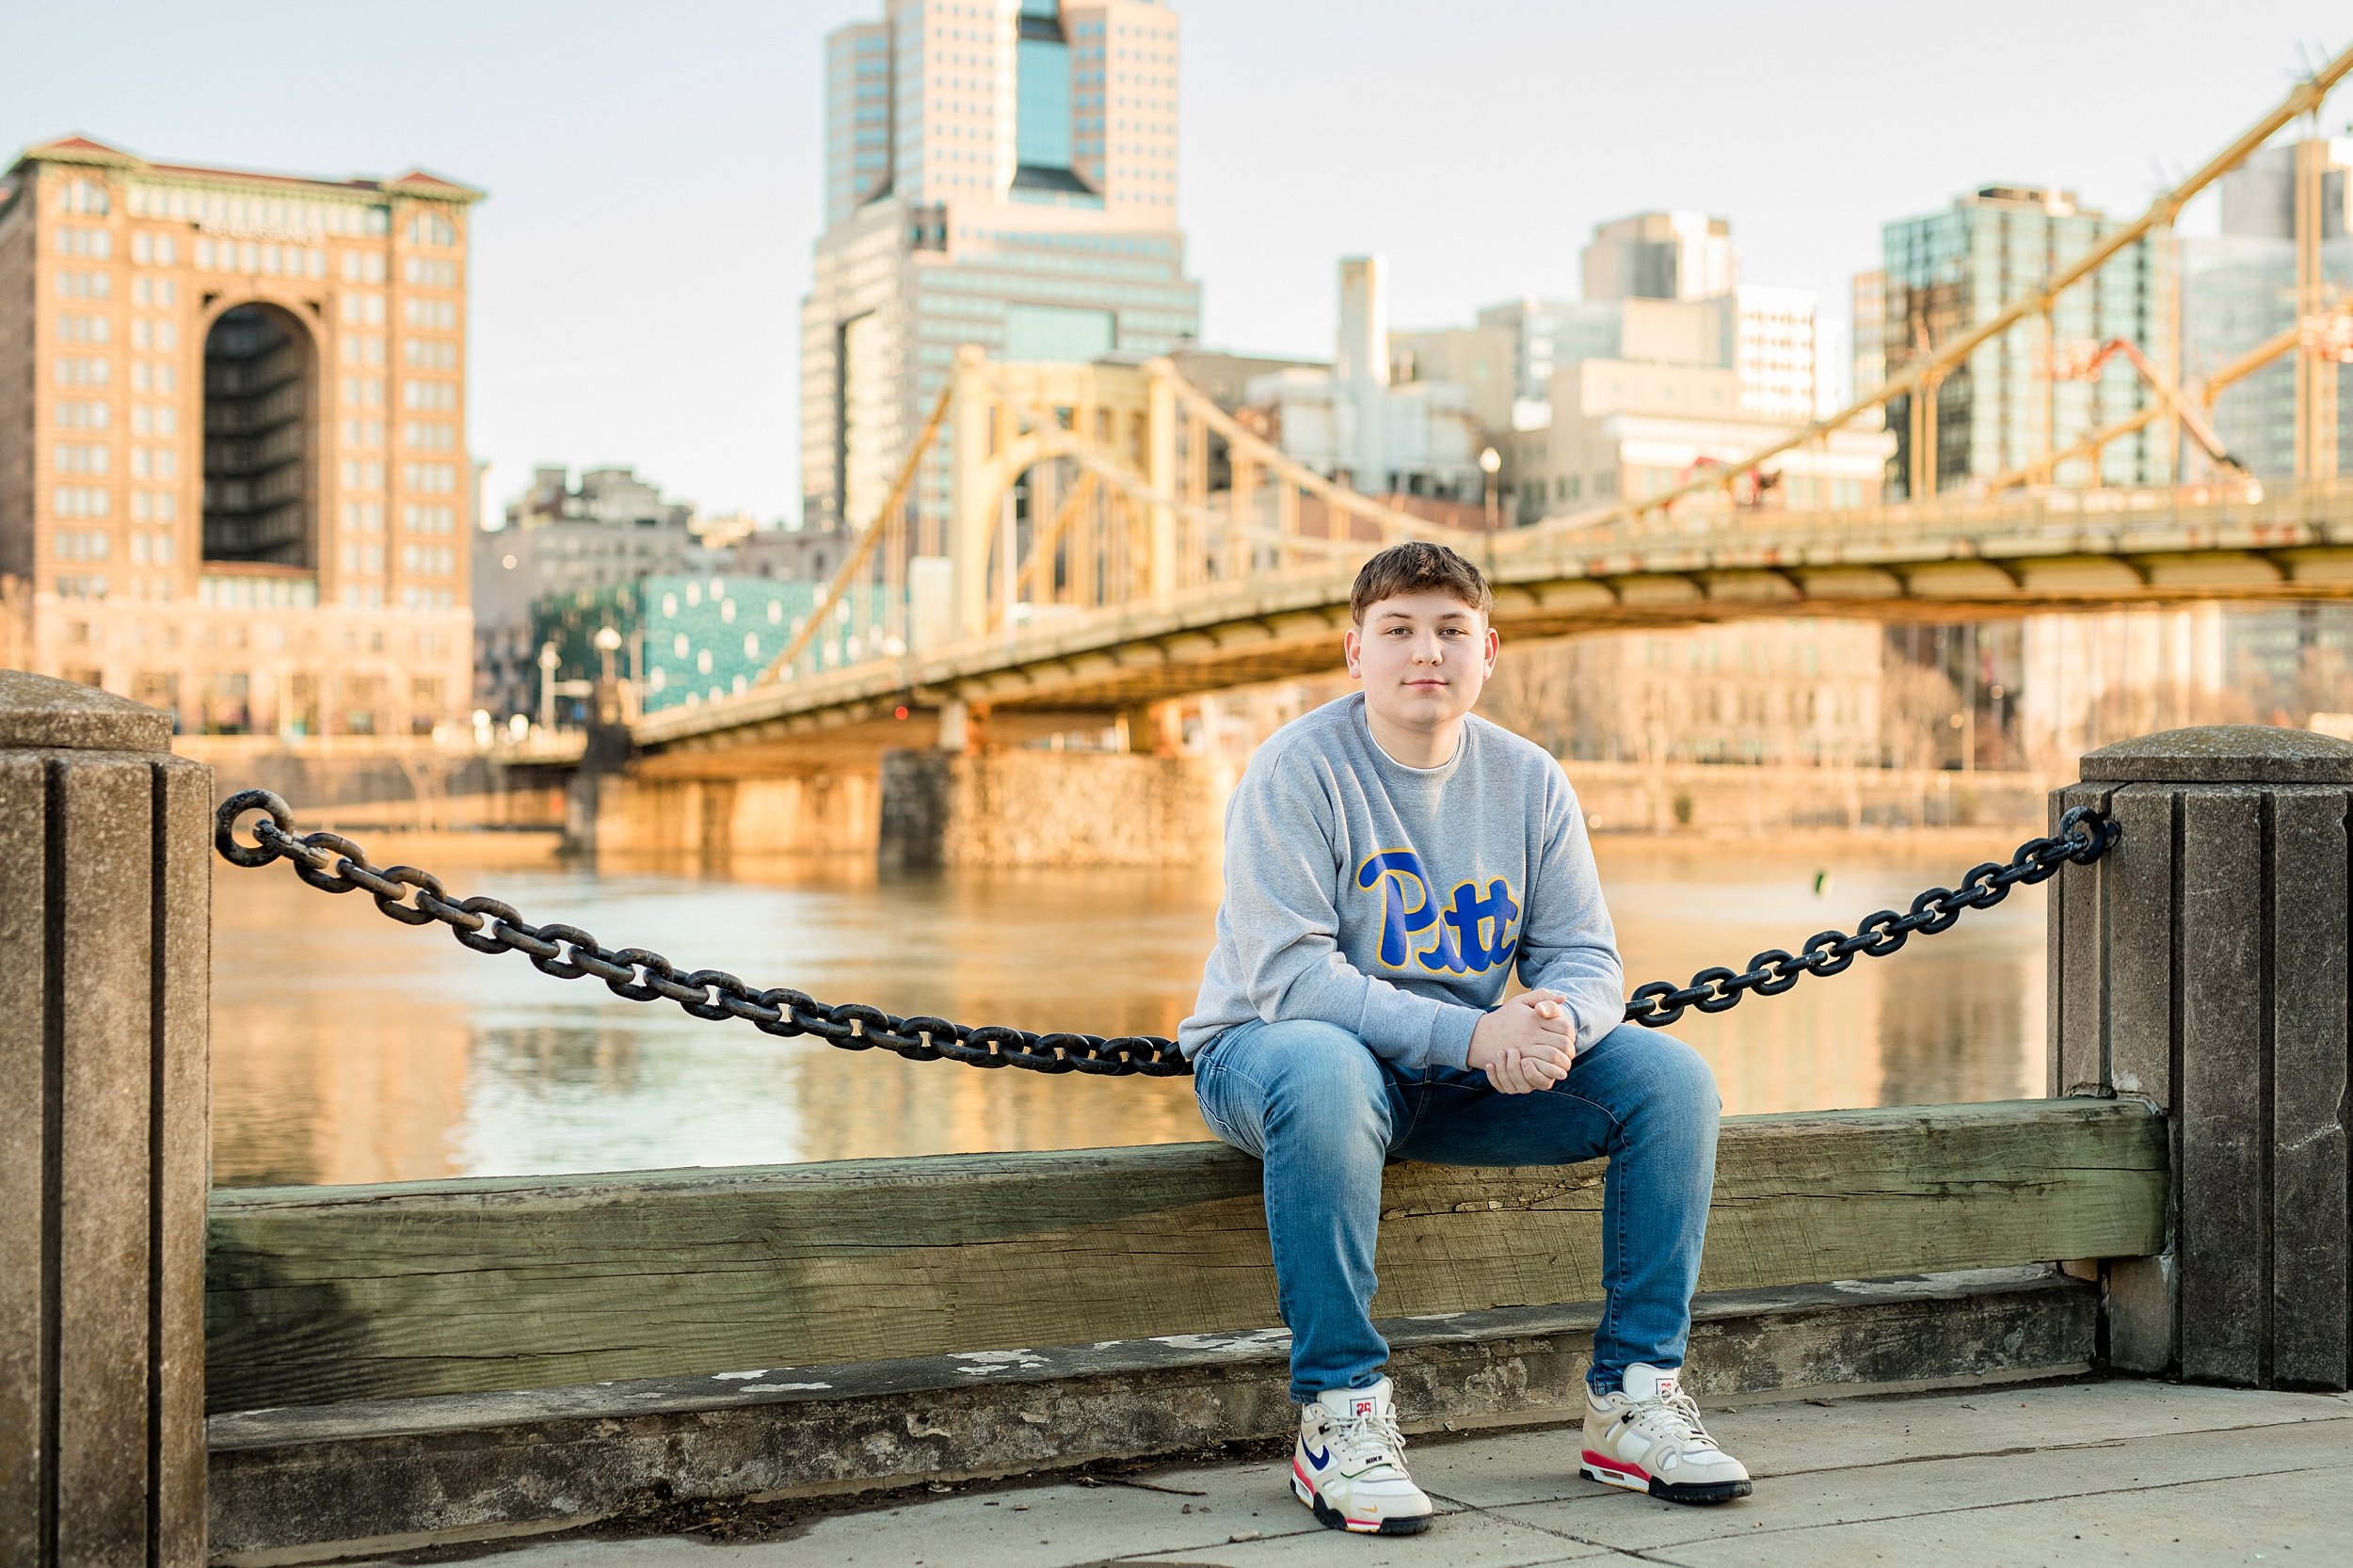
JR is a Seneca Valley High School senior who is graduating in the Spring of 2022! He chose the picturesque North Shore for his photos, which afforded LOTS of opportunity for photos with a classic Pittsburgh yellow bridge and the city background!

A few weeks ago, I discovered that the Roberto Clemente Bridge had closed starting on February 14, 2022 for the next two years. Thankfully, the Andy Warhol Bridge served as an excellent backup spot during JR’s session!

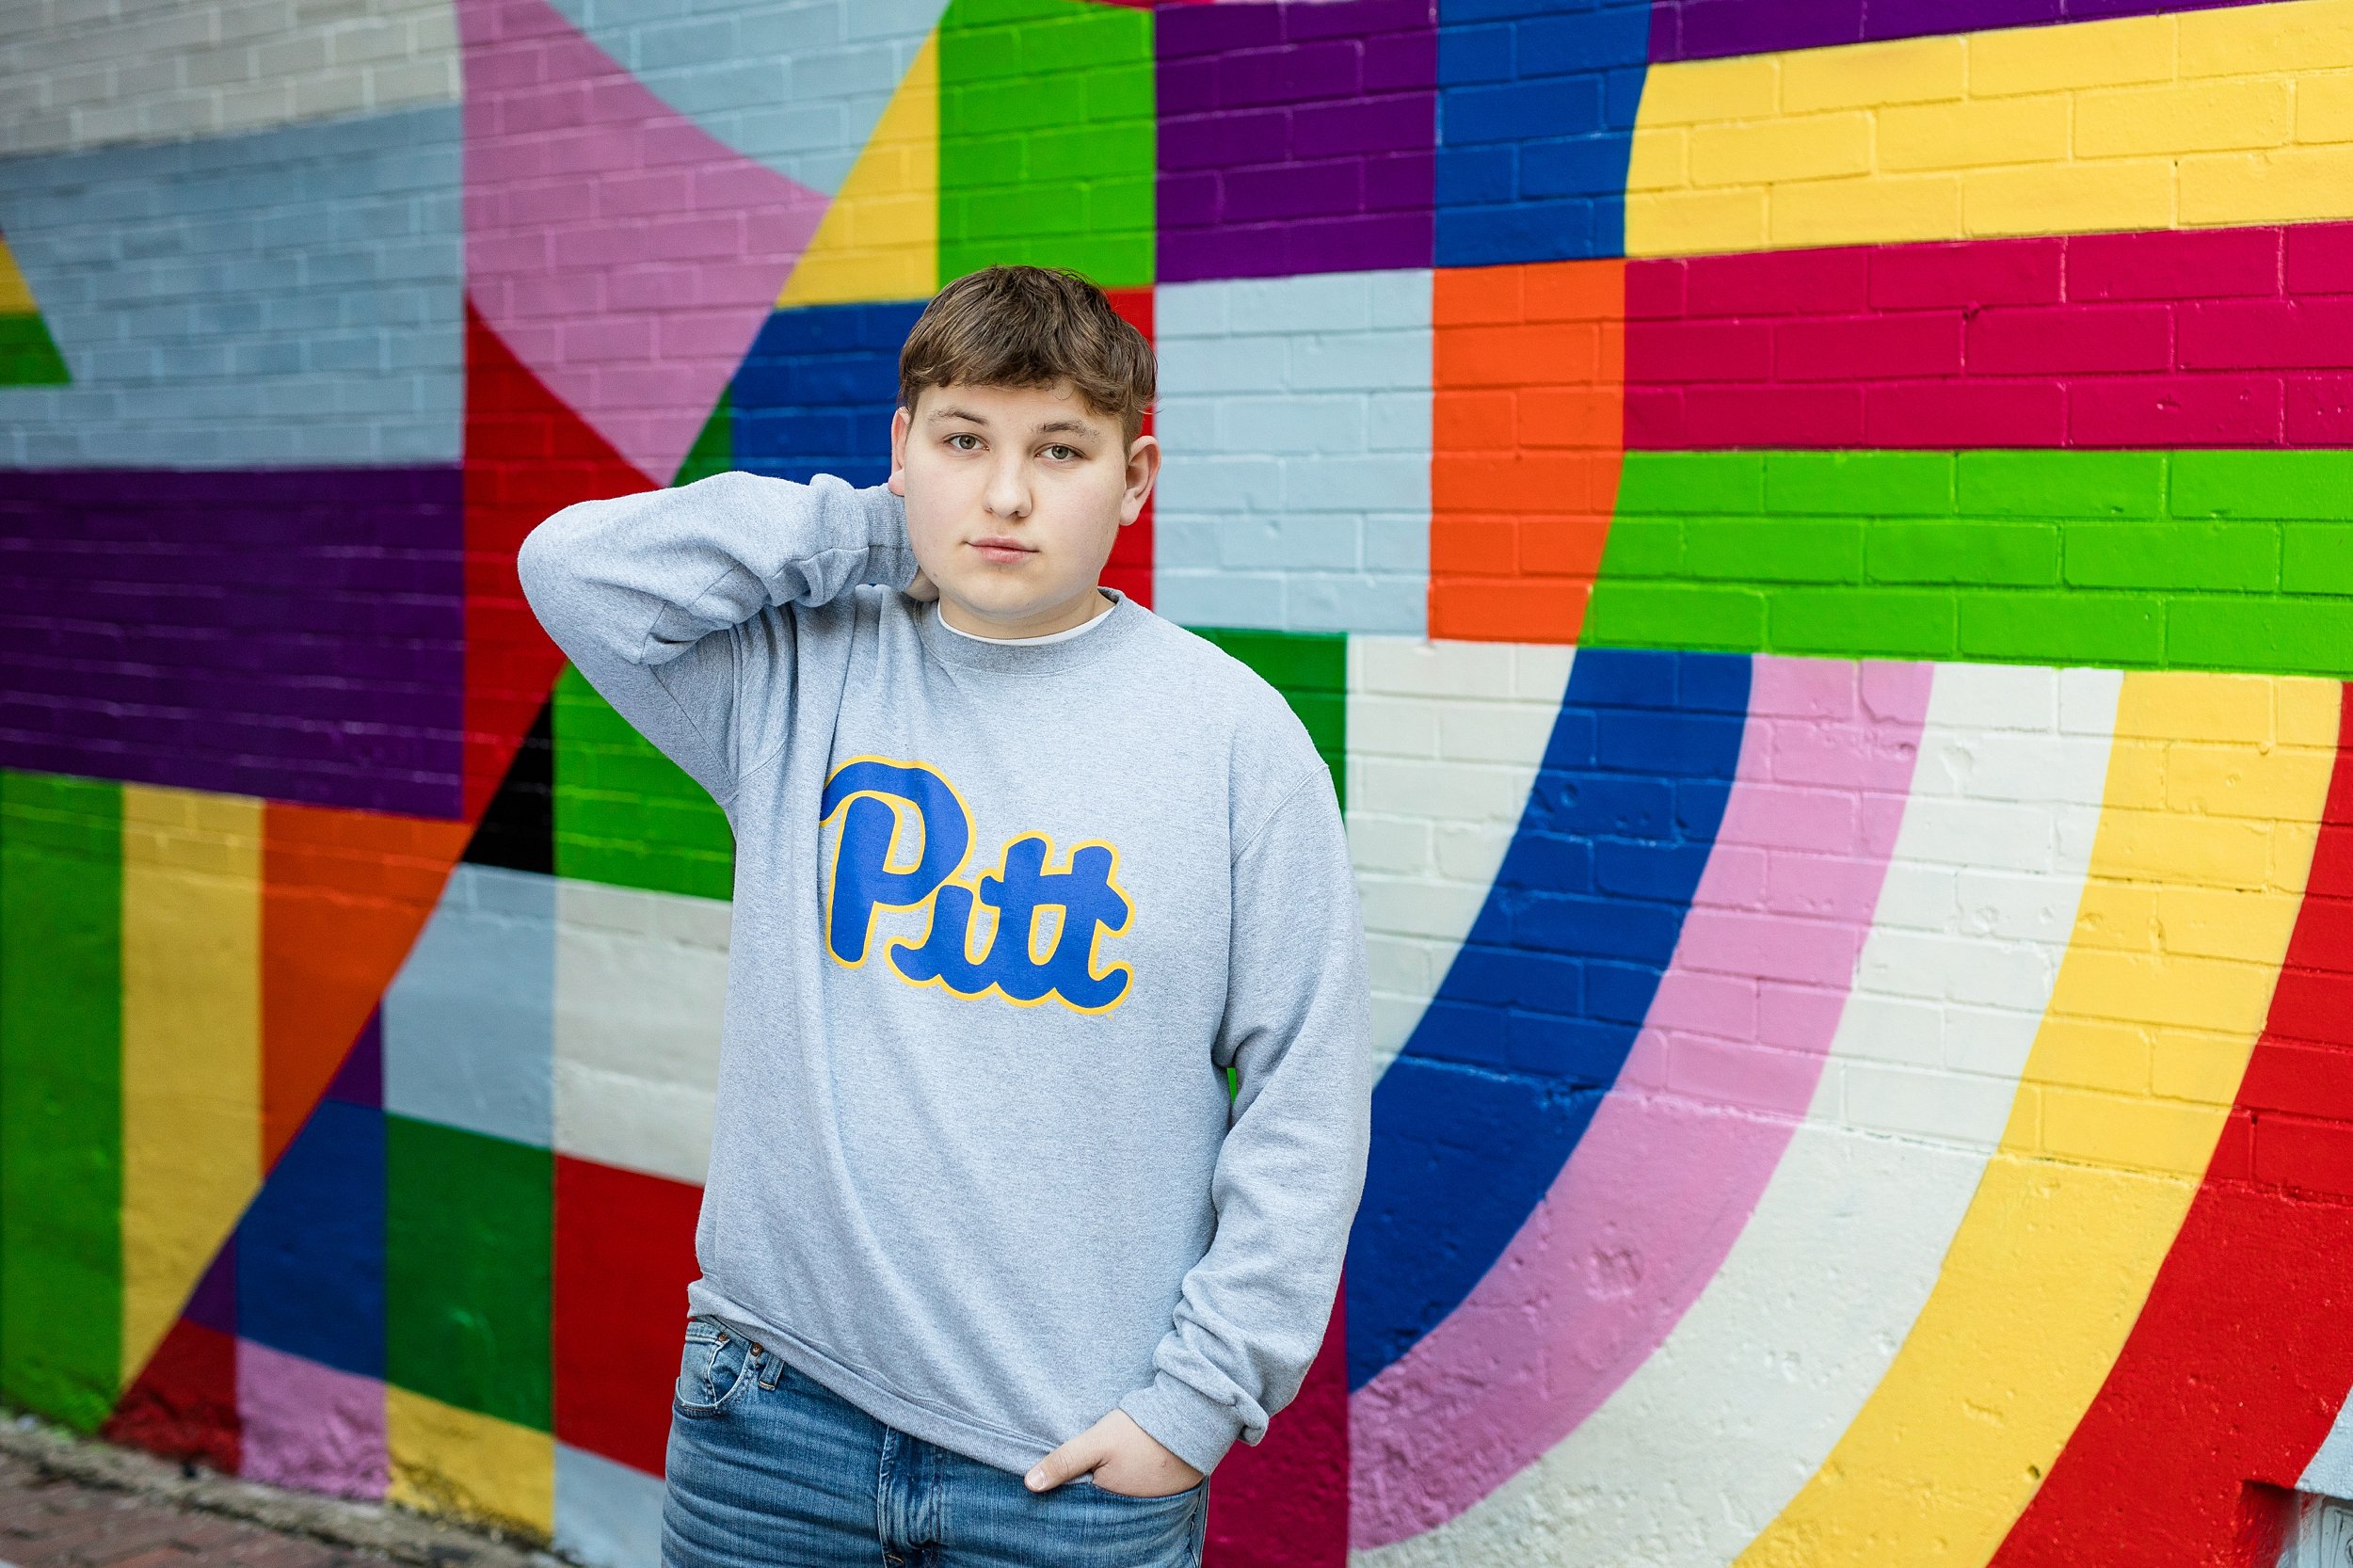
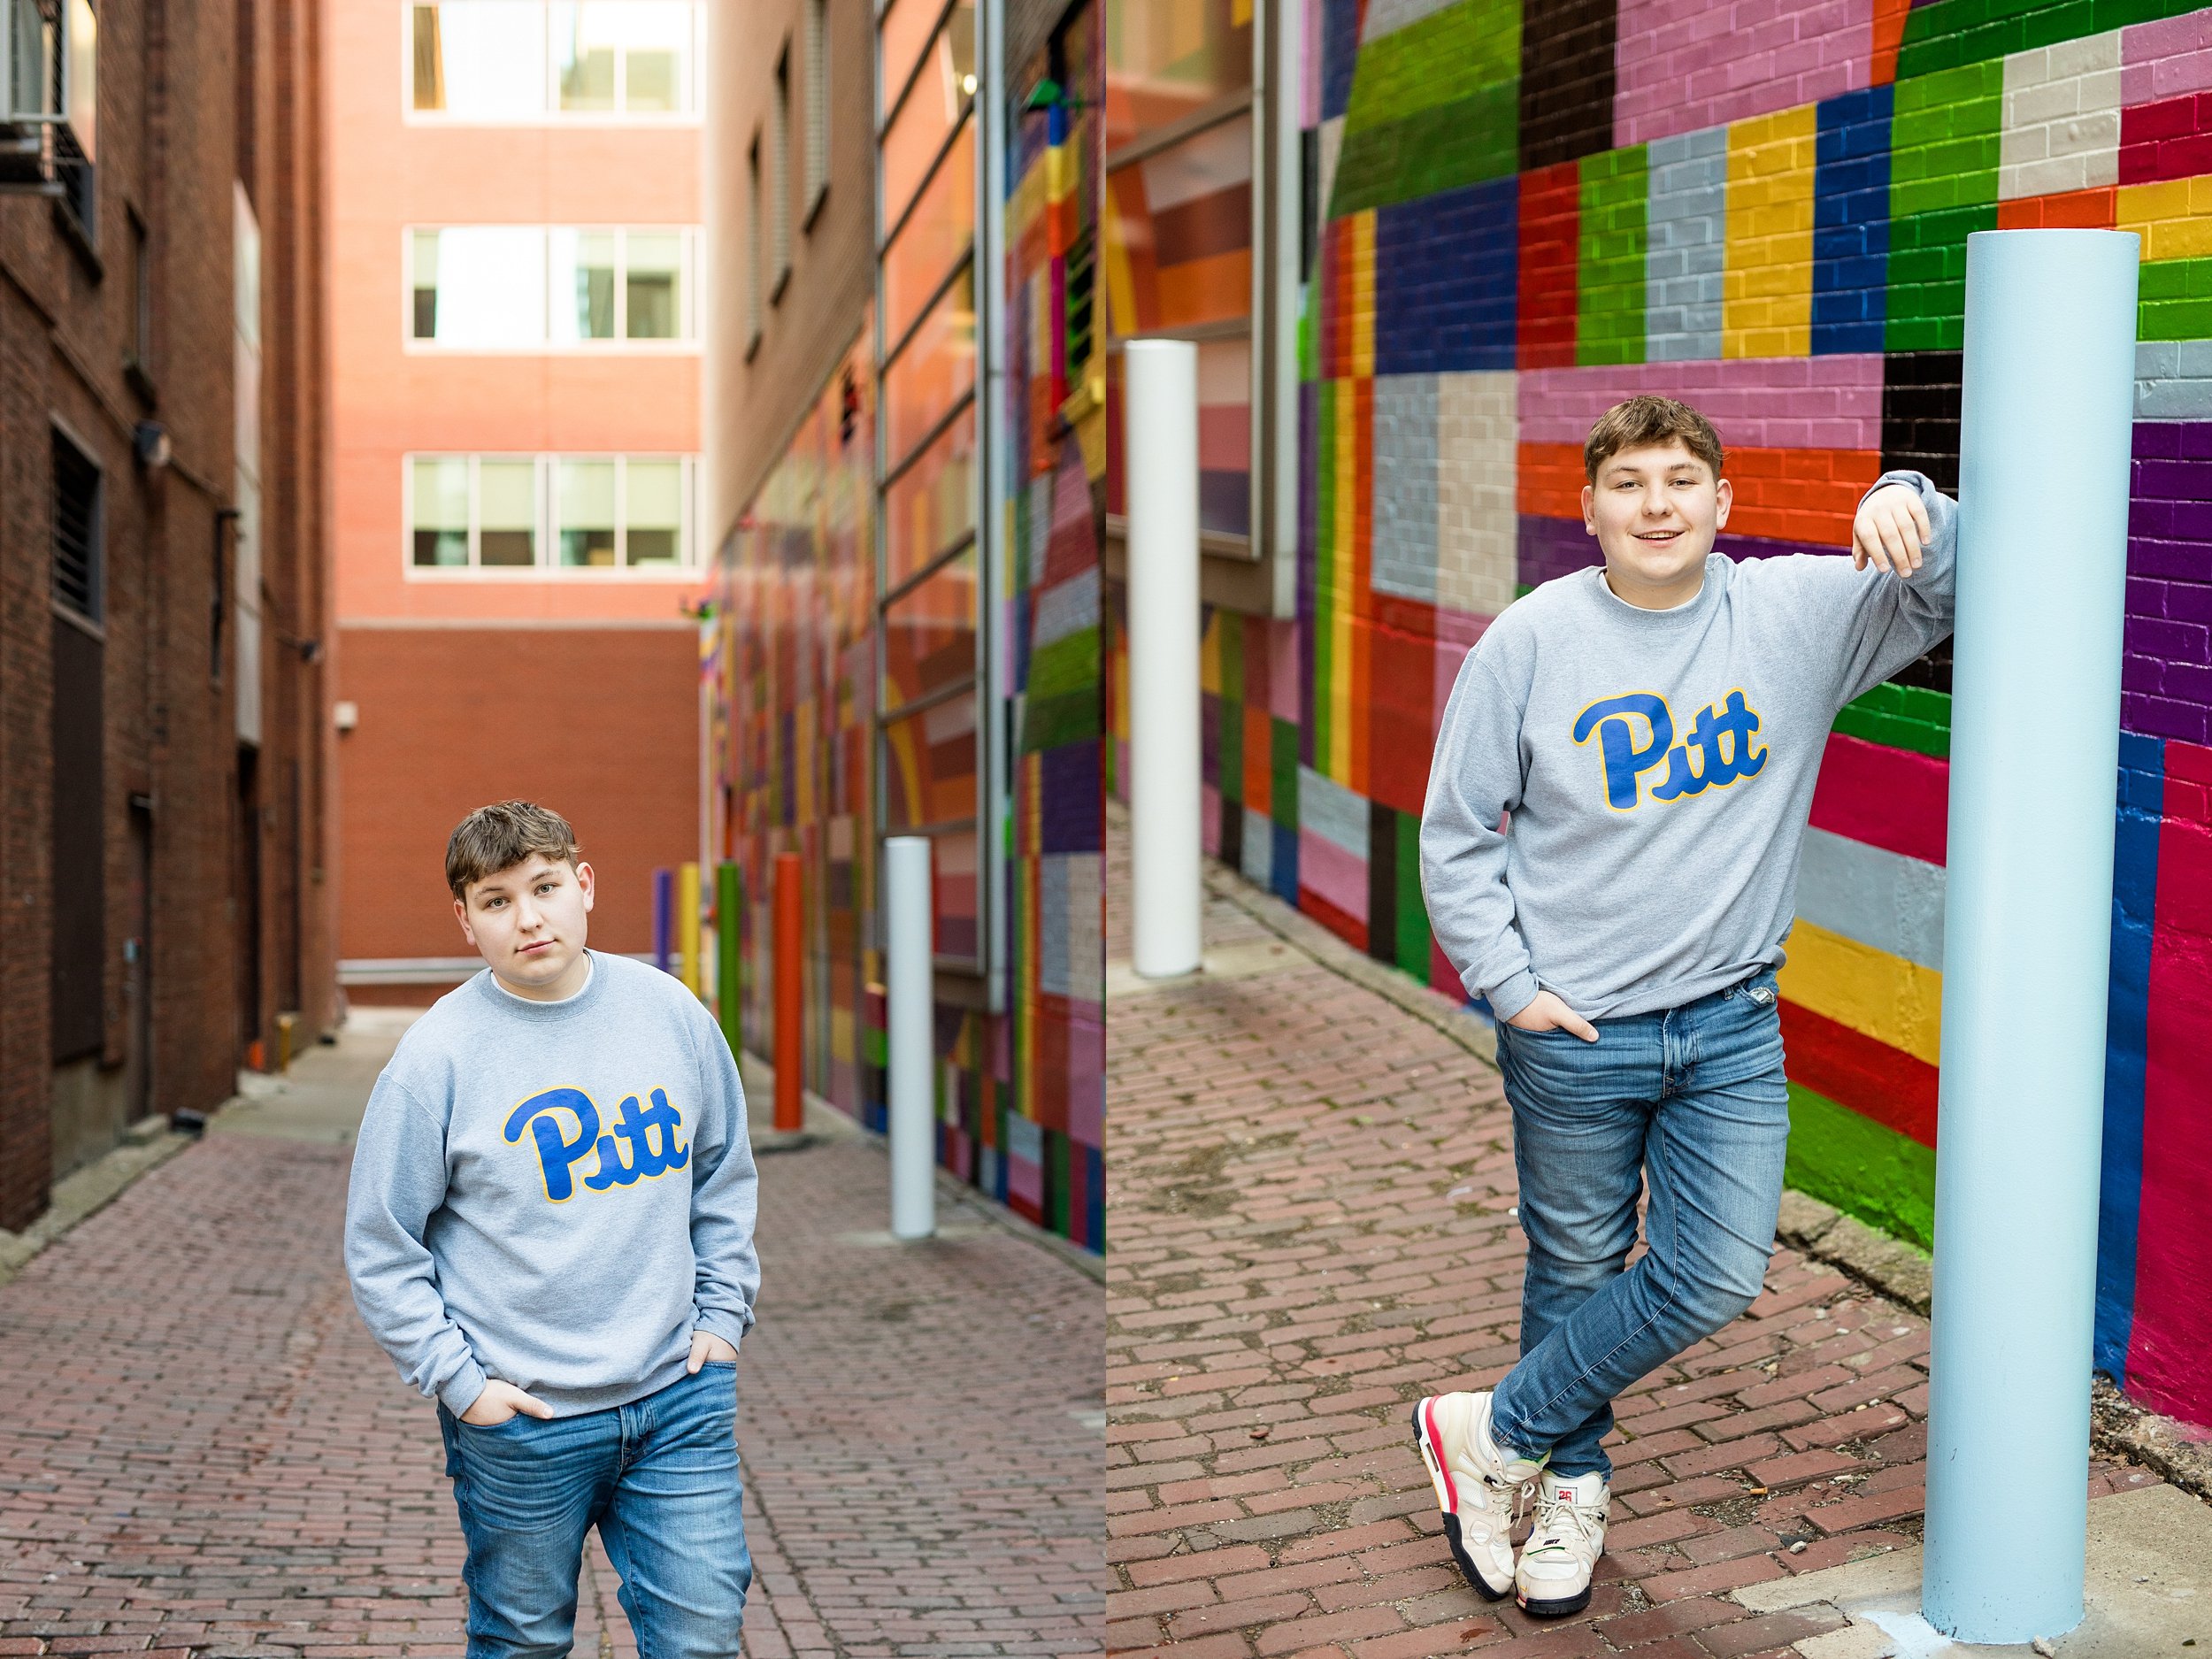
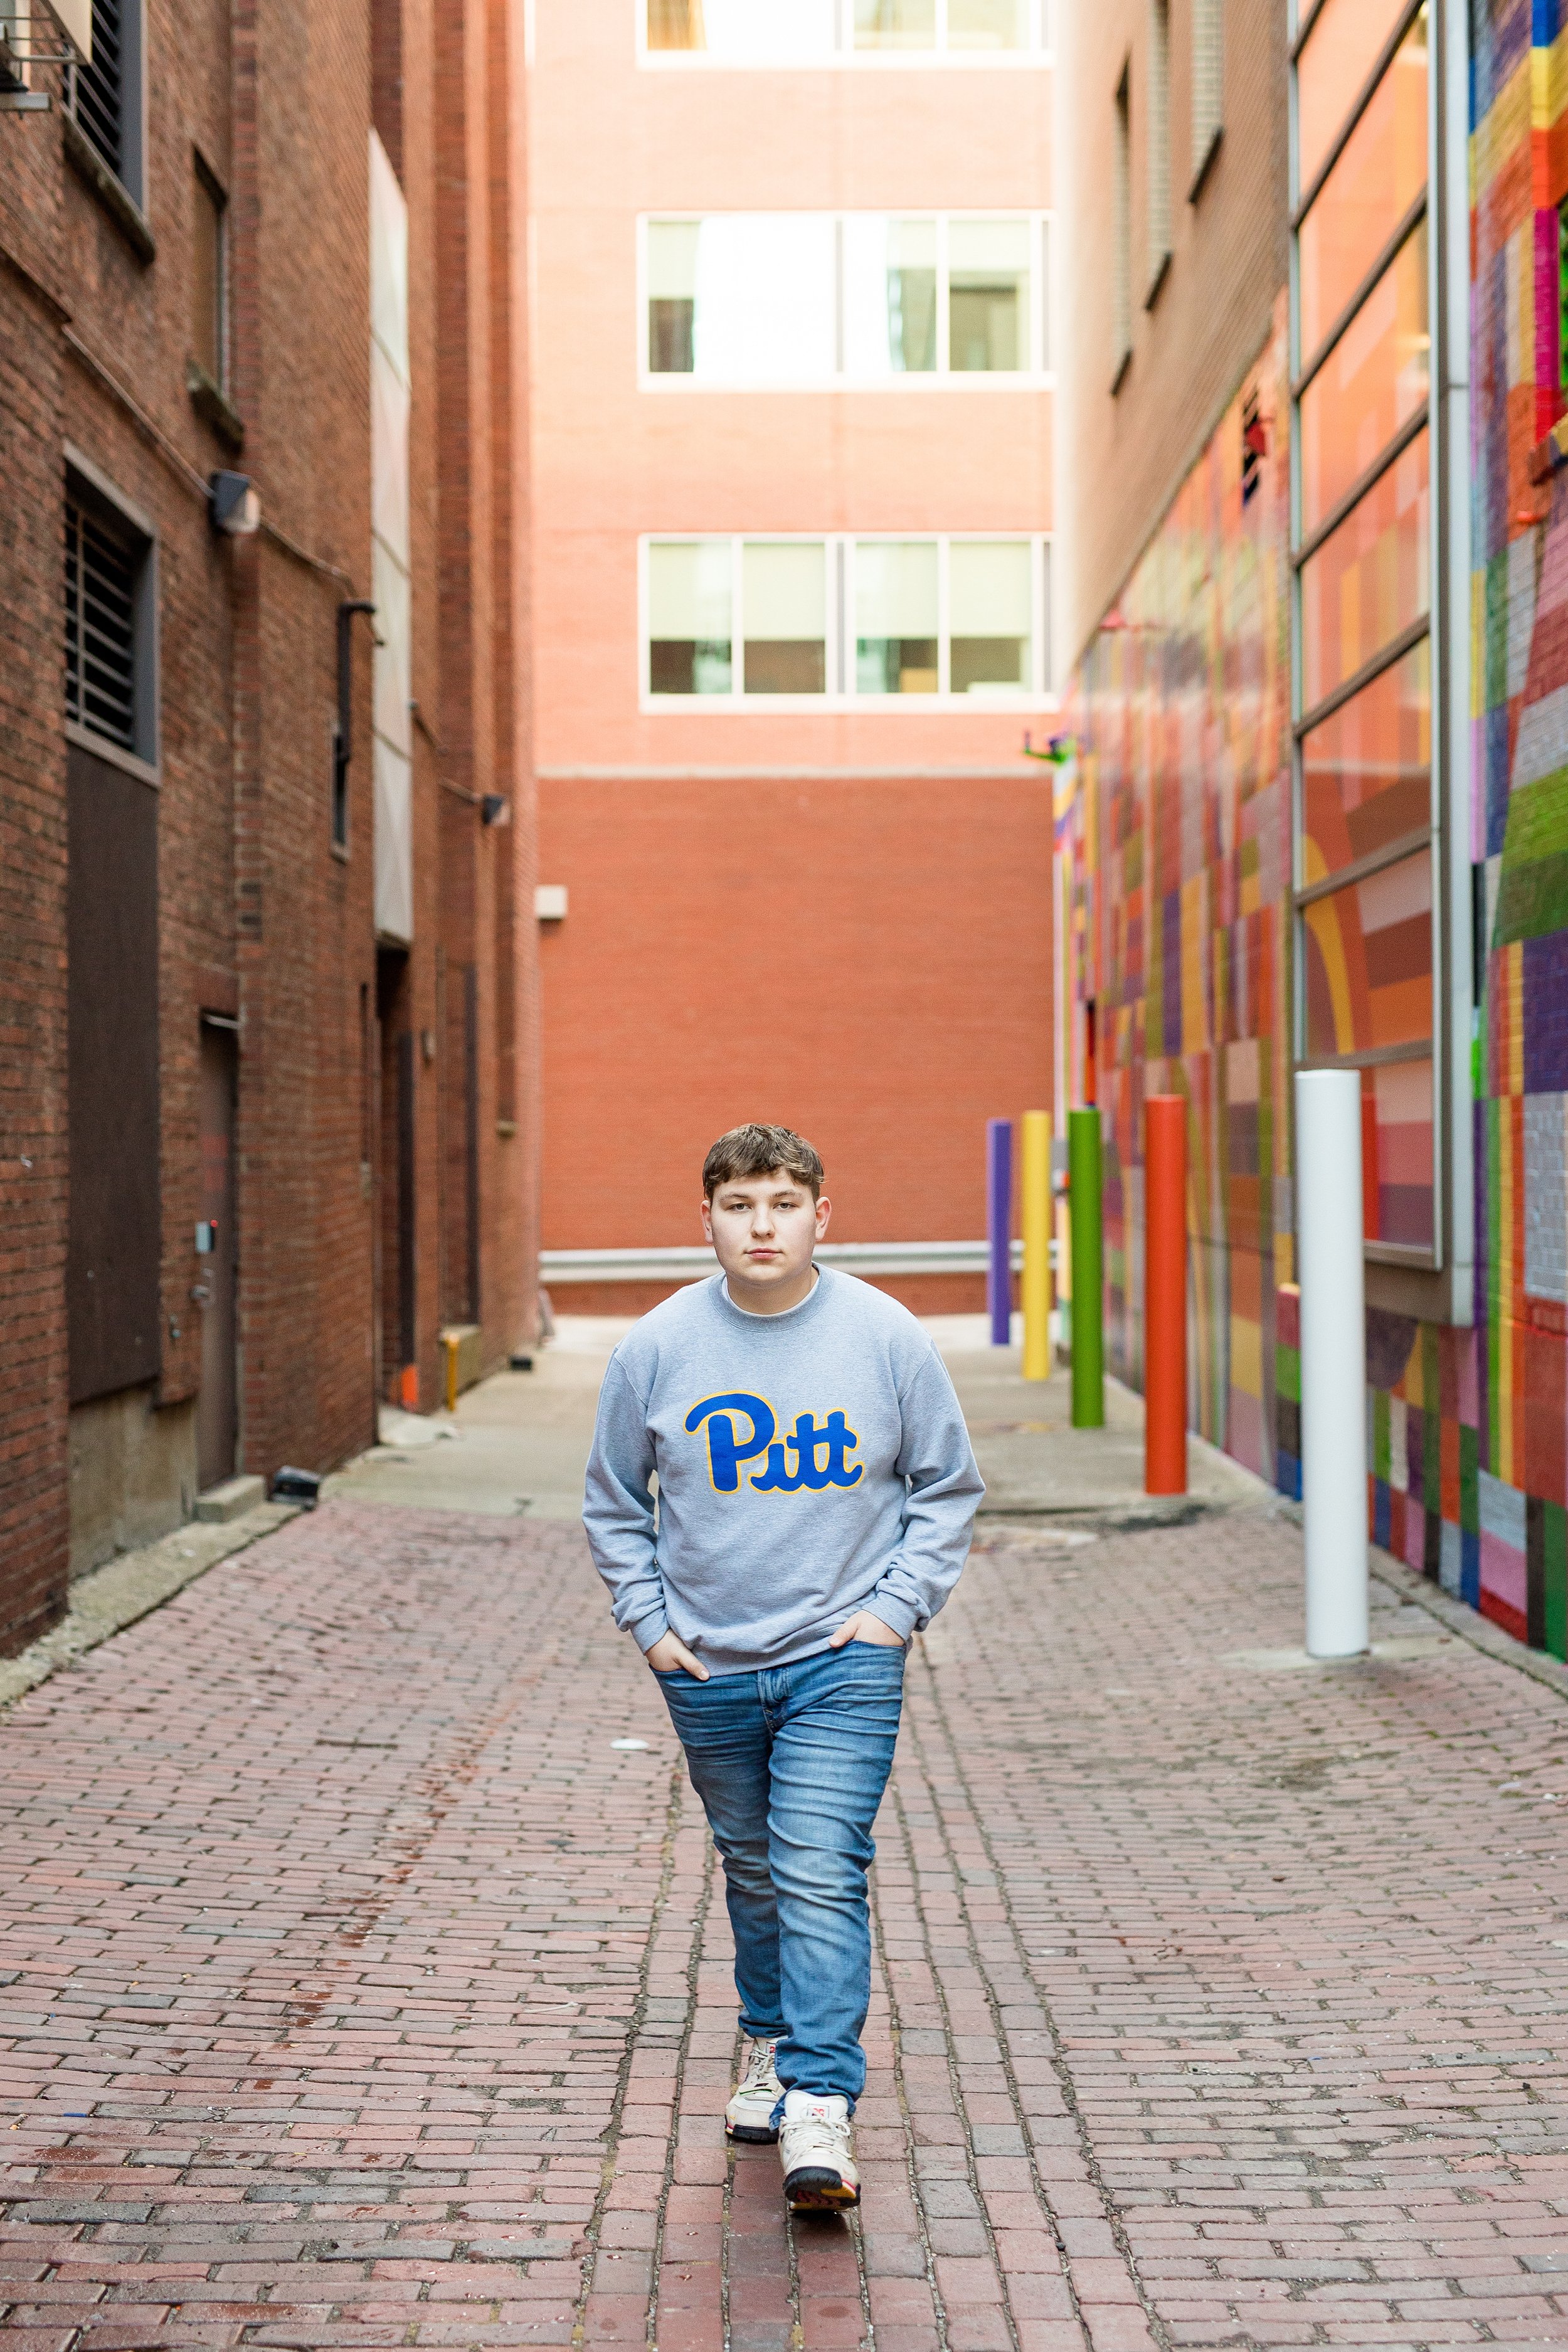
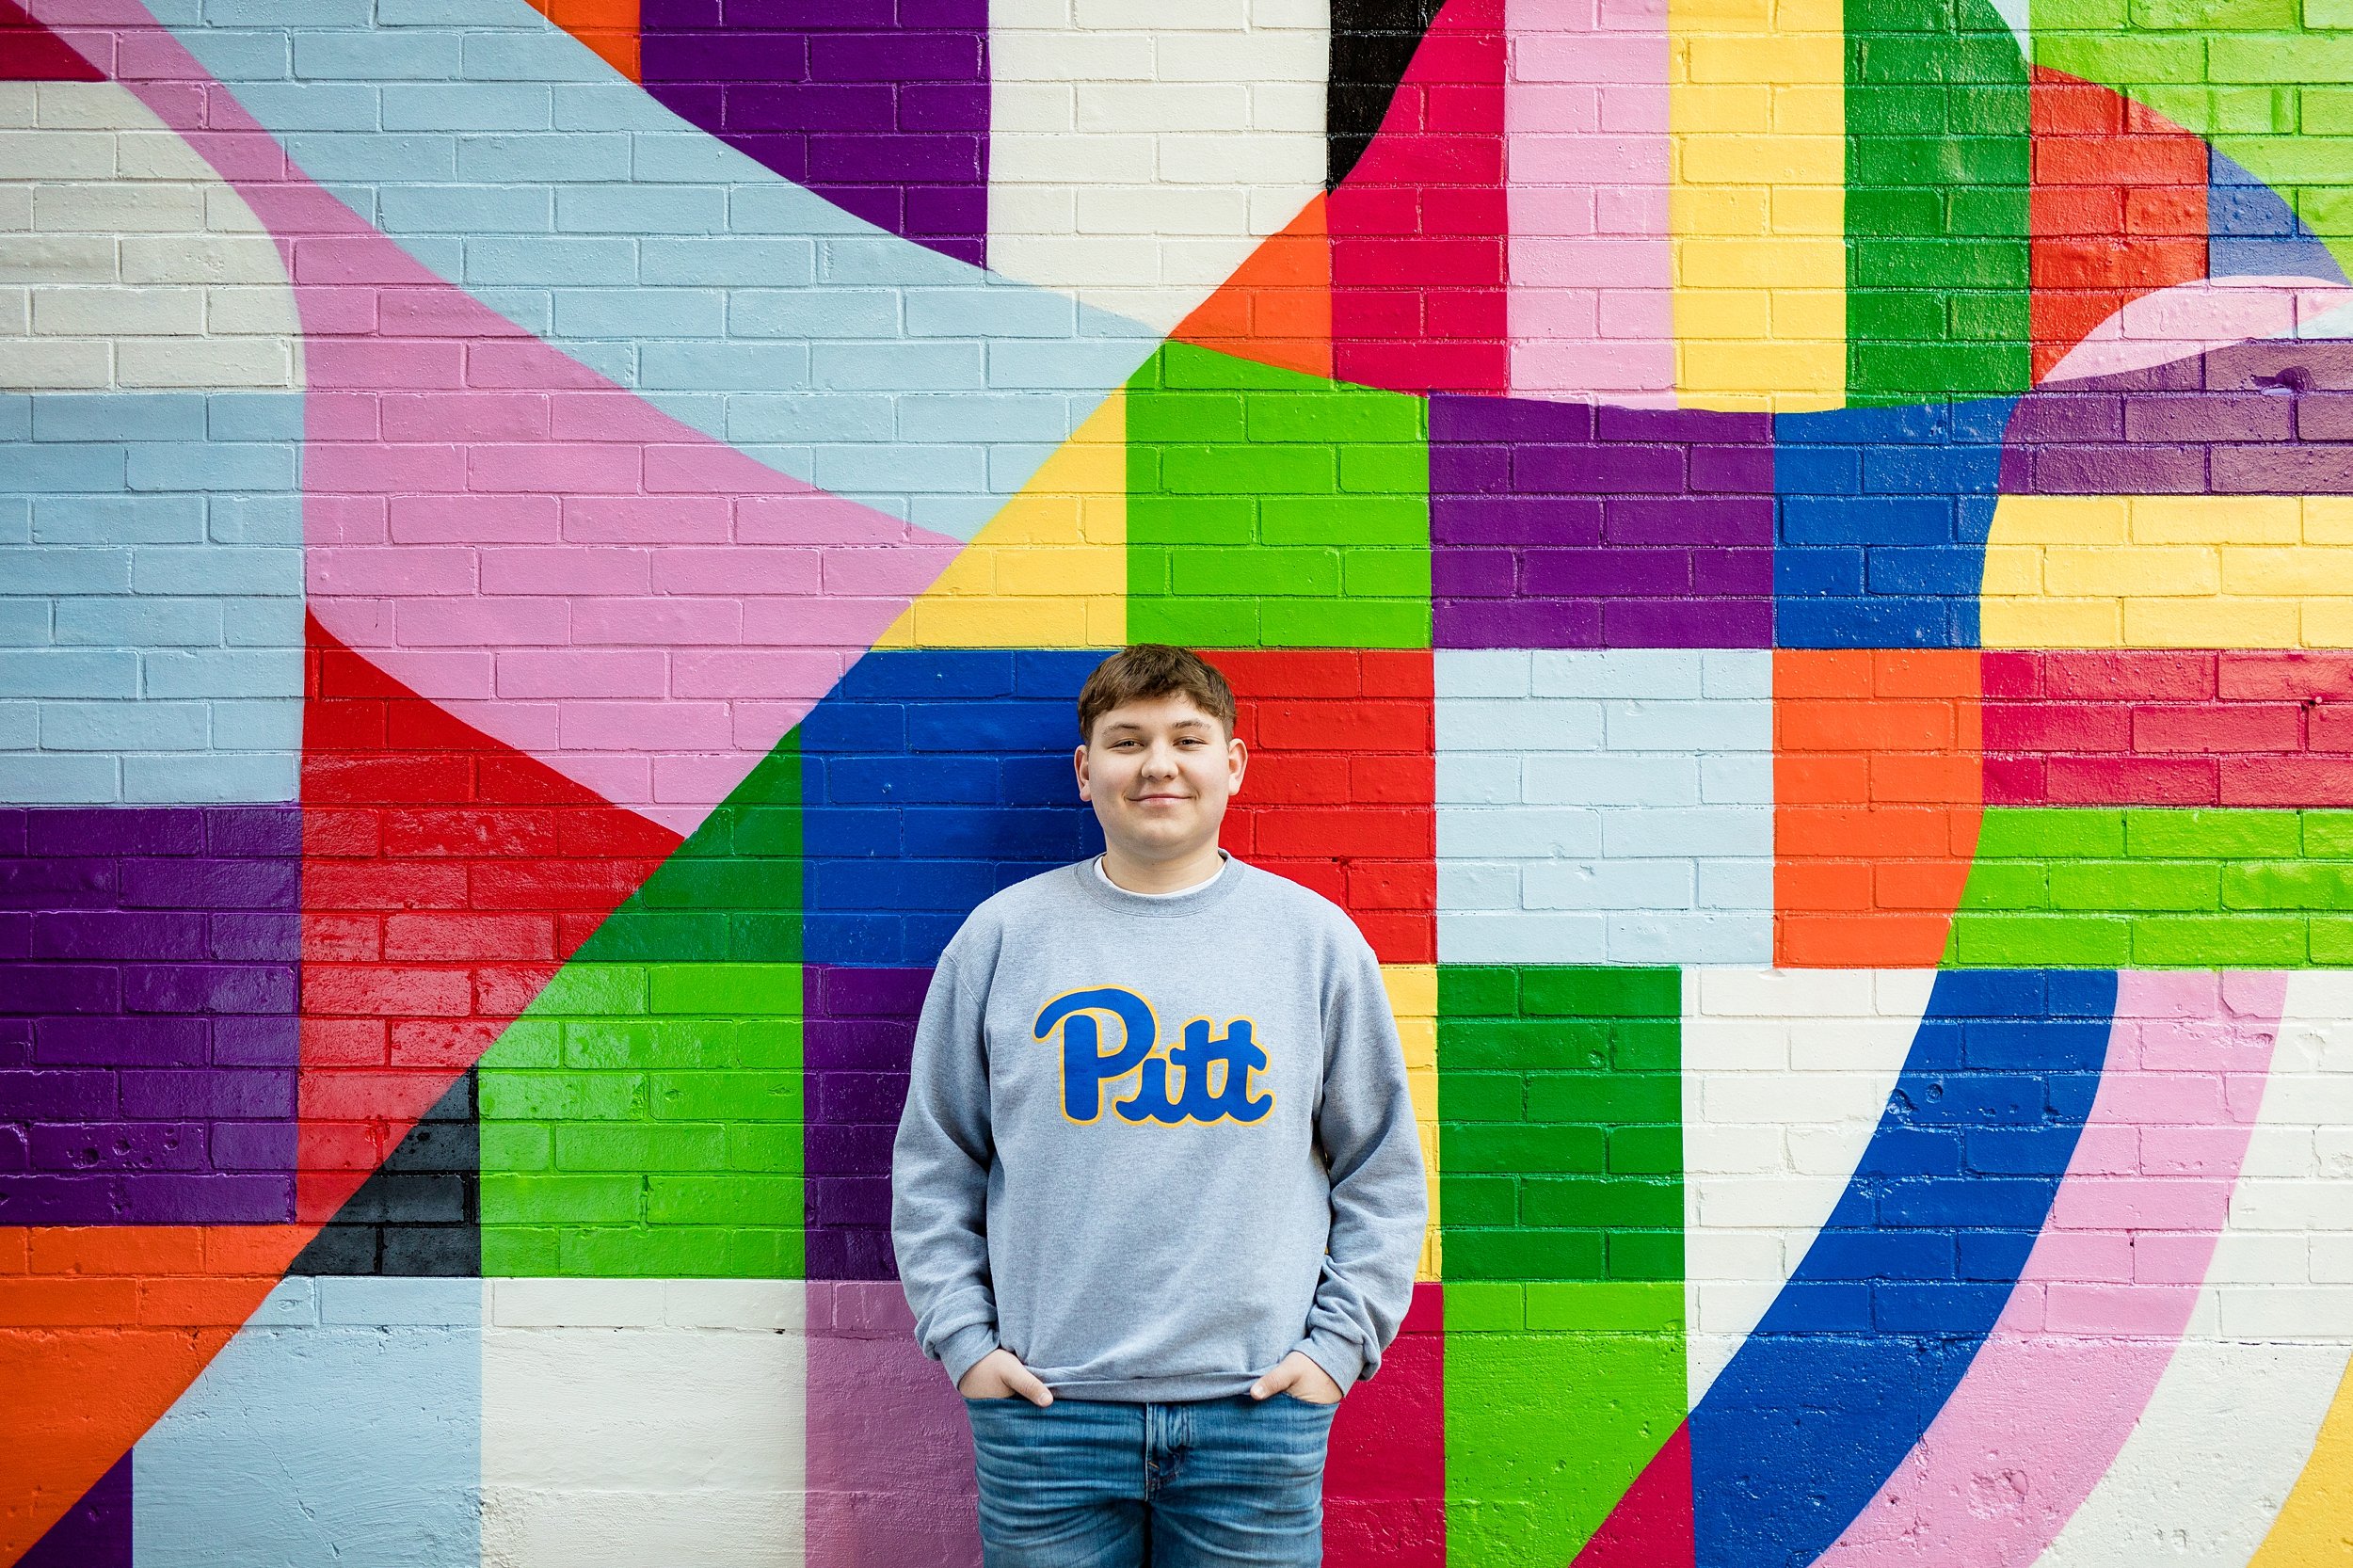
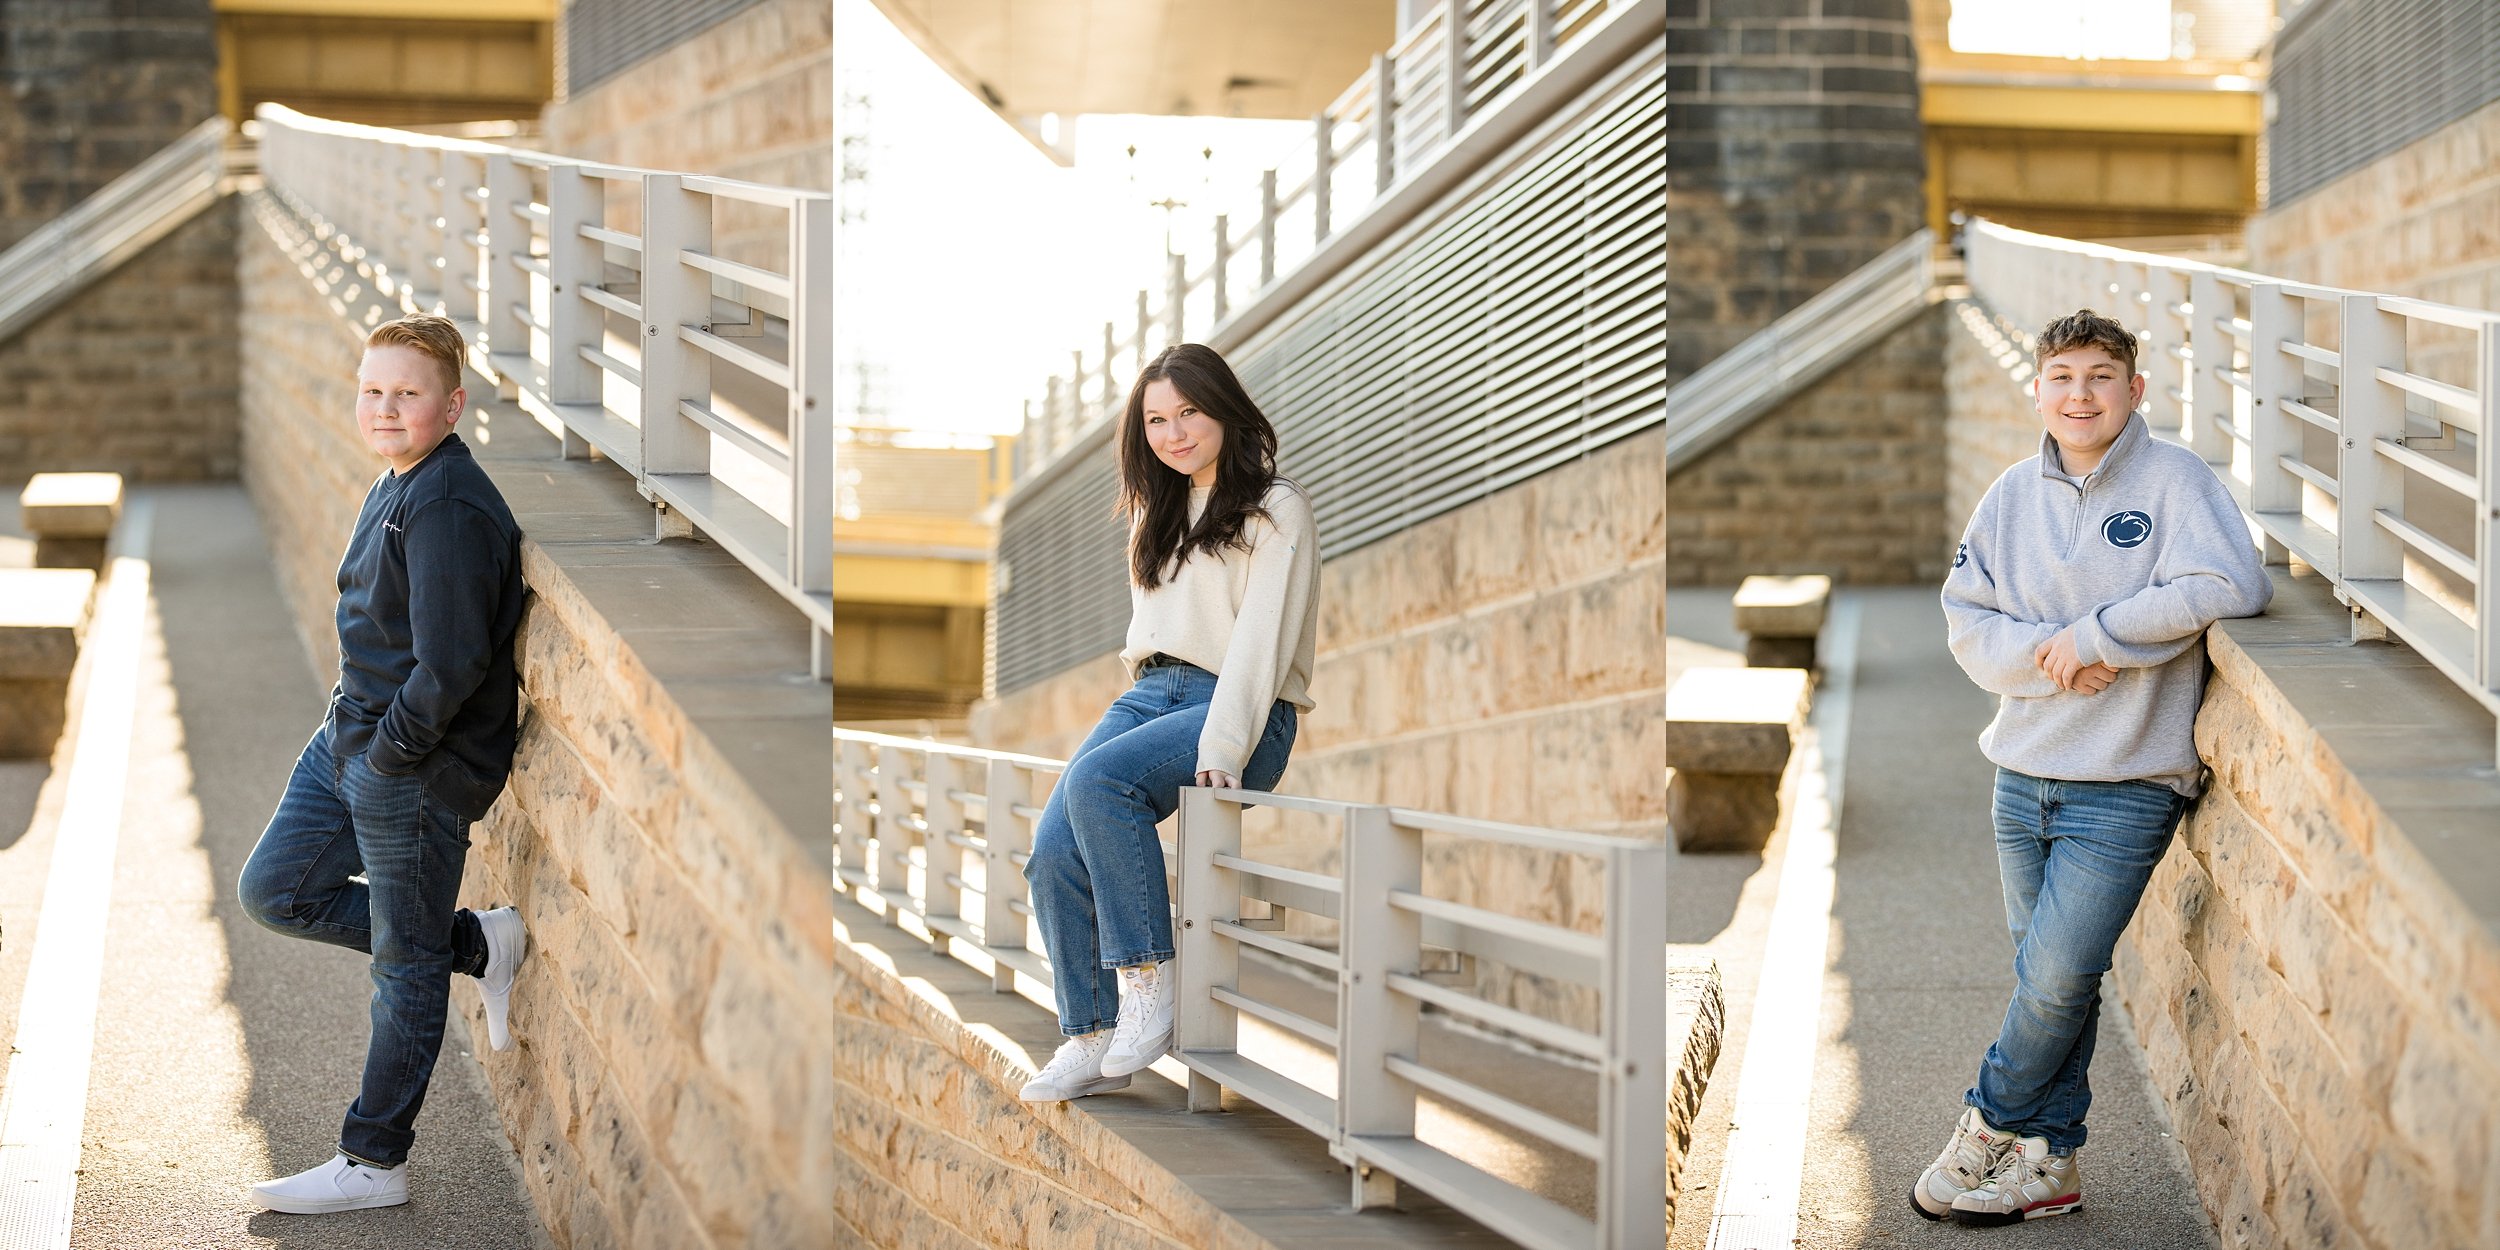
JR kept it casual and decided to wear two different sweatshirts for his senior photos - from competing schools! JR’s family is a “Penn State” family, but because JR will be attending school at Pitt for Nursing, they’ve adopted some love for their infamous rival ;)

Because of the Roberto Clemente Bridge closure, I decided to look for some new locations for photos around the North Shore… and those locations did not disappoint! We even found a colorful mural on one of the side streets that made for some vibrant & unique images. And of course, the walkways and streets themselves always serve as excellent backdrops!

In addition to having his senior photos taken, JR’s family opted to add on a “family mini session” to the beginning of his senior session! So, for the first 20 minutes we were together, we created some updated family photos for them. It was so much fun, and a good way to get JR loose before the camera was solely focused on him. You can check out photos from their family mini session here!

Congratulations on your senior year, JR!

Comment

North Shore Pittsburgh Family Photos

Comment

North Shore Pittsburgh Family Photos

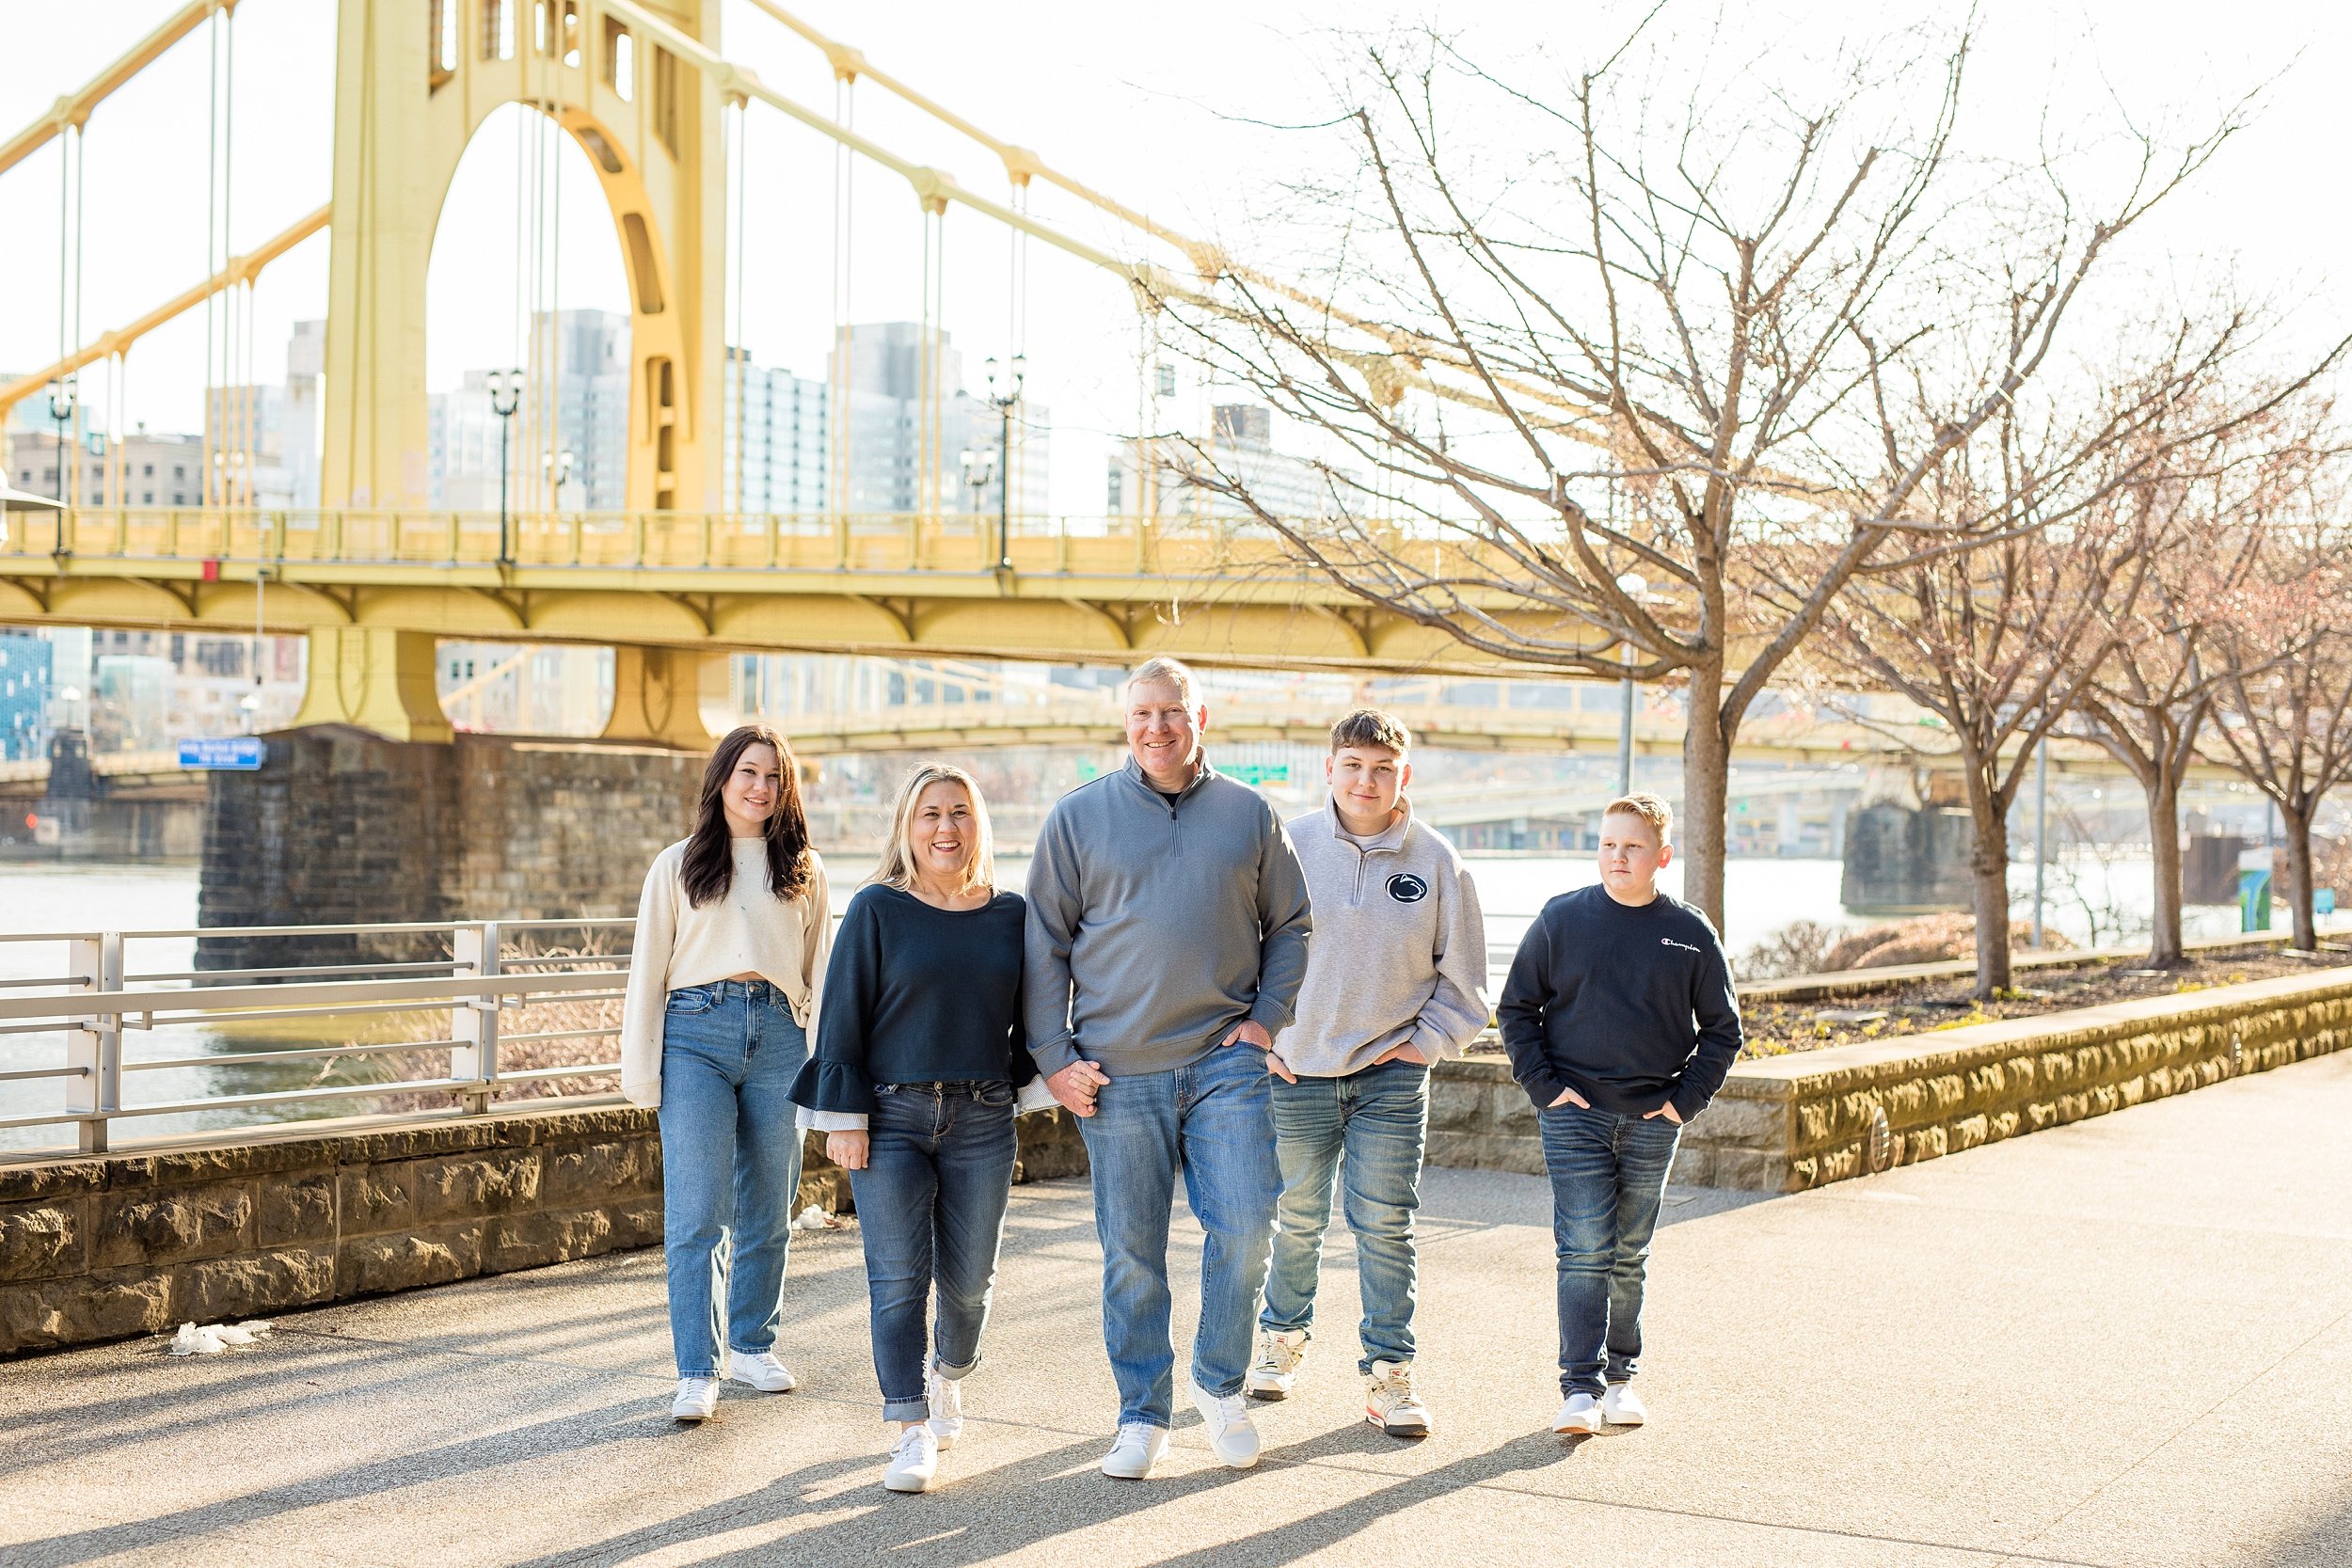
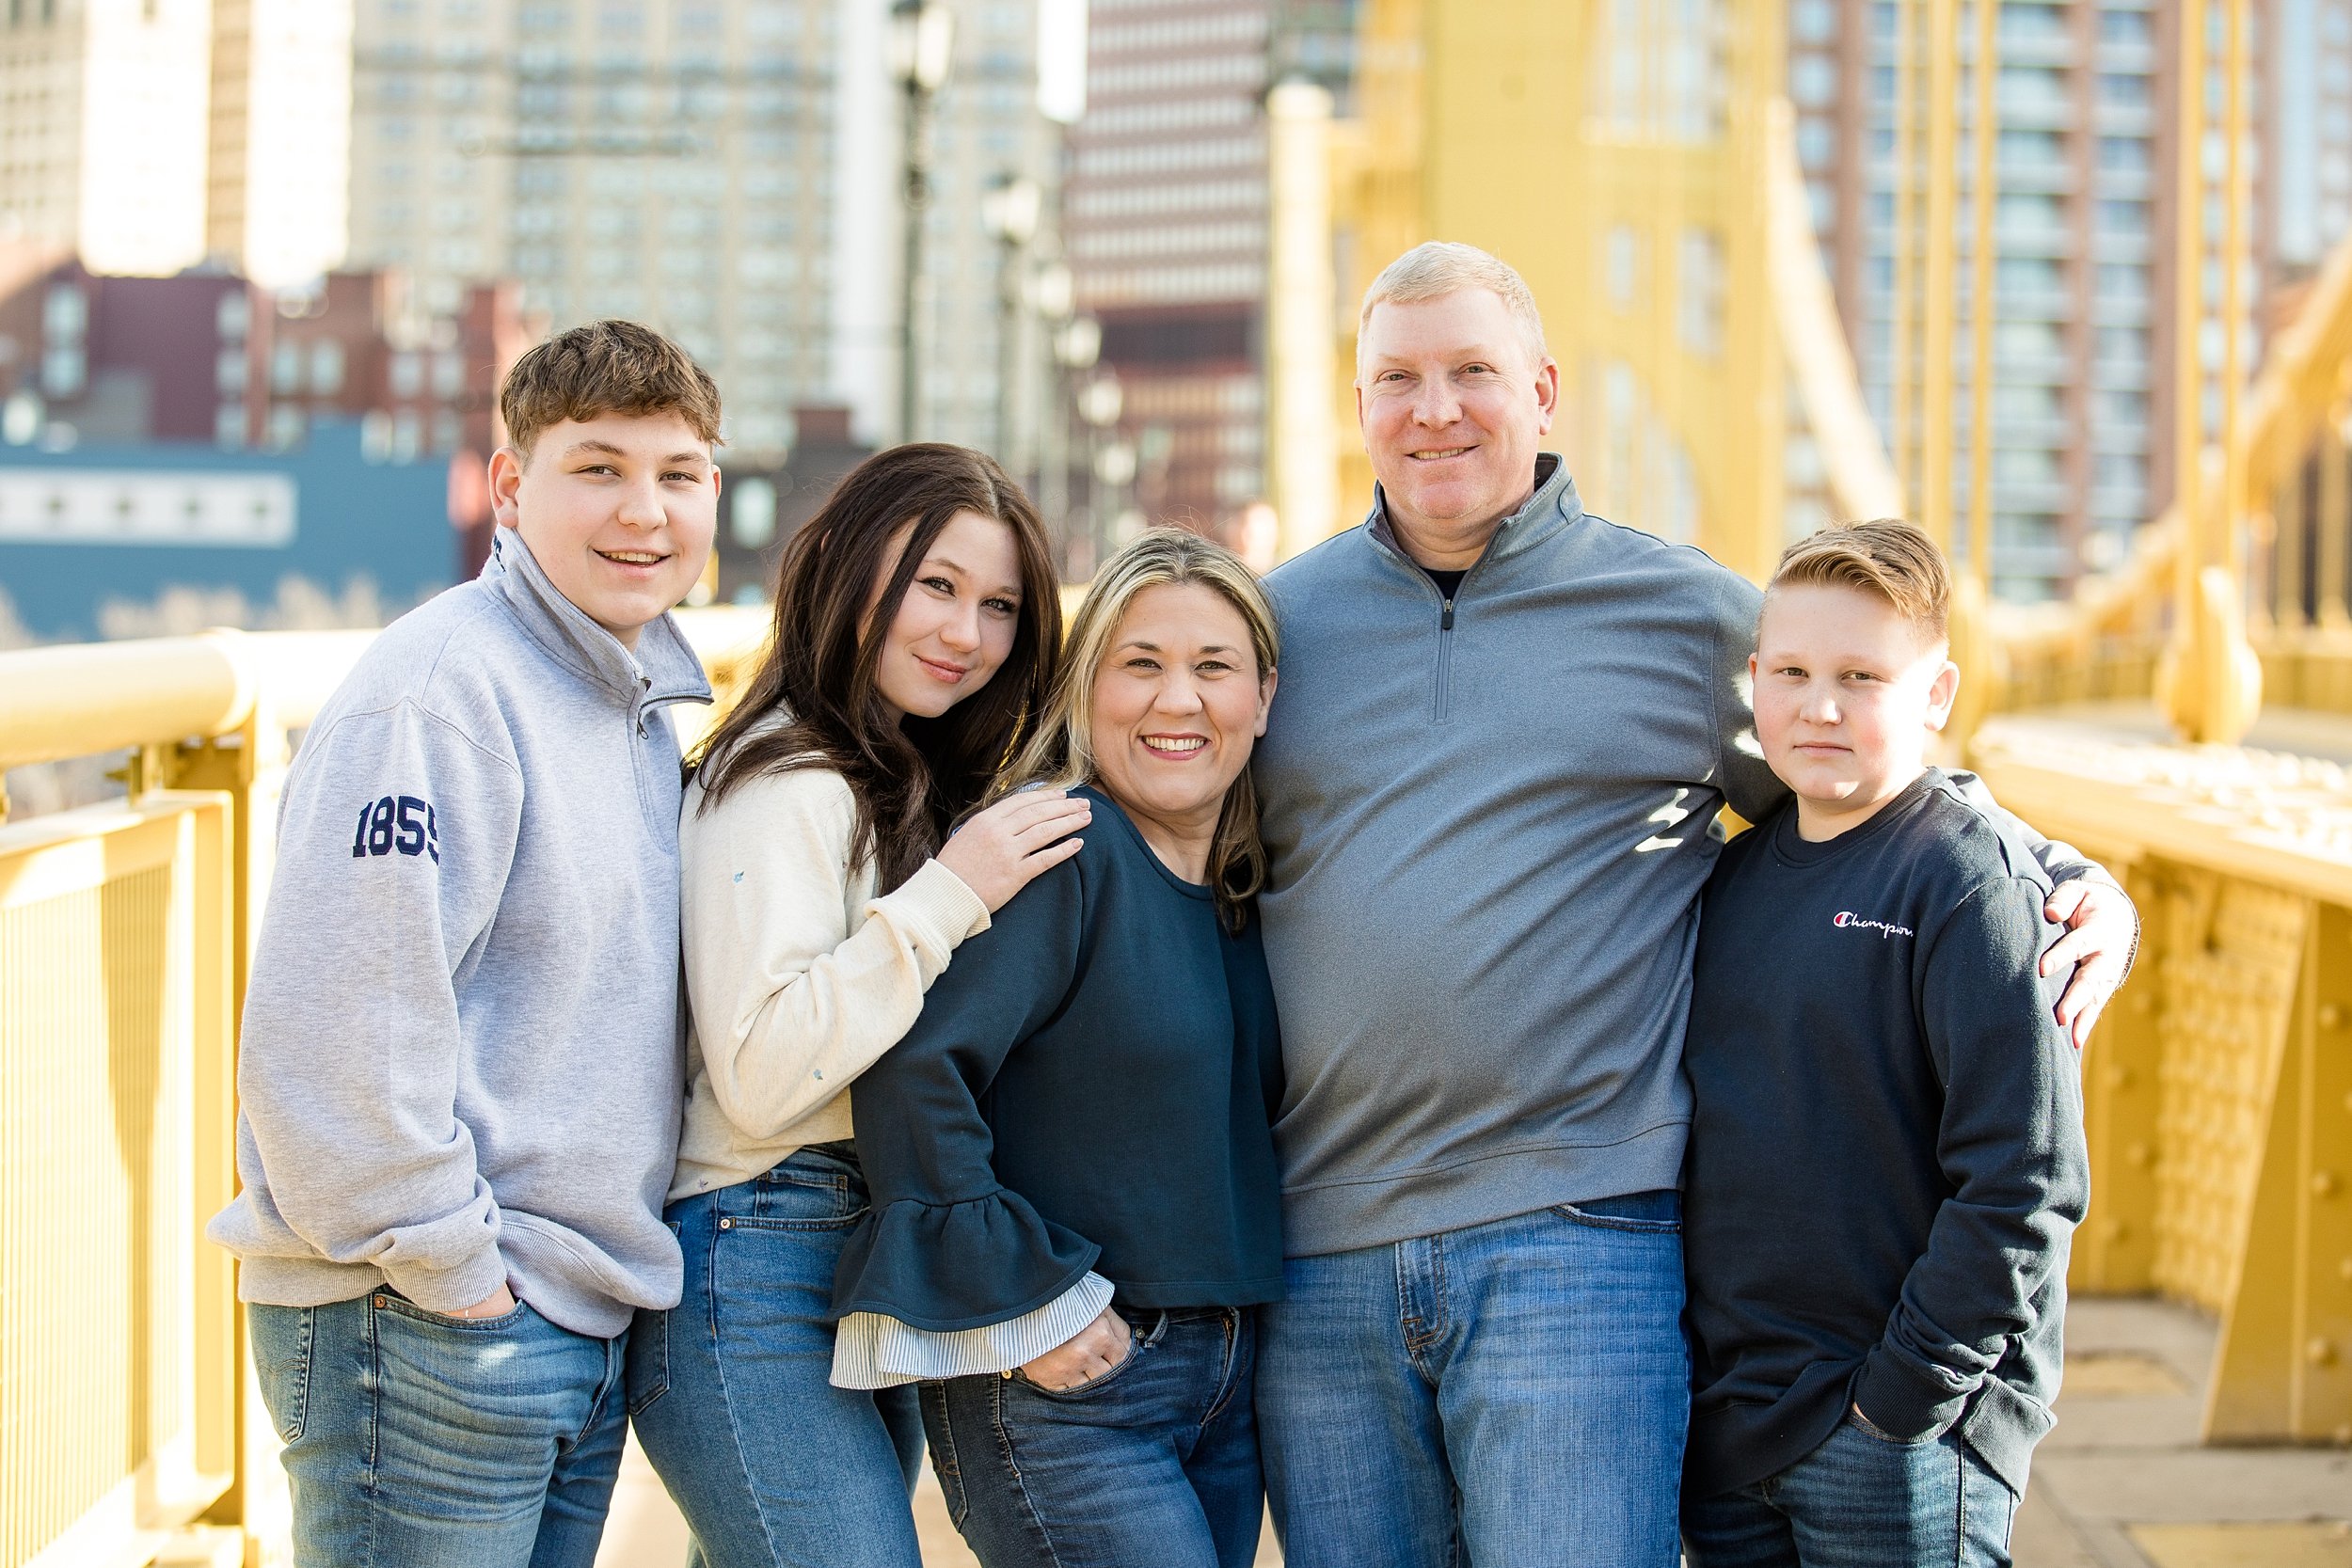
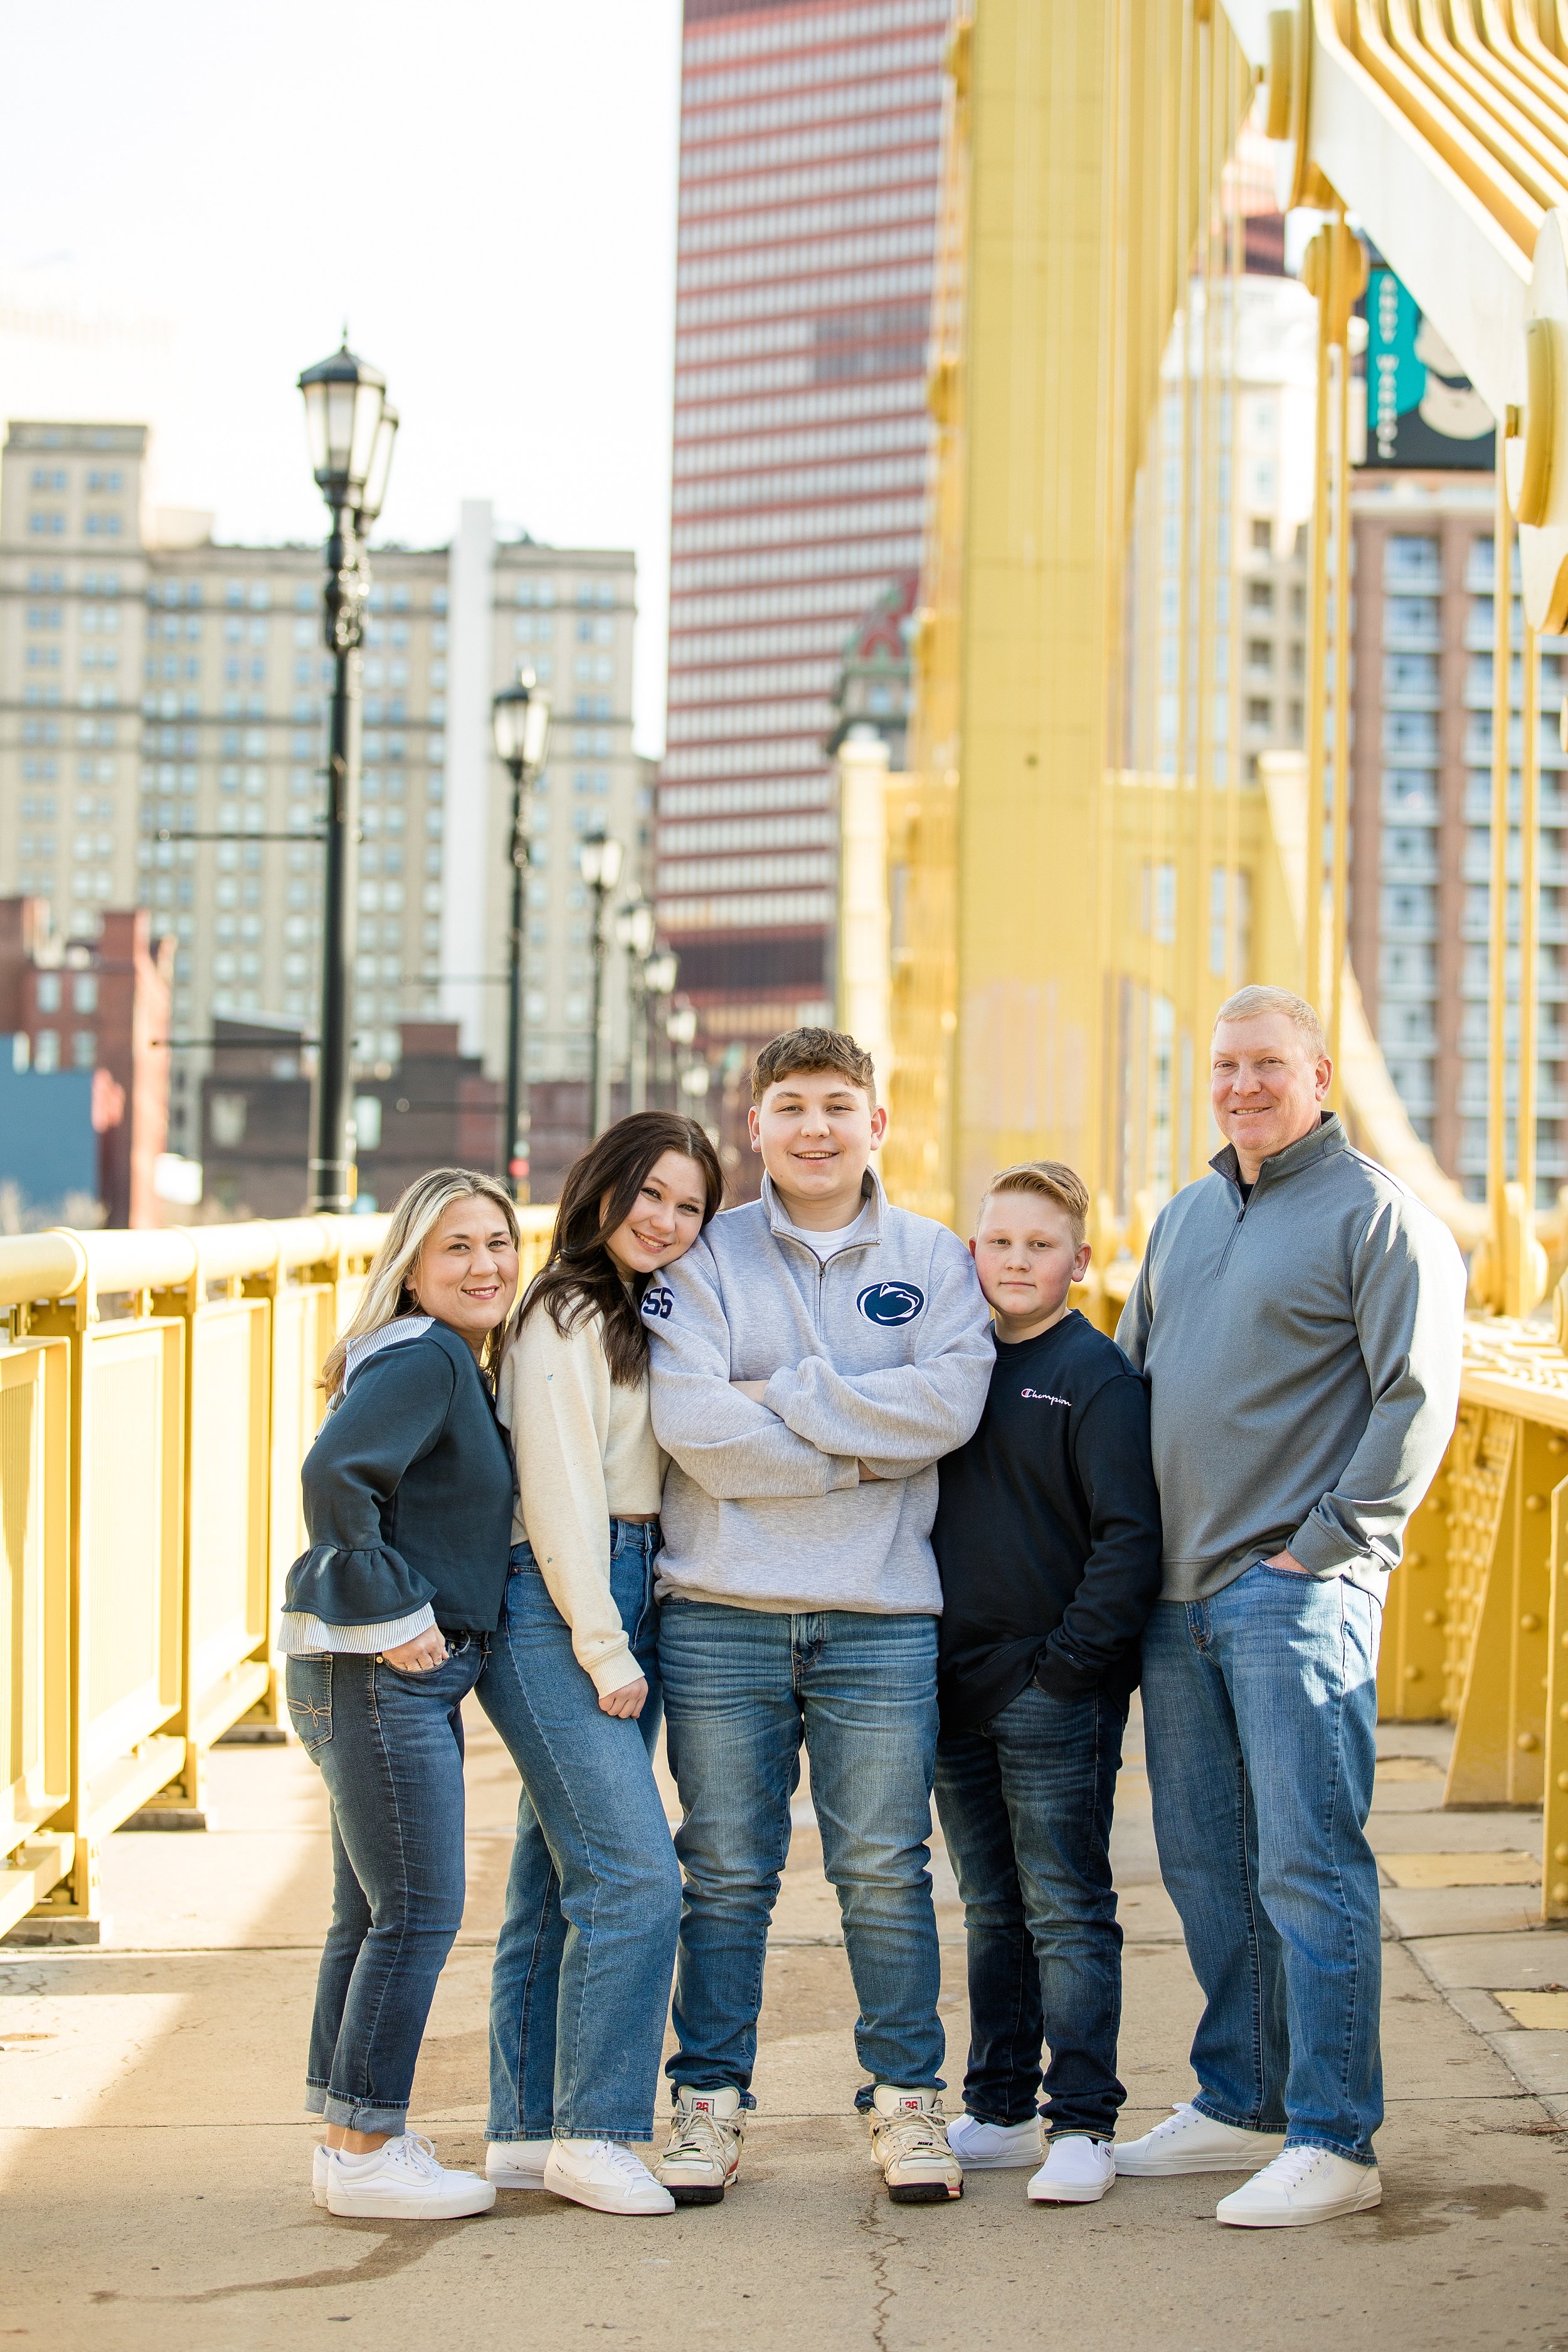
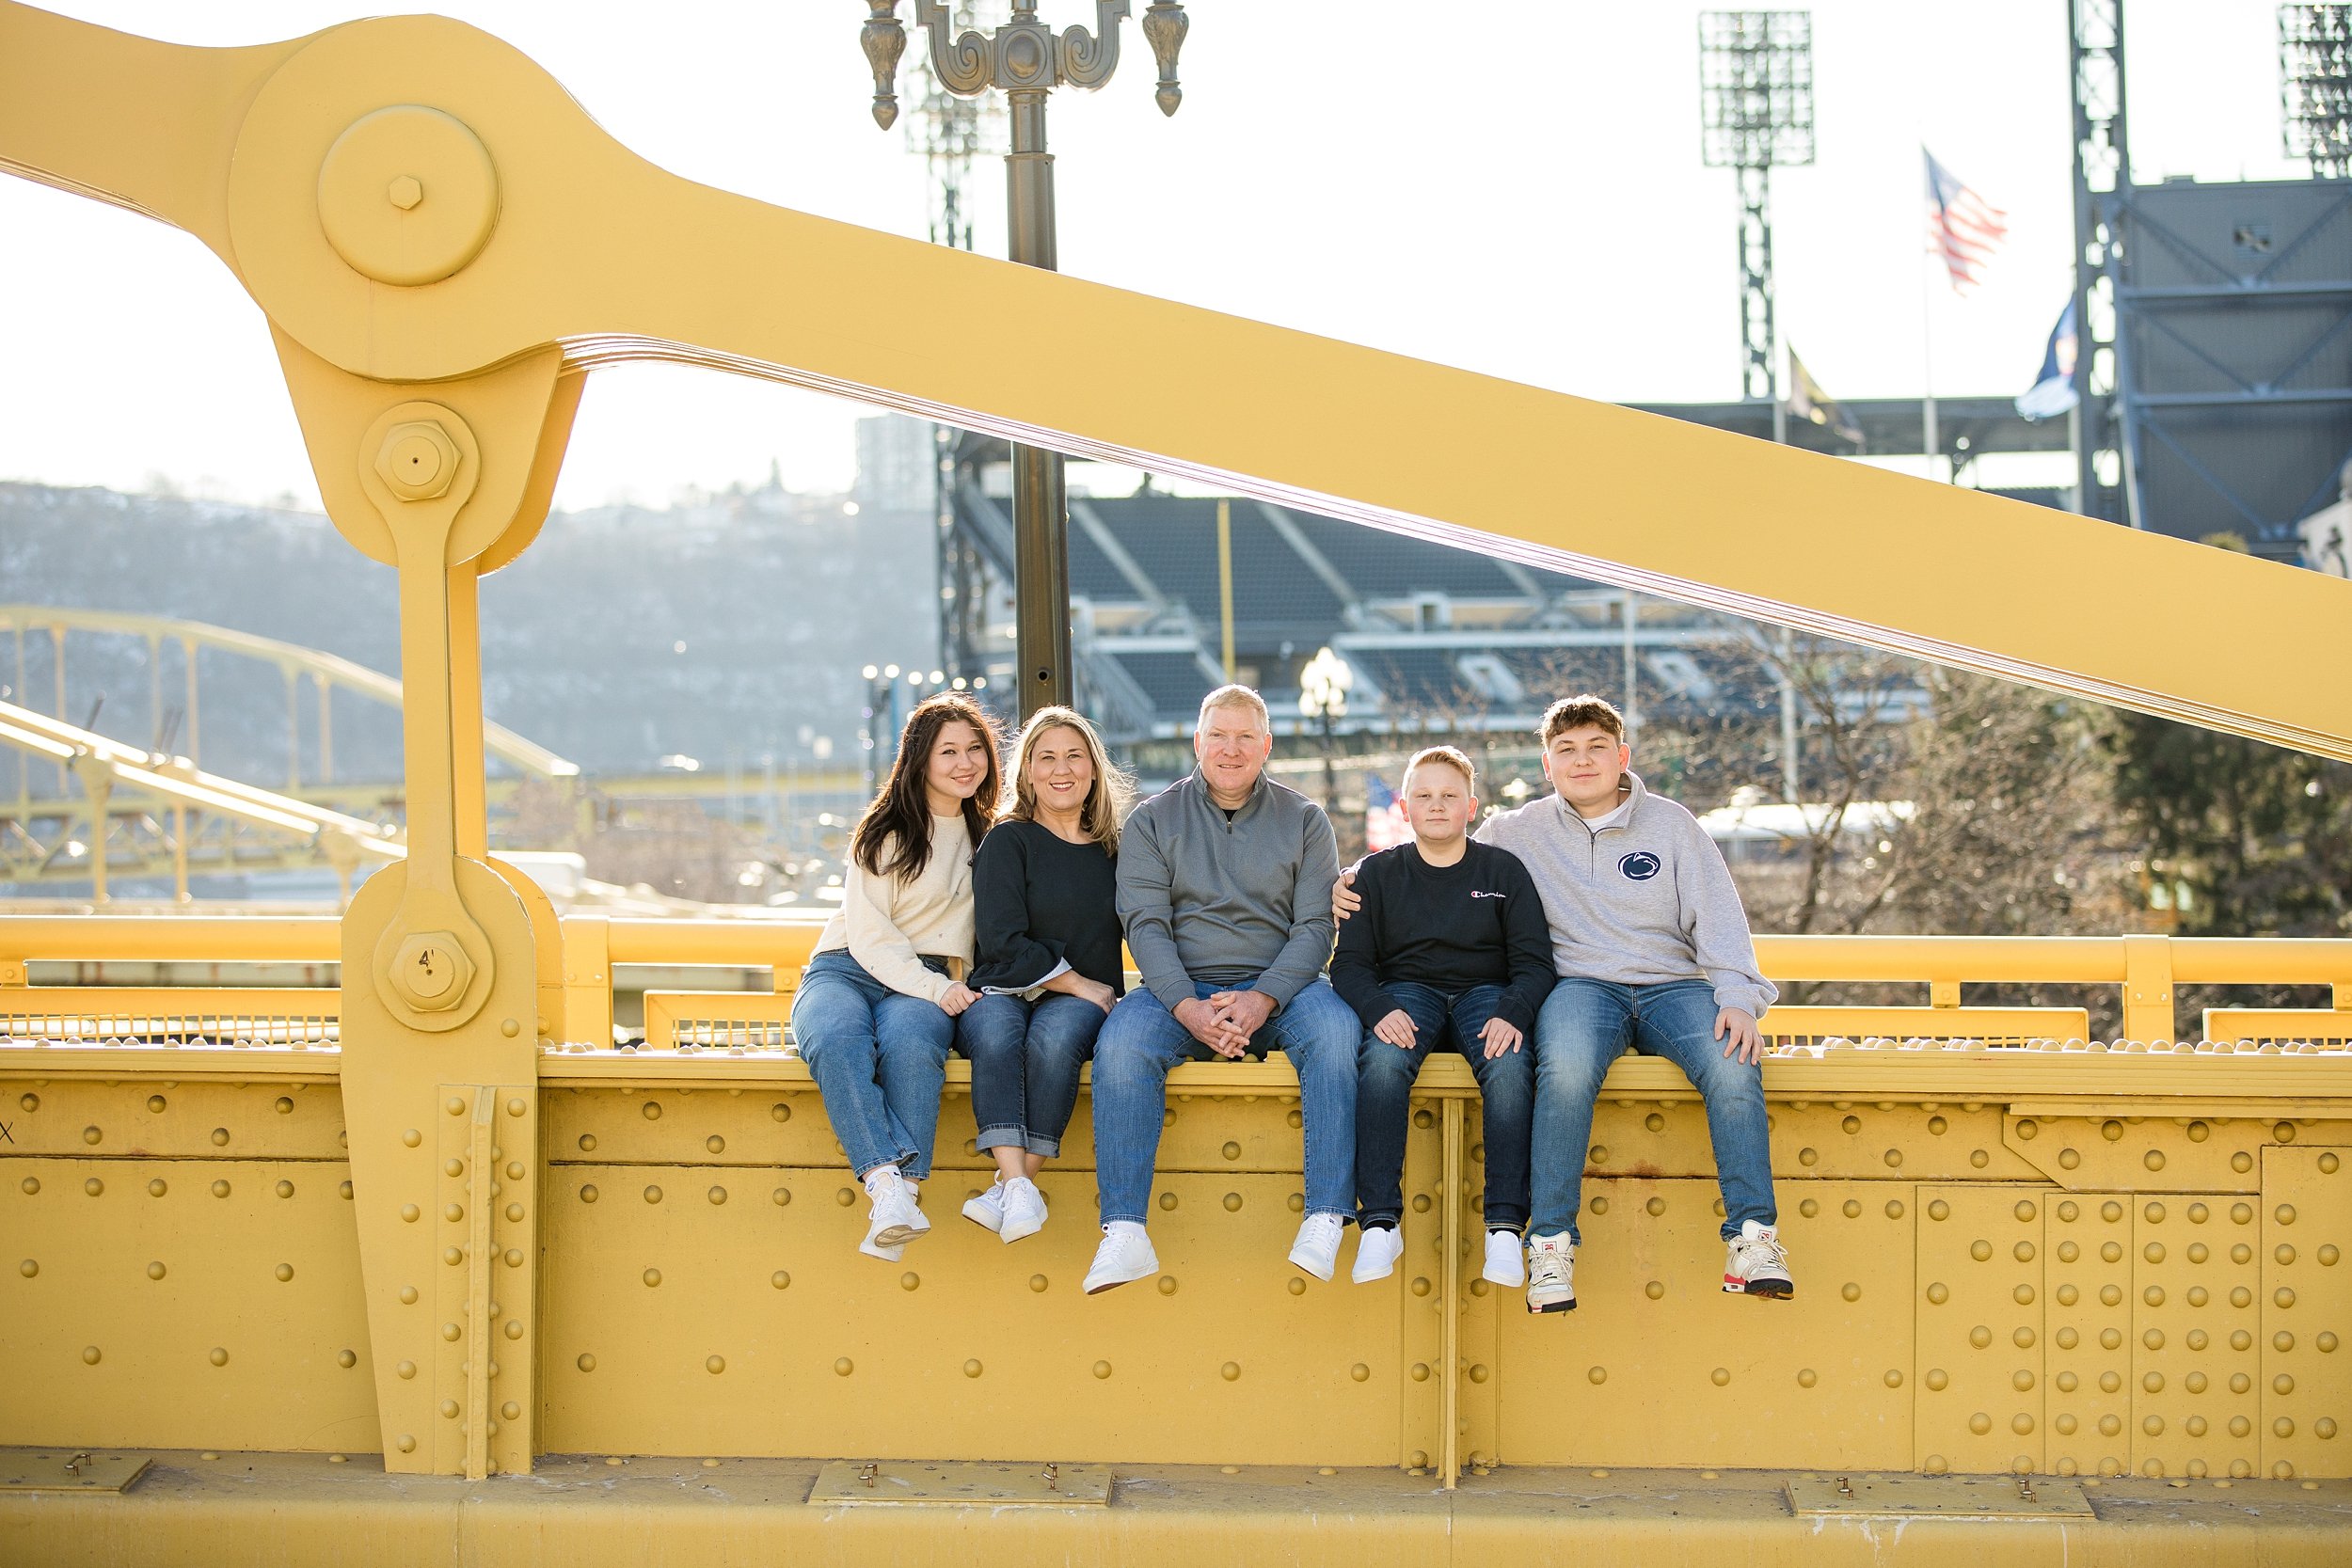
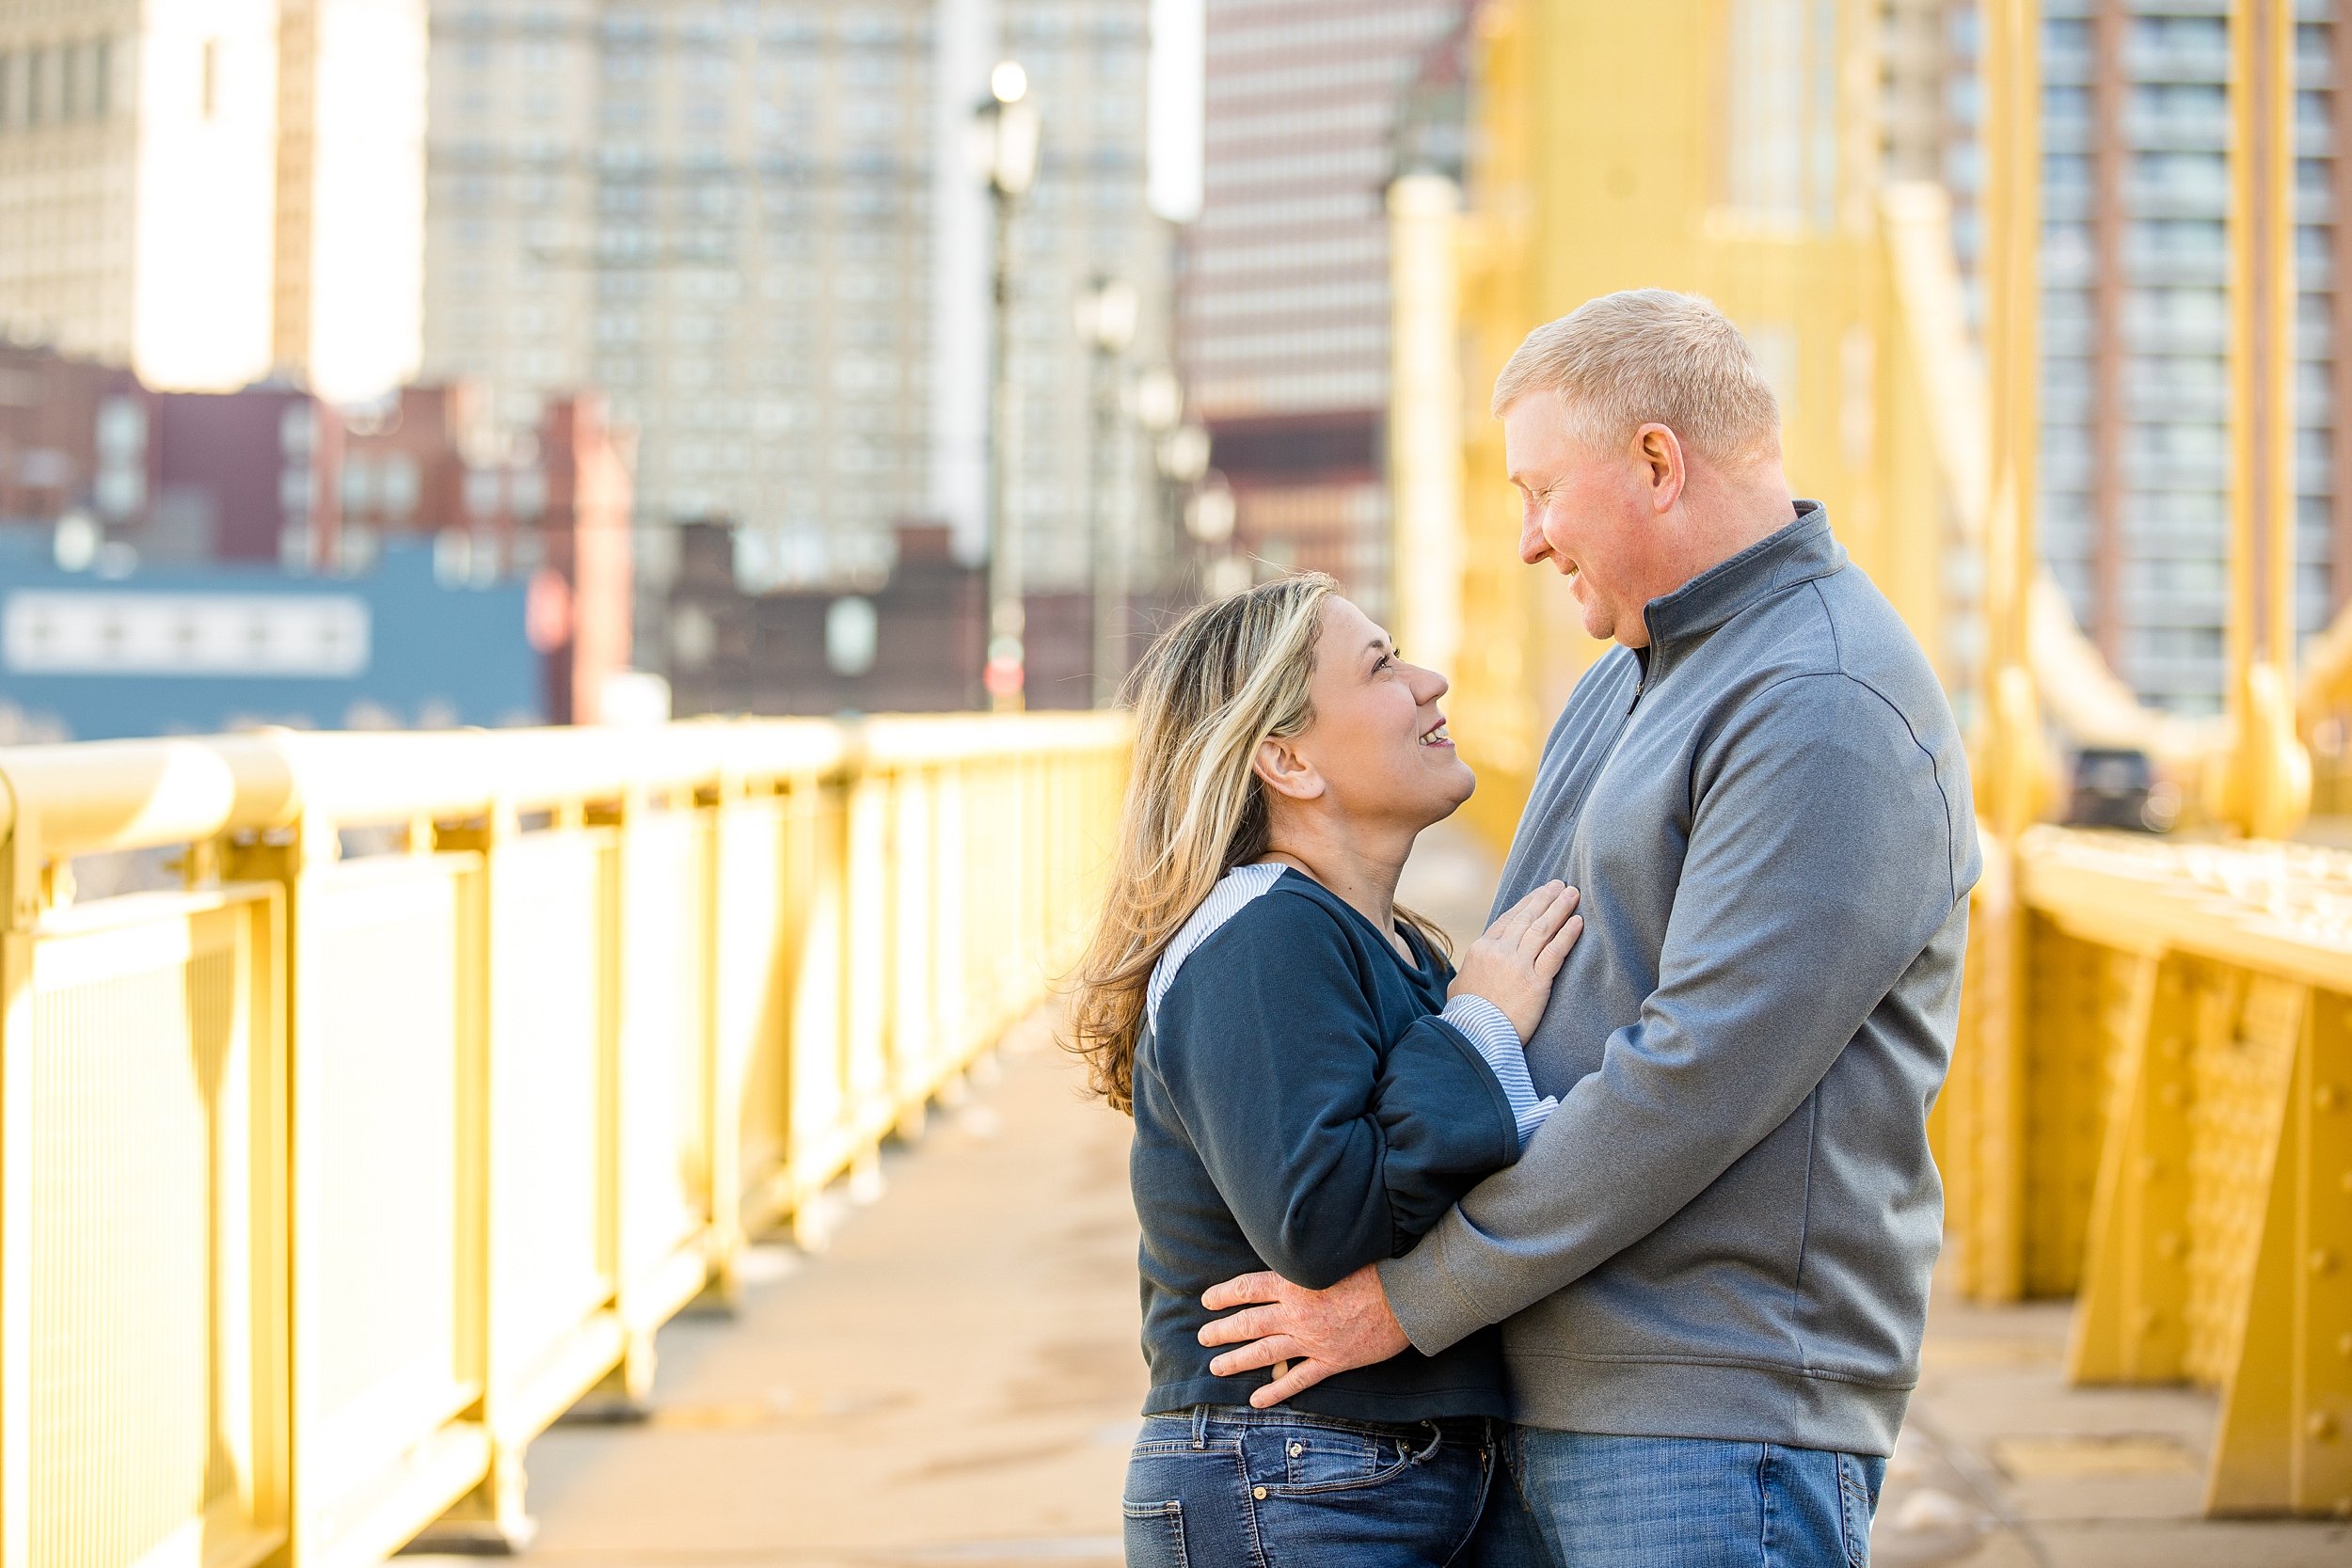
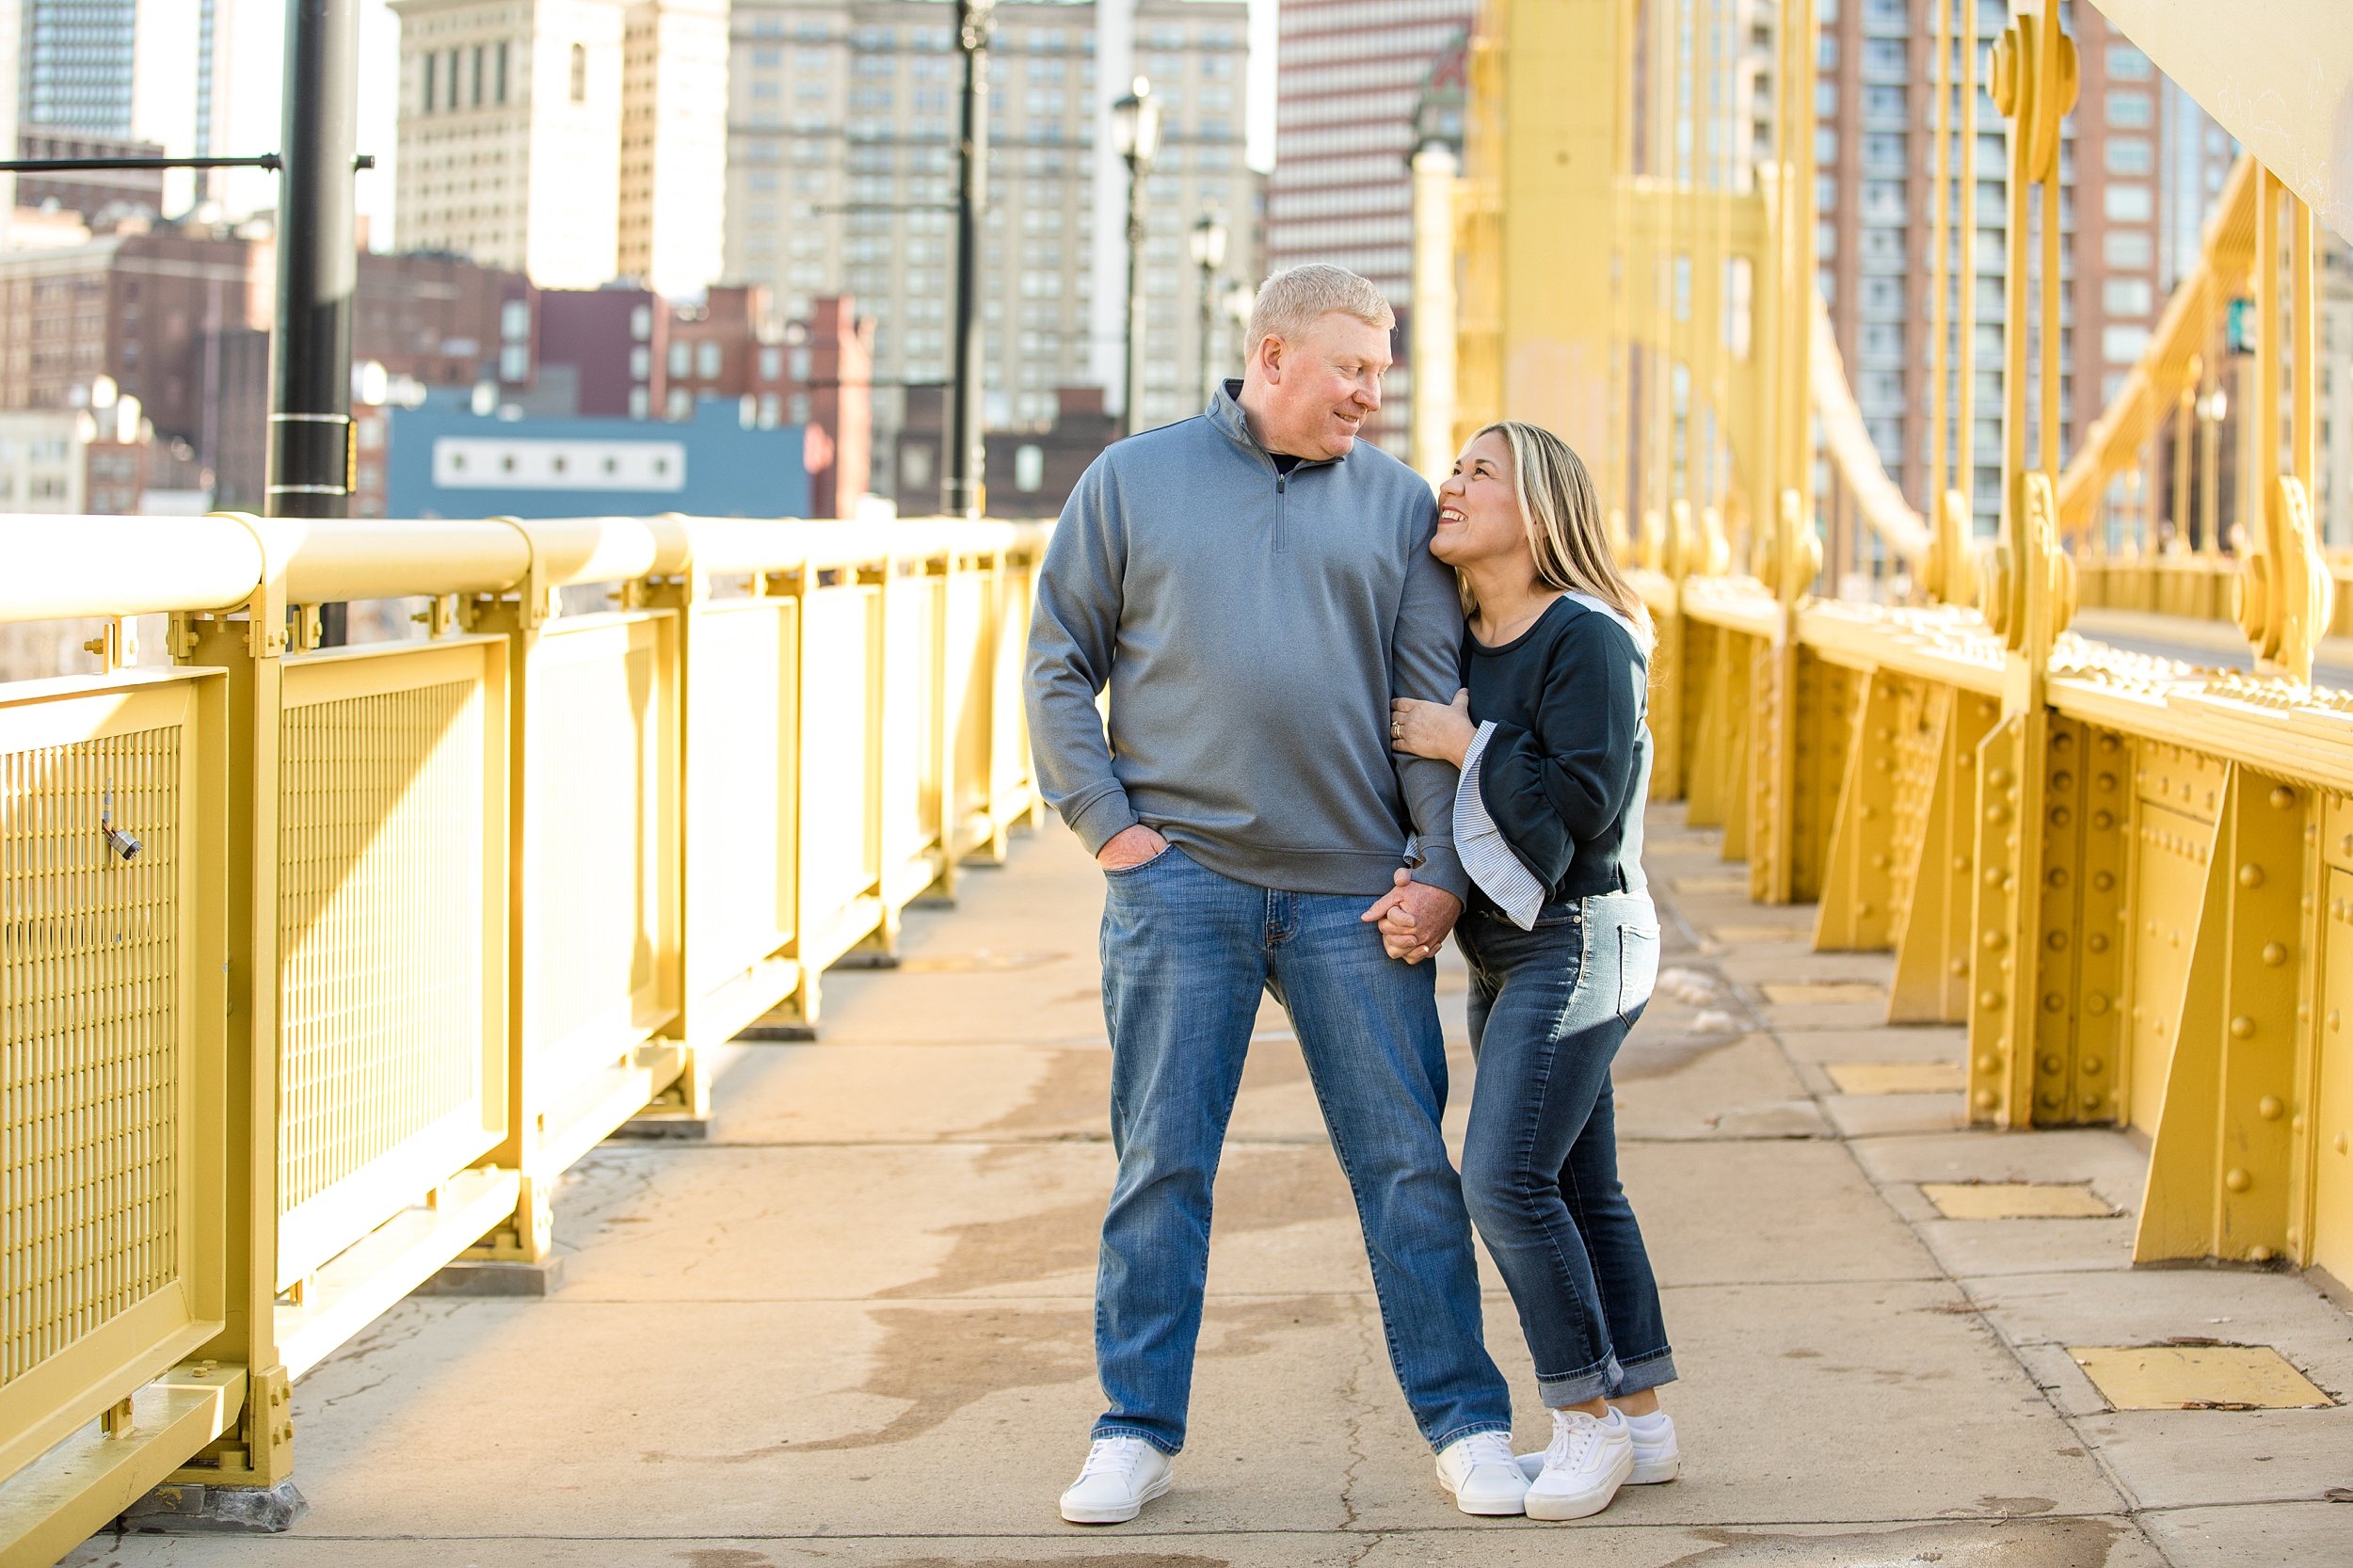
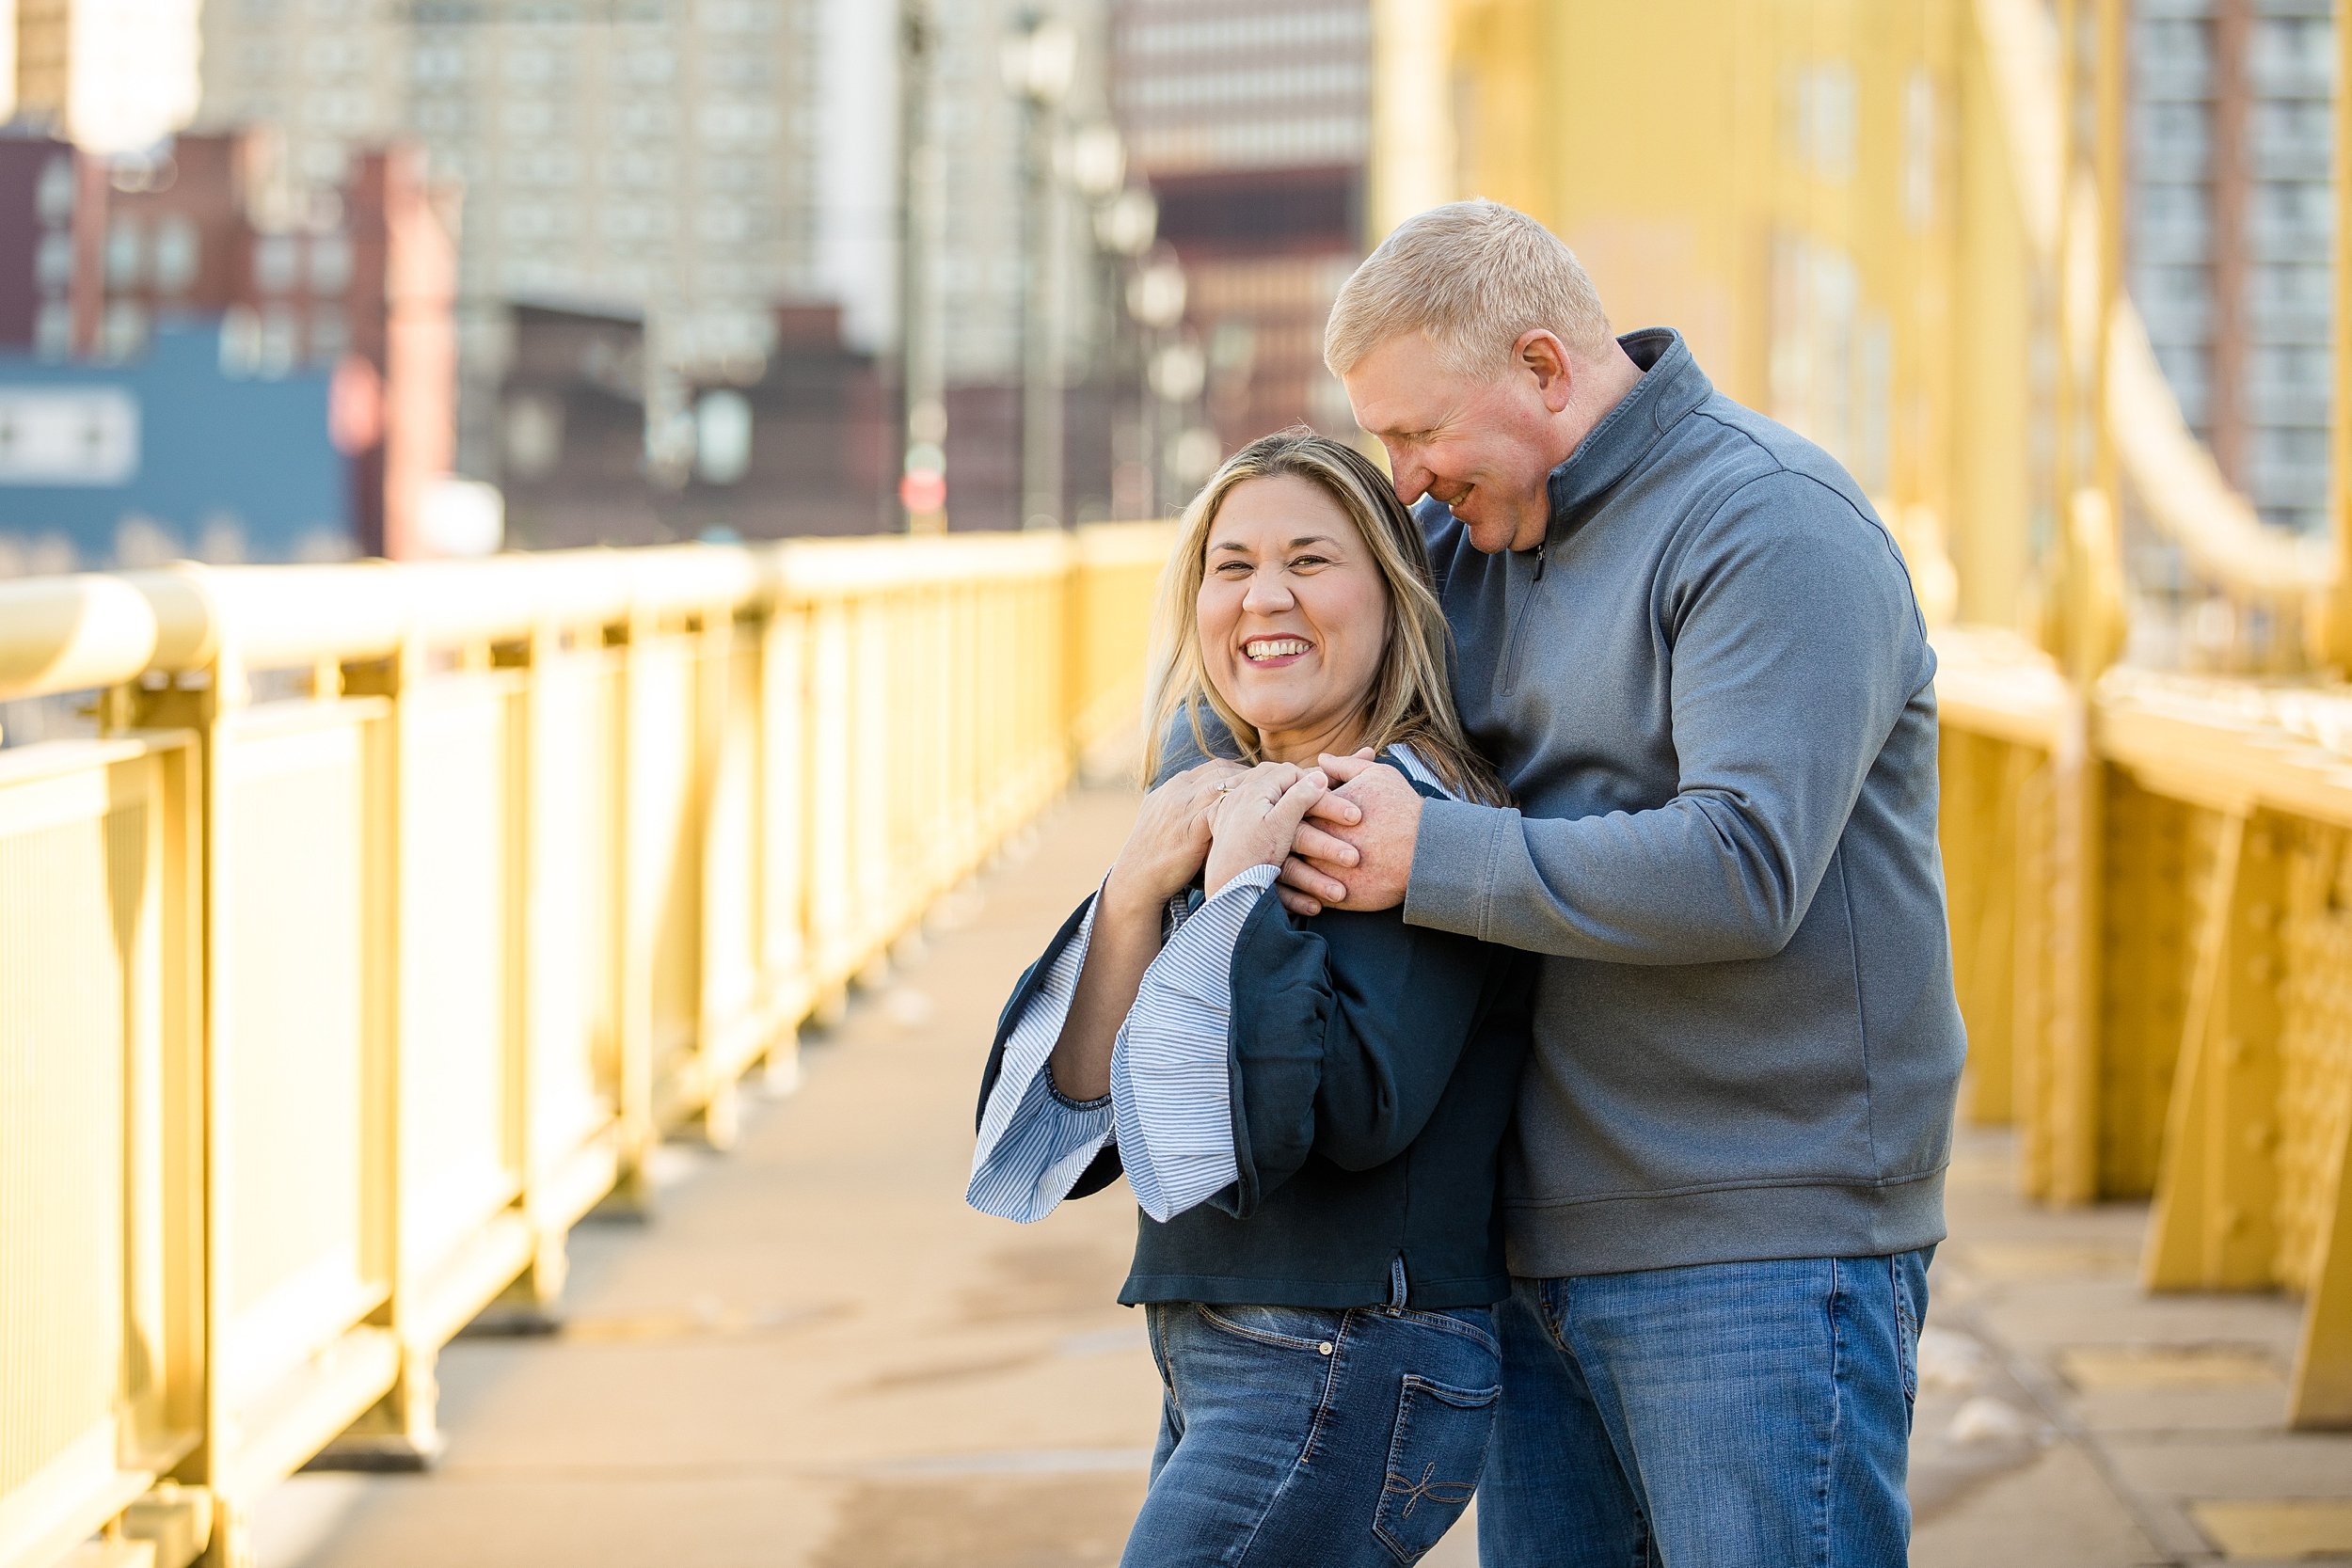
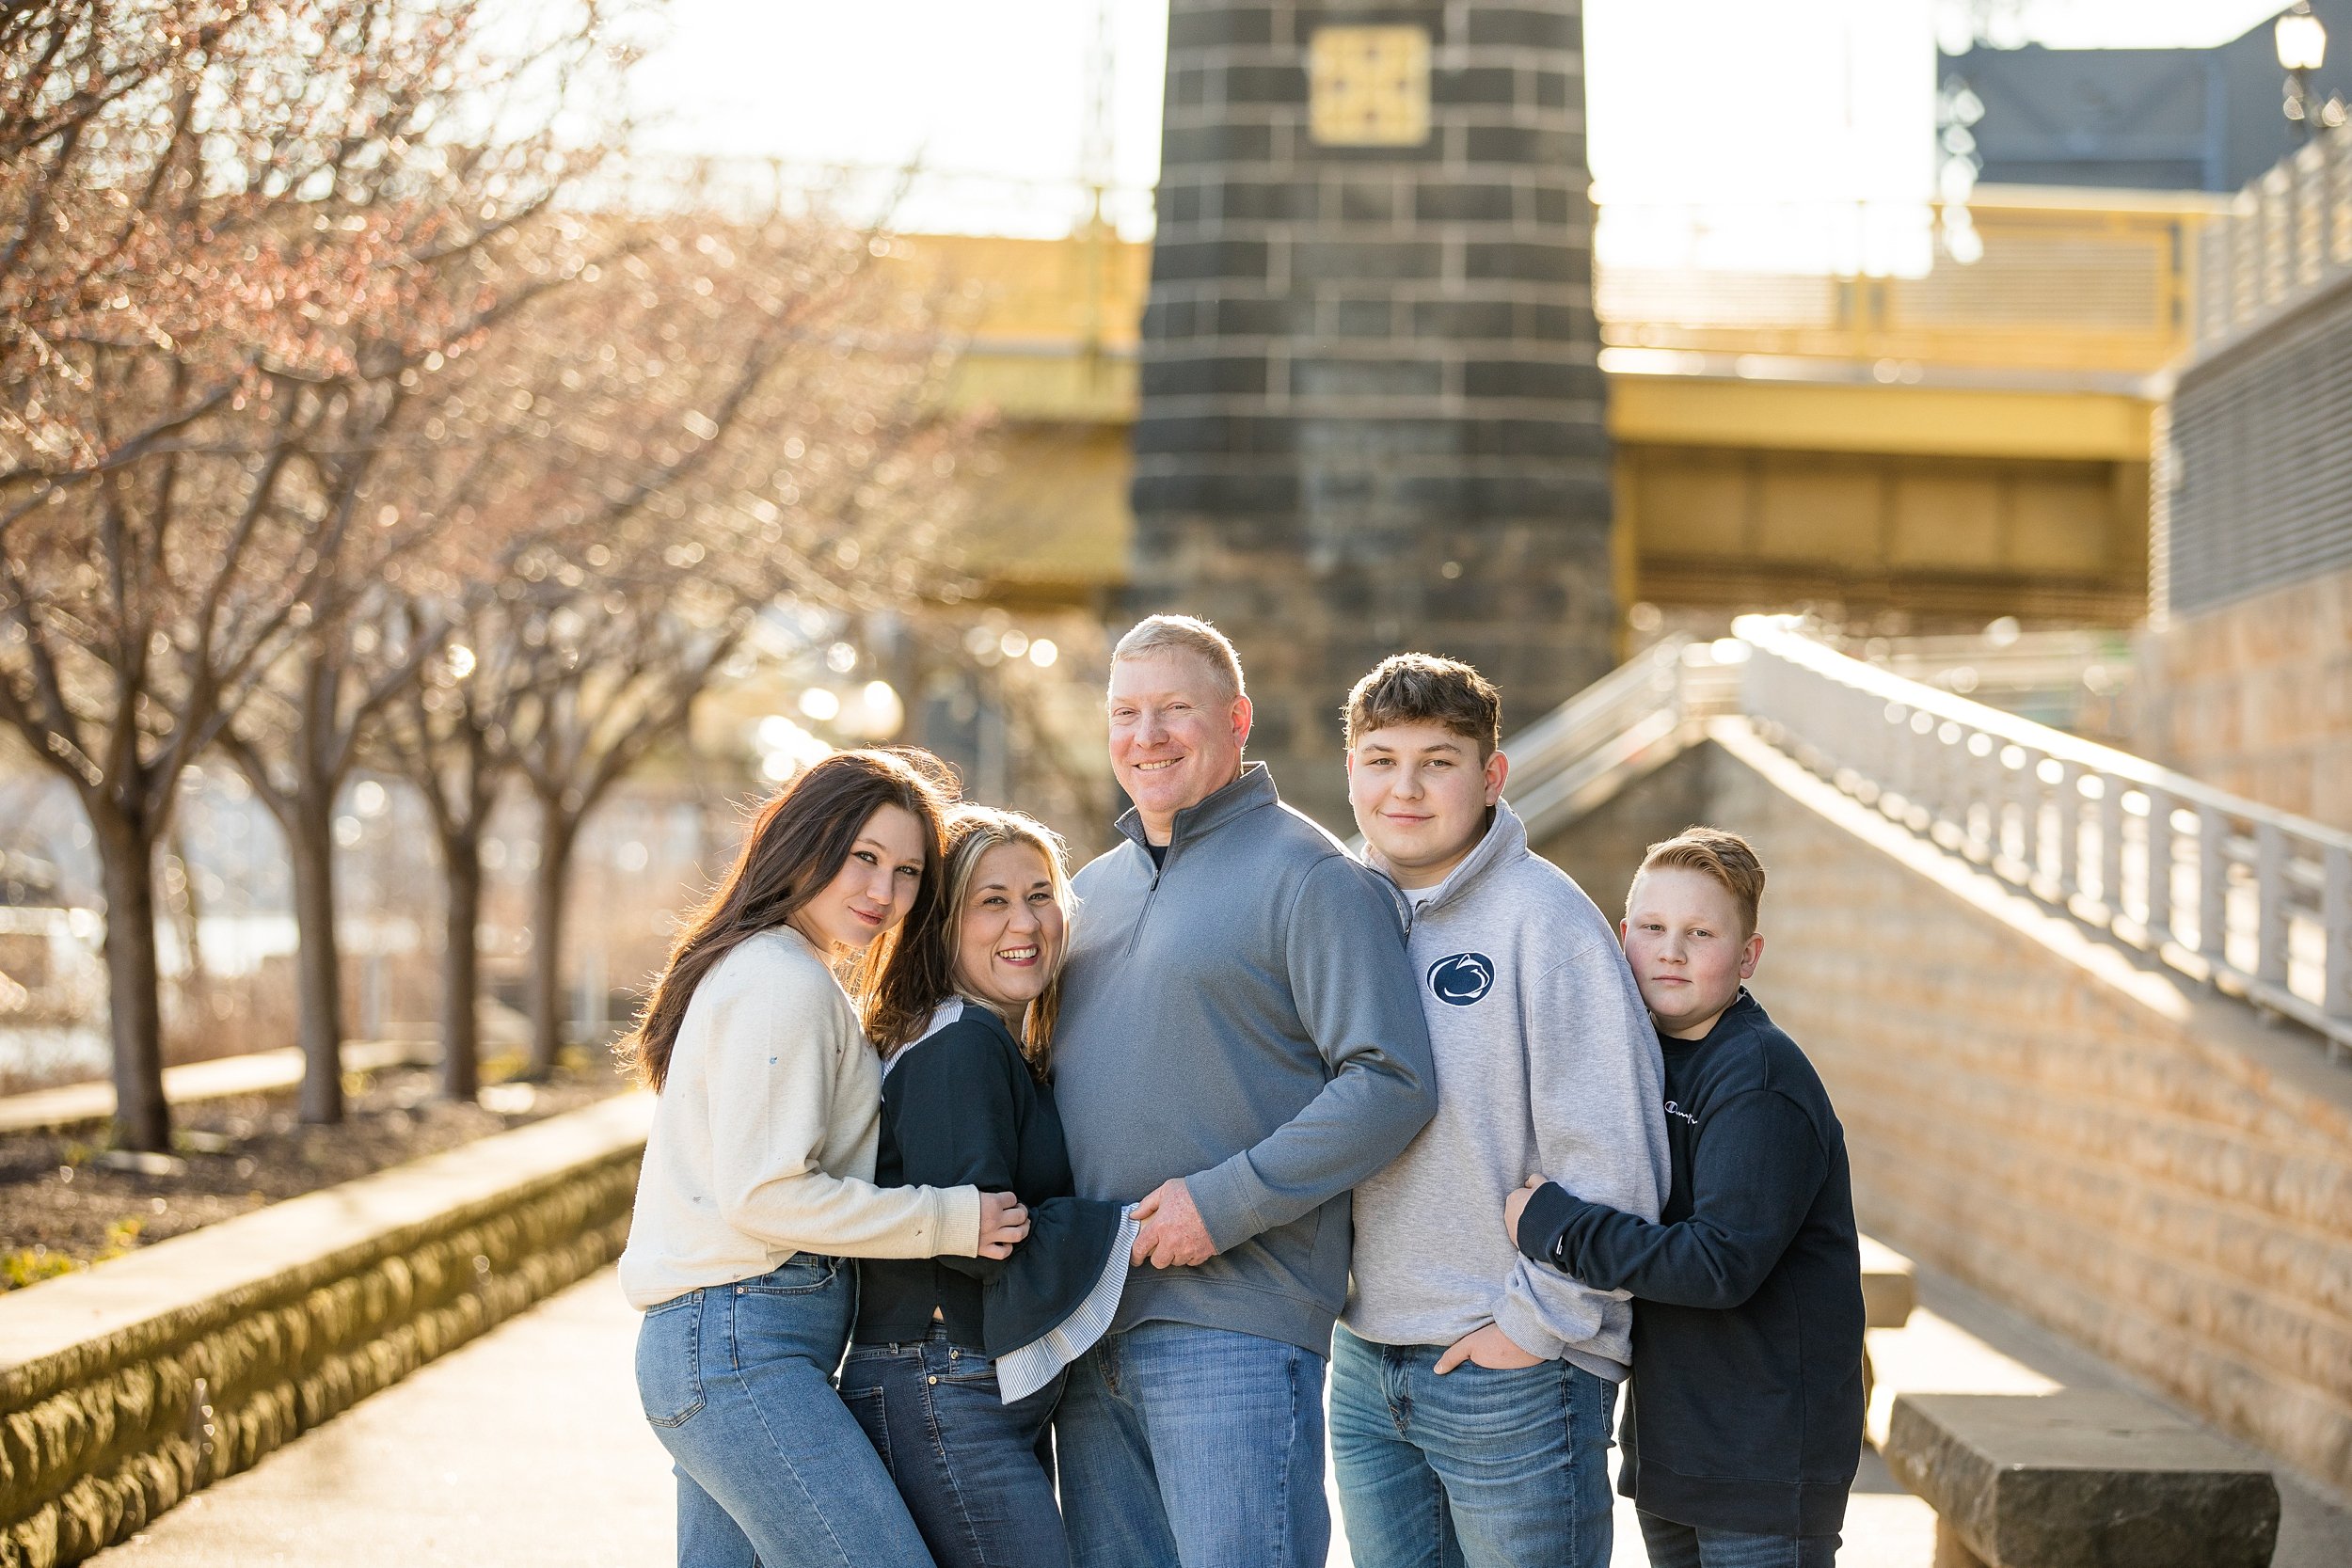
We had a blast photographing this family in downtown Pittsburgh on a bright & beautiful March afternoon! The family’s eldest sibling, JR, was scheduled to get his senior photos taken, so the family opted to add on a “family mini session” prior to the start of JR’s senior session!

I would venture to say that senior photos are also the perfect time to update family photos, and a family mini session means that it will be quick and painless for everyone involved ;) One member of the family is already going to be photo ready, and typically one parent (and possibly a sibling) will be coming to the photo session for moral support anyways... so why not just get some photos of everyone together before your senior heads off to college or trade school?

A huge thanks to this sweet family for the honor of capturing this season for them! ❤️ We had a blast with you guys!!!

And if you’d like to see JR’s senior photo session, click here!

Comment