Viewing entries in
Education

Favorite Podcasts from 2018

1 Comment

Favorite Podcasts from 2018

Plain and simple: I’m a firm believer that ALL of the content we put into our brains have BIG affects on us, and we get to decide whether that content is going to be life-giving or life-sucking. Today, I want to share a few of my favorite positive and encouraging (but also challenging!) podcasts!

 All of these podcasts are hosted by women, and many of these podcasts are business related, but all of them have a greater purpose of encouraging and challenging listeners to dream bigger, walk in community, and to not let fear hold them back from the lives they are called to live. I hope you enjoy these as much as I do!

1.     Business Boutique (Christy Wright)

I only discovered Christy Wright’s Business Boutique podcast a few months ago, and it’s safe to say that I am OBSESSED! If you have ever heard of financial guru Dave Ramsey, Christy Wright is actually what they call a “Ramsey personality” who tours the country speaking at his events! Besides working for the Ramsey company, Christy is also a writer, mom, podcaster, with a passion for equipping women to make money doing what they love. And basically – that’s what the podcast is all about! Christy dives into all things business, including the how-to’s, the fears, the emotions, all with engaging content that I truly believe has the power to change lives. Christy speaks from her personal experience and also hosts other amazing women and men who can speak directly into specific topics, ranging from things like growing a side hustle, to creating the perfect business idea, to building business relationships, to digital marketing. A few of my favorite episodes include: “Shake off your shame,” (which is my favorite podcast episode of ALL TIME!), “Is it fear, or wisdom?” and “Learning from your competition.” Christy only releases episodes about every two weeks, but her episodes are of the highest quality and are jam packed with SO much incredible information!

2.     Girls Night (Stephanie Mae Wilson)

Stephanie Mae Wilson invites her audience seasonally (kind of like a tv show with a specific amount of episodes!) to listen in on a conversation with one of her girlfriends, unpacking some of the most challenging, rewarding, and interesting things about being female! Girls Night topics range from comparison, to insecurity, to depression, to marriage, to business, mentorship, self care, hospitality, relationships, and more! And really – it feels like you’re just listening to a real, authentic conversation between two of your gal-pals! A few of my favorite episodes include “How to protect your heart from social media comparison,” “Rest & Self Care – how to actually do it!” and “Depression & Insecurity: how to remember that you matter.”

3.     Goal Digger (Jenna Kutcher)

Jenna Kutcher is a content creation MACHINE, and is known for her authenticity and ability to break down the complex into easy bits and pieces for others to understand and learn from. She is a wedding photographer turned educator, social media guru, online marketer, and podcaster (just to name a few) who talks from her personal experience, as well as interviews other powerhouse women on all kinds of topics related to business, ranging from topics like “How to Pay Yourself as an Entrepreneur” to “How to Ditch Self Doubt” to more nitty gritty business and social media talk. This woman is not only SO talented, but so entertaining to listen to and is perfect for those who are pursuing their business and personal goals! Some of my favorite episodes from this podcast include: “Passive Income 101: how you can make money while you rest,” “Creating unforgettable client experiences,” and “10 Ways to Create Content Calendar.” Jenna currently puts out episodes twice a week, on Mondays and Wednesdays. Click here to listen in!

4.     Going Scared (Jessica Honegger)

Something I LOVED right away about this podcast is the vision behind it: Jessica seeks out men and women who are doing BIG, unique, crazy (and to be frank, sometimes scary!) things and unpacks their story, challenging her listeners to go do the thing that they’re scared to do! Some of my favorite podcasts include: “What story are you telling yourself? With Mary Marantz,” (one of my favorite photographers!) “Being Kind over being right: Bob Goff gets real,” (one of my favorite authors!) and “Embracing Simplicity and the courage to say ‘no’ with Emily Ley.”

1 Comment

7 Ways to Blog More Efficiently

2 Comments

7 Ways to Blog More Efficiently

If someone told you that they could give you a tool to market your business for FREE online, up your Google rankings, increase trust with your current and future customers, all while making your clients feel like a million bucks, would you believe them?!

This is EXACTLY what blogging can do! Blogging is one of my FAVORITE marketing tools I use in my business and has been essential in my business’s growth over the past few years! Though I most definitely have SO MUCH to learn in the technicalities of blogging, today I wanted to answer a frequently asked question that I receive from other business owners: how do I go about blogging consistently and efficiently?

Having a blog is a double edge sword. If you have one and you’re not posting on it – it doesn’t look too great, like you don’t have any work to share (and clients love to work with people who other people love to work with!). But on the same note, blogs can be incredibly tough to keep up with when you’re trying to manage a million other facets of your business.

There are seven techniques I’ve implemented throughout the last couple of years to ensure that I am blogging as regularly and as efficiently as possible. If YOU want to blog more but aren’t sure how to get the most out of the time you allot to blogging – these seven tips are for you! First:

1.  Choose a blogging schedule that you can actually STICK to, and make it consistent.

I’m no SEO (search engine optimization) expert, but I know that Google loves consistency and rewards websites that post consistently! (Read more about how blogging consistently affects your Google ranking here!)

In addition to being great for SEO, being consistent with blogging builds trust with clients and lets them see that (1) you are busy, and (2) that you have consistent knowledge to share that will add value to their lives and to the service you are/could be providing them! Because clients want to know that you are knowledgeable and in demand, it’s important to find a blogging schedule that is consistent and that you can actually stick to. Both of these things take time – it might take some trial and error to figure out what the best blogging schedule is for you!

For example, last year, I decided I wanted to blog FOUR times a week. Before that, I was only blogging maybe once or twice a week, but I was determined that four would be the magic number that would work best for me. Well, low and behold, my four day a week blogging schedule failed after the second week because I just couldn’t keep up! Instead, I decided to cut it in half and commit to blogging twice a week. THAT I’ve been able to stick to for almost a year now! But your optimal blogging schedule might be different. Maybe blogging once a week is perfect for you, or maybe blogging once every other week is just right! Whatever the case, choose a schedule and decide that you’re going to stick to it!

2.  Answer frequently asked questions.

This is one of my favorite tips for people who are looking to blog more. First: know who your audience is, and second: answer their burning questions! No matter what industry you’re in, chances are you have some type of reader, customer, or client who has a question for you, and answering those questions makes you an expert in your field (or, in their eyes!) and someone that people can rely on for knowledge. For example, as a senior photographer, lots of people ask me what to wear for their photos. Here’s a post I wrote answering that question! As a wedding photographer, lots of people ask me about what I think about a “first look.” Here’s a post I wrote on that! And as someone who owns a photography business, LOTS of people ask me what type of gear they should buy, and what type of gear I own. You can check out those blog posts here and here!
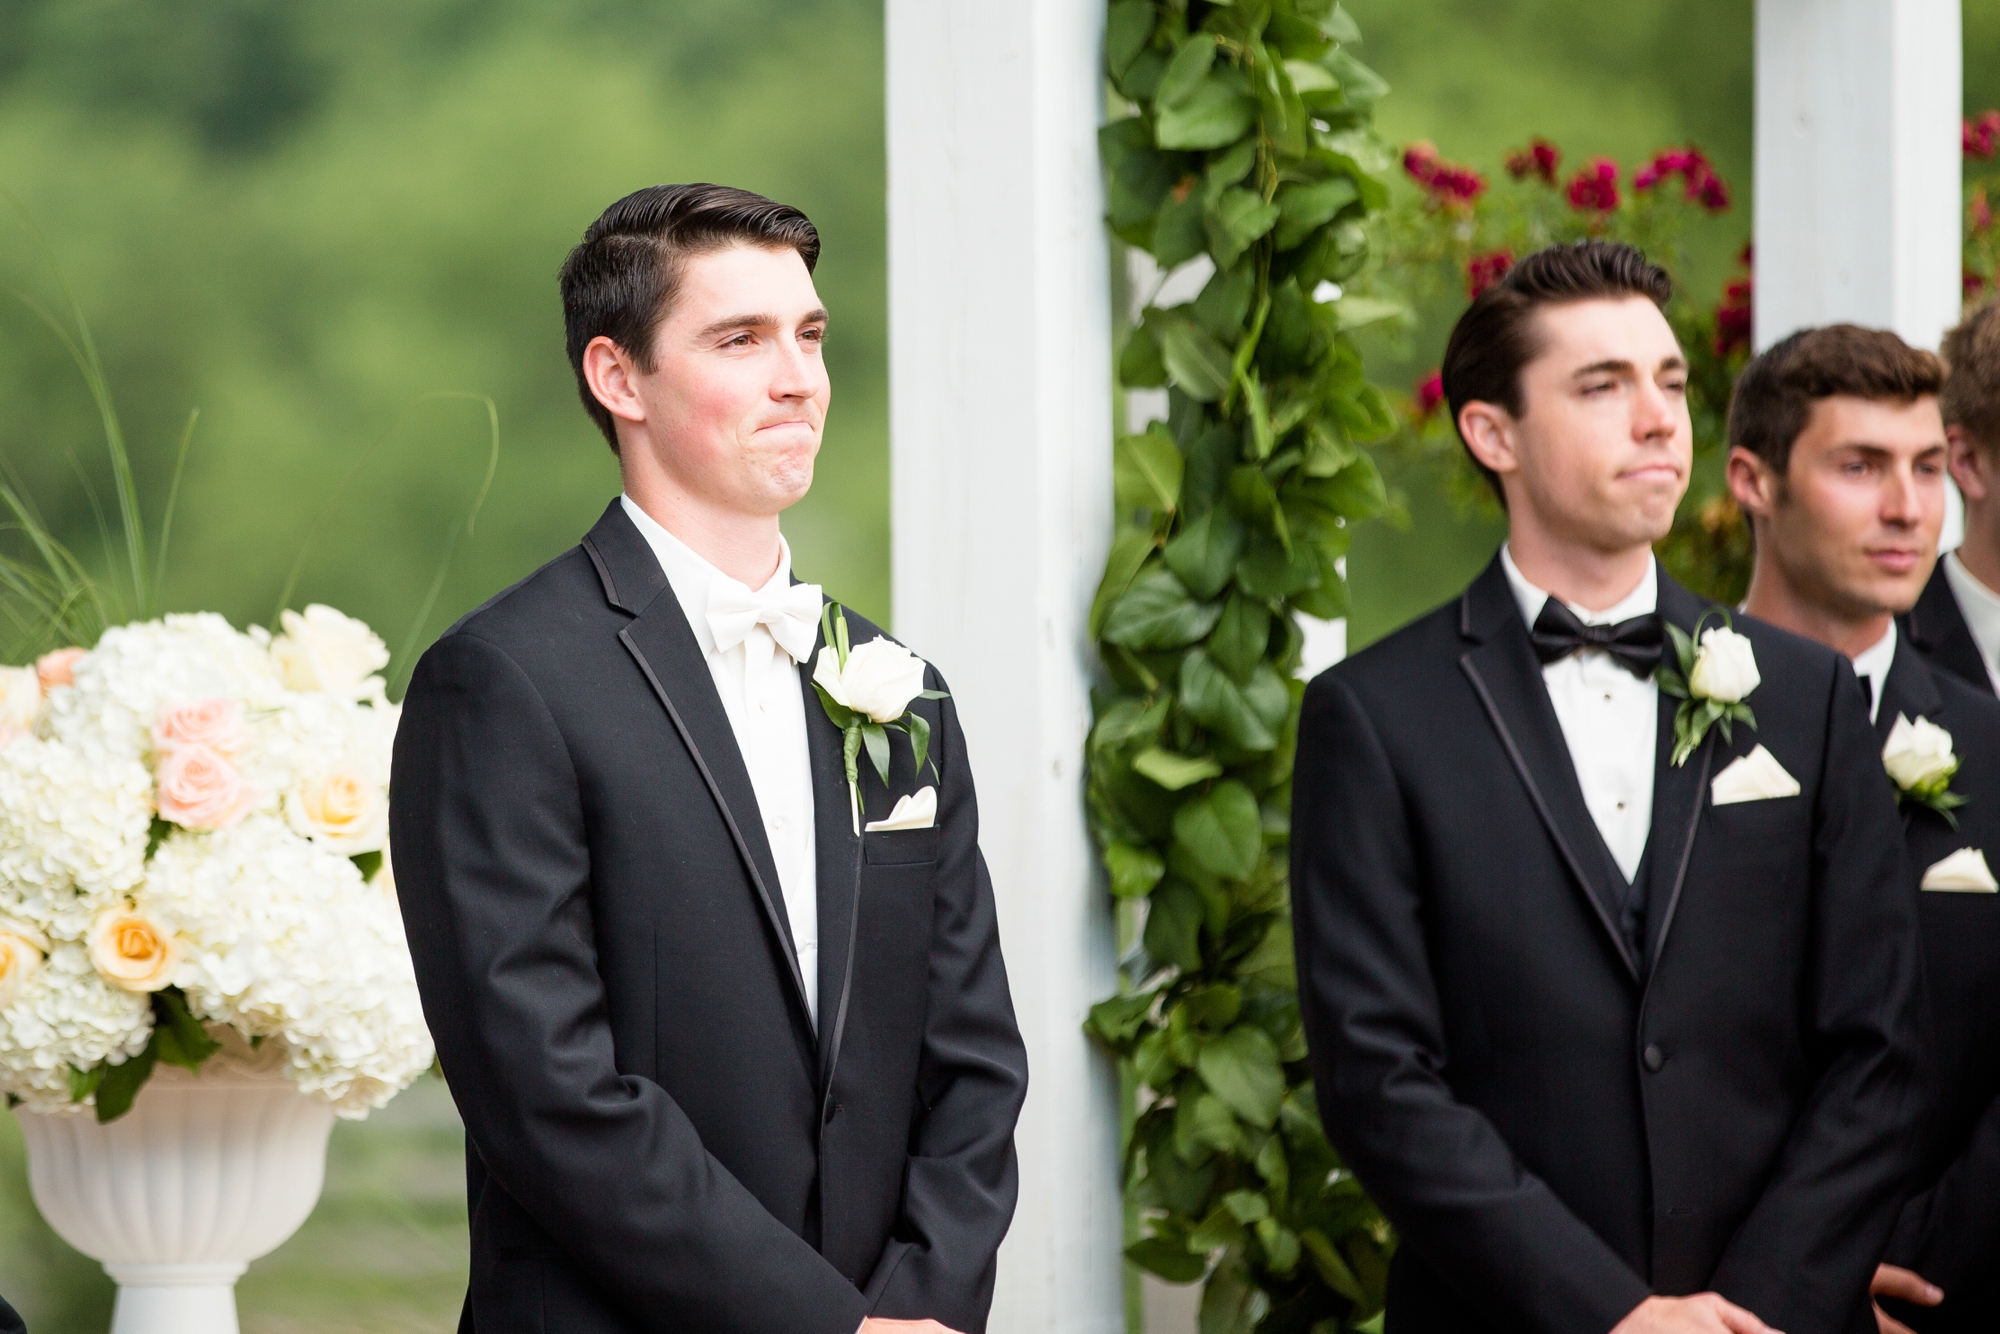
Not sure what questions you should be answering? All you have to do is simply ASK! Ask the people who read your blog or who buy your product/service what they want to know, and I have a feeling they’ll tell you!

3.  Keep a list of ideas handy!

I used to think of a great idea for a blog post while I was shopping, driving, or having a conversation with a friend, only to sit down later to blog and completely forget what it was! I decided I needed to start writing down my ideas as I had them so that I could have a plethora to choose from when the time came!

My favorite tool for keeping track of my blog ideas is Wunderlist. Wunderlist is basically an app that allows you to make lists on your phone – super simple, but super effective!

4.  Batch work.

This has been one of the BIGGEST game changers over the past year! I used to write blog posts the day before I wanted to post them, or I would write a blog post and want to post it right away. But by batching the writing and scheduling of my blog posts I now actually get more done faster, because my brain is already in the “writing” mode, and isn’t switching from one task to another. I’m also able to write a couple of blog posts within a span of a few hours so that I’m (usually) ahead of the game and prepared to post content a few weeks (or months) in advance! Whenever I schedule time to work on blogging, I typically try to take the first four or last four hours of my work day to do so, so I can REALLY get in a groove and pump out some good content!
5.  Schedule your posts on social media.

So now that you’ve written your content, you need to make sure you’re promoting it so that people can benefit from it! Using a variety of platforms to promote your blog content is key to more views and interaction. I love to use Instagram, Facebook, and Pinterest to promote my blog posts, in particular.

Because I batch write and schedule my content, I love to use social media scheduling apps like Hootsuite (for Facebook) and Grum (for Instagram), where I’ll write a short (and hopefully engaging!) description, paired with a photo, to promote and lead people to the post.

6.  Re-share your content.

I used to be afraid of resharing my blog content because I was afraid of what people would think. Why is she sharing this again? Didn’t I just read something like this?! But after listening to a podcast/pep talk from the host of the Goal Digger Podcast by Jenna Kutcher, I realized that no one is paying that close attention. If I wrote a really amazing blog post a year ago – you better believe I’m going to share it again a year or even a few months later with a different spin! And because I’ve gained new followers (and because there’s no way that ALL of my followers saw that particular blog post the first time around), it’s not going to seem too repetitive!

7.  Use apps like BlogStomp to create blogs with images MUCH faster!

I don’t know where I would be without BlogStomp! BlogStomp lets you quickly “stomp” (or save) photos into a web-sized format, and even lets the user create different collages with their photos (i.e., two vertical photos right next to each other). If you are someone who includes lots of photos in your blog posts, I promise that this will save you a TON of time and make your blogging move so much faster!

This post is in NO way meant to be your end all, be all for creating a blog. There is so much more to creating a blog than simply working efficiently, and honestly, still so many things that I don't fully understand that have to do with using key words, back linking, Google analytics and more technical things. I highly recommend checking out some additional resources to make sure your blog is running as effectively and efficiently as possible!

2 Comments

Why Professional Prints Are Worth the Investment

Comment

Why Professional Prints Are Worth the Investment

When someone pays to have photos taken, typically, they plan on printing them to hang around their home. At least, that’s usually the final destination. But not everyone gets there the same way. Some might choose to print through a local consumer lab, such as Walmart, Target, or Walgreens – all of which are helpful for keeping things cheap and fast. But what might you be sacrificing in the long run?

2018-04-28_0019.jpg

I like to liken having photos taken and printing them through a non-professional lab to going to a fancy restaurant with a picture of a meal that you want to eat from a different restaurant – for example, a burger with fries – and then having that restaurant make the meal with their ingredients. Technically, yes, you’re eating a burger and fries that resembles the photo you brought in – but the quality of the meal (and your experience) will most likely suffer, because you’re not eating the meal the way it was indented to be eaten with its intended ingredients. Much is the same with printing your photos. The photos might not look that different – in fact, they might look fairly similar – the same faces, the same pose. But what’s affected is the quality.

So, what can be affected in your prints when you order from a consumer lab, such as Target, Walmart, Walgreens, Costco, or Shutterfly?

  • Colors could look off (too saturated, or just plain different)
  • Skin color is always affected (you might look too orange, yellow, pink, or green!)
  • Highlights may be too bright (making the subject look too washed out!)
  • The print could lose contrast or have too much added (making the print look too soft or muddy and gross!)
  • The photo could appear out of focus (I’ve had this happen several times to people!)
2018-04-28_0004.jpg

If you’re interested in comparing different photos from a variety of labs, I highly recommend checking out THIS ARTICLE, which gives an amazing comparison of prints from a variety of different consumer labs compared to a professional lab!

Printing from a professional lab ensures that your photos will look as close as possible to what you see on your screen and in your gallery. Remember – photos are an investment, and if you’ve spent money on having gorgeous photos taken, going the extra step to make sure they’re printed correctly is an investment worth making!

Comment

Frequently Asked Questions in the Bridal Getting Ready Suite

Comment

Frequently Asked Questions in the Bridal Getting Ready Suite

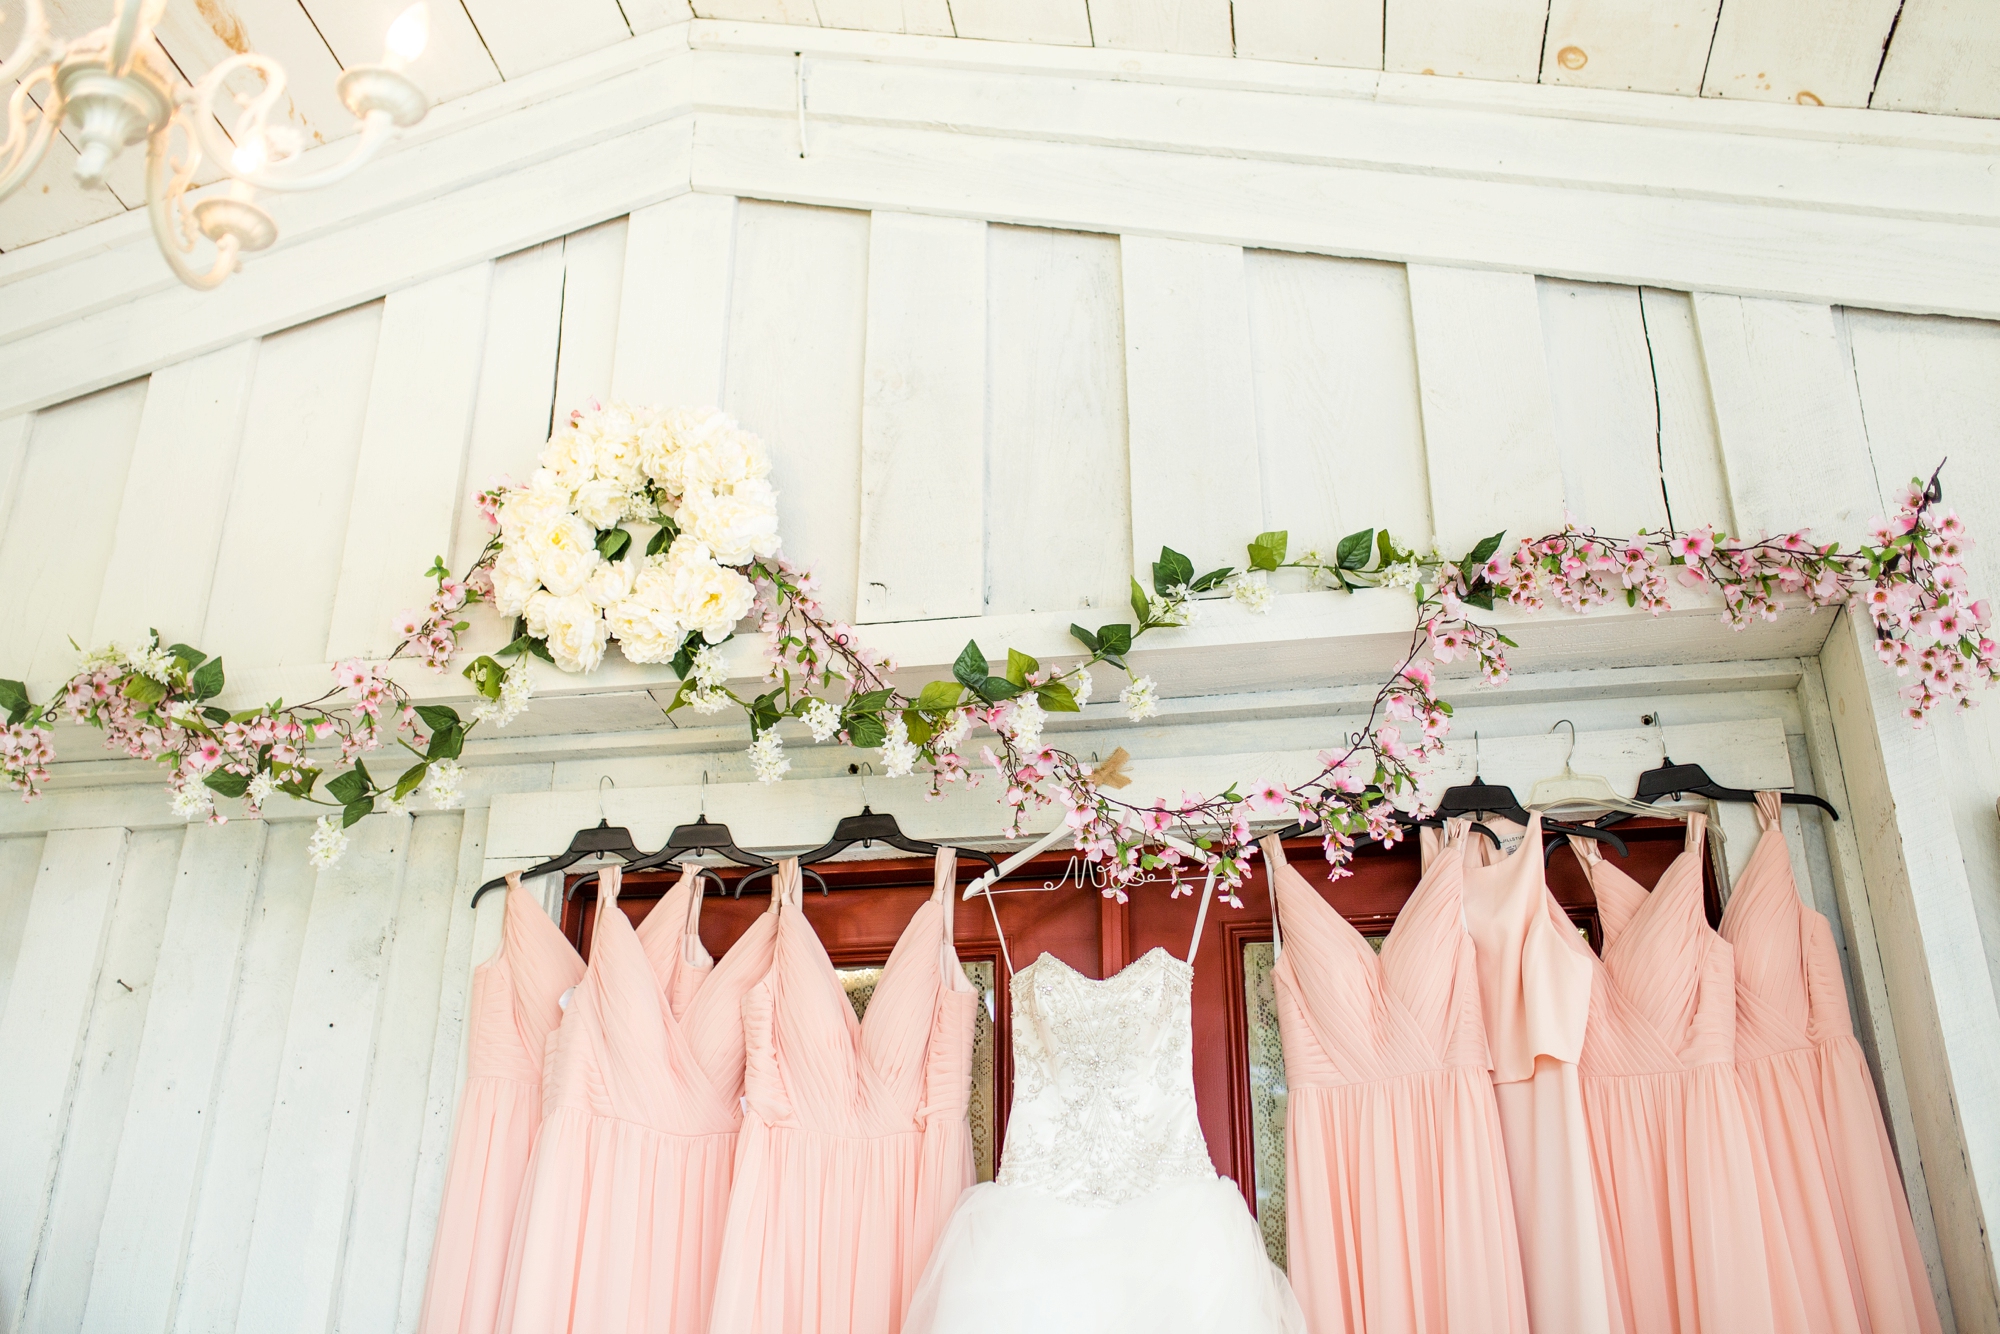
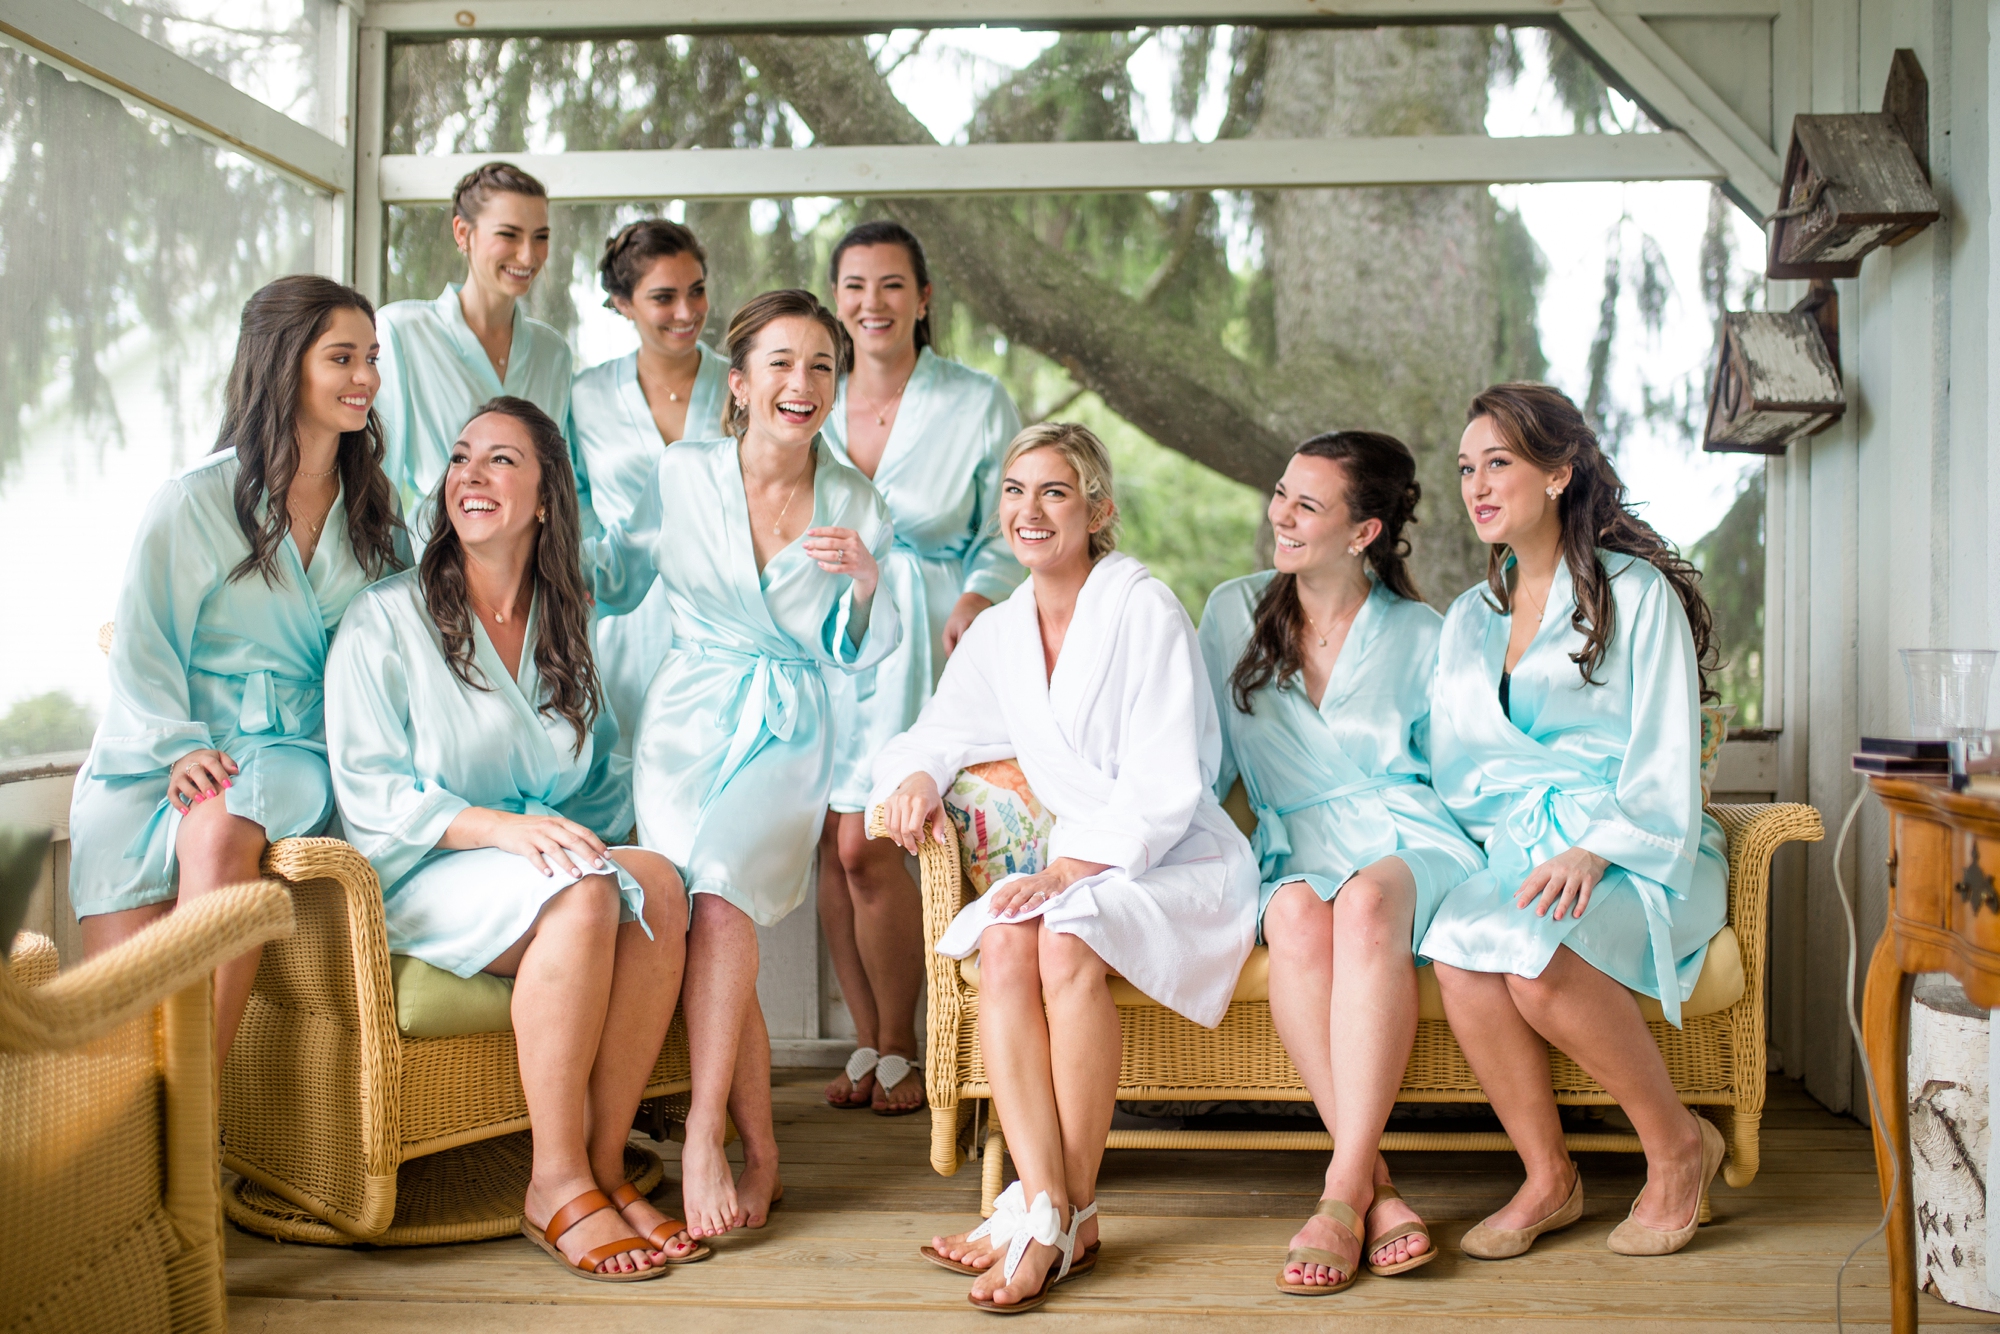
There are a few questions that are asked during almost EVERY bride/bridesmaid getting ready session. But why should you care about these questions? If you're a bride-to-be, a bridesmaid-to-be, a mother-in-law or a mother of the bride, knowing what could come up in advance could make you the most prepared person in the room for these questions that will most likely be asked!

Does anyone have any scissors?

Yes, this is probably the number one most frequently asked question in the bridal prep room! Tags and loose threads show up in large numbers on a wedding day in the bridal prep room. I recommend packing a little “bridal emergency” bag with scissors, thread & needle, hairspray, bobby pins, gum, tape, and any other items you think you might need!

Which leg does the garter go on?

The wedding garter is (traditionally) worn on the left leg, and the toss-away garter is worn on the right, both about 3 to 6 inches above the knee. But you can wear both on the same leg, if you’d like! But to be honest - it doesn't really matter that much! I actually took my garter off part of the way through my wedding day because it was so dang itchy!

When should my bridesmaids get dressed?

It’s best for bridesmaids to get dressed before the bride, along with the mother of the bride and anyone else helping the bride get into her dress. Why? For photo’s sake, having everyone out of their lounge clothes and into their formal attire to match the bride helps make the photos much more cohesive! Sweatpants and a wedding dress don't really go together ;)

Has anyone seen the rings?!

Just kidding about this one – but when this question is asked, it is scary! I’ve only been a part of one wedding where the rings were misplaced (i.e., left at the bride’s house) before the ceremony. But no worries – decoy rings were used, and the crowd didn’t even notice! The bride was thrown off a bit, though, as she had no idea they were missing until her husband went to slip the band on her finger! I would recommend having one person who is in charge of the rings to make sure they make it to the ceremony - just in case!

2017-06-20_0114.jpg

Comment

Lingrow Farms: Favorite Pittsburgh Wedding Venues

Comment

Lingrow Farms: Favorite Pittsburgh Wedding Venues

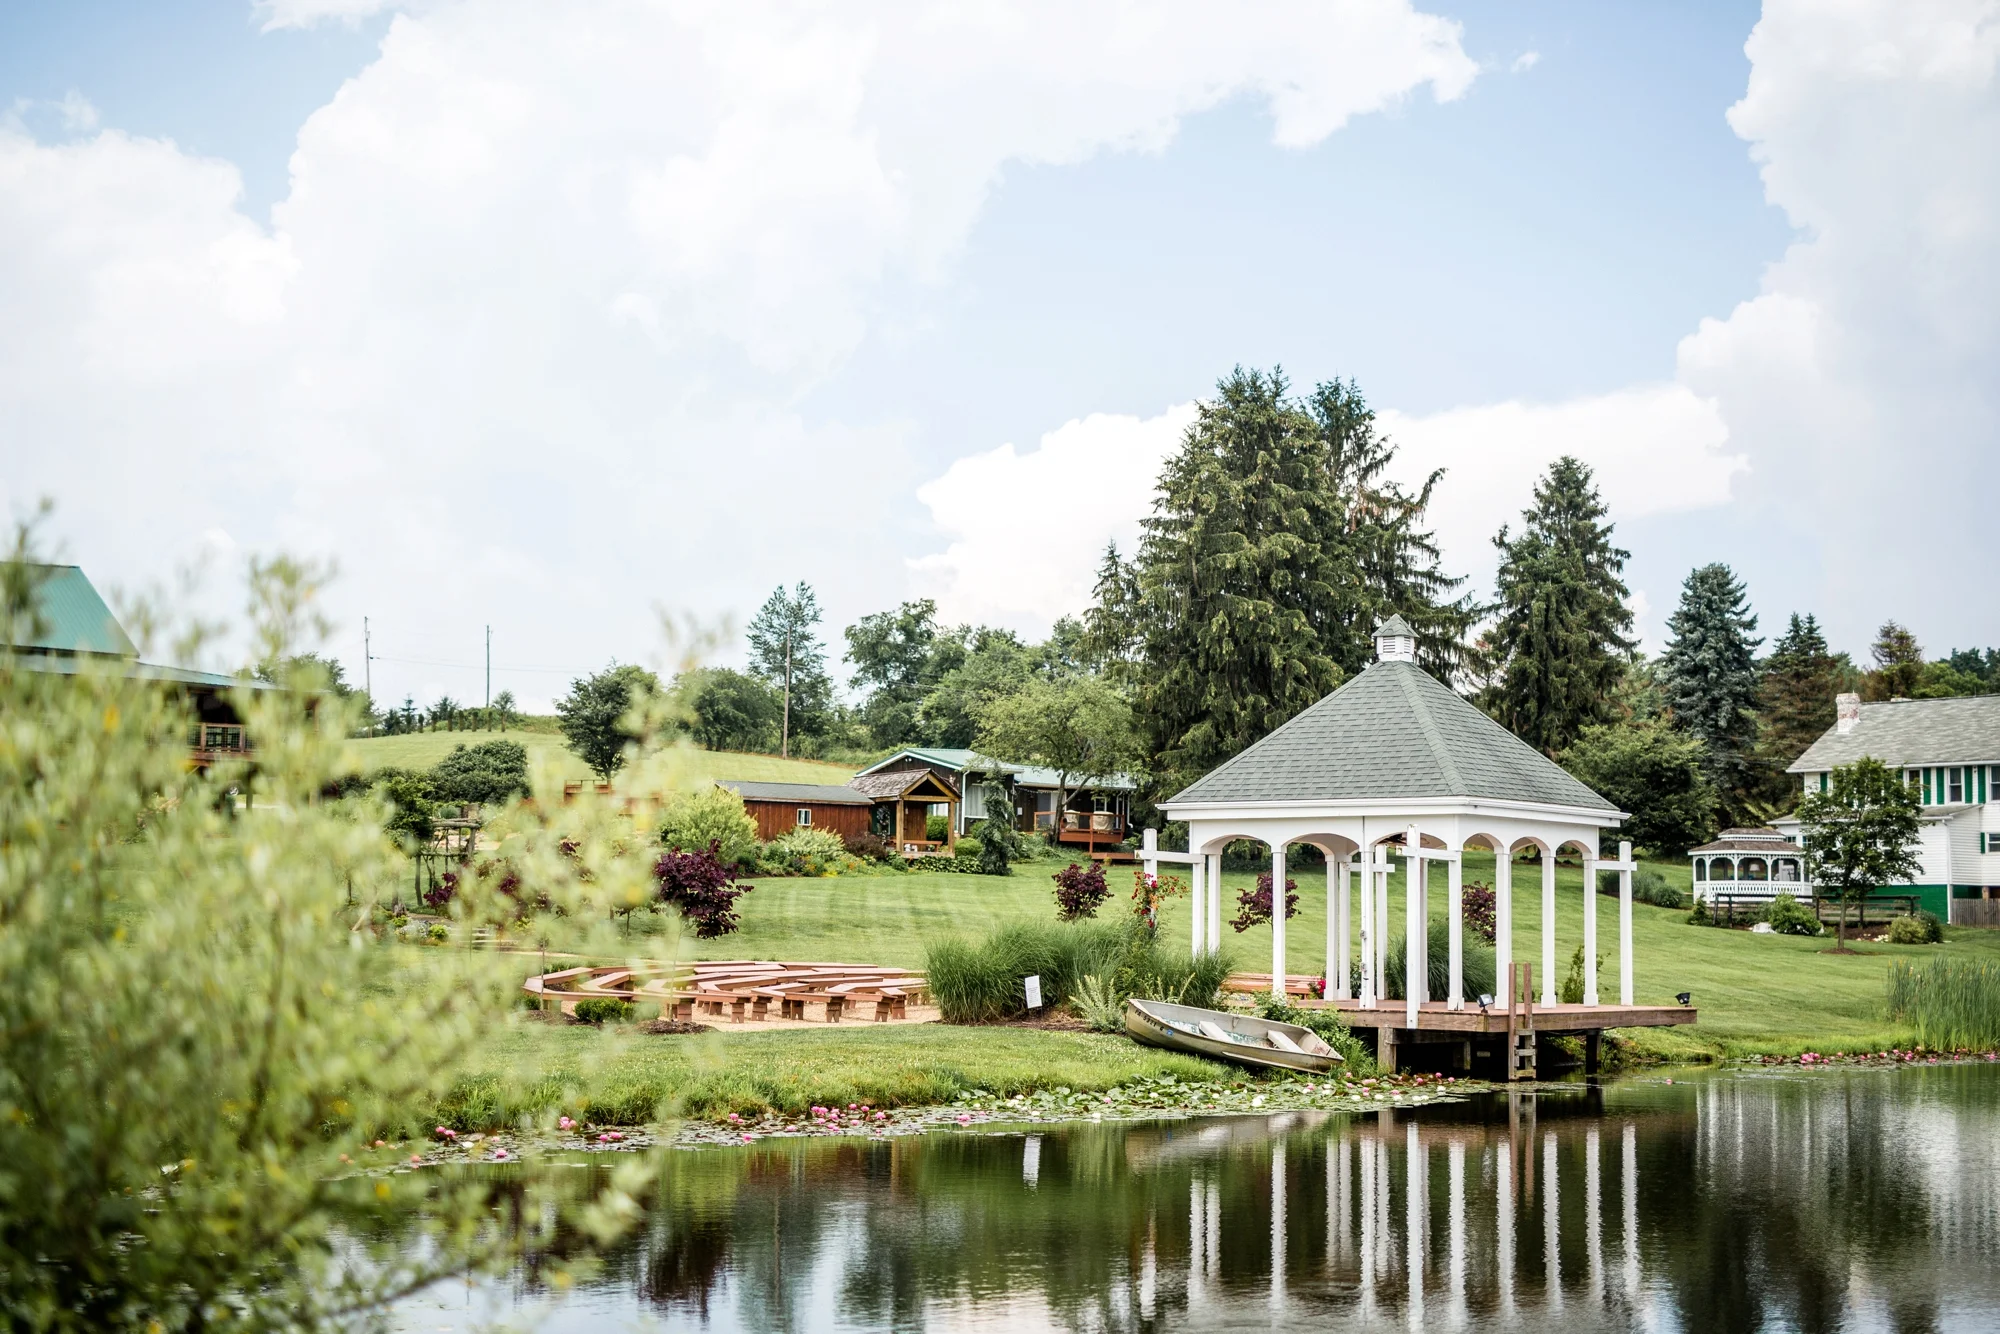
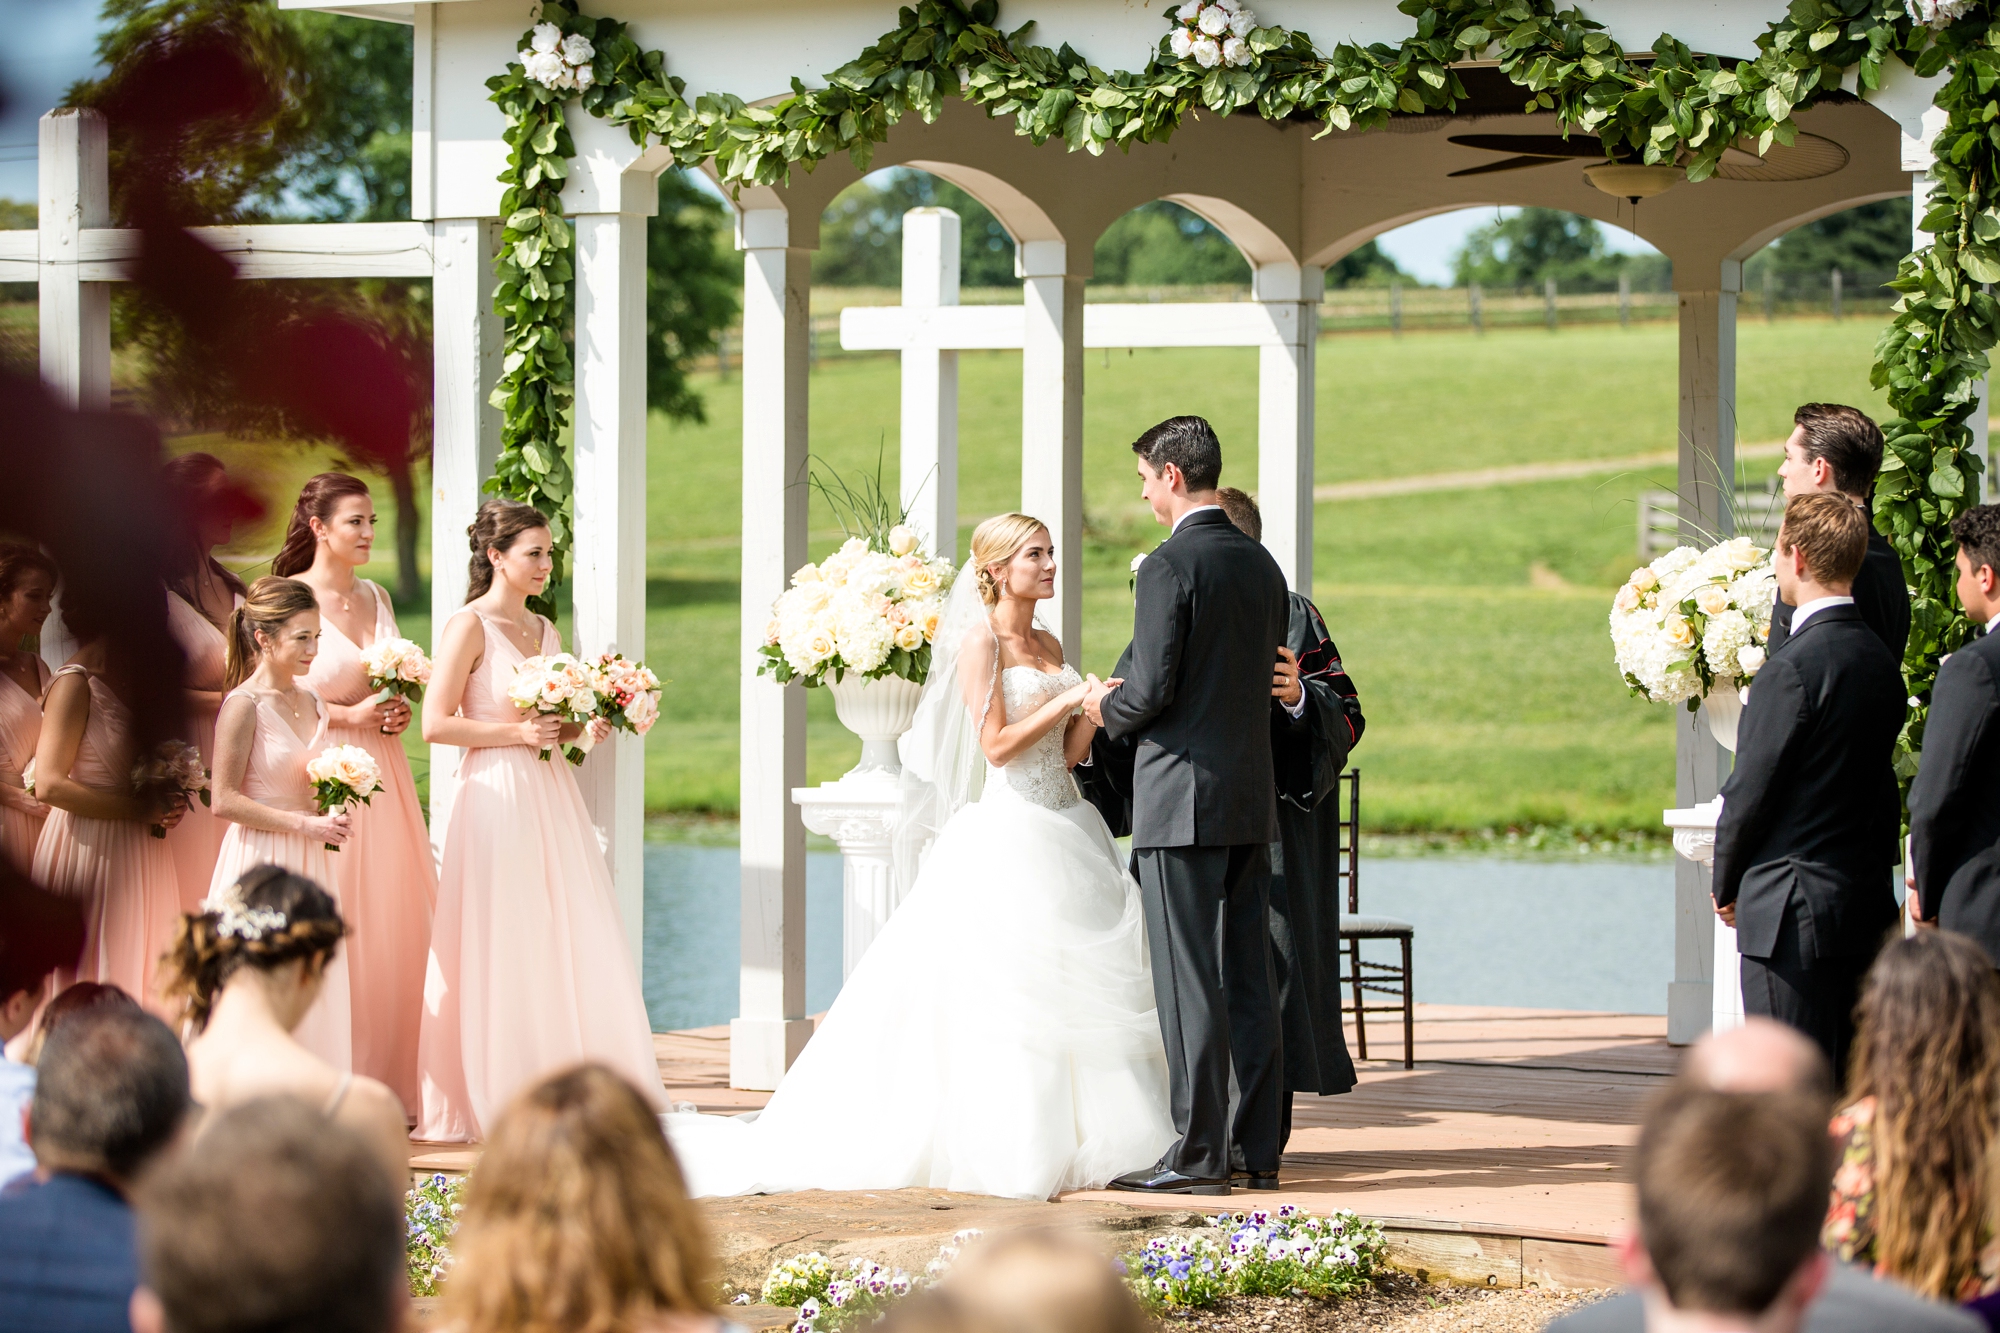
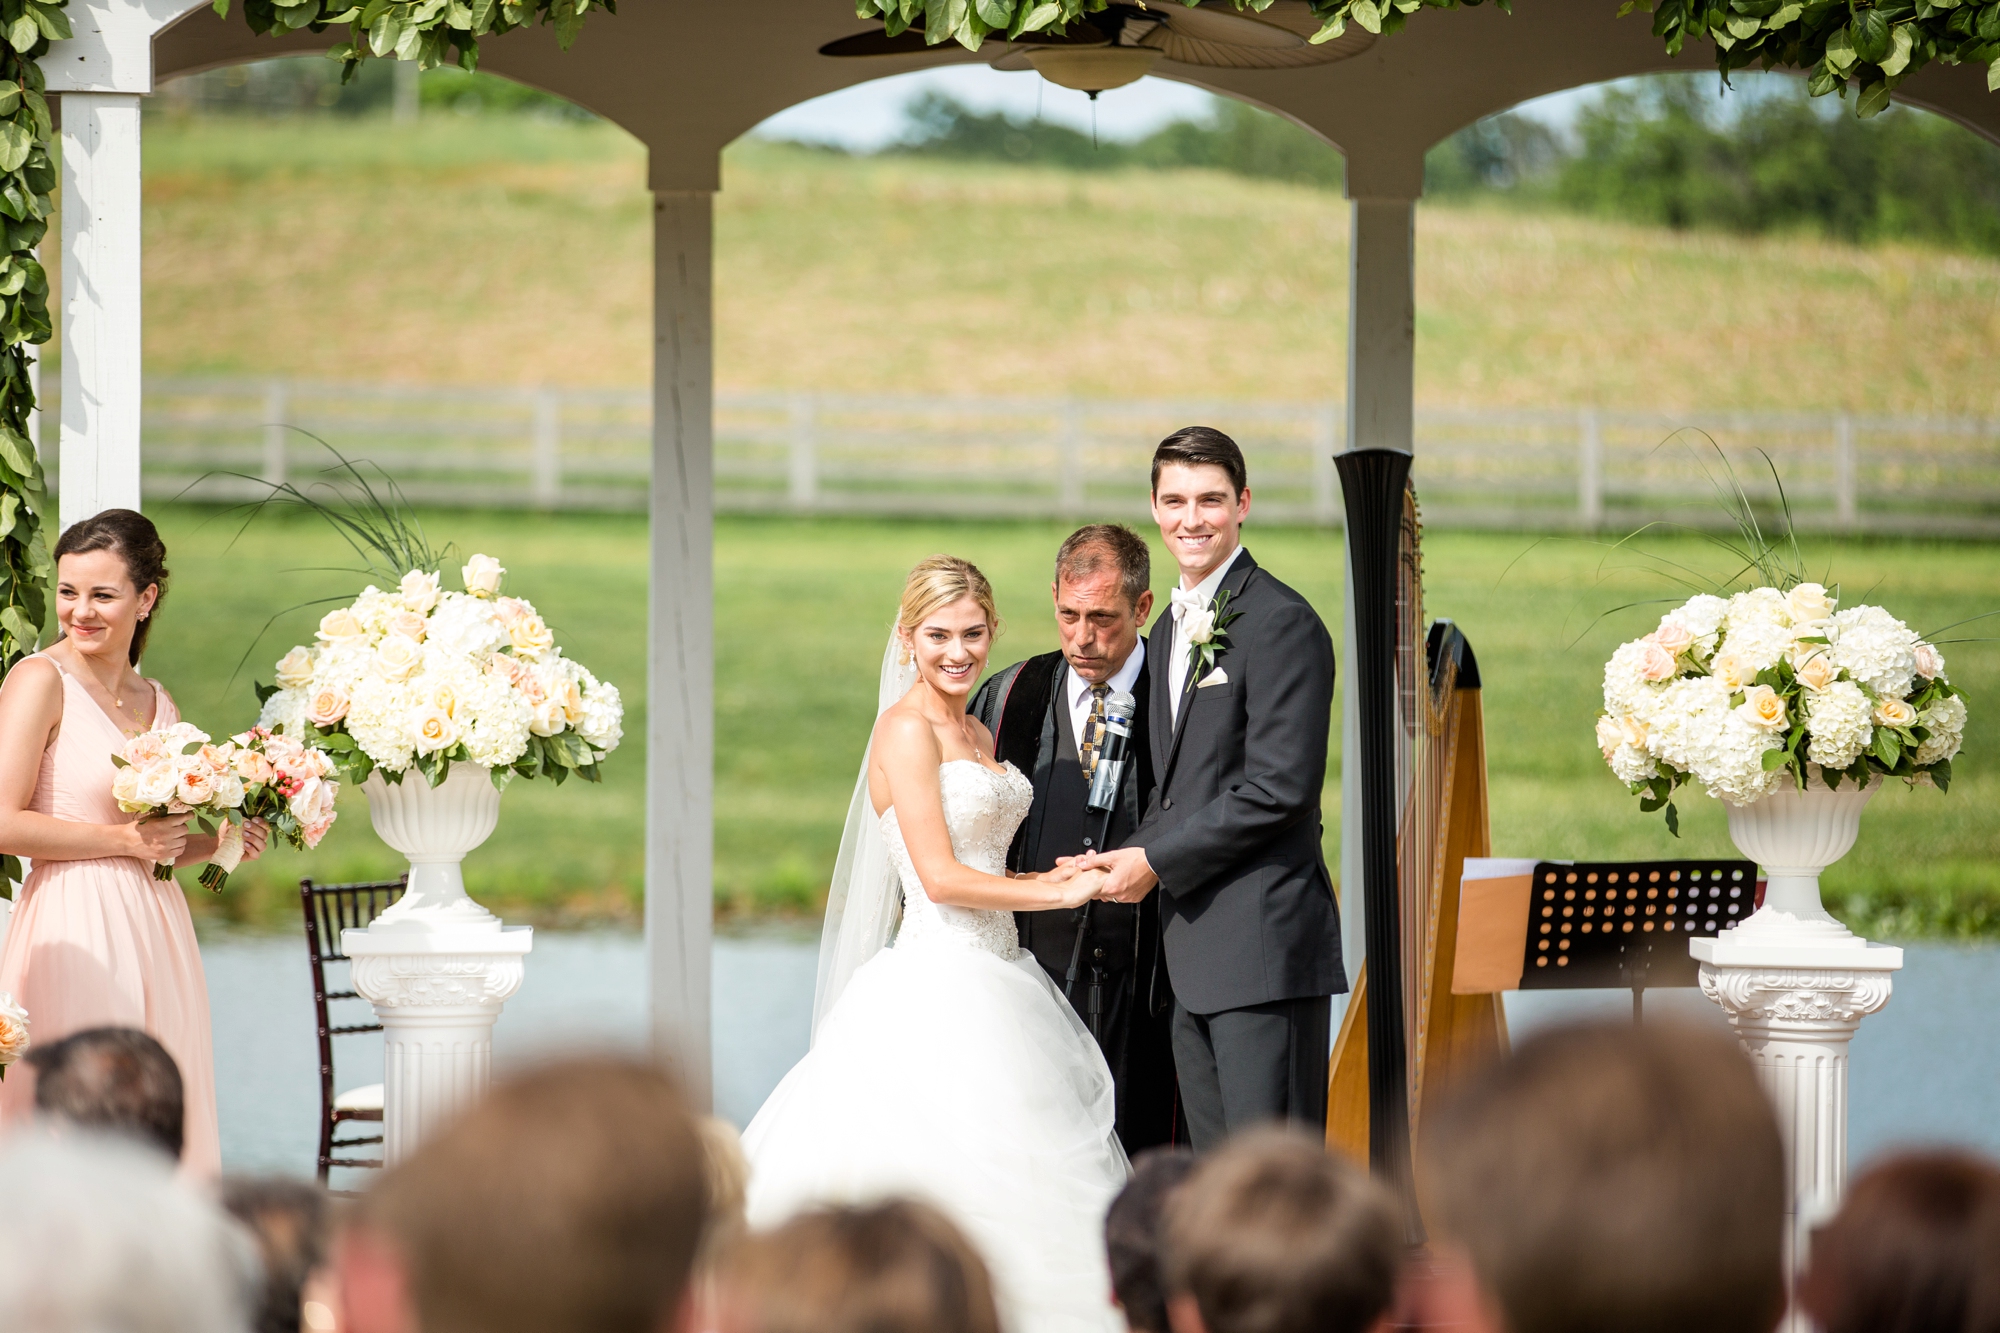
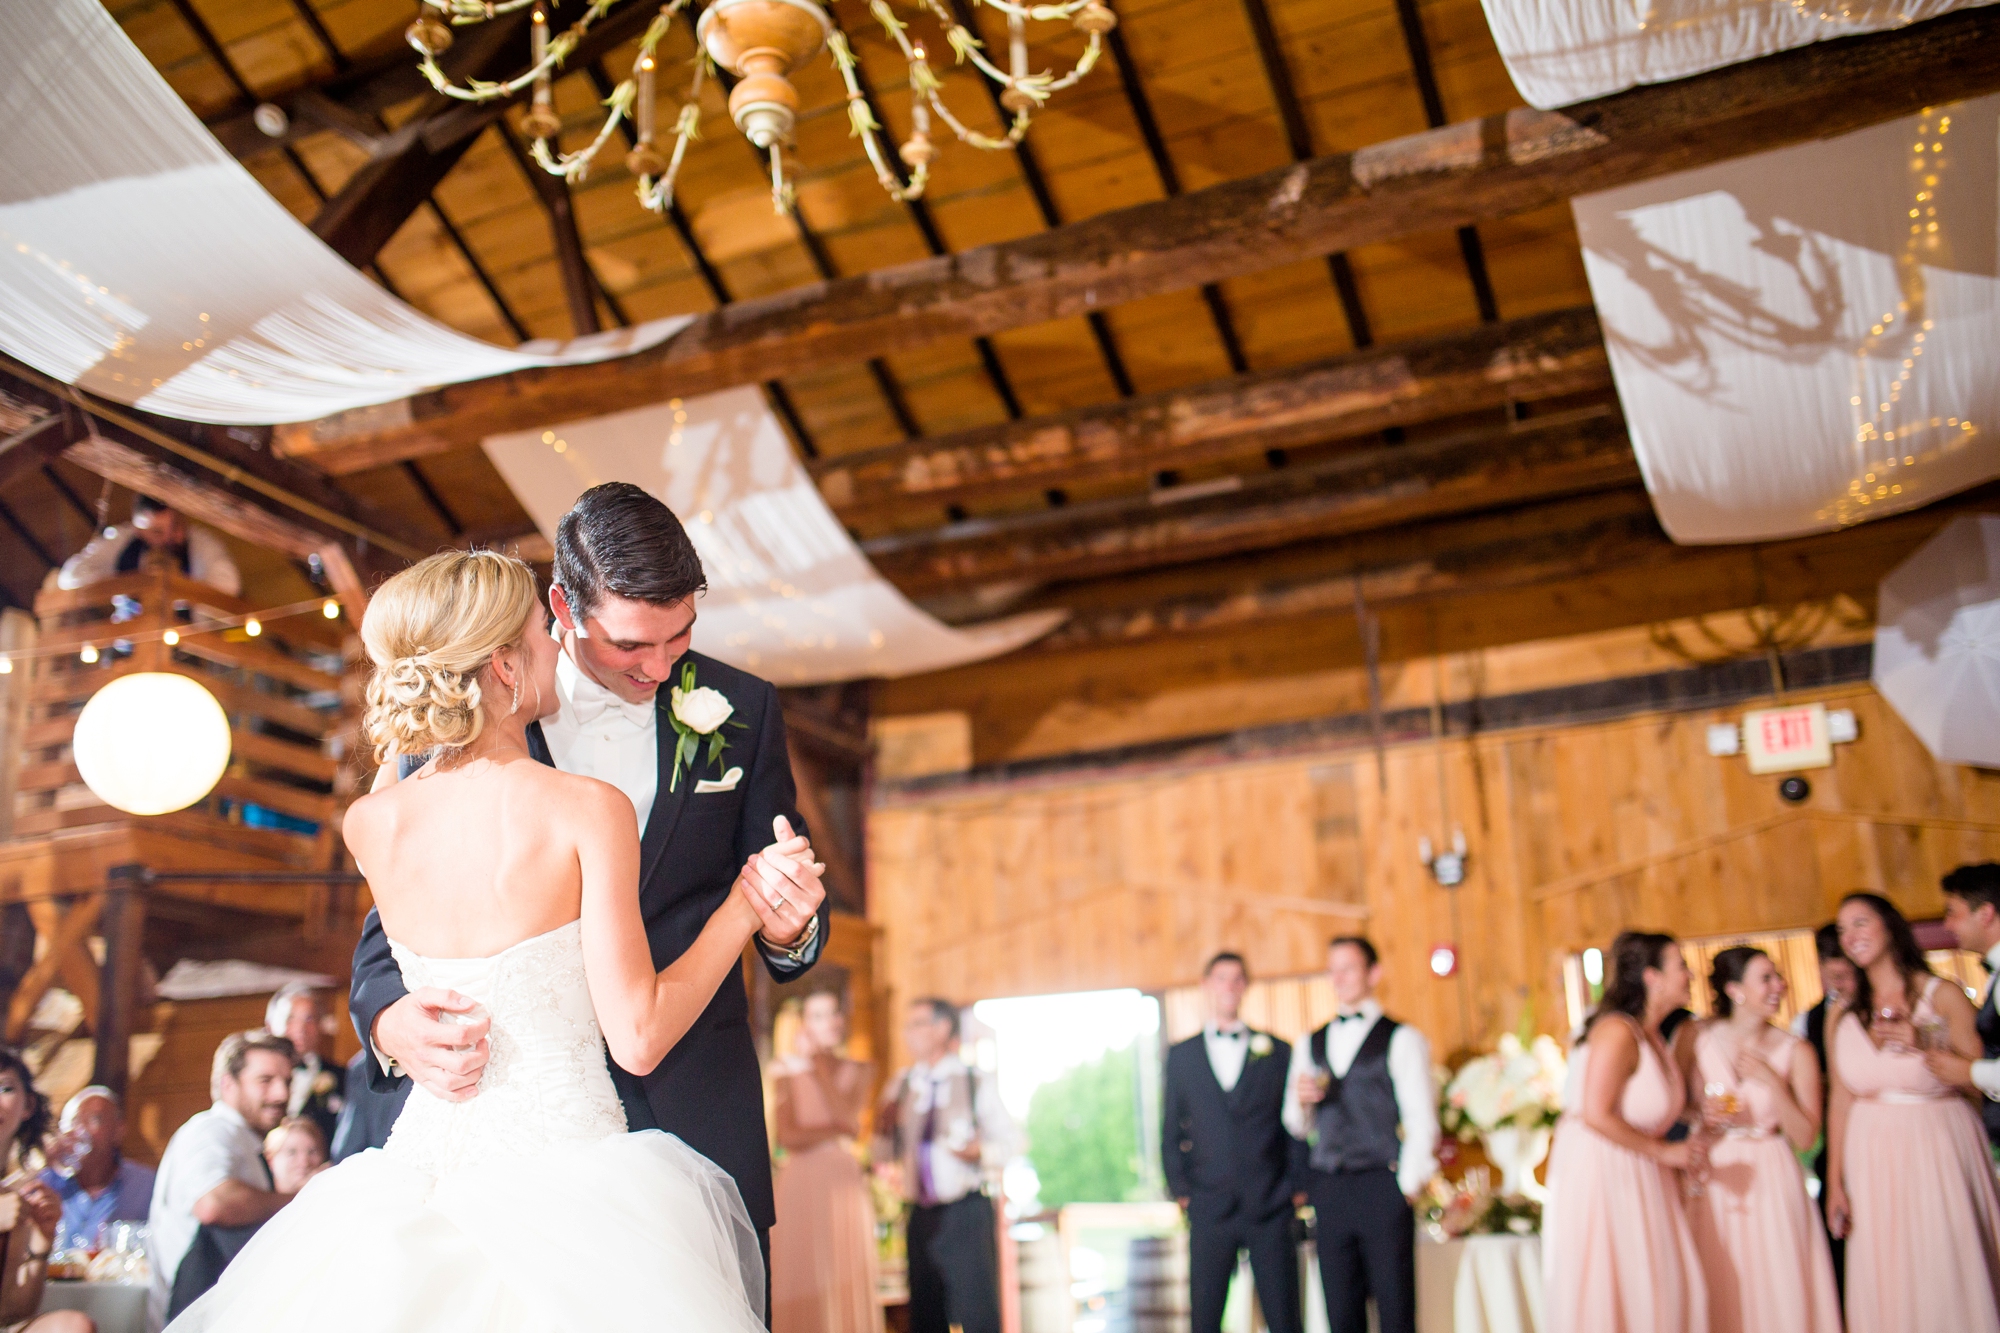
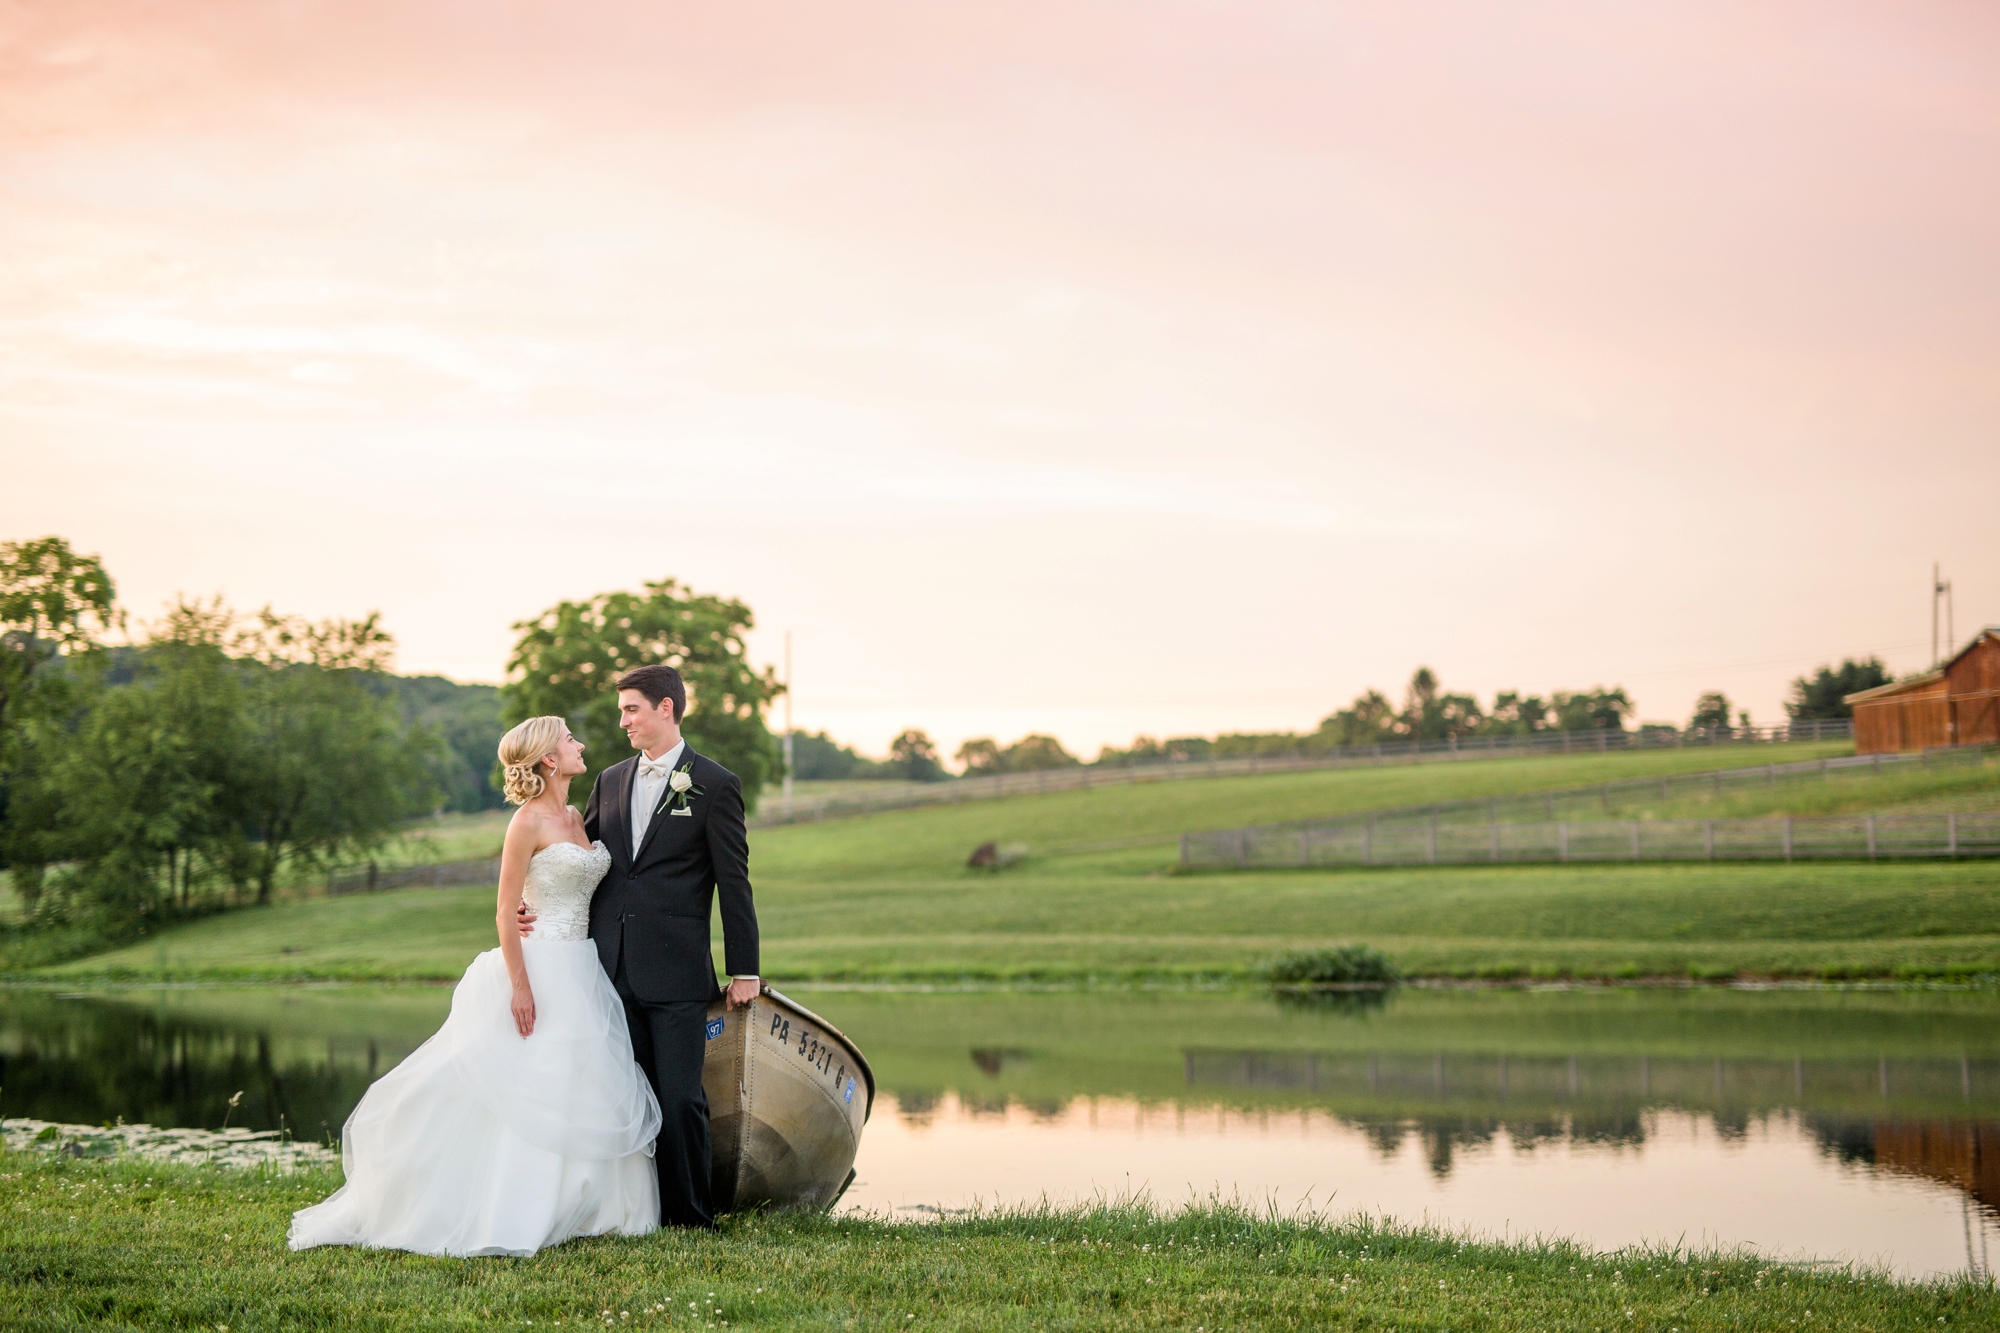
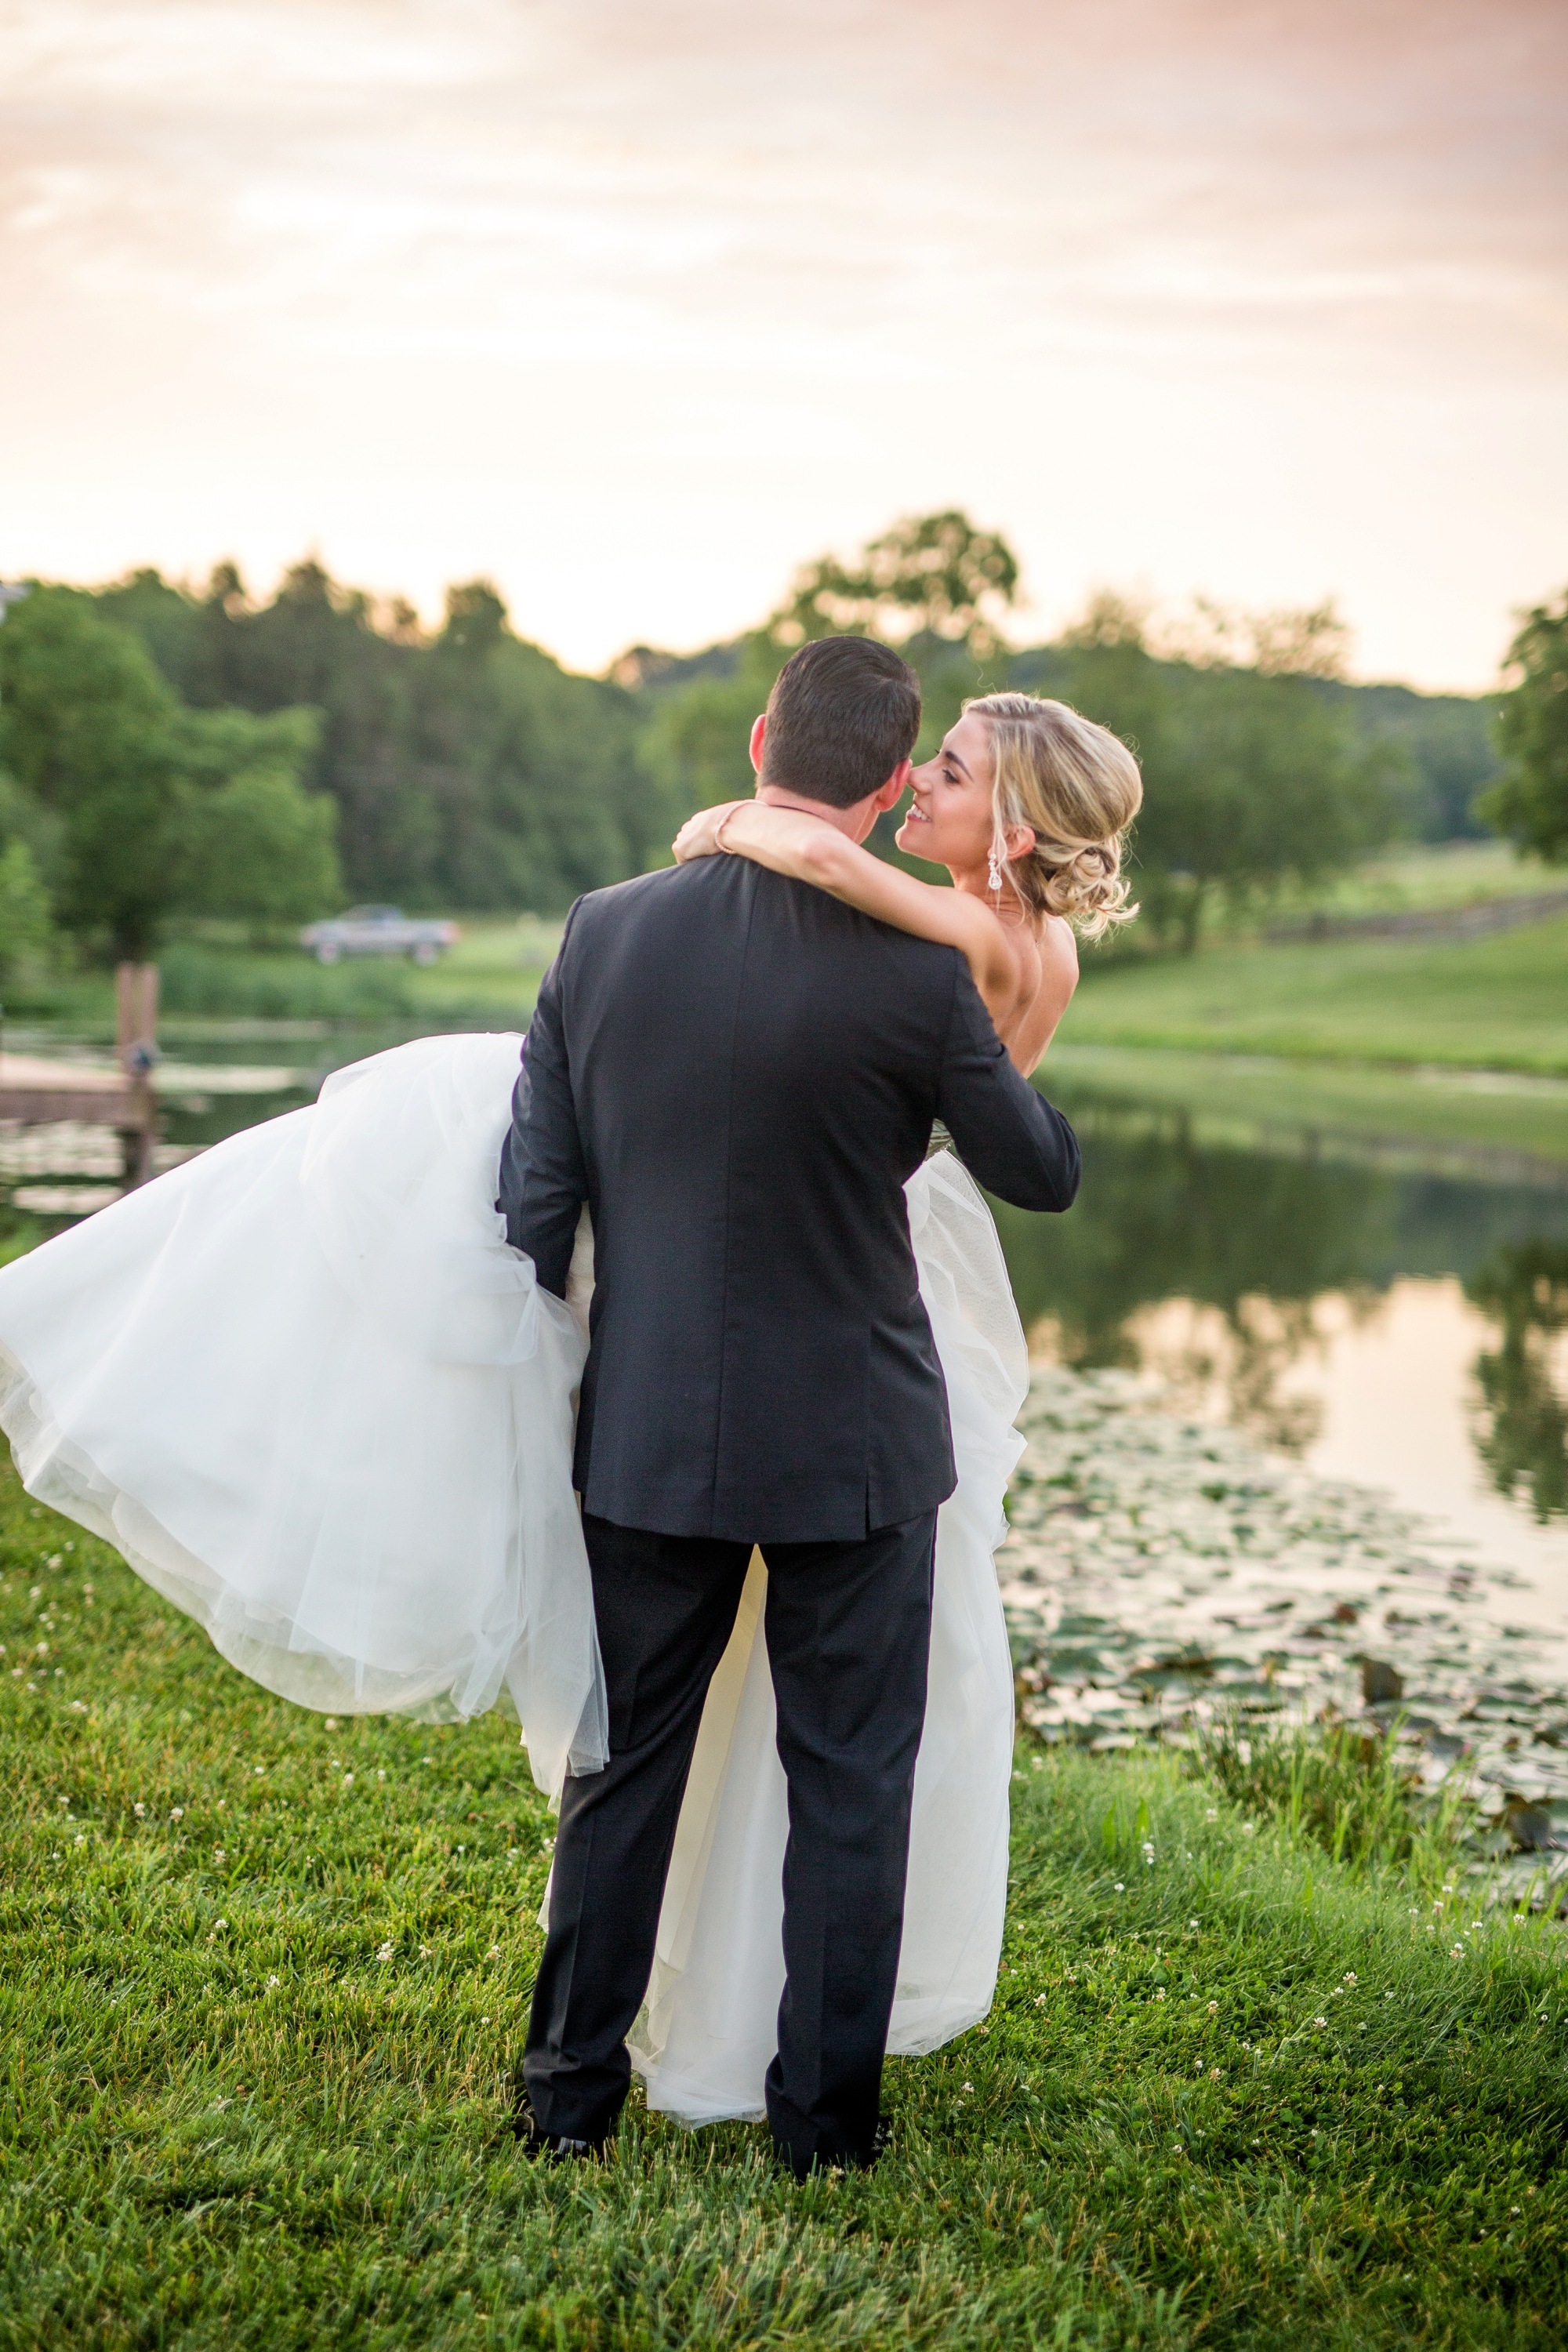
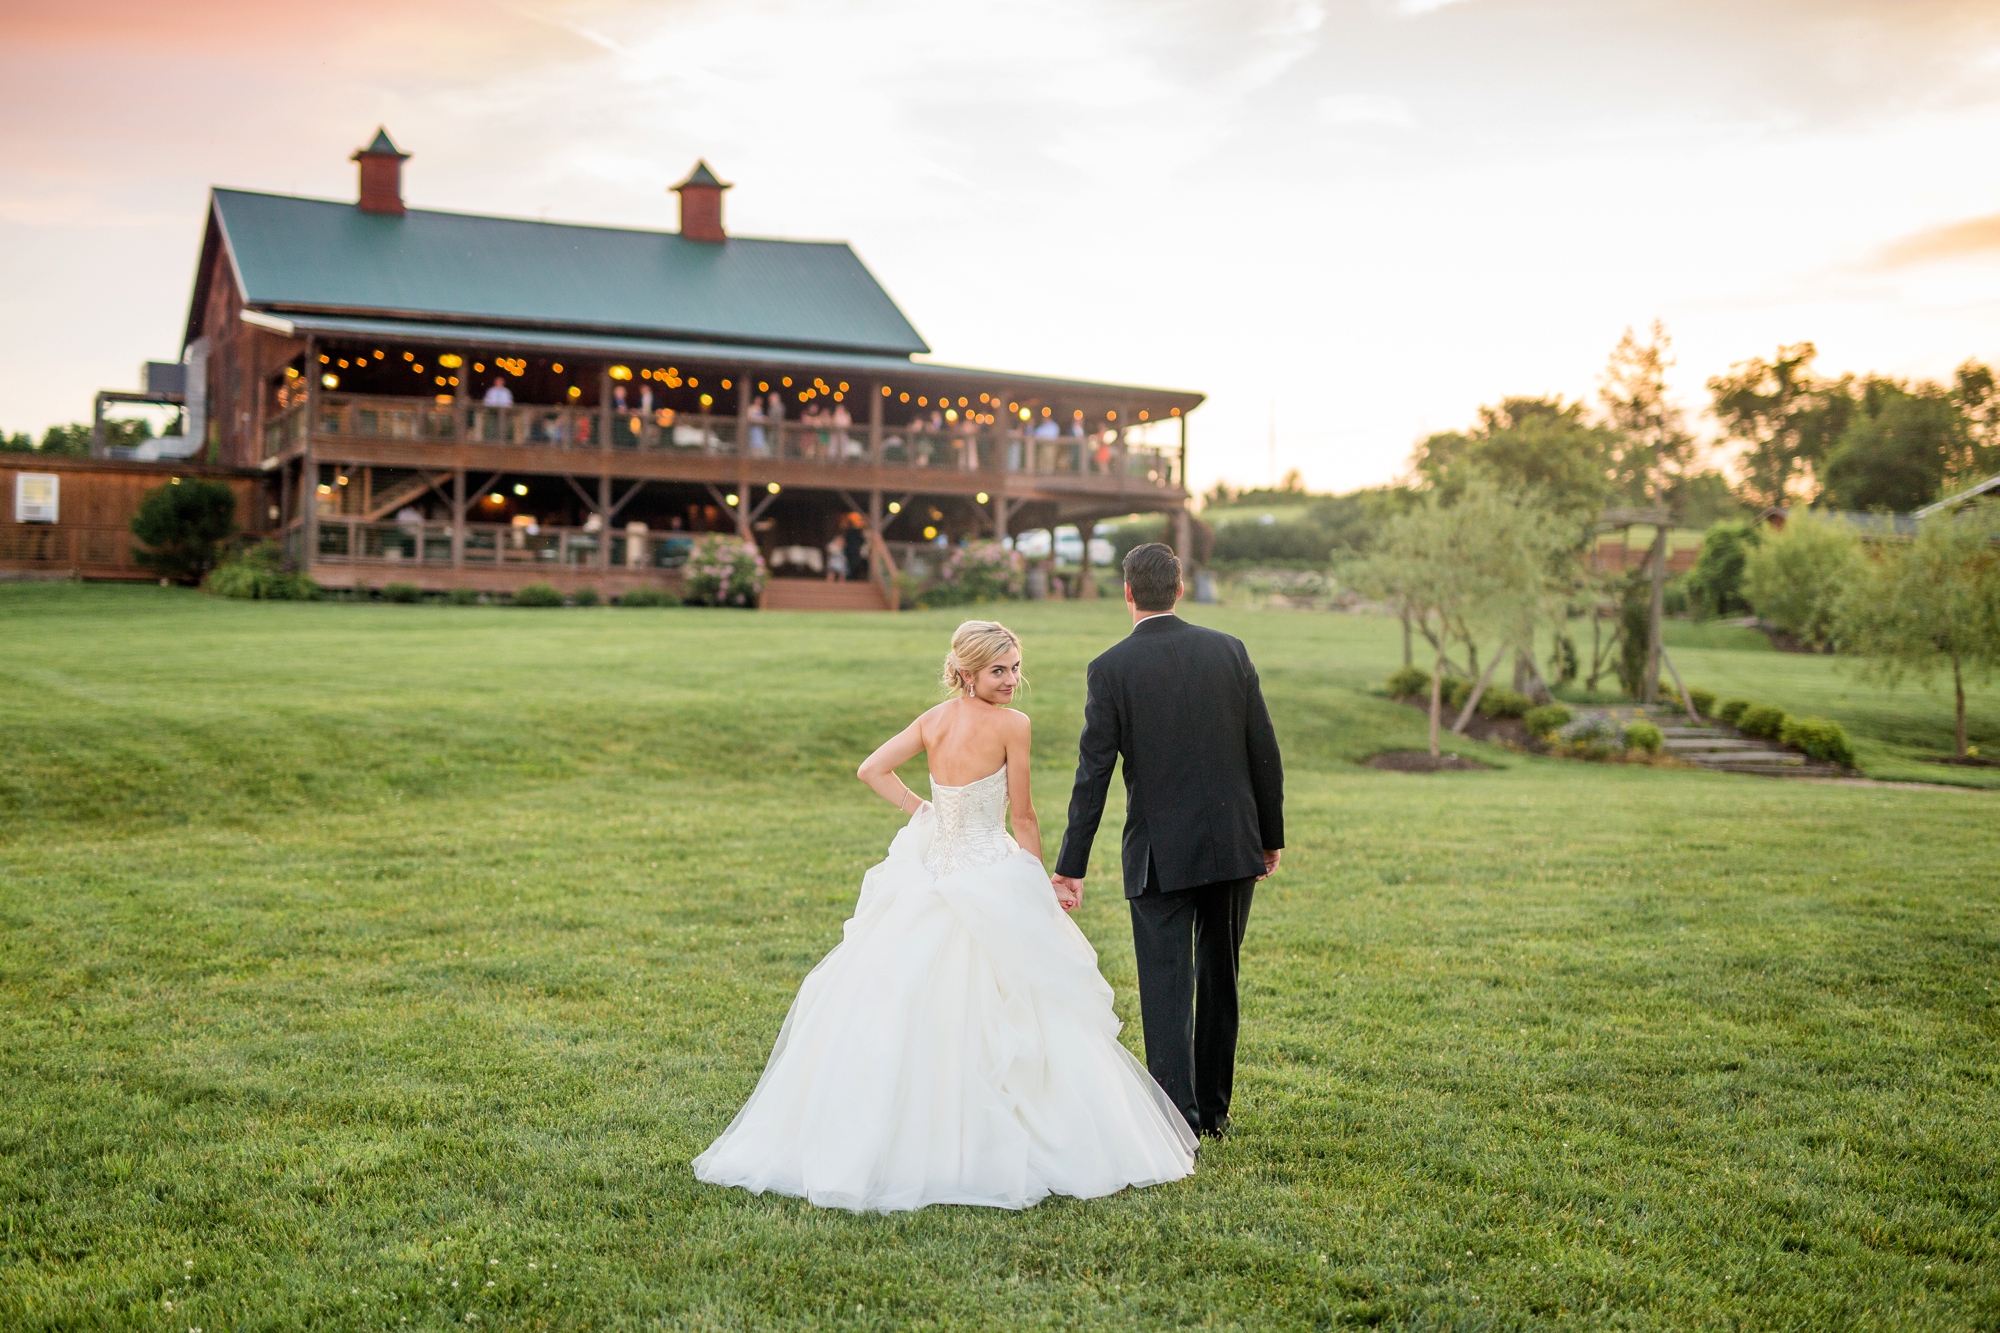
In the very first feature of this new blog segment titled “venue highlights,” I’m excited to introduce you to one of my favorite venues: Lingrow Farms! I’ve had the privilege to photograph two drop-dead-gorgeous weddings at Lingrow Farms, and I always walk away from Lingrow weddings so incredibly excited to go back!

In these venue highlights, I want to share some of my favorite attributes of each venue when it comes specifically to photos – mainly, why I love shooting there, how picturesque the venue is from a photographer’s point of view, and how rain could affect your wedding photos at each venue. My hope is to help viewers see the potential of each wedding venue I highlight specifically from a photography perspective so you can ensure that your photos will be gorgeous!

Picturesque:

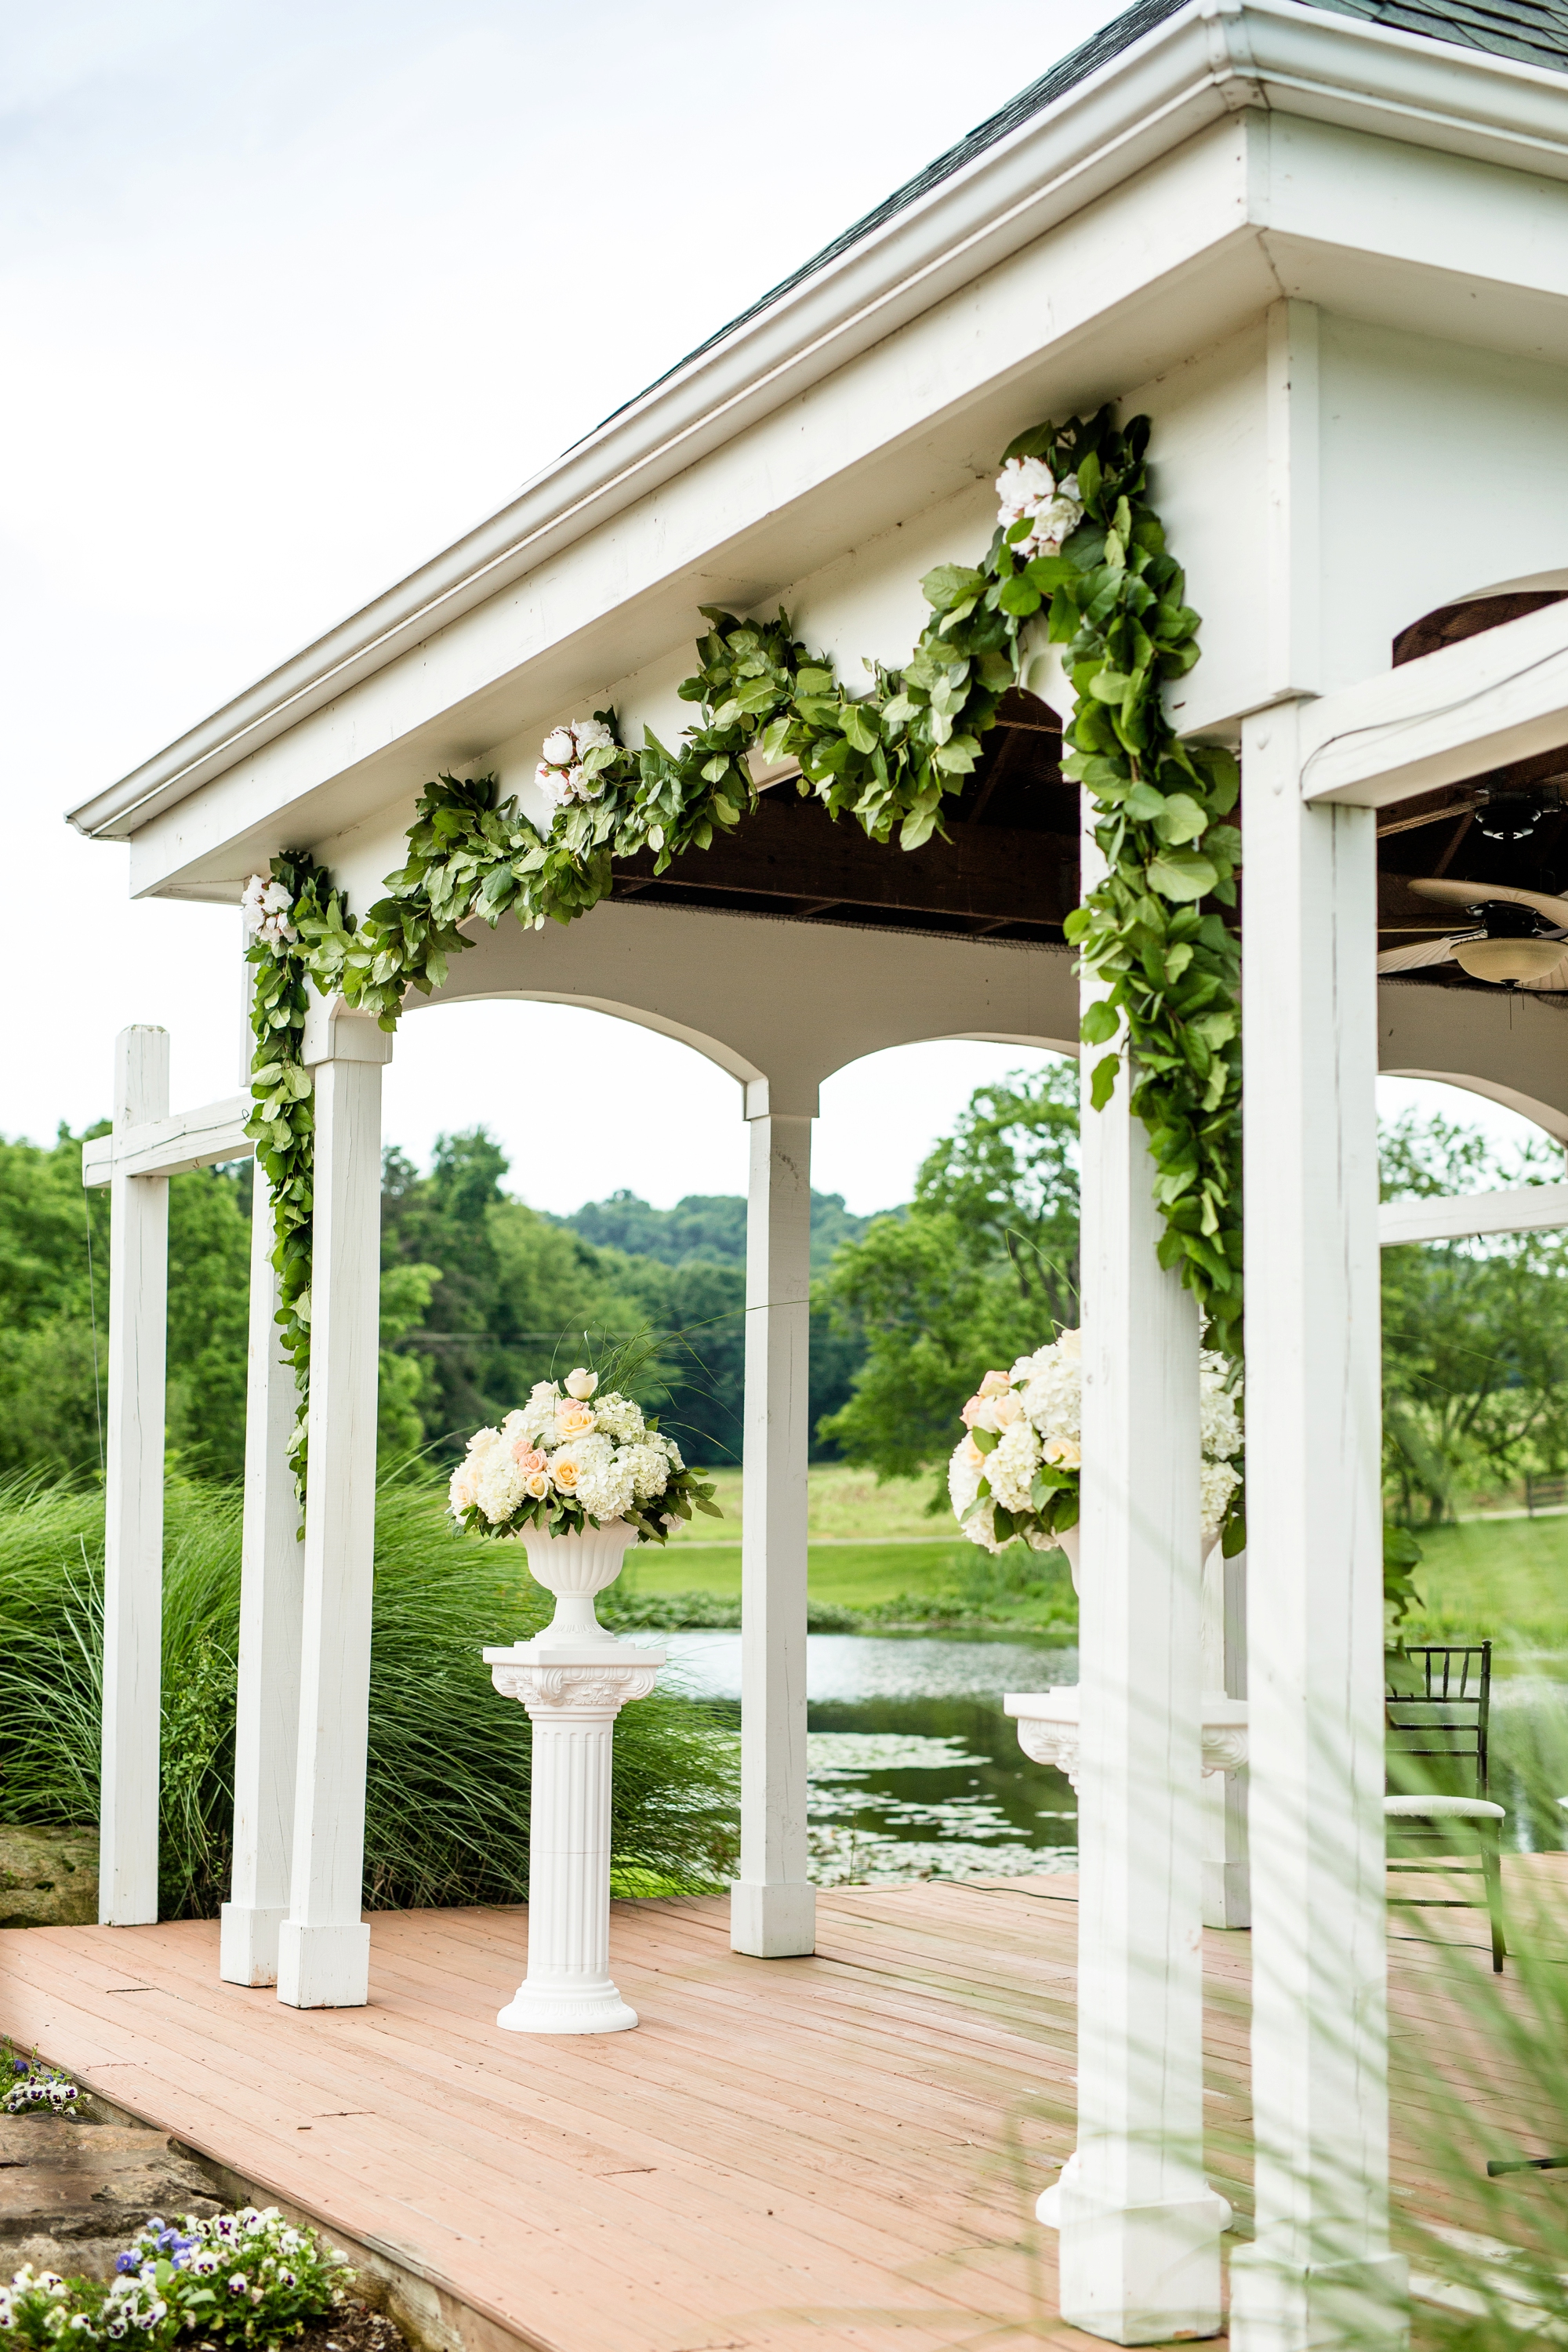
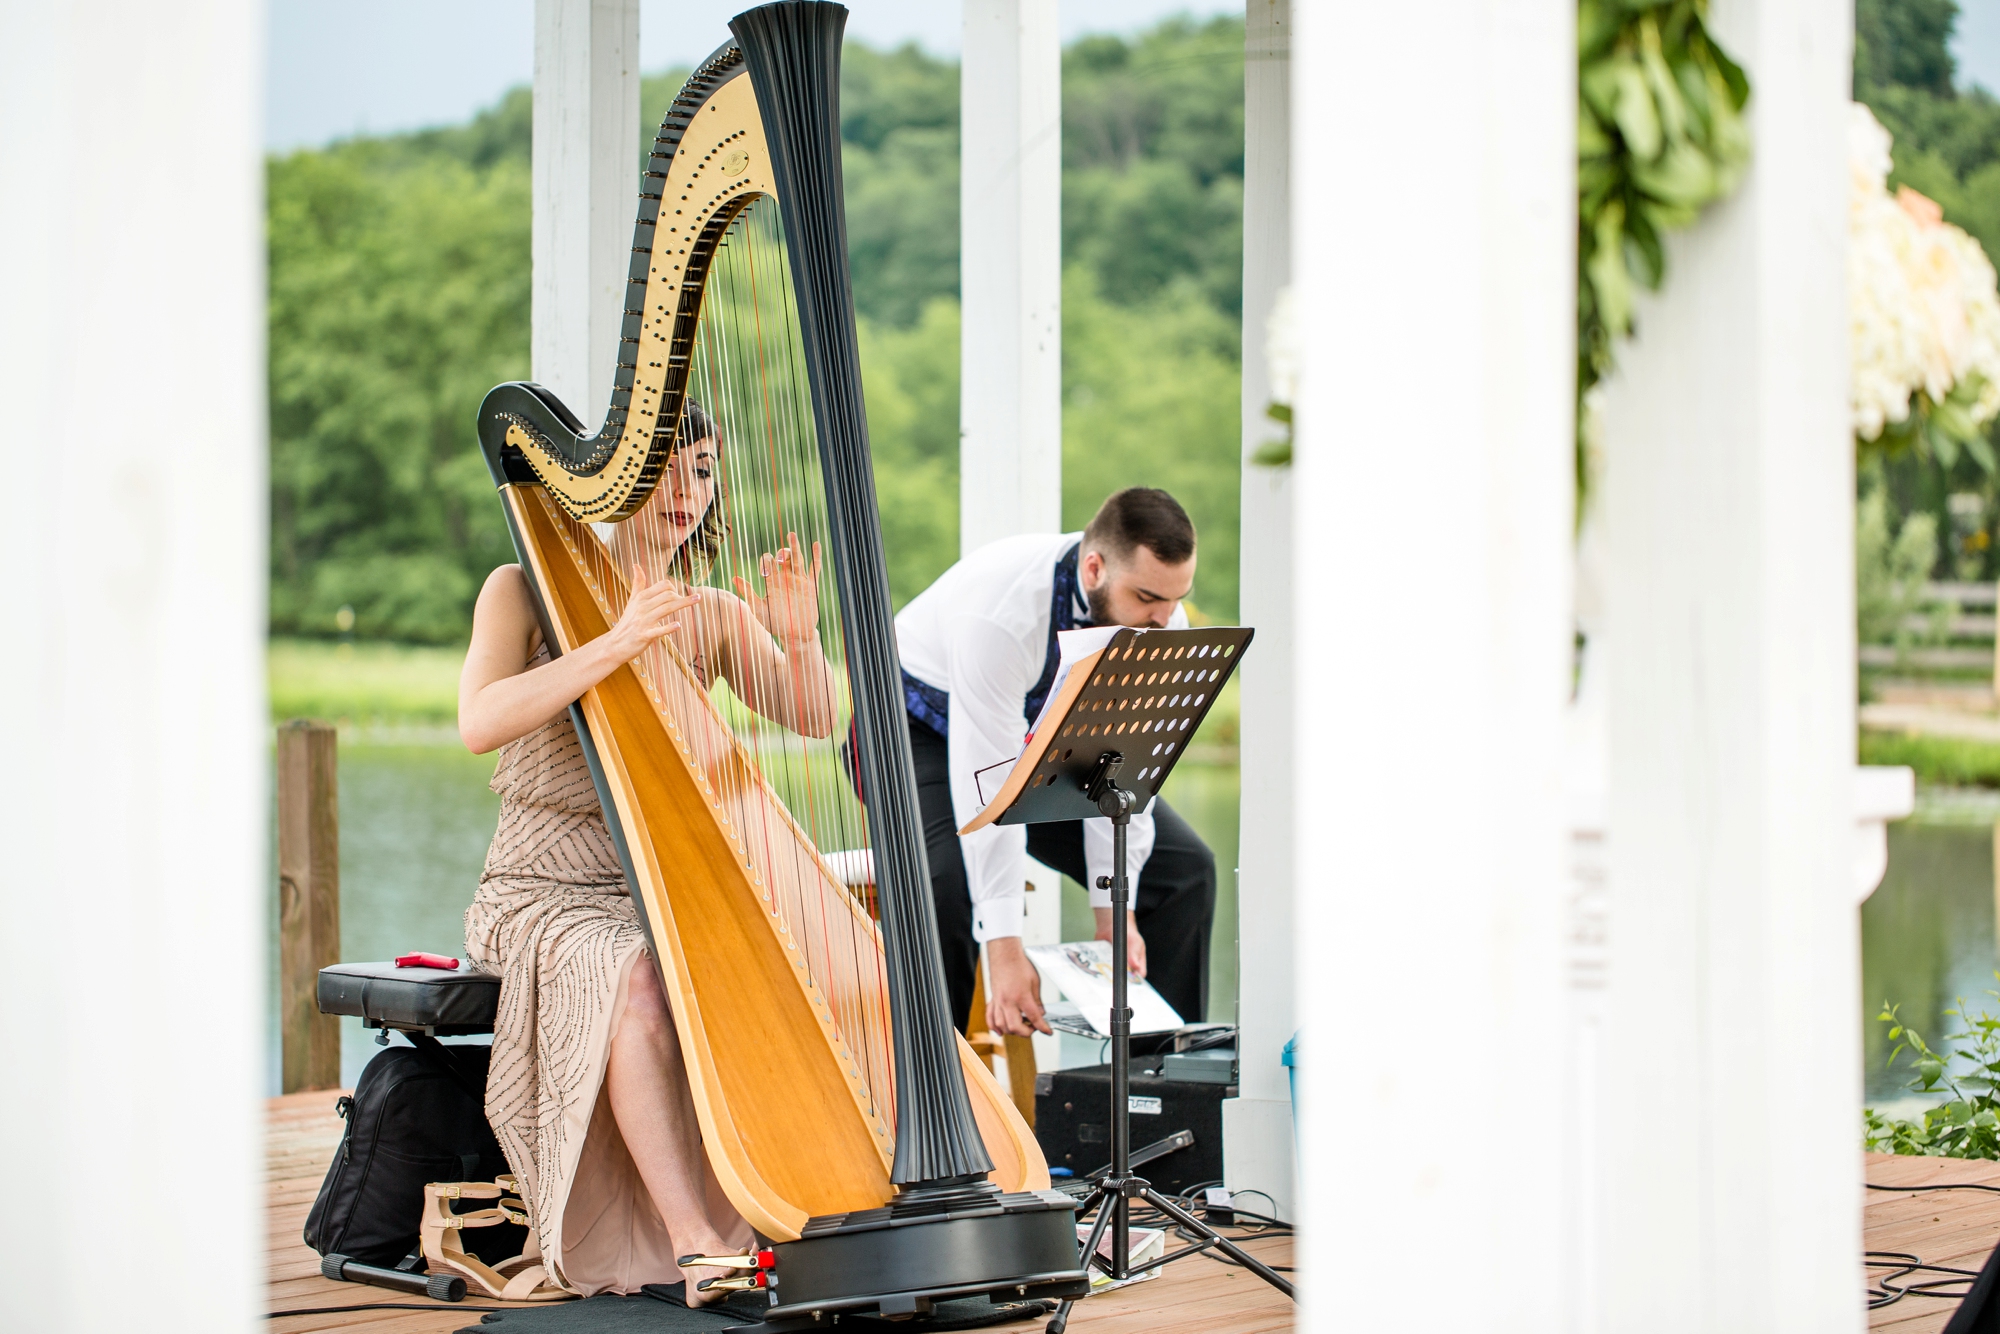
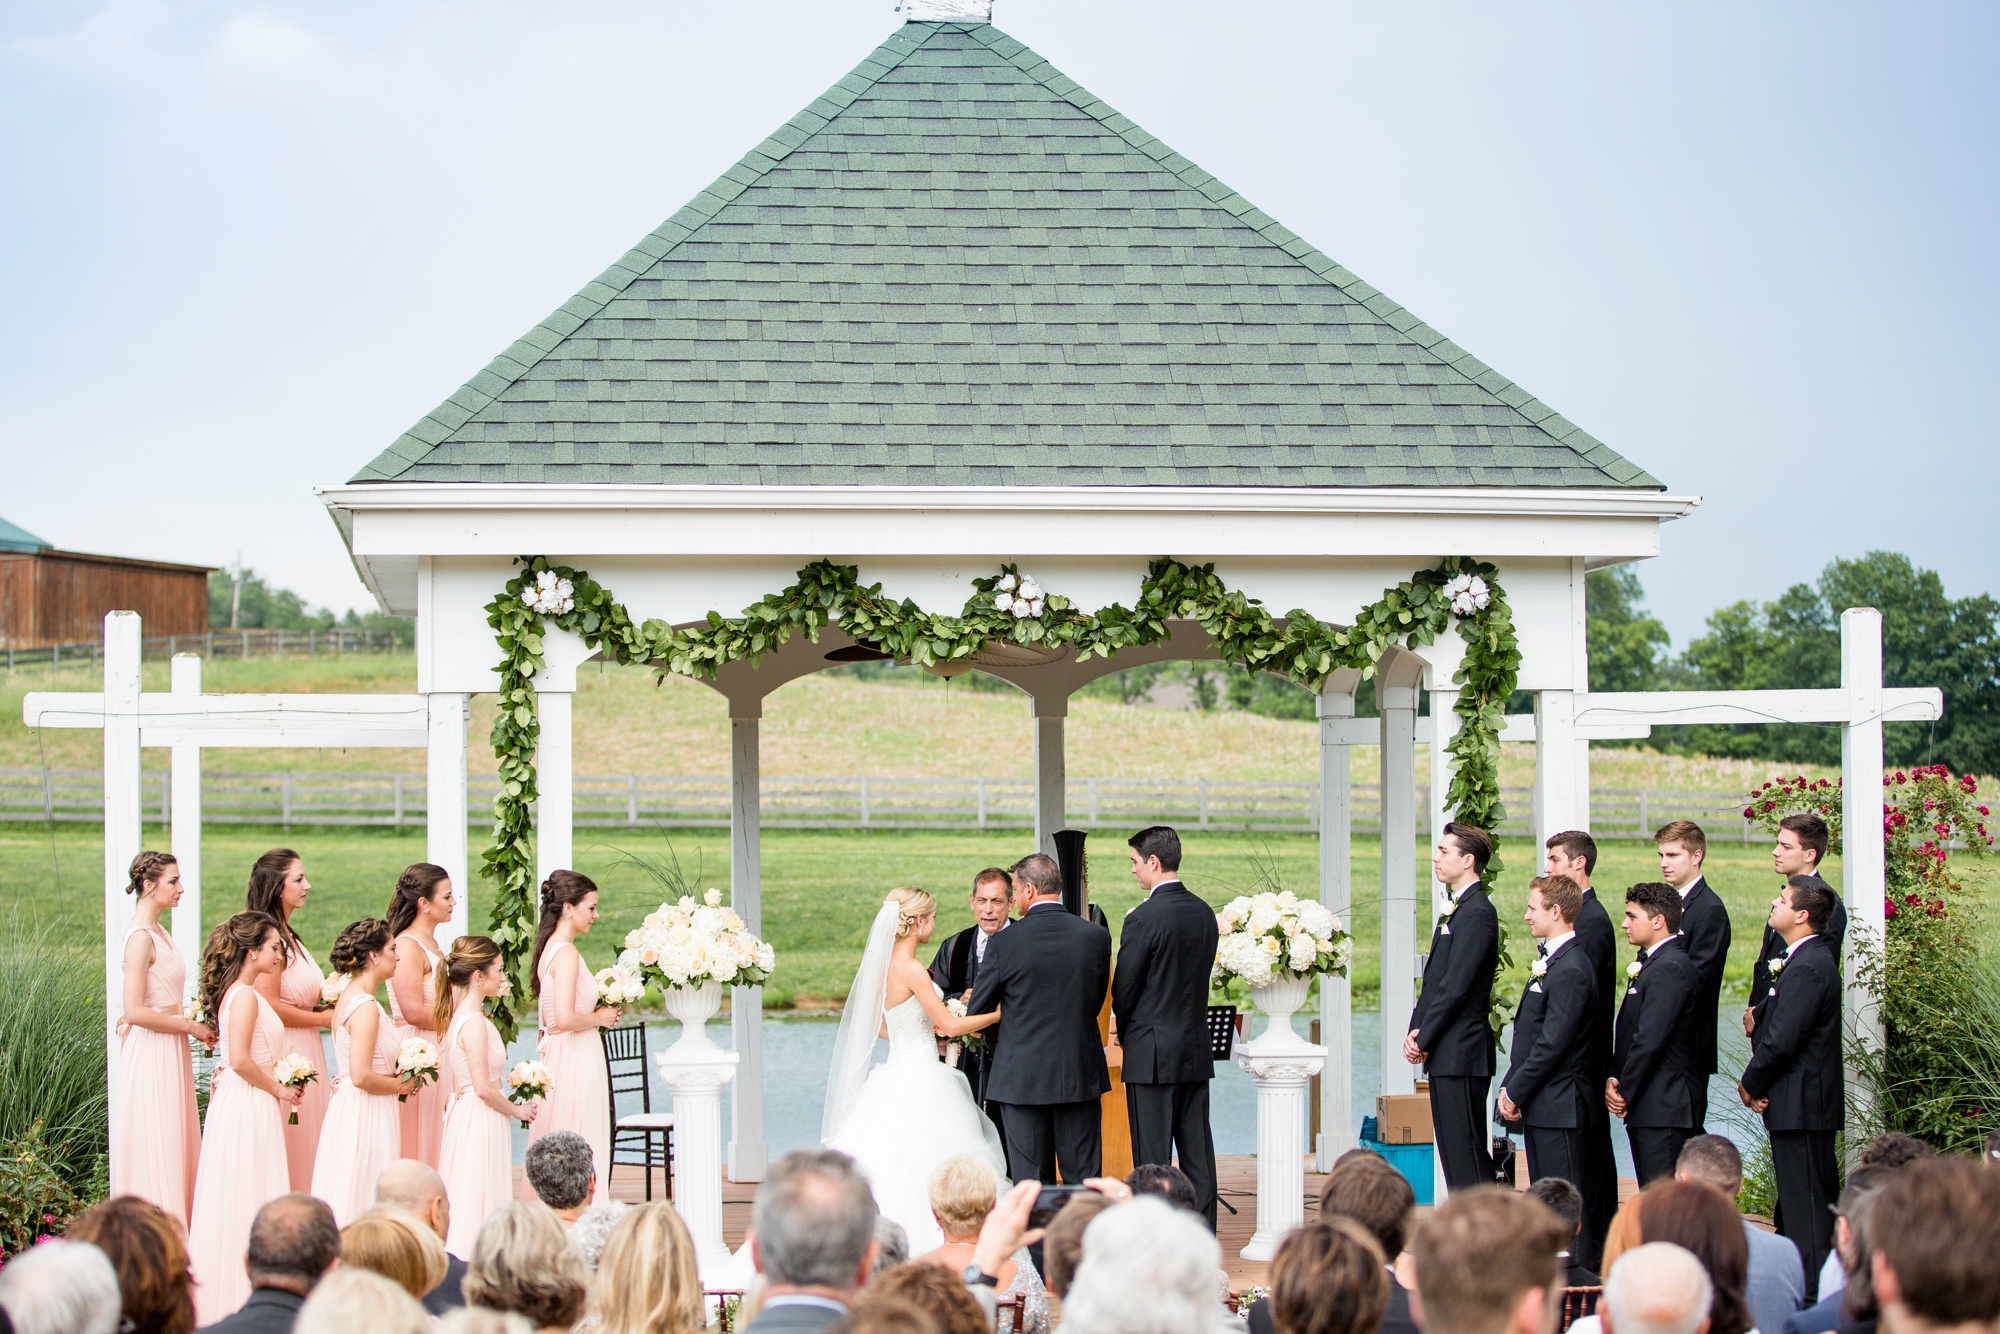
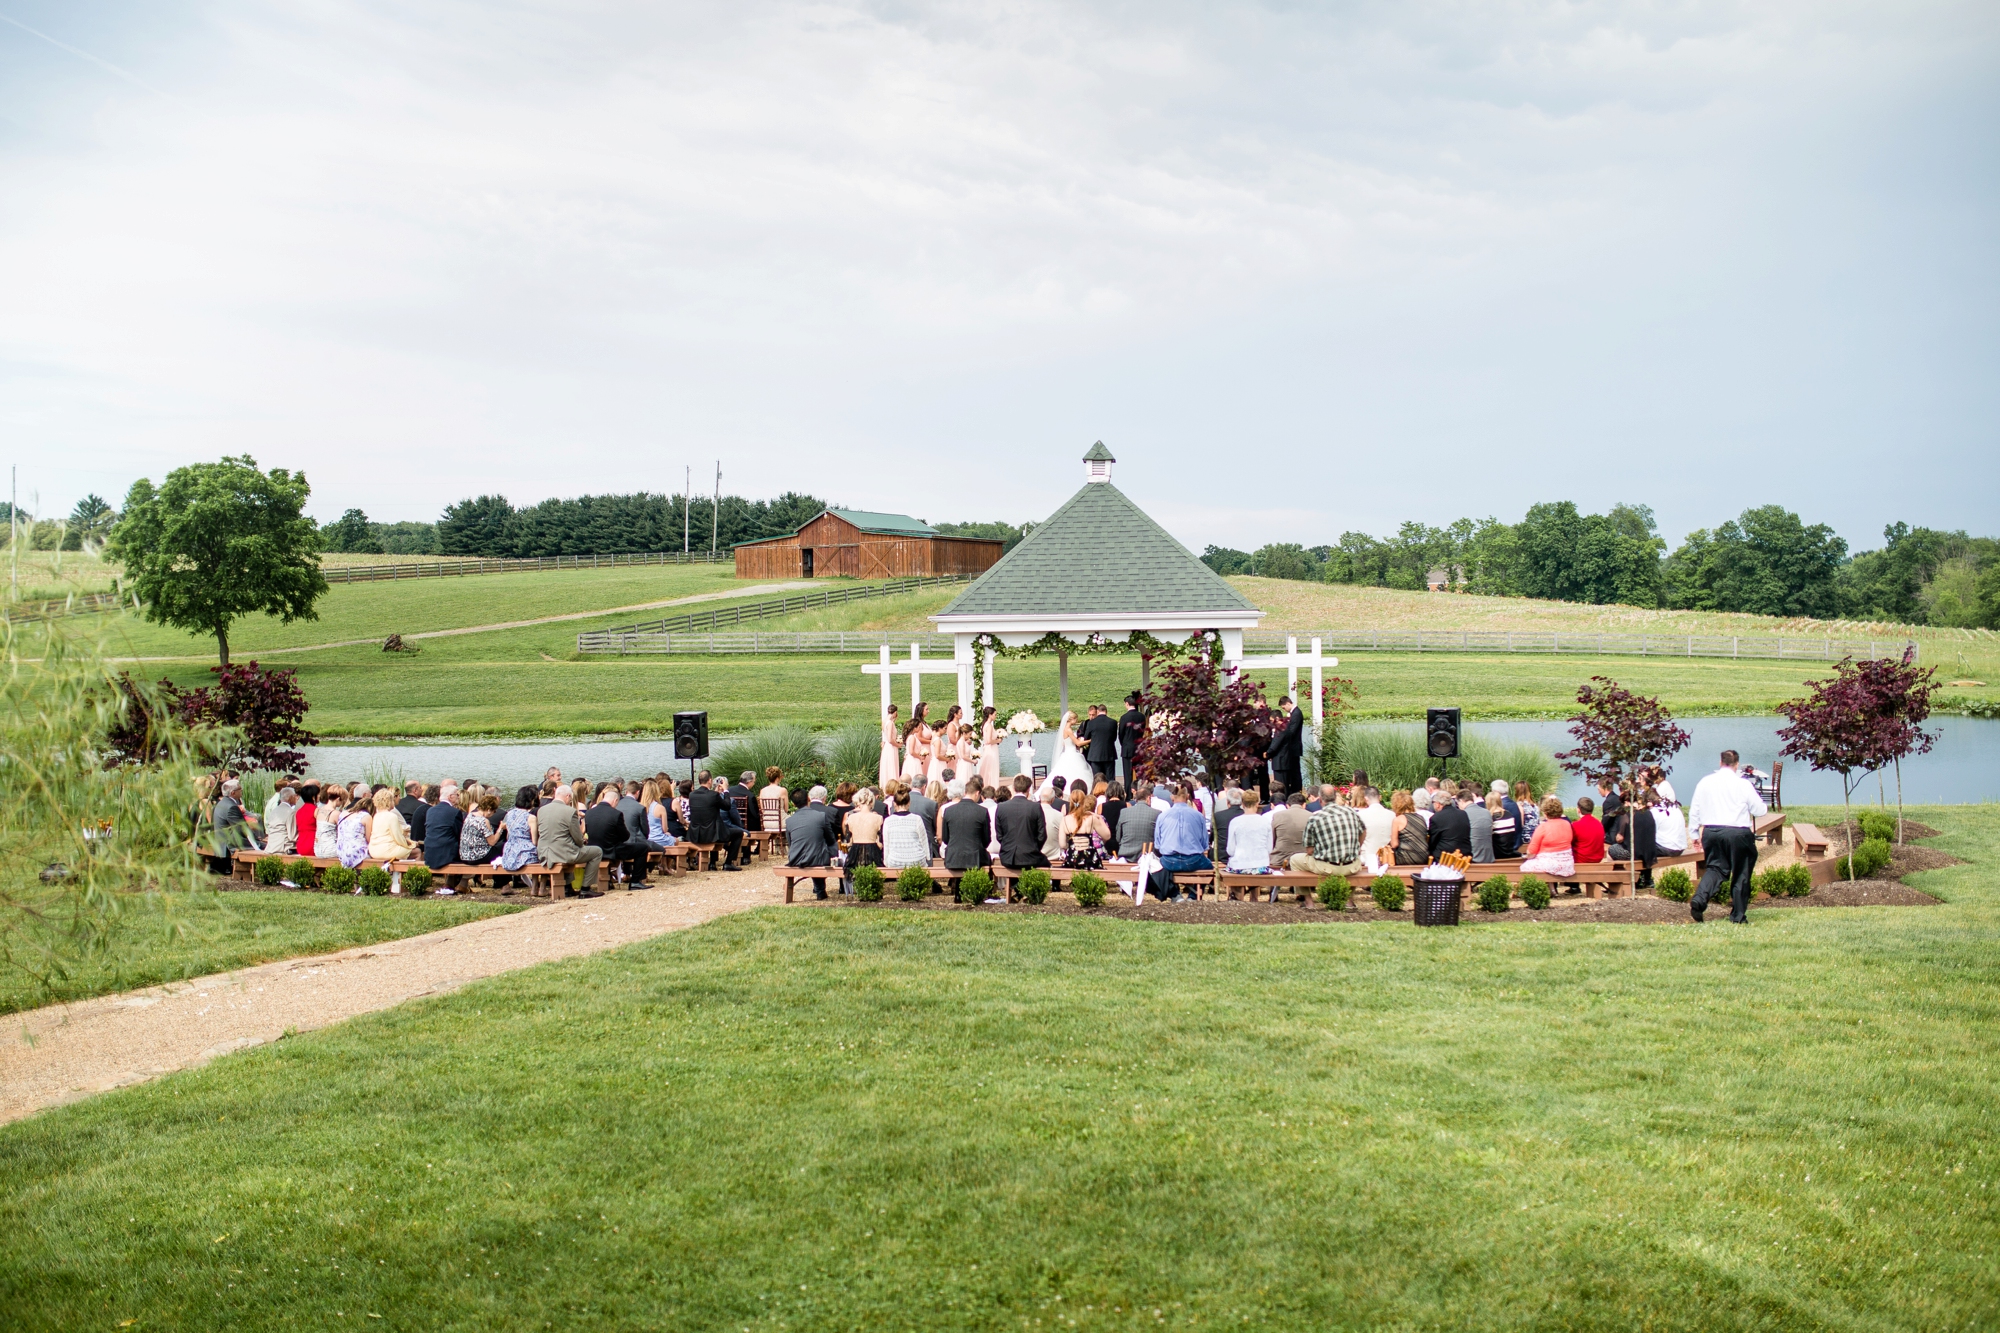
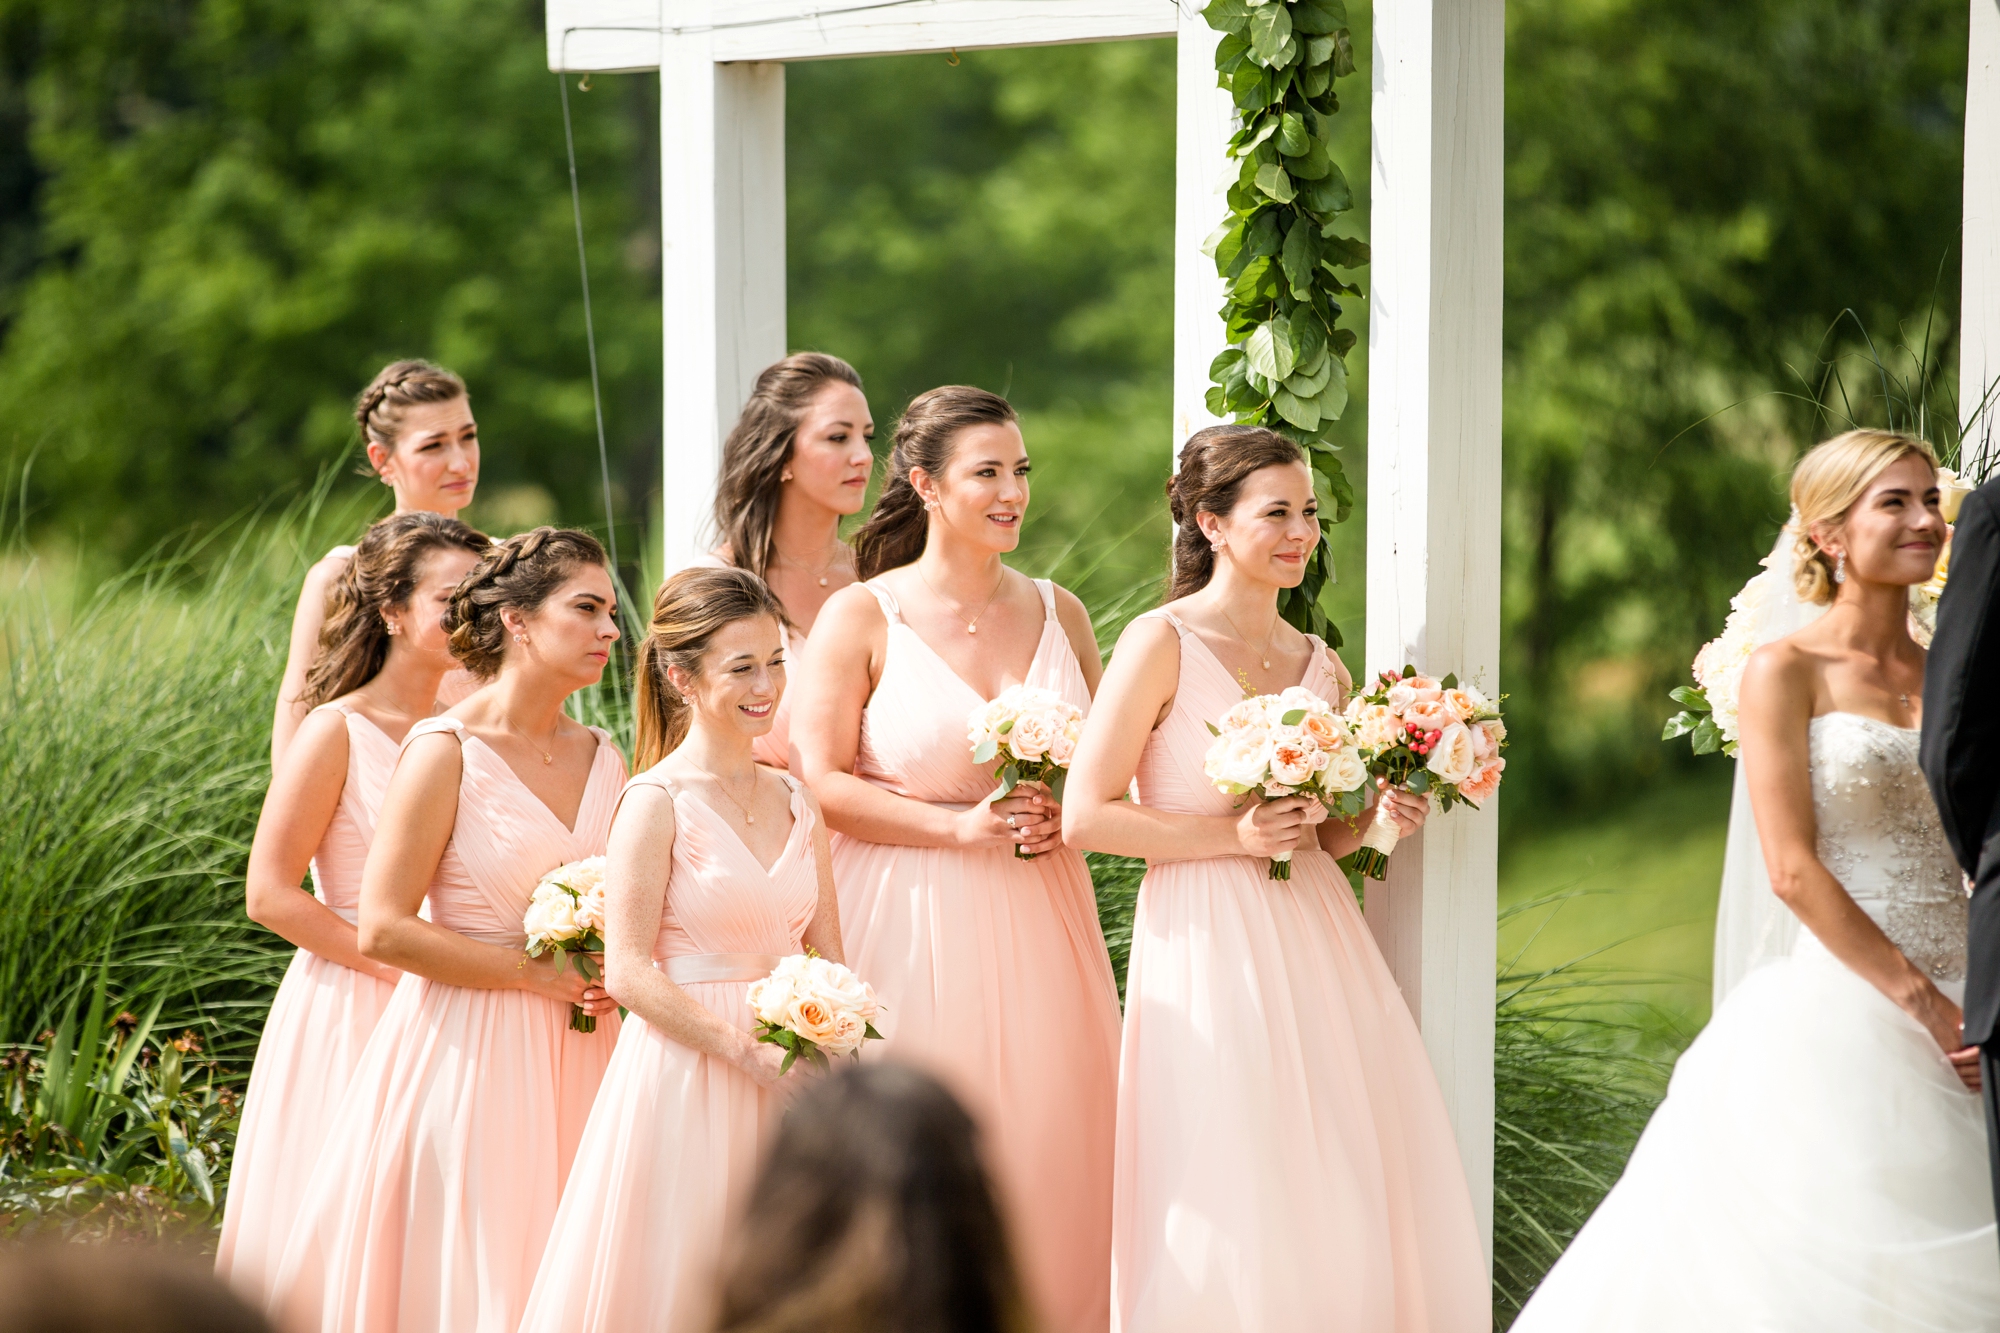
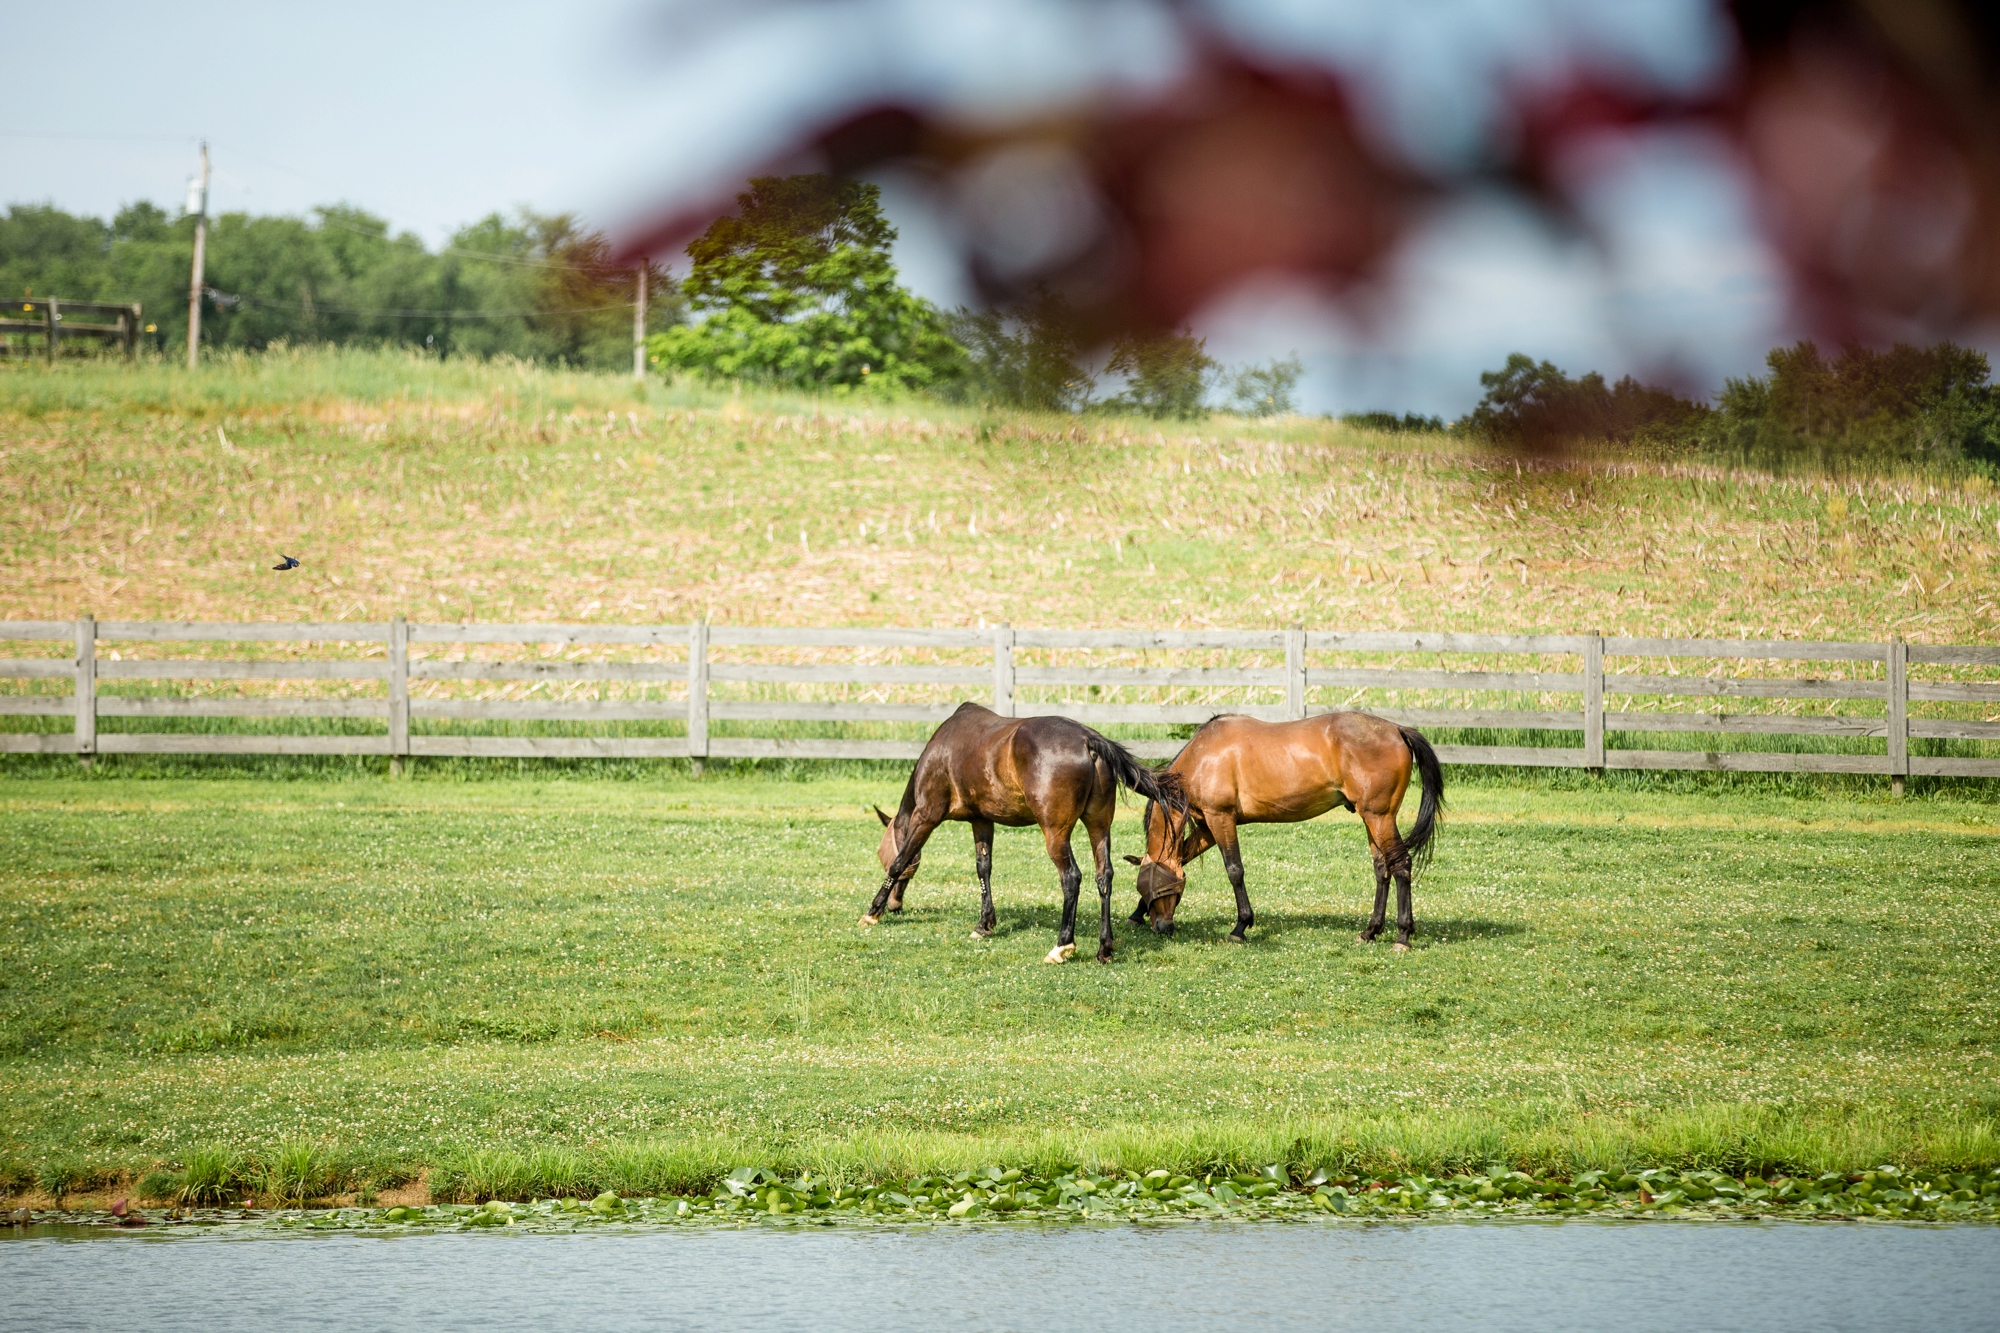
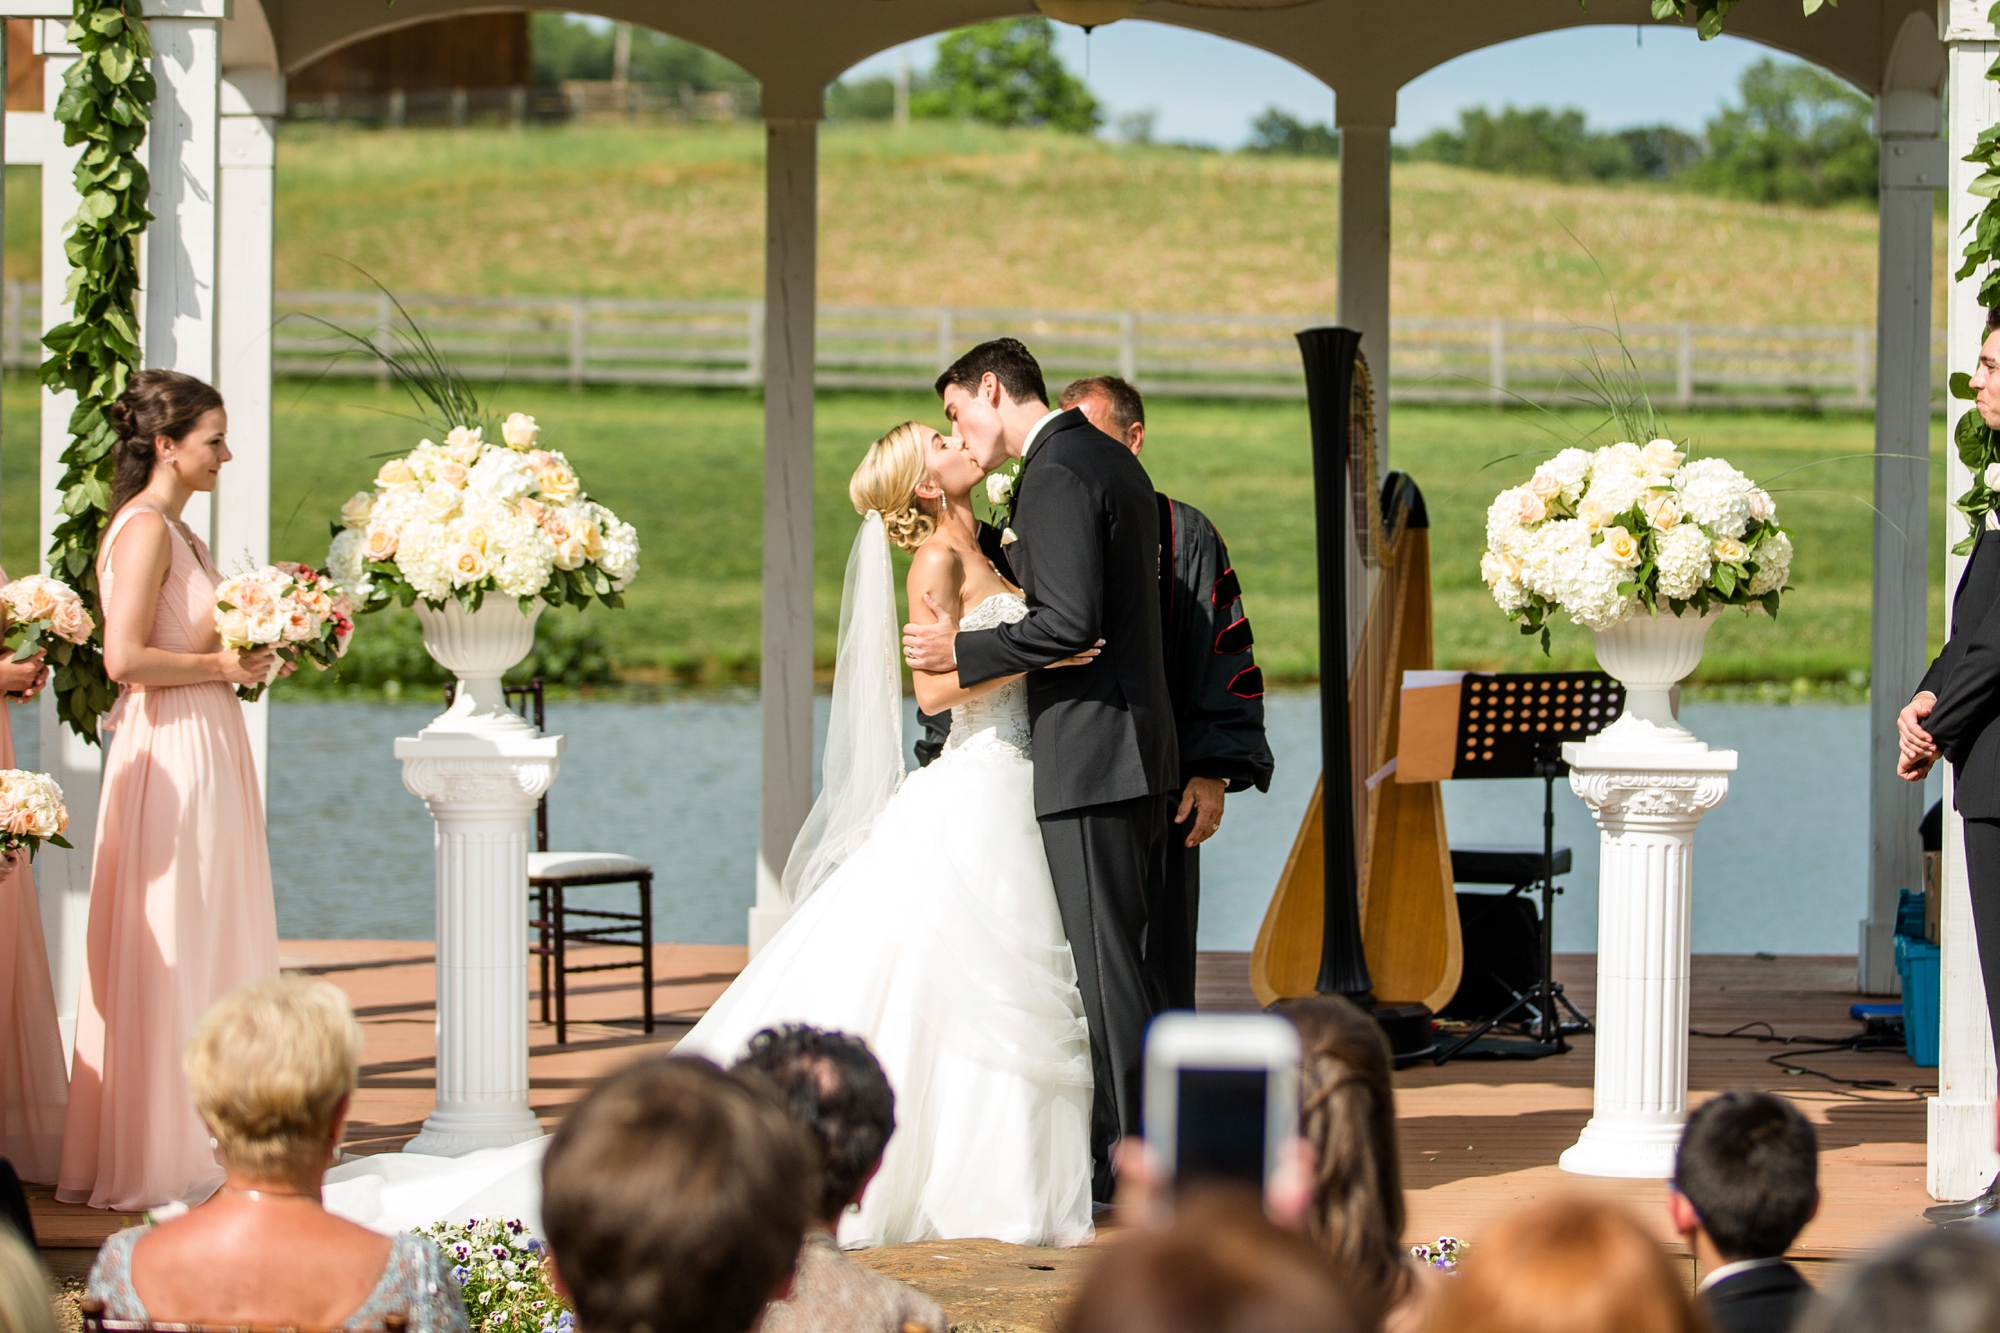
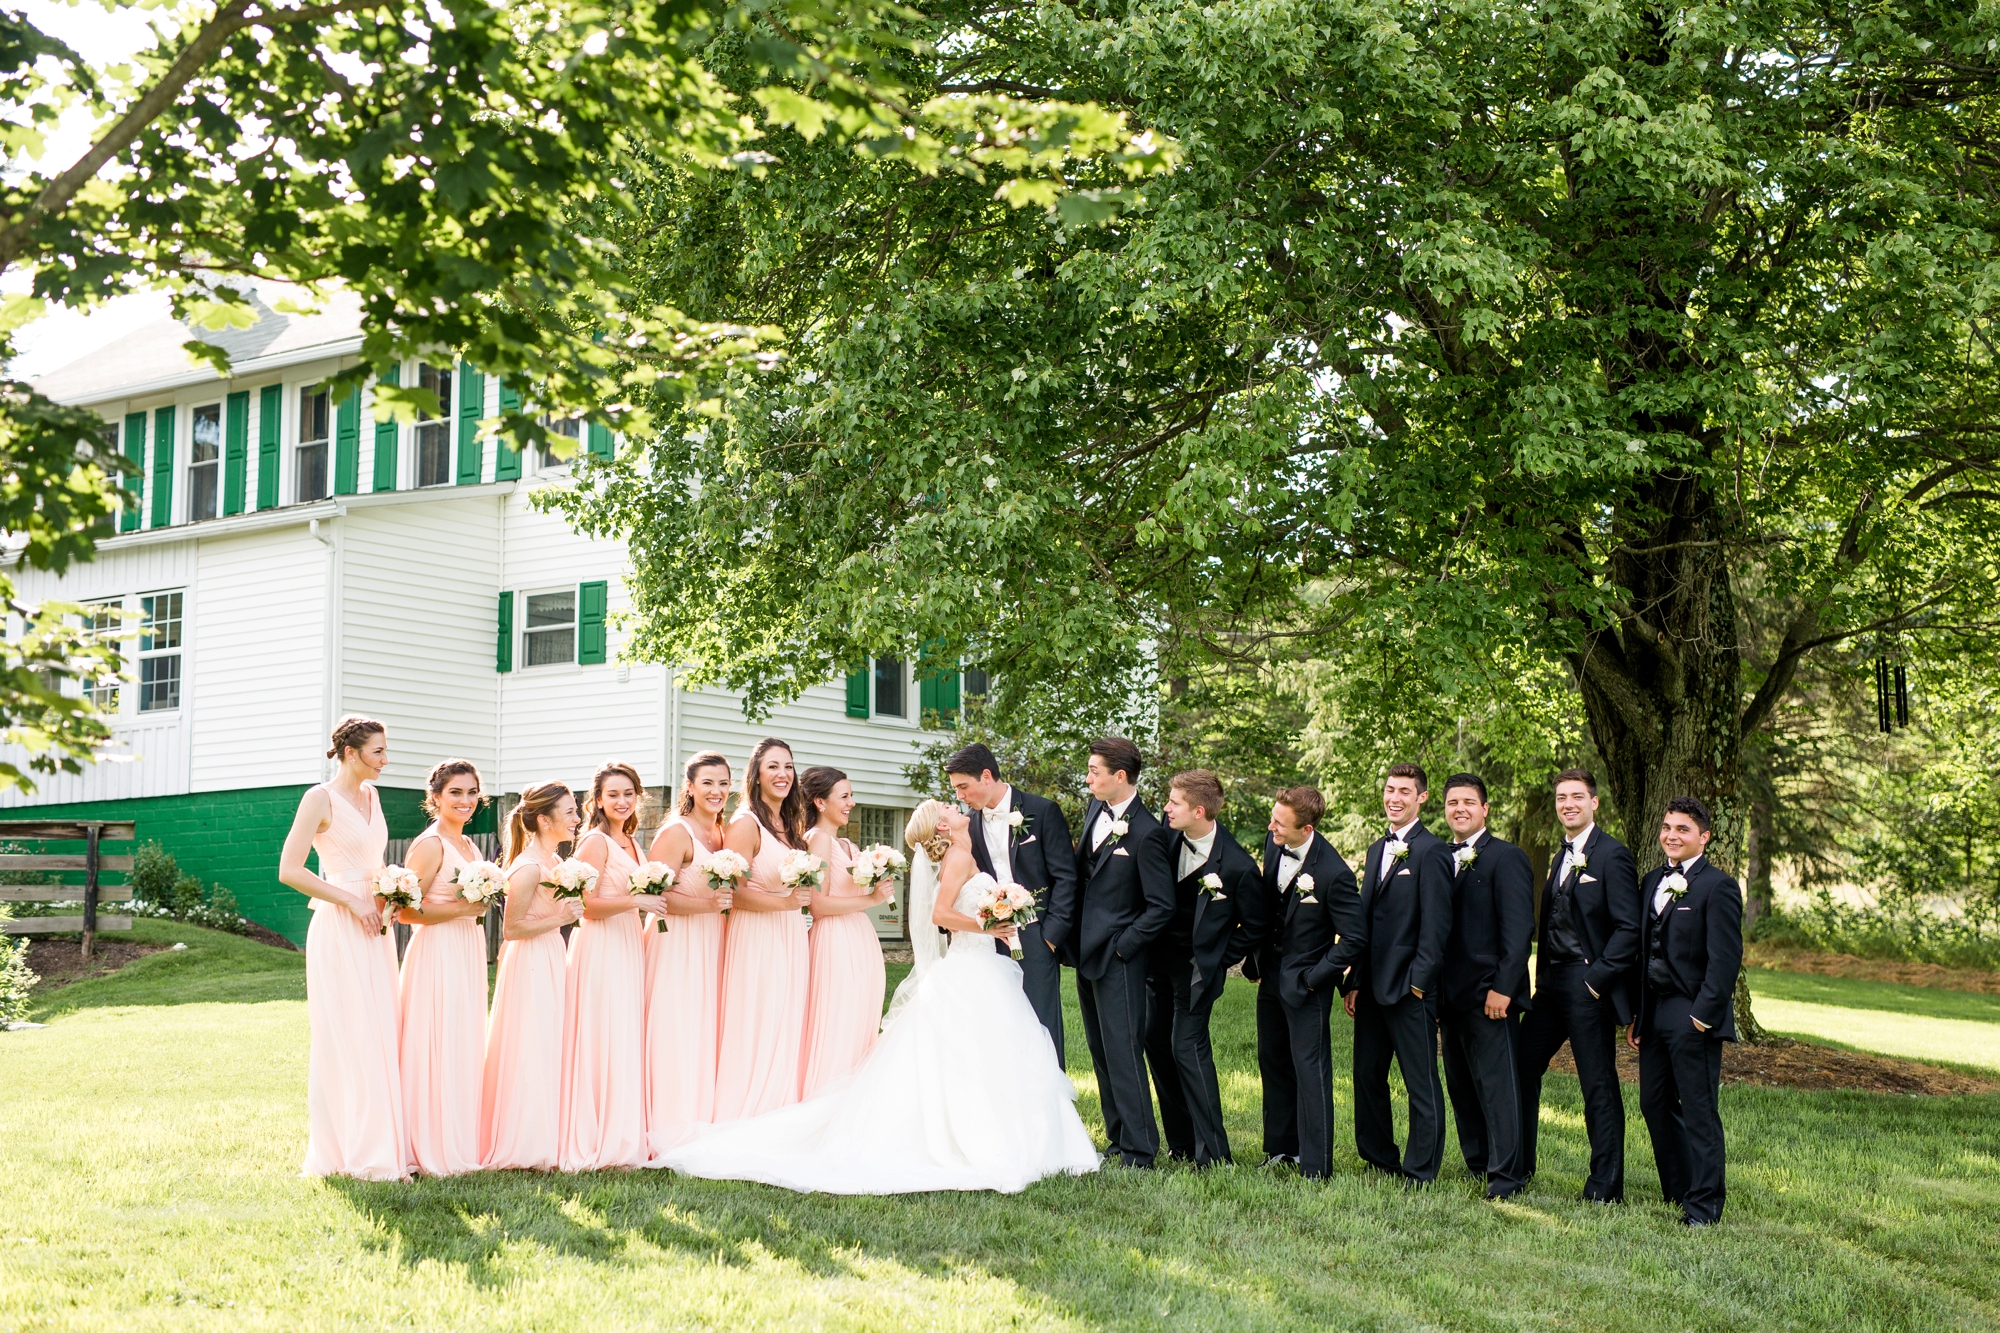
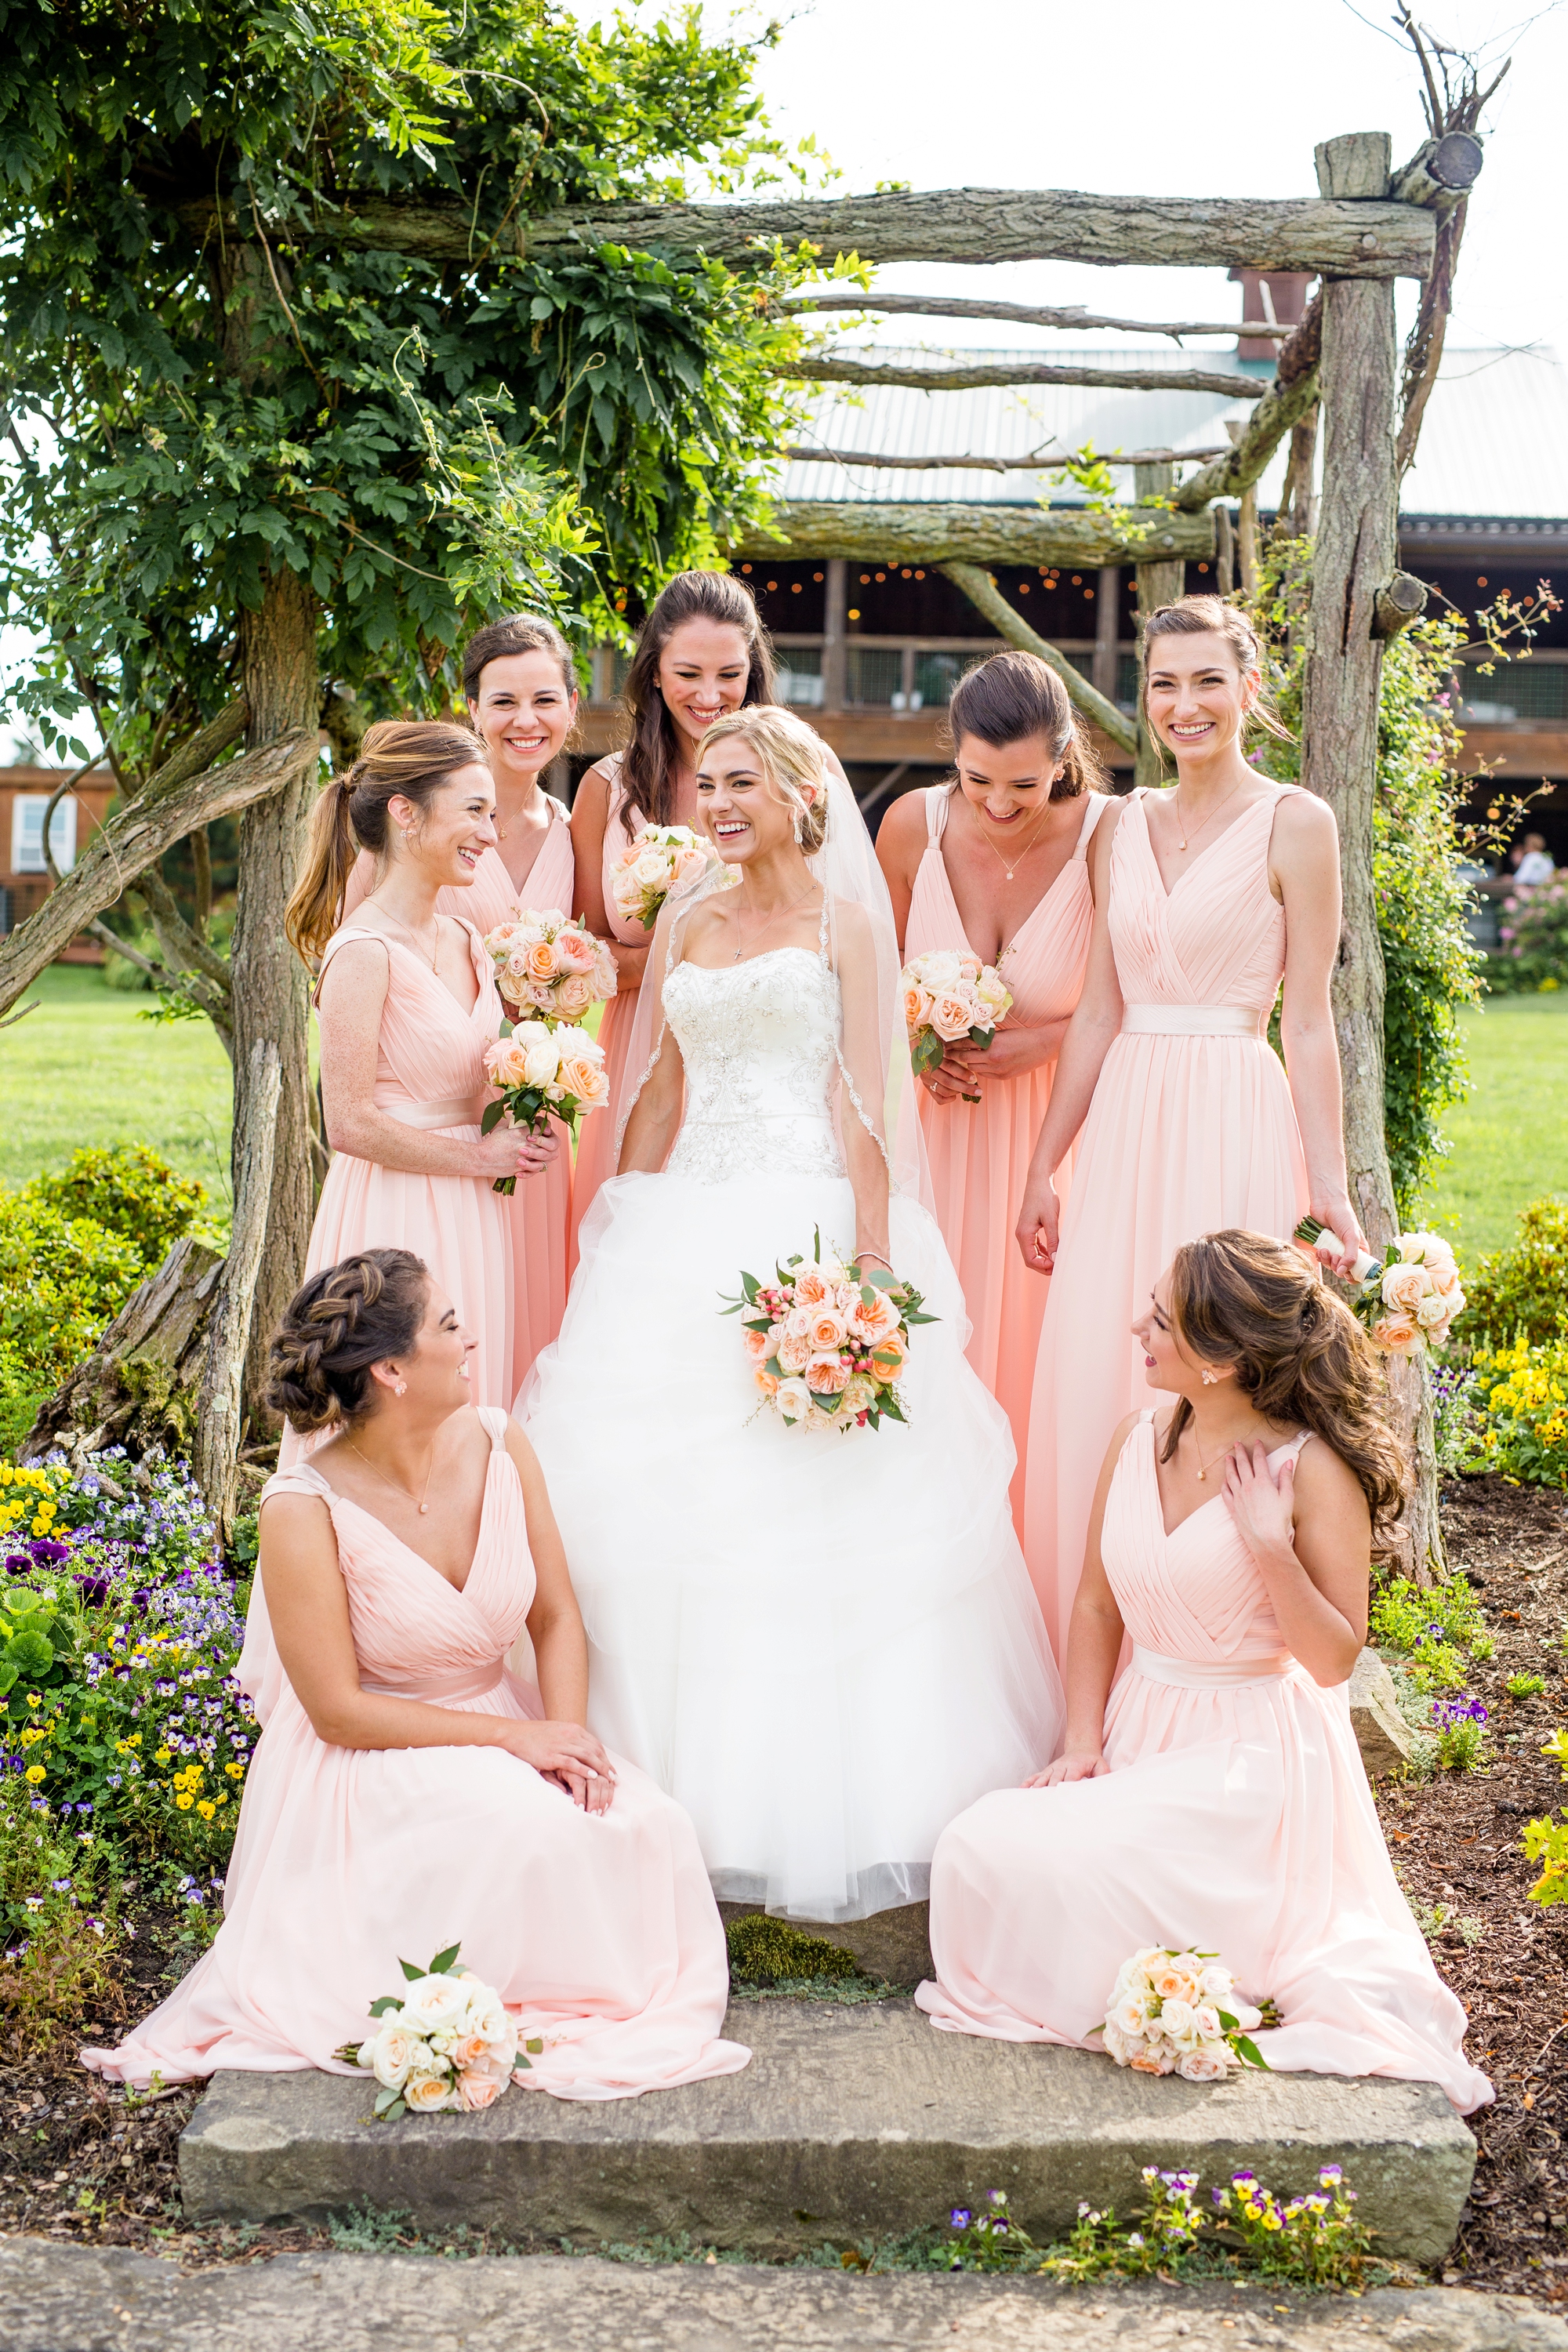
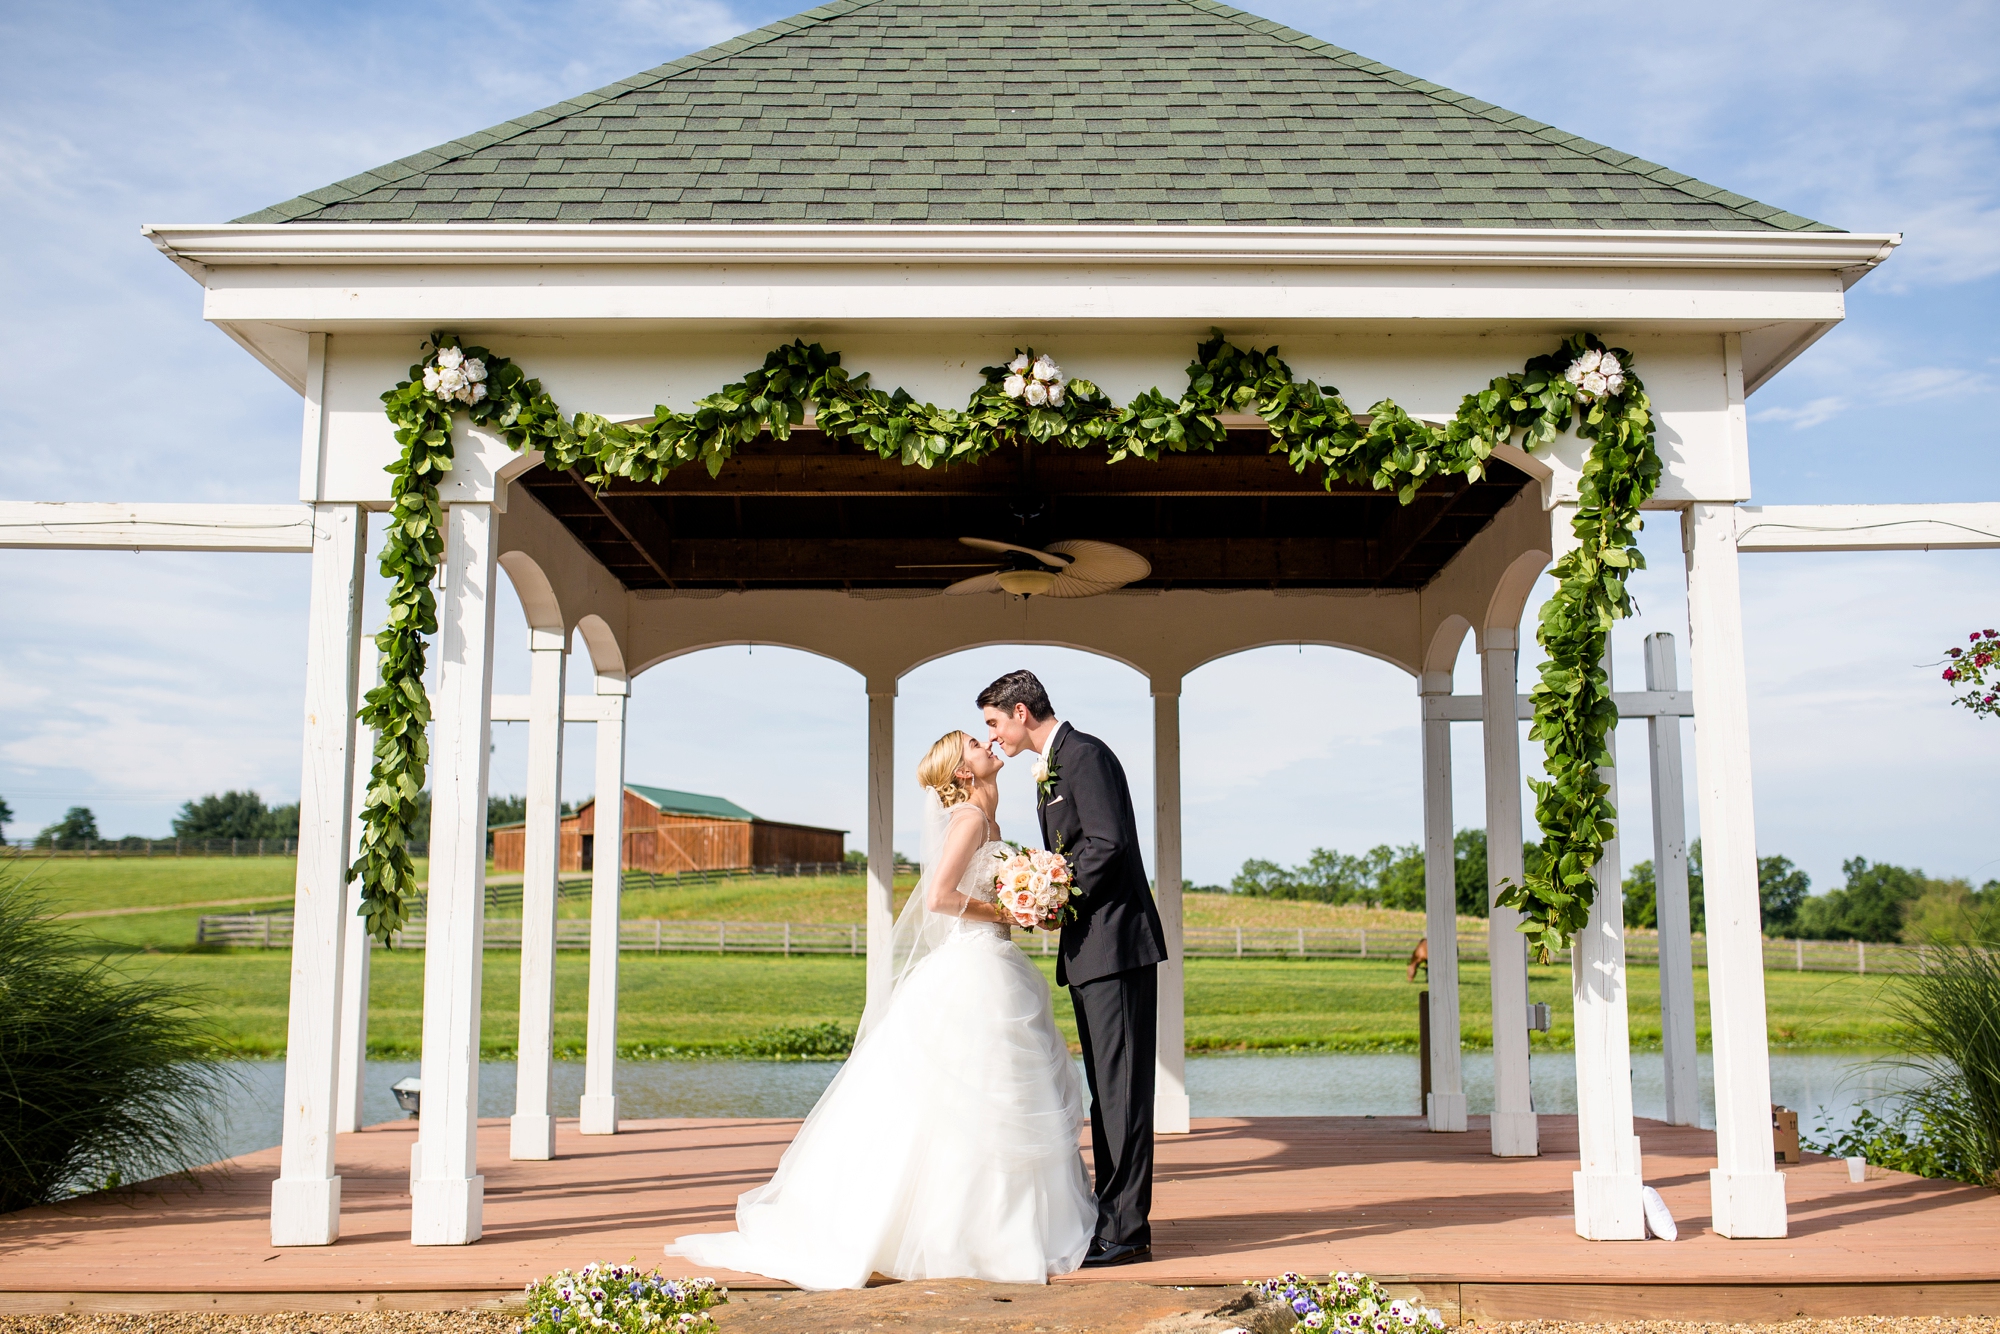
This category is self explanatory, because if you’ve ever seen photos from Lingrow Farms, it’s easy to see how gorgeous their venue really is! When it comes to taking photos there, everything is beautiful! From the getting ready locations (the Carriage House & Farm House) to the outdoor ceremony location in front of the pond (with horses in the background, of course!) to the rustic reception barn, to so many other locations in between – there is so much opportunity for gorgeous photography!

Rain Plan:

When choosing a wedding venue, it’s always important to consider a rain plan – for me, I always tend to consider: is it still possible to get beautiful photos at this venue in the case of inclement weather? And at Lingrow, it most certainly is! There are a few covered and indoor areas that would make it fairly easy to still get beautiful photos at this location. For instance: the carriage house, the covered outdoor wedding pavilion (usually the ceremony spot), the reception barn (there are overhangs that can be used to still get that natural light look!) as well as the farm house itself, with lots of beautiful nooks and crannies inside.

Other Mentionables:

When I was a bride back in August of 2015, one of the non negotiable items when choosing where to have our ceremony and reception was that everything had to happen on the same property. I wanted to get ready where my ceremony and reception would be because I had seen from photographing weddings how much more at ease my couples were when everything happened in the same place! No need to worry about driving from one place to the next, losing people in traffic or being late, because everything was right in the same place! That is yet another reason why I LOVE Lingrow Farms. The bride, groom, and entire bridal party can all get ready ON property, then just walk outside to the ceremony and into the barn for the reception. Talk about easy!

If you are a bride who is looking into Lingrow Farms as a potential wedding venue, I would love to chat with you more! Feel free to email me directly at jhidingerphotography@gmail.com with any questions you might have!

Comment

My Favorite Lenses (Canon)

Comment

My Favorite Lenses (Canon)

I think it's safe to say that every photographer has a favorite lens or two - or, at the very least, a lens or two they use more than the others to achieve a specific look and feel!

There are TWO lenses that I use most often when I'm photographing weddings, engagement sessions, senior sessions, and family sessions - both of them have been strong work horses for me and help me achieve the look and style that I have created for my brand! The first lens is my favorite (and one that I love so much that I actually have two of, just in case something happens to one of them!):

Sigma 50mm f/1.4 art dg hsm for Canon

What I Love:

The thing I love MOST about this lens is how versatile it is! I use this 50mm for senior portraits, couples, wedding details, and pretty much everything in between to achieve a sharp focus point with a dreamy-creamy background. I used to use the Canon EF 50mm f/1.2 L USM, but I've actually found this one to be more reliable when it comes to lens sharpness and overall image quality.

What I Use it For Most:

I use this lens most for portraits, especially for close up senior portraits. I love to set the aperture to the widest it will go (f/1.4) and completely knock out the background of my photos - or at least, create a dreamy affect!

Sample Photos:

If you're searching for a more cost effective way to test out this focal length, I would recommend giving the Canon EF 50mm f/1.8 STM Lens a try. Priced at $125, it's a great way to try out the 50mm focal length at a reduced price! (This lens isn't as sharp or as fast as the Sigma 50mm 1.4 ART, but for those just starting out, this is a great lens to try!) And if you'd like to go a step up from the 1.8, give the Canon EF 50mm f/1.4 USM lens a try! It's a bit more expensive and a step up in quality from the Canon 50mm f/1.8.

Canon EF 70-200mm f/2.8L IS II USM Telephoto Zoom Lens for Canon

What I Love:

This lens is another one of my favorites for its far reach, which is something I especially love when photographing couples! I love having the option to back super far off from a couple, but still get those intimate, close up shots while they're interacting, or even wider shots that are clear and crisp!

Another thing I love about this lens is how SHARP it is. This is by far the sharpest lens I have ever owned!

What I Use it for Most:

I definitely use this lens most for couples and for wedding ceremonies so I can stay as far back as possible! I also love being able to create wider shots by manipulating backgrounds and scenes with this lens through lens compressionwhich is when elements in the background of a photo appear larger and closer to the subject (almost compressed looking, opposed to looking at the scene through a wider lens or with the naked eye), resulting in a different sort of composition.

Comment

Get a Dose of JHP Straight to Your Inbox!

Comment

Get a Dose of JHP Straight to Your Inbox!

2018-03-07_0010.jpg

JHP FINALLY has an email list and I couldn't be more excited about it!! Over the course of the last year, I've had numerous current, former, and soon-to-be clients ask if there is a way they could stay updated on a monthly to bi-monthly basis with things like mini-session dates, cancellations, print specials, the latest blog posts new offerings, discounts, and the like, and I'm finally excited to open up this email list to anyone who would like to join!

With all of that being said, let me tell you a few things this email list is not:

  • Spam (I cannot STAND when people send me useless emails!)
  • A constant sales pitch (who wants to be sold to all the time?! Not me!)

If you are someone who is looking to stay updated on all things JHP, then this email  list is certainly for you. Sign up below!

Comment

Photography Gear for Beginners

Comment

Photography Gear for Beginners

Besides asking what gear I use, the second most frequently asked question I get is “what camera should I buy if I’m just starting out?”  And today, I wanted to take a second to answer! If you’re just starting out and buying your first digital camera, know that all of this is a process. It’s best to start on what’s called “entry-level gear,” learn it inside and out, then work on upgrading to pro grade equipment. Trust me – every photographer who has started has been there, including me!

And, as a side note: truth be told, it’s not the camera that makes the photographer, it’s what the photographer does with the camera that really makes the photo (though, high end gear does help as you start to progress after learning your basic gear inside and out! ;) ). Even as you’re starting to learn photography, do not be discouraged. Don’t focus on comparing your images to someone else who’s been working as a pro for years. Focus on learning and growing from where you are.

I should also note that since I currently shoot in Canon, I'll be recommending all Canon gear below! There are some wonderful pieces of Nikon gear out there, too, but unfortunately, Nikon isn't in my wheel house, so I'll stay away from recommending anything I don't have any personal experience with!

CAMERA BODIES

For beginning photographers, I recommend an entry-level DSLR camera. “DSLR” simply means “digital single lens reflex,” which Wikepedia defines as “a digital camera that combines the optics and the mechanisms of a single-lens reflex camera with a digital imaging sensor, as opposed to photographic film.” Okay, let’s be real: that’s a little confusing, but basically that definition just has to do with how the camera makes an image. The technicalities behind how a camera works can be somewhat confusing, so today we’re just going to stick with the basics for the purposes of this blog post!
In the simplest terms, I always recommend beginners buy a camera that can:

  • Switch lenses, so you can experiment with other lenses.
  • Has 18+ megapixels, to create photos with higher resolution than your phone.

My very first DSLR Entry-level DSLR was a Canon Rebel T1i, which I don’t even believe they make anymore – haha! But if you’re looking for a DSLR line that is easy to learn on, I would recommend one of the newer versions in the “Rebel” lineup, the Canon EOS Rebel T6 Digital SLR Camera. With the ability to change lenses, 18+ megapixels, and wifi capabilities, this is a great camera to start out on! I also recommend buying the camera as a “kit,” which simply means that a lens and different accessories are included. This will give you a lens to start with so you can start practicing right away (most cameras and lenses are sold separately).
LENSES

As I mentioned above, a “kit” lens (which just means a lens that comes with a camera!) is a great way to start out. With this kit from Canon (including the Canon EOS Rebel T6), you can also get a starter lens! Most kit lenses are a shorter focal length, which means you’ll have to be really close to your subjects. If you’re looking for a zoom lens (to photograph further away subjects), I would recommend this Canon EF 70-300mm f/4-5.6 III Telephoto!

Truth be told, starter or “kit” lenses aren’t that great. They certainly get the job done and are perfect for learning, but if you’re interested in taking your photos a step further right away, I would HIGHLY recommend the Canon 50mm f/1.8, which you can purchase for just around $125 (definitely a steal for a lens)!

ACCESSORIES

Now that you’ve decided on your camera body and lenses, there are a few accessories you might want to consider investing in:

A cross body strap is helpful and, trust me, your neck will thank you! Most cameras come with a strap that allows to camera to hang around your neck, but investing in a cross body strap that will sit on your shoulder is worth every penny. Your neck will thank you! There are a few on Amazon (a floral one here, a black one here, and another floral one here), and even some on Etsy that can be customized with your name and style (my camera strap has a llama on it!).

A bag or backpack to carry your gear is ESSENTIAL! Make sure you keep your gear safe by buying a bag with padding (unless your camera kit comes with one!) A few of my favorites include:

Also remember: unless you buy a camera kit, you’ll also need to make sure you have a battery for your camera, a battery charger, and a memory card. Here are a few recommendations based on the Canon 6t recommended above:

Below is a wrap up of all of the gear discussed in this blog post! Have any more gear related questions? Feel free to drop me a note in the comments below! And best of luck on your photography journey!

Comment

Tired of Awkward Senior Photos?

Comment

Tired of Awkward Senior Photos?

I've heard a lot from seniors and soon-to-be high school seniors over the years about how painfully awkward senior sessions can be. And let me be the first to say raise my hand and agree  because MINE was!  But I truly believe that having your photo taken is mean to be a fun, encouraging experience from start to finish! Can senior photos be awkward, and boring? Absolutely. But you'll find that the mom and senior's experience below was the complete opposite! This review is to show you one thing: pictures can (and should be) be fun!

"Jenna,

I just want thank you from the bottom of my heart, for making this one of the best days ever for Meg. You made her feel so beautiful and confident during your session, she felt and looked like a movie star. I looked through these amazing photos, shedding tears of happiness and pride as to what a beautiful young woman Meg has become. I am also thankful that we picked you to share this day with all of us to capture her senior year and savor it forever. You are truly gifted and I will recommend you to everyone I know. Thank you so much. Love my Megpie - Lincoln High Class of 2018!!"

A huge thanks to this sweet mom for her incredibly kind and encouraging words. They mean so much!

Comment

How Can I Make Sure My Wedding Photos are Safe?!

Comment

How Can I Make Sure My Wedding Photos are Safe?!

My mom used to always say "if our house was burning down, the one thing I would make sure to grab (of course, after the kids!) would be my wedding album."

Lucky for those of us who tied the knot in the digital age, most of the time our photos are backed up on a cloud, or even to social media pages, allowing memories to live on even after disaster strikes. But I think there's something to be said about my mom's sentiment, and the importance of printed photos. Those photos in her wedding album tell the story of the beginning of her life with my dad, and of our lives as a family. They're precious, and priceless. They are the family legacy - an heirloom that, God willing, will be handed down generation after generation so everyone can see where, and how, it all started.

So, as a bride, what's the best way to go about making sure YOUR wedding images are safe? Below are a few tips for backing up your precious memories that will ensure - no matter what happens - that you will have them for years to come!

1. Invest in a professional wedding album.

I know what you're thinking: but they're so expensive! Trust me, I was a bride not too long ago and I can completely understand hesitancy based on price when it comes to professional wedding albums! Wedding albums are not only expensive for brides to invest in, but are also pricey for photographers to order, due to the high-quality materials used. A professional album will have thick, professional archival photo paper with the highest quality leather or linen, built to last for years to come. Some even go the extra mile to include a high quality storage box to keep it even safer! A wedding album is not only another great way to "back up" your wedding photos, but is a physical heirloom to pass down from generation to generation. That CD or USB drive you have might be great for making prints, but are you sure you'll be able to show your kids and grandkids your photos in 10, 20, or even 50 years? Technology will be much further then - you never know if those storage devices will even be around!

JHPAlbums2018-3.jpg

2. Store your photos on a cloud server.

With so many options for cloud storage nowadays, it's easier than ever to make sure your photos are somewhere safe outside of your home, in the case of fire, flood, or damage. A few of my favorites for online storage are: Dropbox, Google Drive, and Carbonite.

3. Spread the love to parents, grandparents, and other family members!

What do I mean by this? Well, in addition to investing in an album for yourself, consider investing in an album for your parents, your spouse's parents, and even your grandparents! Not only do albums (or coffee table books!) make nice gifts, but in the case of a fire or flood (God forbid!) your wedding photos are safe somewhere else. Plus - albums and coffee table books make great (and easy!) Christmas and birthday gifts after your wedding day!

JHPAlbums2018-10.jpg

4. Check to see how long your photographer keeps your wedding photos.

Some photographers keep all of the photos from your wedding day long after the event (I fall into this camp!) and some toss them after the event is over. Check with your wedding photographer to see how long they hold onto your digital files, and even ask how they back them up. Personally, I back up every wedding to two external hard drives, an online gallery system, and a cloud storage backup - mainly because I would want someone to do the same for me!


If you are interested in creating a wedding album, shoot me a message or send me an email at jhidingerphotography@gmail.com to learn more about the albums we offer!


Comment